Product Importer
Data Importer & Exporter — 11.1 Step-by-step guide to bulk importing products, download template, import modal controls, and troubleshooting import errors
Use Importer to manage and configure this feature in your EQuipWeb system.
Use the Product Importer to add or update many products at once using a spreadsheet file. Instead of creating products one by one, prepare your product list in Excel, then upload it here — the system will create or update all the products in one go.
When to use this: When you need to add or update many products at once from a spreadsheet instead of creating them one by one.
Prerequisites
- User must have appropriate role permissions (see Access & Permissions above)
Use Importer to manage and configure this feature in your EQuipWeb system.
General Description
The Product Importer allows you to bulk upload product data using an Excel spreadsheet. This is faster than creating products one by one when you have many items to add or update.
Page Layout & Annotation
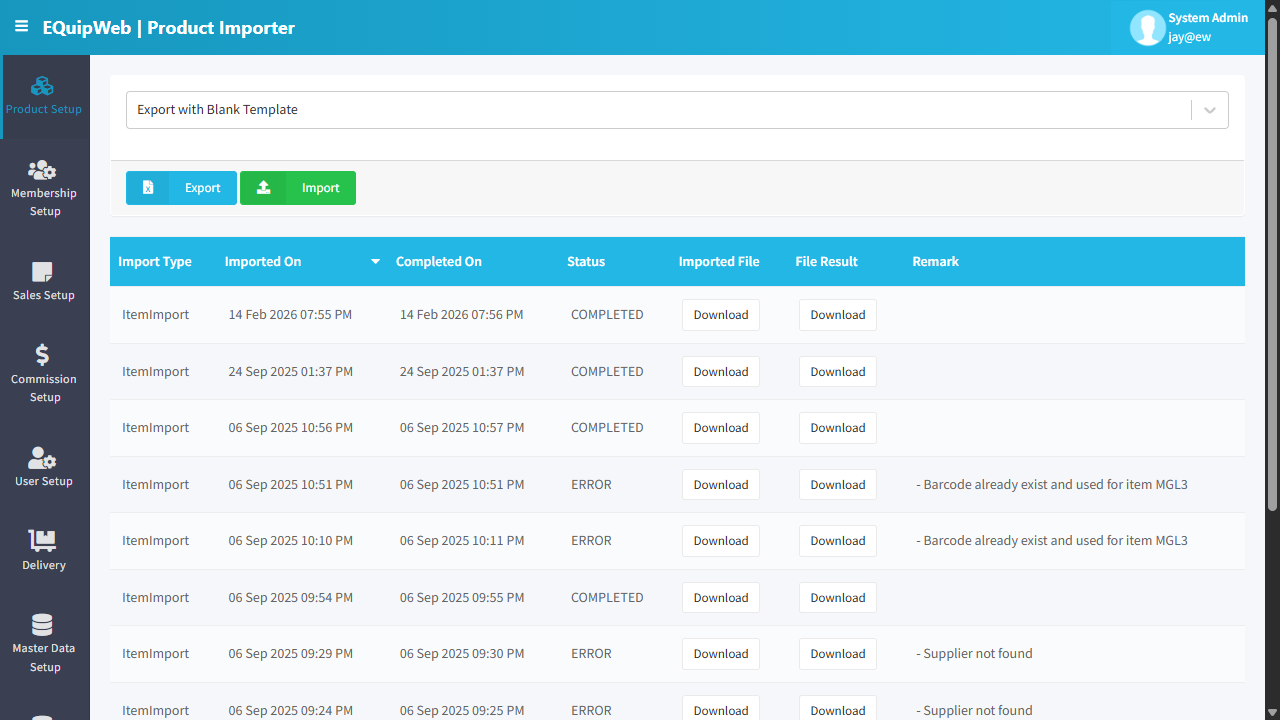
The following annotated screenshot highlights the key functional zones of the Product Importer interface:
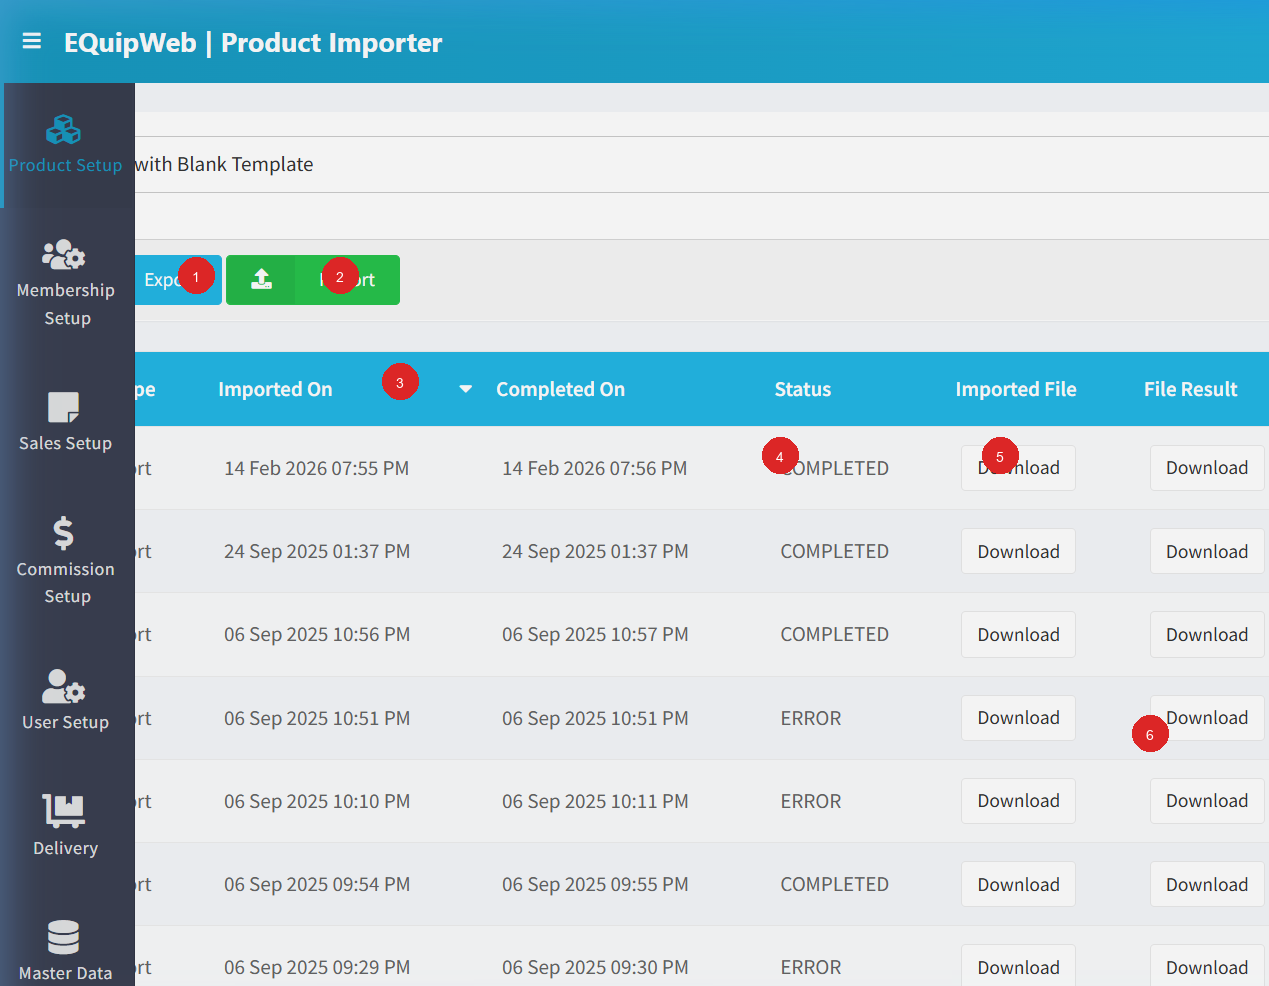
1. Toolbar Actions
① Export (Blank Template)
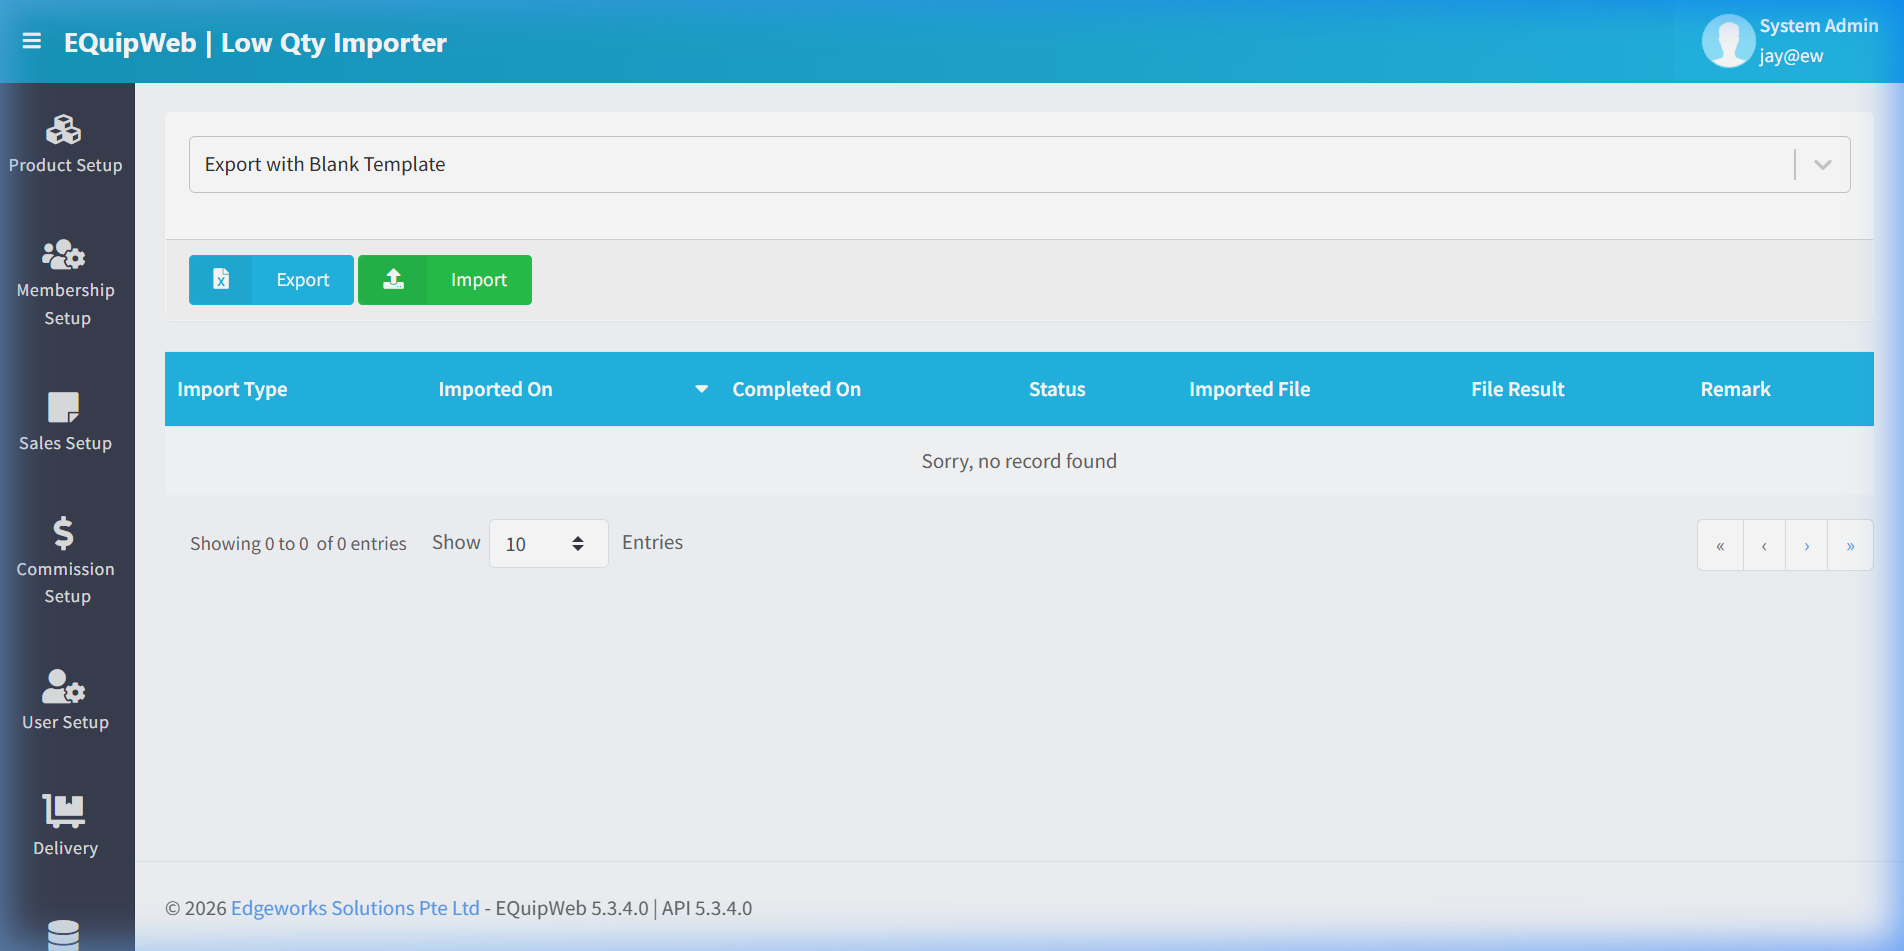 Clicking this button downloads a blank Excel template (
Product_Template.xlsx) containing the exact column structure required by the system. Use this as your starting point when preparing data.
② Import
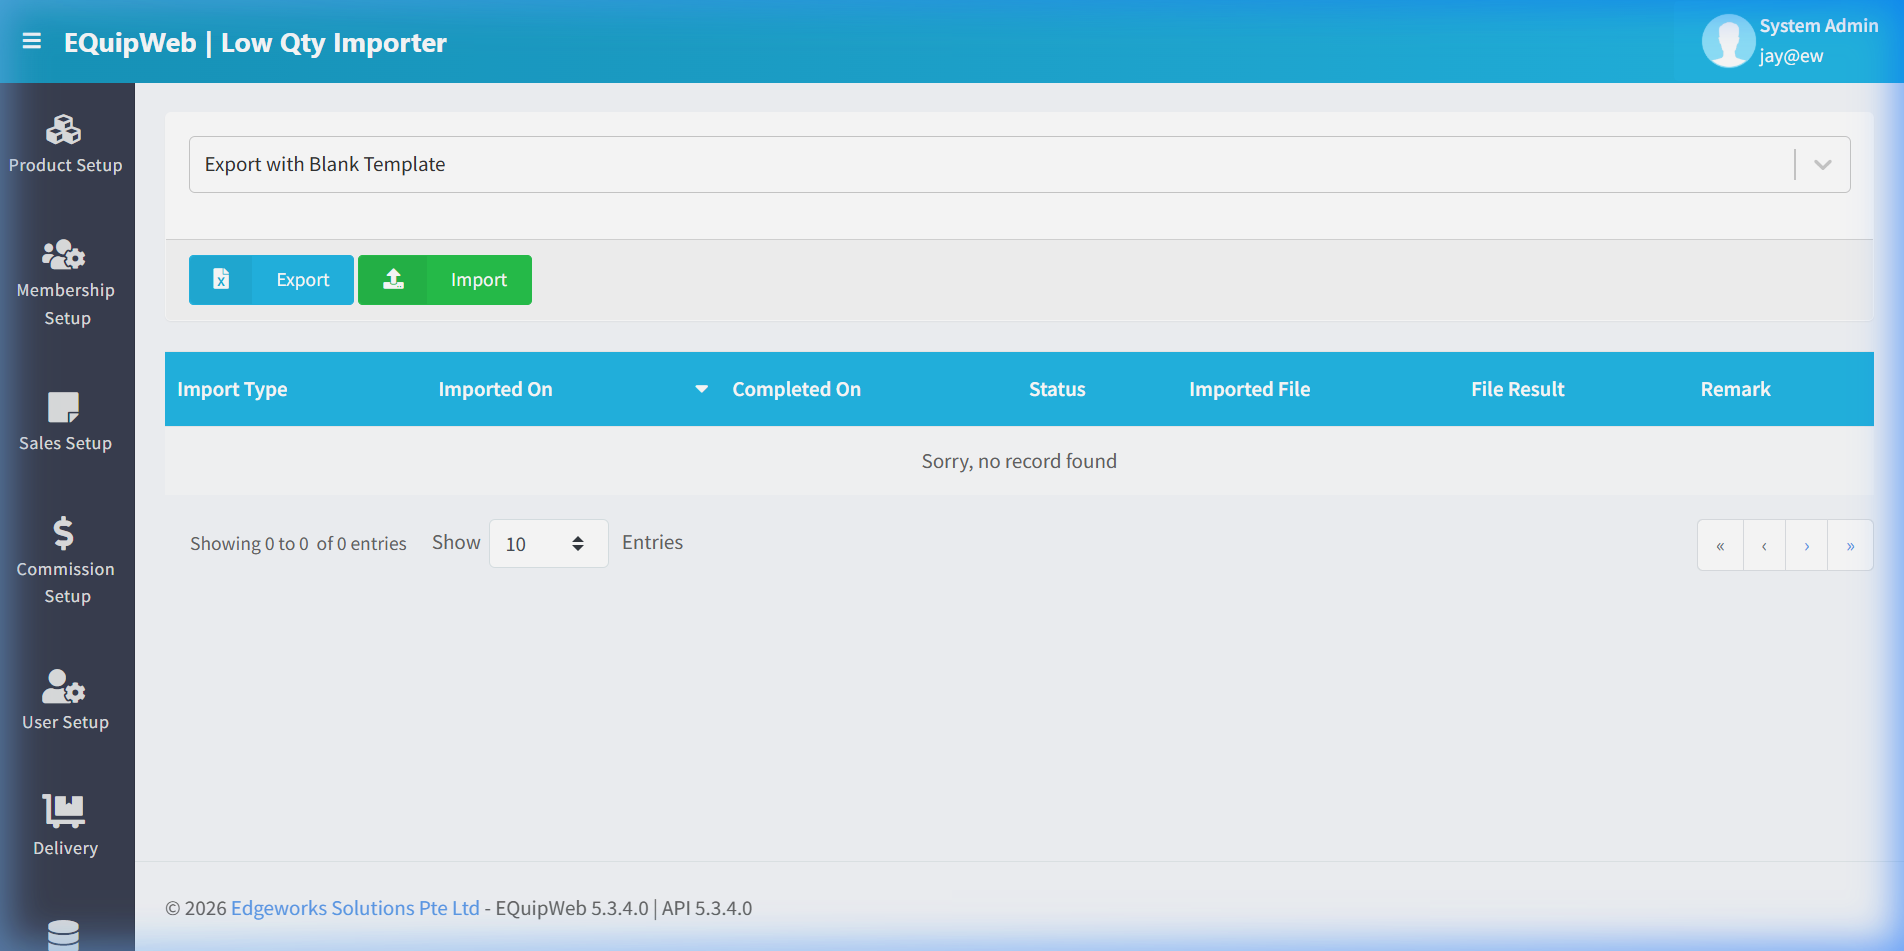 Clicking this opens the Import Modal dialog, allowing you to drag and drop or browse to select your populated Excel file for upload.
Use Importer to manage and configure this feature in your EQuipWeb system.
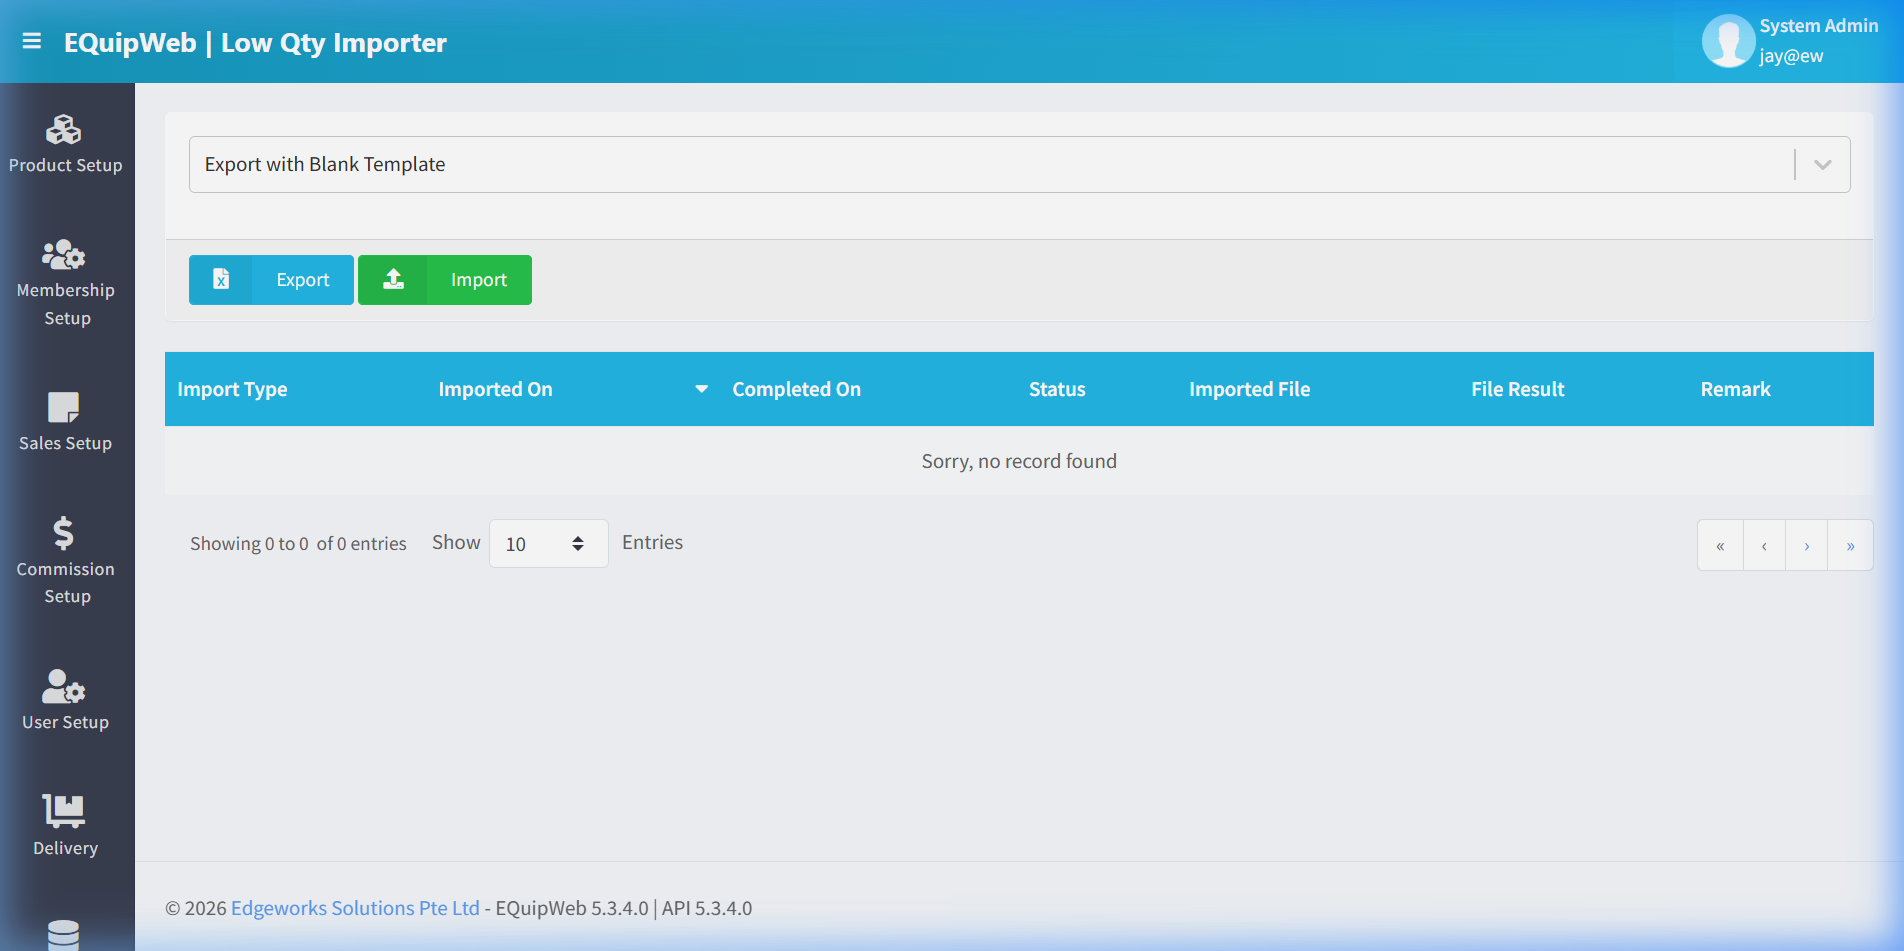
2. Import History Grid
③ Table Headers
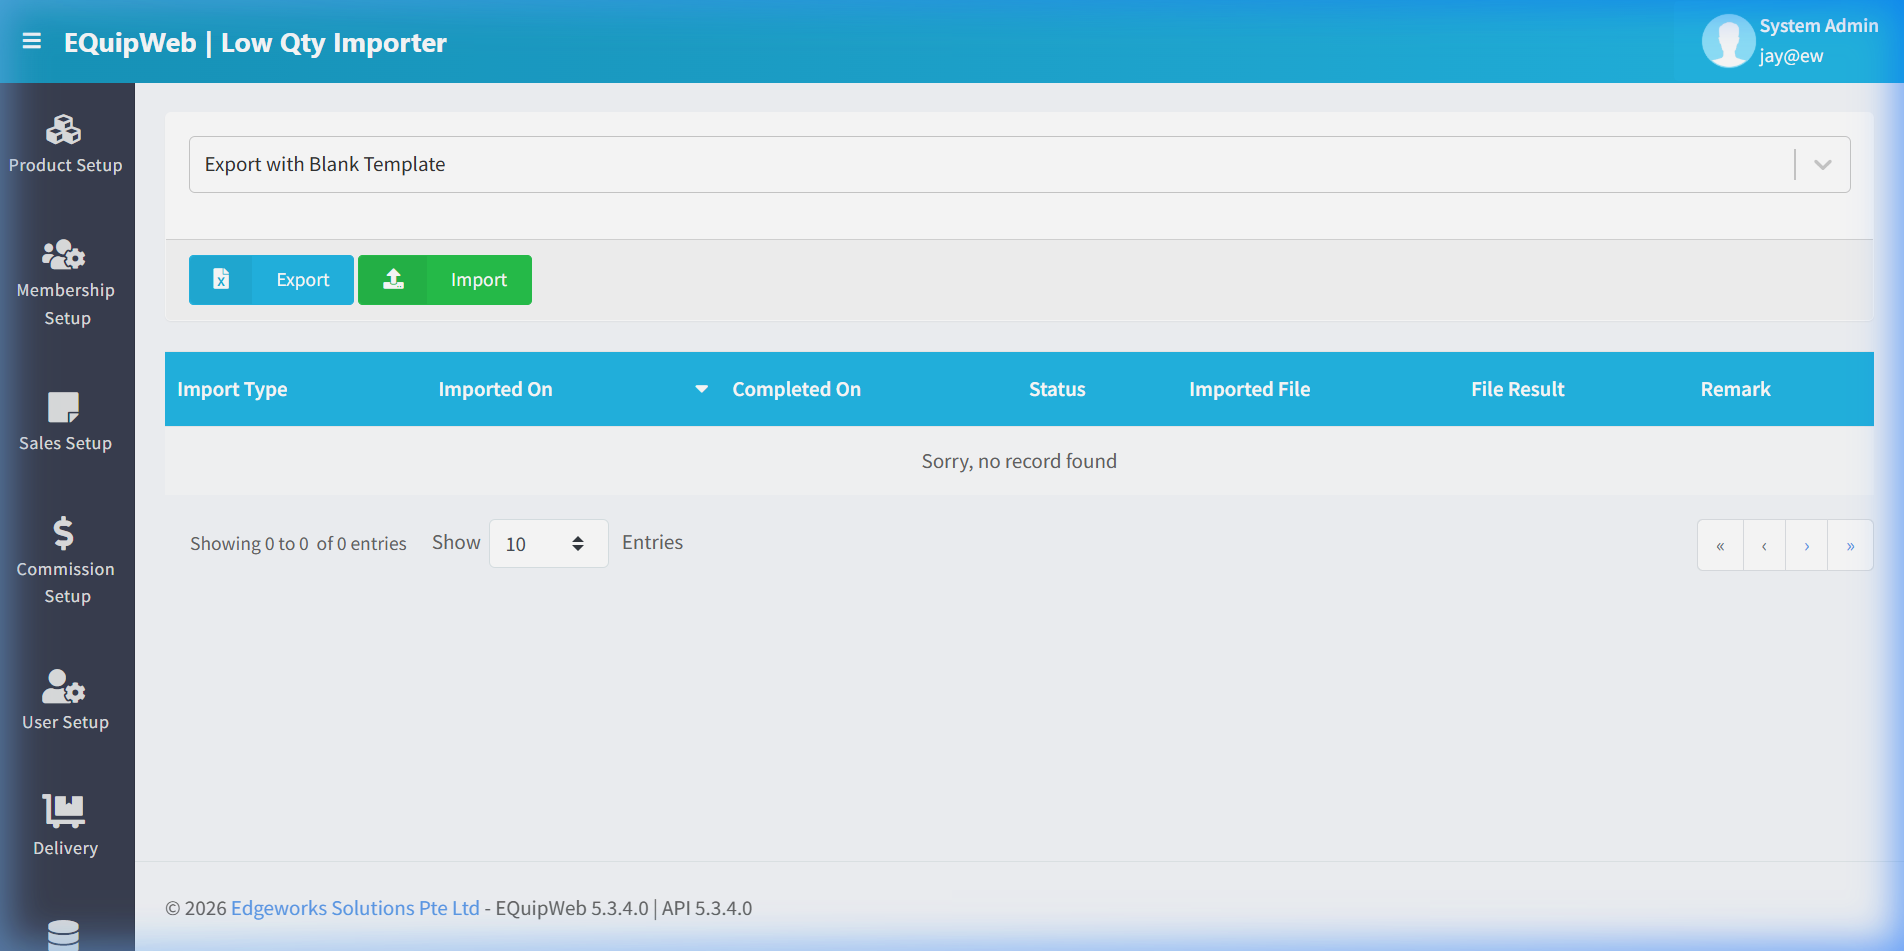 Displays a history of all import actions. Columns include:
- Import Type: Type of data imported (e.g.,
ItemImport). - Imported On: Timestamp of when the upload was initiated.
- Completed On: Timestamp of when the system finished processing.
④ Status
 Indicates the result of the import session:
- COMPLETED: All rows were successfully validated and added to the system.
- ERROR: One or more some rows have errors, preventing some or all rows from being imported.
⑤ Download Files
 Allows retrieval of files for audit or debugging:
- Imported File: Download the original Excel file uploaded by the user.
- File Result: Download the processing log or annotated excel showing which rows passed or failed.
⑥ Remark
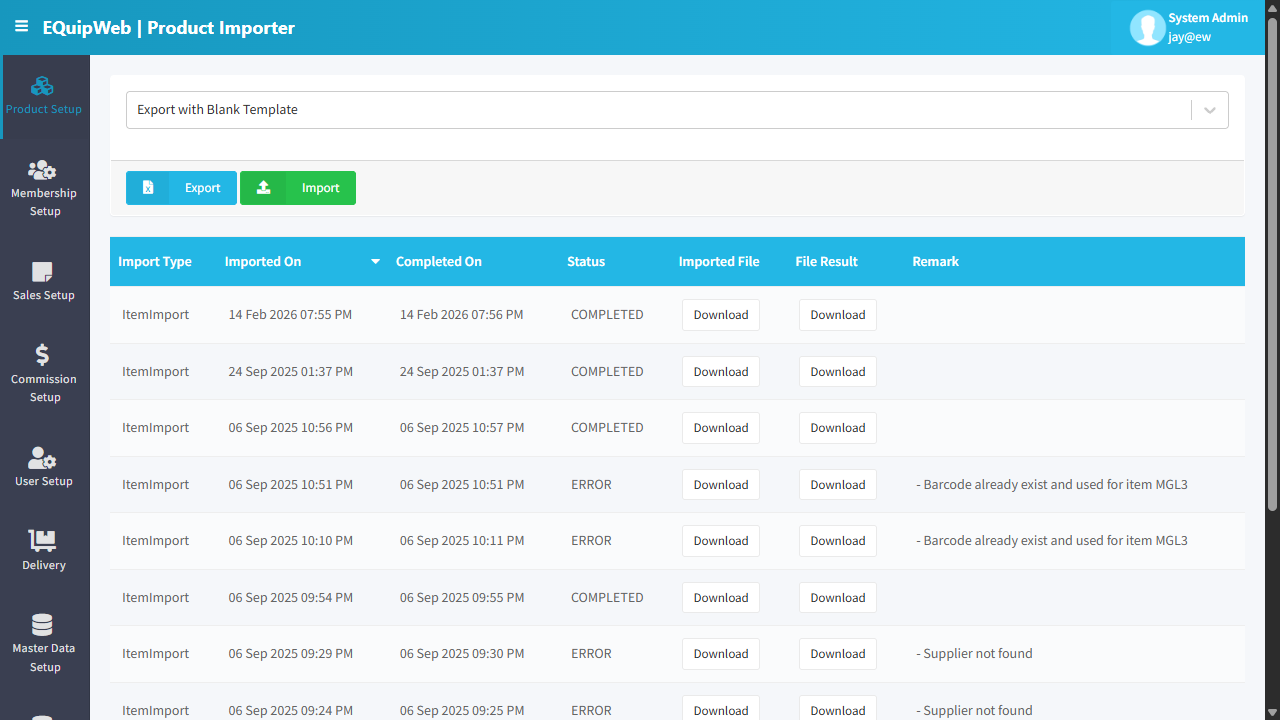 Provides detailed feedback when an import fails (e.g.,
 - Barcode already exist and used for item MGL3 or - Supplier not found). Always inspect this column first when troubleshooting errors.
Use Importer to manage and configure this feature in your EQuipWeb system.
Import Modal Controls
Clicking the green Import button opens the upload dialog shown below:
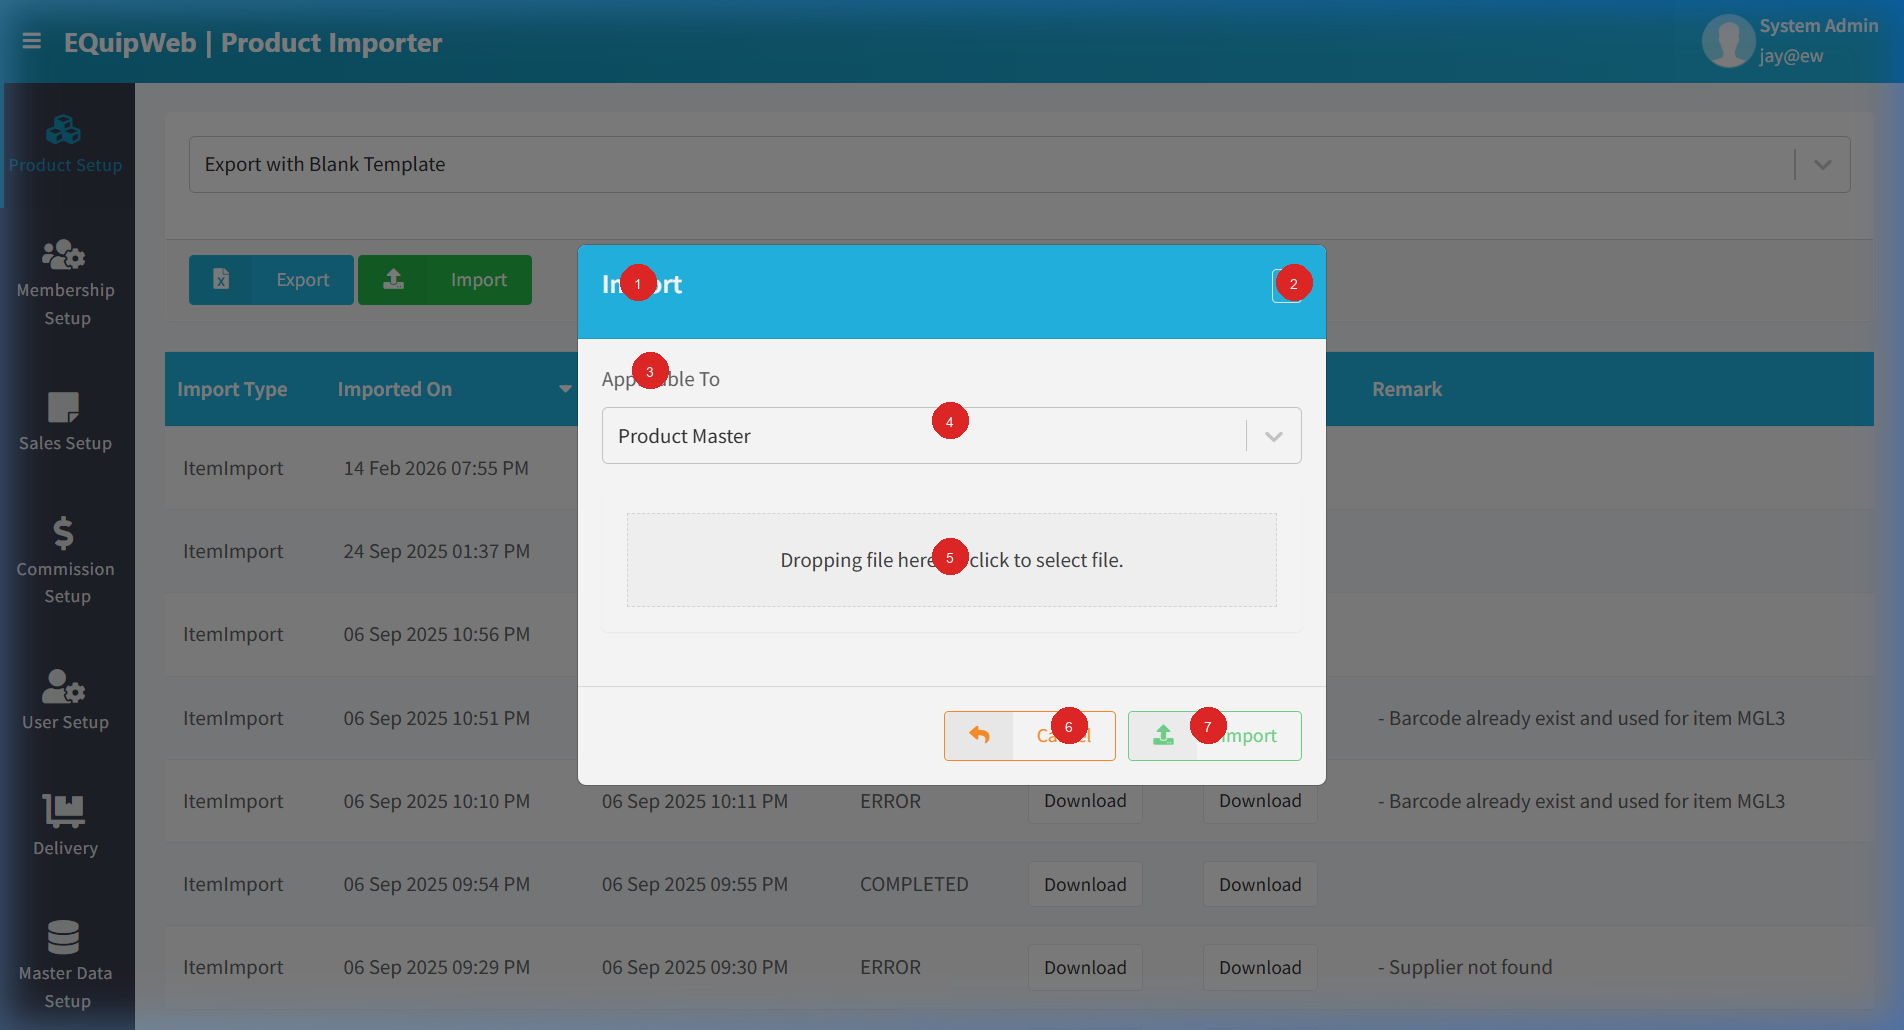
- ① Modal Title: Identifies the action being performed — "Import".
- ② Close Button (×): Closes the modal without uploading or saving any changes.
- ③ Applicable To: Displays the destination master data type — fixed as
Product Master. - ④ Dropdown: Select the type of import target (currently only
Product Masteris supported). - ⑤ Upload Area: Click to browse your local computer, or drag-and-drop the prepared Excel file directly into the upload area.
- ⑥ Cancel: Dismisses the modal without uploading.
- ⑦ Import: Commits the uploaded file to the server for processing.
Use Importer to manage and configure this feature in your EQuipWeb system.
Step-by-Step Bulk Import Workflow
Follow this procedure to import your products successfully:
Step 1: Download the Template
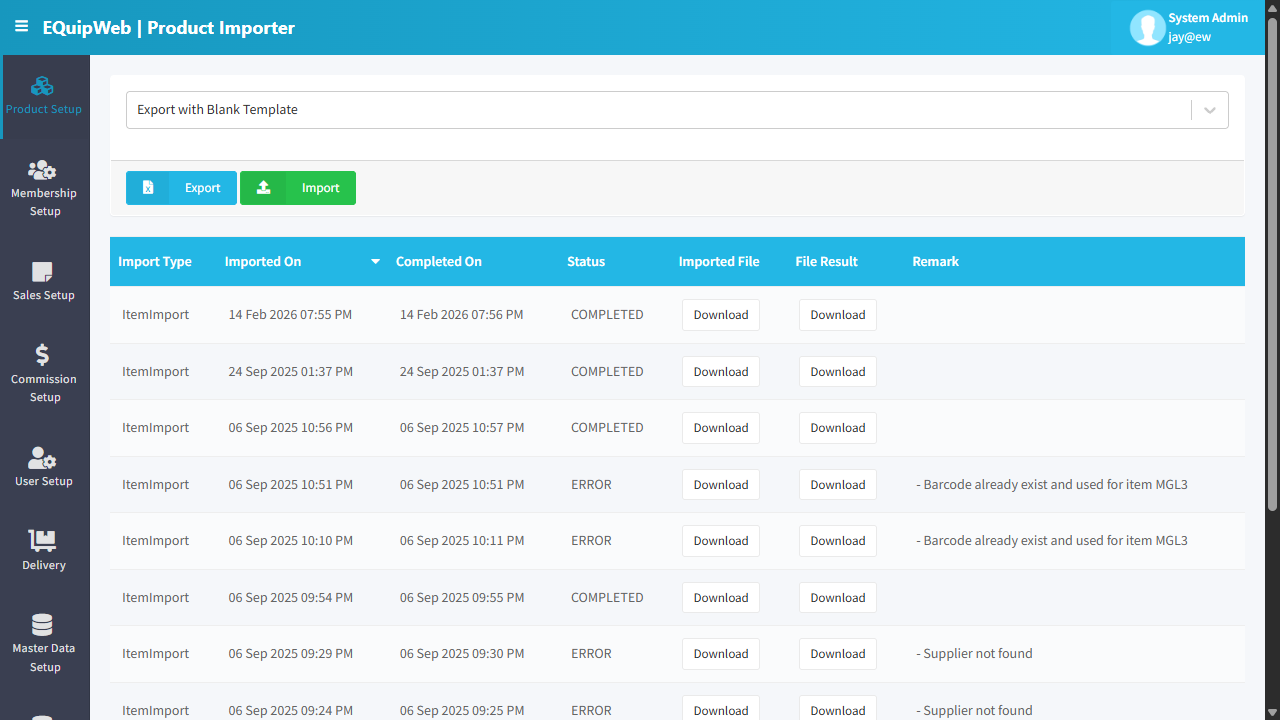 On the Product Importer toolbar, click Export (①) to download the blank template file.
Step 2: Prepare Product Data
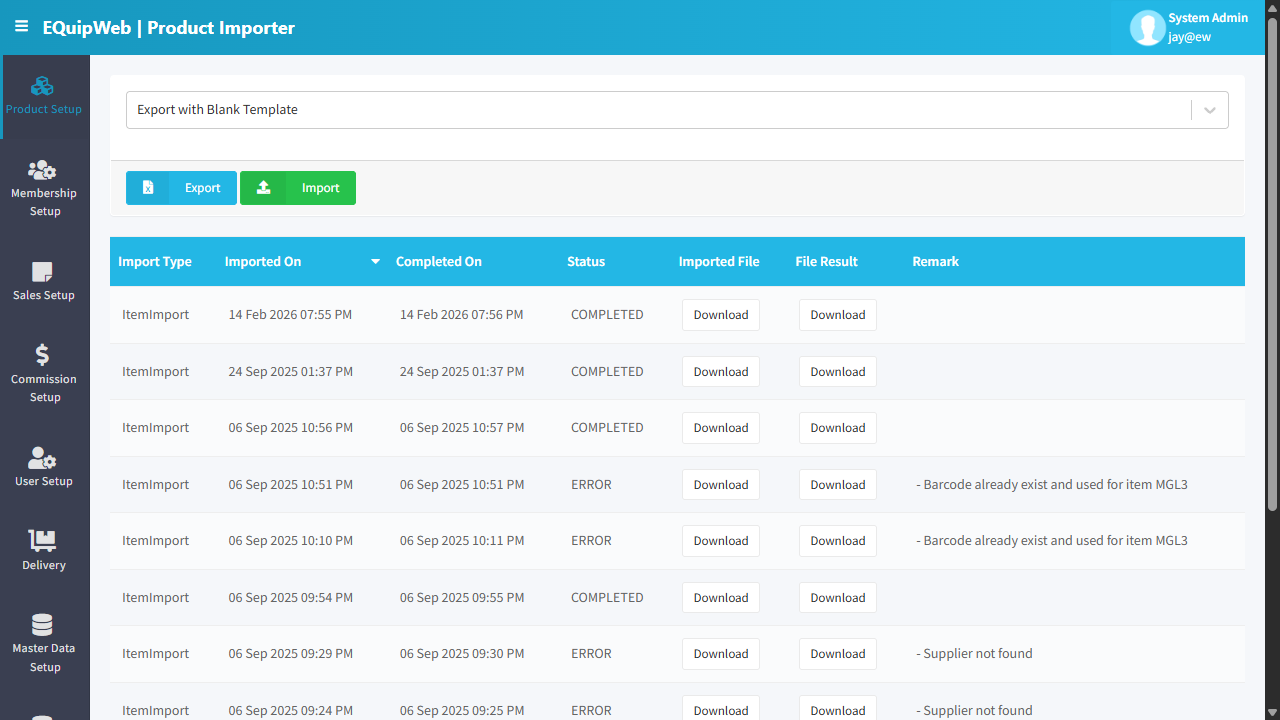 Open the template file and fill in your product details row by row. Ensure you follow these database rules:
| Column | Required | Rules & Validation |
|---|---|---|
| ItemNo | Yes | Must be unique. If a product with the same ItemNo already exists in the system (active or safely deleted), the row will fail. |
| Barcode | No | Product barcode. If left blank, it defaults to the ItemNo value. Must be unique. |
| ItemName | Yes | Display name shown on the POS screen and customer receipts. |
| CategoryName | Yes | Must match exactly (case-sensitive) an existing category configured in Category Setup. |
| UnitOfMeasure | Yes | Unit of measurement (e.g., pcs, box, kg, pack). |
| Cost | No | Purchase cost price. Critical for profit margins and COGS reporting. |
| Price | Yes | Selling price before tax. |
| PriceIncTax | No | Price inclusive of tax (used if INC-GST mode is enabled). |
| Description | No | Internal notes or product details. |
Step 3: Open the Import Dialog
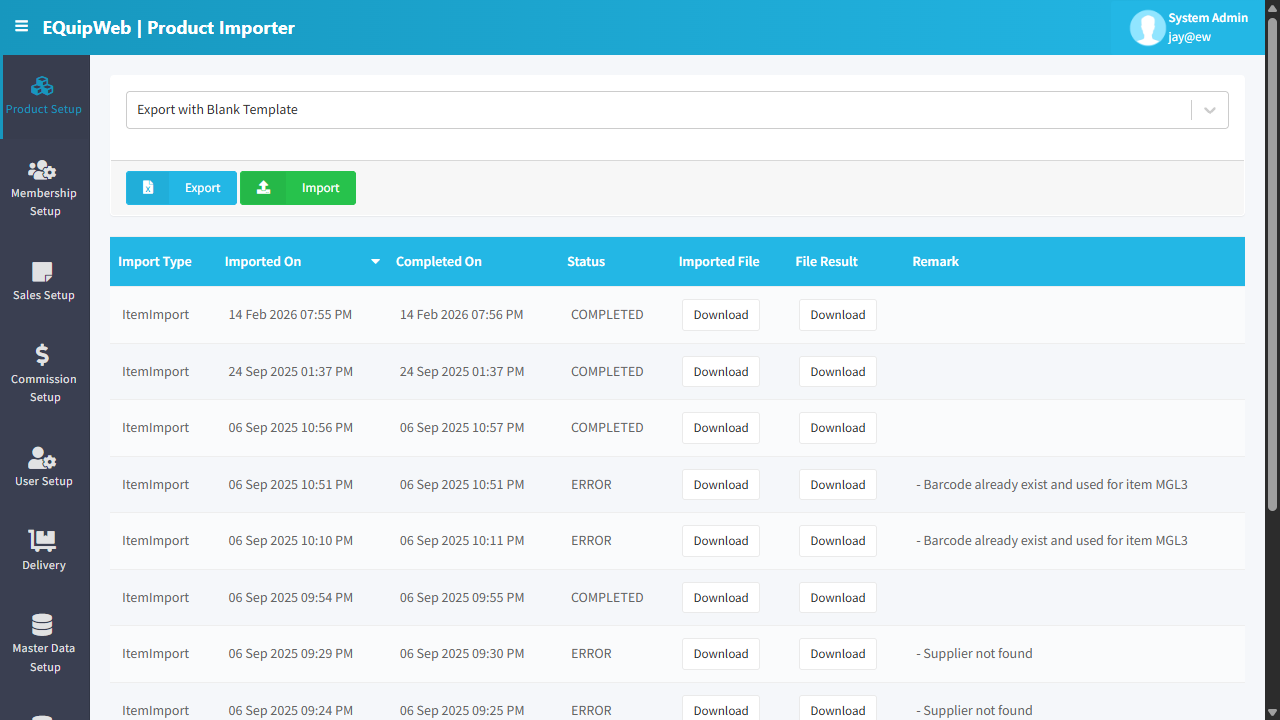 Click Import (②) to open the modal.
Step 4: Upload File & Avoid Error 404
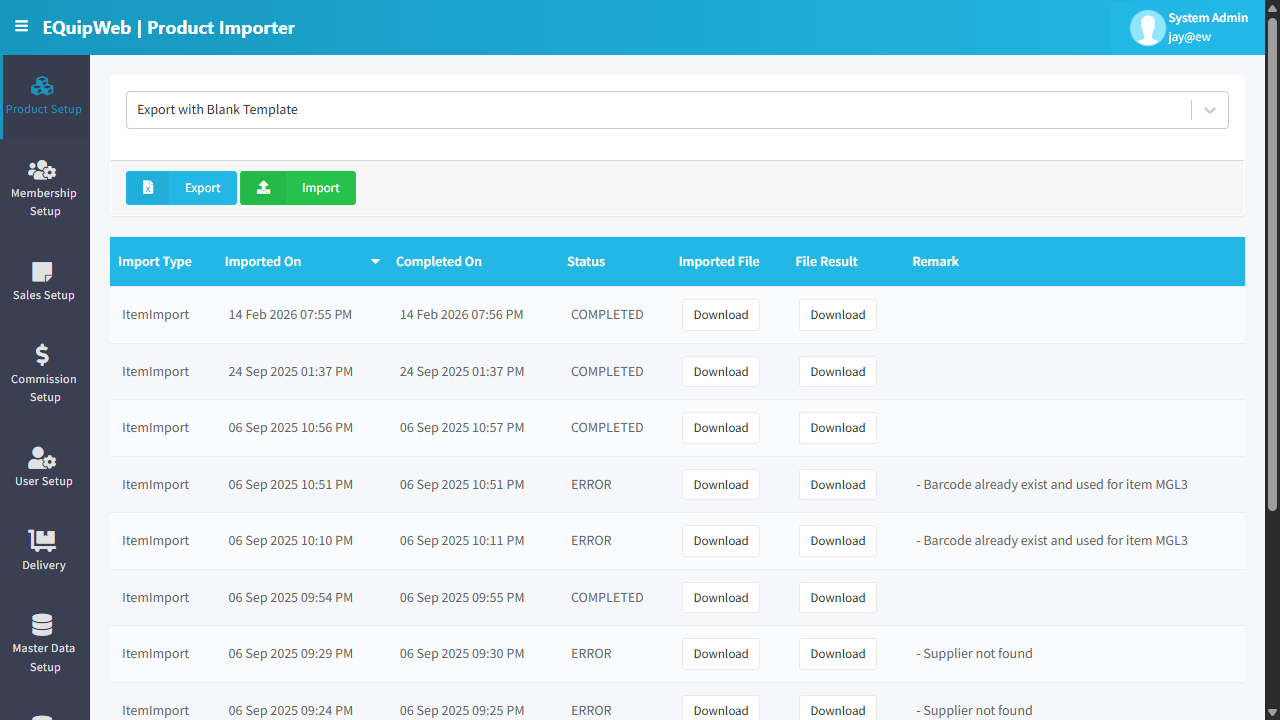 Drag and drop your file into the Upload Area (④).
[!IMPORTANT] Excel Filename Rules: To prevent an Error 404: Not Found during the server processing phase, your Excel filename must follow these constraints:
- Allowed Characters: Letters (
A-Z,a-z), numbers (0-9), hyphens (-), and underscores (_).- Prohibited Characters: Spaces, parentheses
( ), square brackets[ ], braces{ }, hash#, percent%, and symbols (&,+,=,@,!).- No Double Extensions: Ensure your file ends with
.xlsxonly once (avoiddata.xlsx.xlsxordata (1).xlsx.xlsx).Example:
- ❌ Invalid:
New Products (June 2026) #2.xlsx- ✅ Valid:
New-Products-June-2026-2.xlsx
Step 5: Process Import & Verify
 Click Import (⑥) inside the modal to upload. Monitor the Import History Grid for status updates. If the status is ERROR, check the Remark column (⑥) or download the File Result (⑤) to identify the failing rows.
Use Importer to manage and configure this feature in your EQuipWeb system.
How to Import Products
- Navigate to Data Importer & Exporter > Product Importer from the sidebar menu.
- Click Download Template to get the Excel template with the correct column headers.
- Open the template and fill in your product data (Item Name, Price, Category, Department, etc.).
- Save the completed Excel file.
- Back in EQuipWeb, click Choose File and select your completed template.
- Click Import to upload the file.
- The system validates the data and shows a preview with any errors highlighted.
- Review the preview — fix any errors in your file if needed and re-upload.
- Click Confirm Import to finalize the import.
Expected Result: Products are created or updated based on the imported data. New items appear in the Product List.
[!WARNING] If an Item Number already exists, the import will UPDATE the existing product instead of creating a new one. Always verify your Item Number column to avoid accidental overwrites.
FAQ
Q: What file format should I use for import? A: Use .xlsx (Excel) format. Download the blank template from the importer page to ensure correct column structure.
Q: Can I undo an import? A: No. Imports cannot be automatically reversed. You would need to manually correct or delete the imported records.
Q: Why does my import show validation errors? A: Check the error details for each row. Common issues include: missing required fields, duplicate codes, invalid date formats, or referencing categories/departments that don't exist yet.
Use Importer to manage and configure this feature in your EQuipWeb system.
Troubleshooting Import Errors
| Error Message | Root Cause | Solution |
|---|---|---|
Status: ERROR | Remark: The remote server returned an error: (404) Not Found. | Invalid filename. Special characters in the filename caused an encoding mismatch when the server tried to access the temporarily cached file. | Rename the file using only alphanumeric characters, hyphens, and underscores (e.g., product_import.xlsx). Remove spaces and parentheses. |
CategoryName does not exist | The category name in the Excel sheet does not exist in the system or has a typo (case-sensitive). | Go to Category Setup and create the category first, or correct the spelling in the Excel file to match exactly. |
Barcode already exist and used for item [ItemNo] | The barcode is already assigned to another product in the database. | Open Product Setup, search for the barcode (ensure you check "Show Deleted Product"), and resolve the conflict. Assign a unique barcode in the Excel sheet. |
Supplier not found | The supplier name assigned to the product is not configured in the system. | Create the supplier under Supplier Setup first, or check for spelling typos in the Excel sheet. |
Use Importer to manage and configure this feature in your EQuipWeb system.
Access & Permissions
| Role | View | Create | Edit | Delete |
|---|---|---|---|---|
| Admin | Yes | Yes | Yes | Yes |
| Supervisor | Yes | Yes | Yes | No |
| Cashier | No backend access | — | — | — |
[!NOTE] Exact permissions depend on the Privileges Setup configured for each role. Contact your administrator if you cannot access this page.
Use Importer to manage and configure this feature in your EQuipWeb system.
Related Menus
- Product Setup > Product List — imported product destination
- Membership Setup > Membership List — imported member destination
- Master Data > Supplier Setup — supplier data reference
Use Importer to manage and configure this feature in your EQuipWeb system.
Open Questions / Confirmation Needed
[!NOTE] The following items may vary depending on your system version and configuration:
- Exact permission settings depend on your Privileges Setup configuration
- Sync timing to POS terminals depends on network conditions and sync schedule
- Some features may require additional licensing or module activation
- Field behavior may differ between EQuip versions
If you encounter behavior not described in this manual, contact your system administrator or EQuip support team.
Expected Result: Changes are saved successfully and reflected across the system after the next POS sync.
Field Reference
| Field | Required | Description |
|---|---|---|
| Name / Title | Yes | The display name for this record |
| Status / Active | — | Whether this record is active in the system |
| Created Date | Auto | System-generated creation timestamp |
| Modified Date | Auto | System-generated last modification timestamp |
[!NOTE] Additional fields specific to this page are documented in the sections above. The table above shows common fields present across most pages.
Related Articles
Supplier Product Importer
? Backend — EQuipWebRetail ModeData Importer & Exporter Chapter 10: Data Importer — 10.5 Supplier Product Importer Use Importer to manage and configure this feature in your EQuipWeb system. Use the Supplier Product Importer to link many products to ...Promotion Importer
? Backend — EQuipWebRetail ModeData Importer & Exporter Chapter 10: Data Importer — 10.4 Promotion Importer Use Importer to manage and configure this feature in your EQuipWeb system. Use the Promotion Importer to create or update many promotions at ...Membership Importer
? Backend — EQuipWebRetail ModeData Importer & Exporter Chapter 10: Data Importer — 10.3 Membership Importer Use Importer to manage and configure this feature in your EQuipWeb system. Use the Membership Importer to add many members at once from a ...Material Importer
? Backend — EQuipWebRetail ModeData Importer & Exporter Chapter 11: Data Importer & Exporter — 11.6 Material Importer Use Importer to manage and configure this feature in your EQuipWeb system. Use the Material Importer to upload raw material and ...Product Setup
? Backend — EQuipWebRetail ModeProduct Setup Chapter 2: Product Setup — 2.1 Product List The Product List is where you see all your products in one place. From here, you can search, filter, edit, or delete any product. Think of it as your master ...