Supplier Product Importer
Chapter 10: Data Importer — 10.5 Supplier Product Importer
Use Importer to manage and configure this feature in your EQuipWeb system.
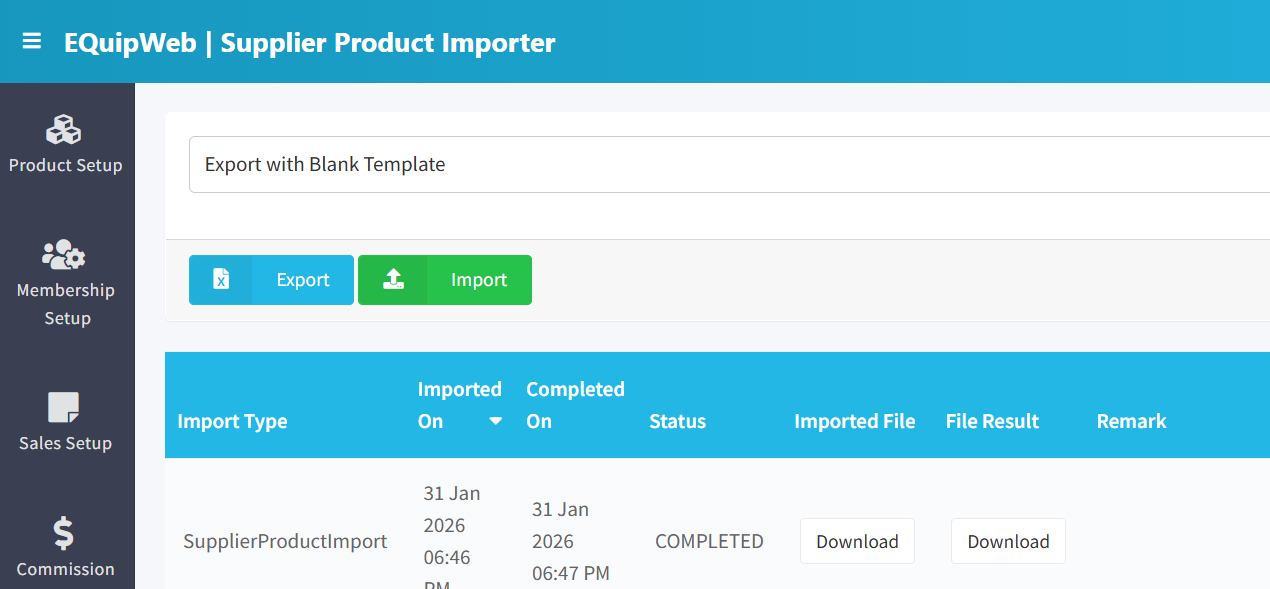
Use the Supplier Product Importer to link many products to their suppliers at once. Instead of assigning suppliers to products one by one, prepare the mappings in a spreadsheet and upload them here.
When to use this: When you need to link supplier product codes and costs to your products in bulk.
Prerequisites
- User must have appropriate role permissions (see Access & Permissions above)
Supplier Product Importer
📝 General Description
This importer creates or updates the link between products and their suppliers. Each row defines which supplier provides which product, at what cost, and under what supplier-specific product code. This information streamlines Purchase Order creation — when you select a supplier, the system knows which products they supply and at what cost.
Use Importer to manage and configure this feature in your EQuipWeb system.
10.5.1 Template Columns
| Column | Required | Description |
|---|---|---|
| ItemNo | ✅ Yes | EQuip product item number |
| SupplierName | ✅ Yes | Must match an existing supplier in Supplier Setup (8.8) |
| SupplierProductCode | No | The supplier's own product code/SKU for this item |
| CostPrice | No | Purchase cost from this supplier (per unit) |
| MinOrderQty | No | Minimum order quantity from this supplier |
| LeadTimeDays | No | Delivery lead time in days from this specific supplier |
| IsPreferred | No | Y = This is the preferred supplier for this product |
Sample Template
| ItemNo | SupplierName | SupplierProductCode | CostPrice | MinOrderQty | IsPreferred |
|---|---|---|---|---|---|
| I0001 | ABC Trading | ABC-SKU-001 | 5.50 | 12 | Y |
| I0001 | XYZ Supply | XYZ-001 | 6.00 | 24 | N |
| I0002 | ABC Trading | ABC-SKU-002 | 3.25 | 6 | Y |
Use Importer to manage and configure this feature in your EQuipWeb system.
10.5.2 How to Import Supplier-Product Mappings
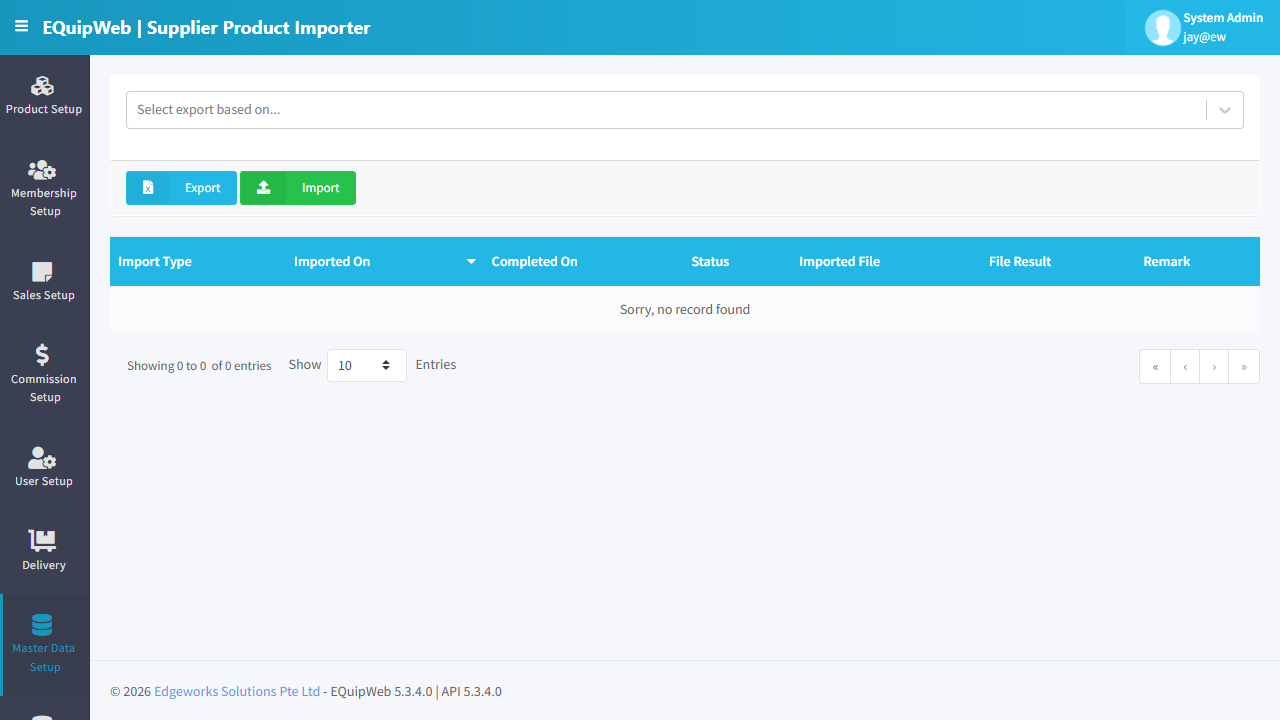
- Navigate to Data Importer → Supplier Product Importer.
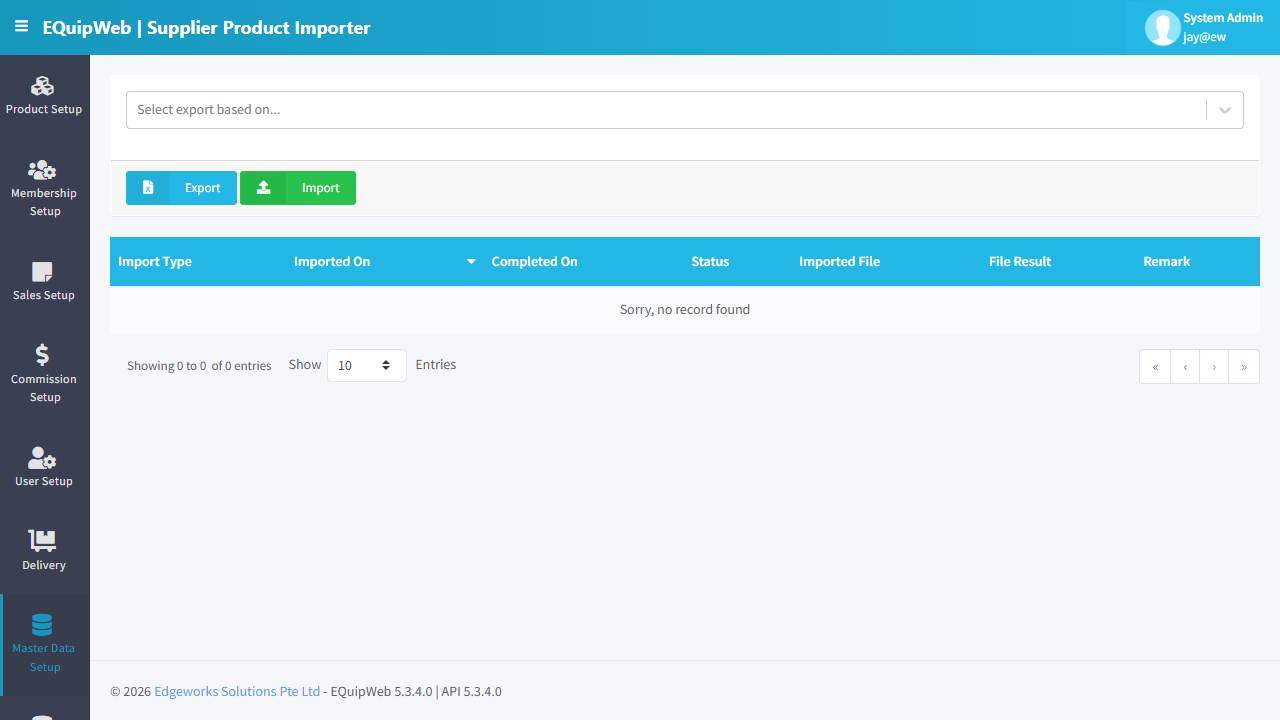 2. Click Download Template to get the CSV template.
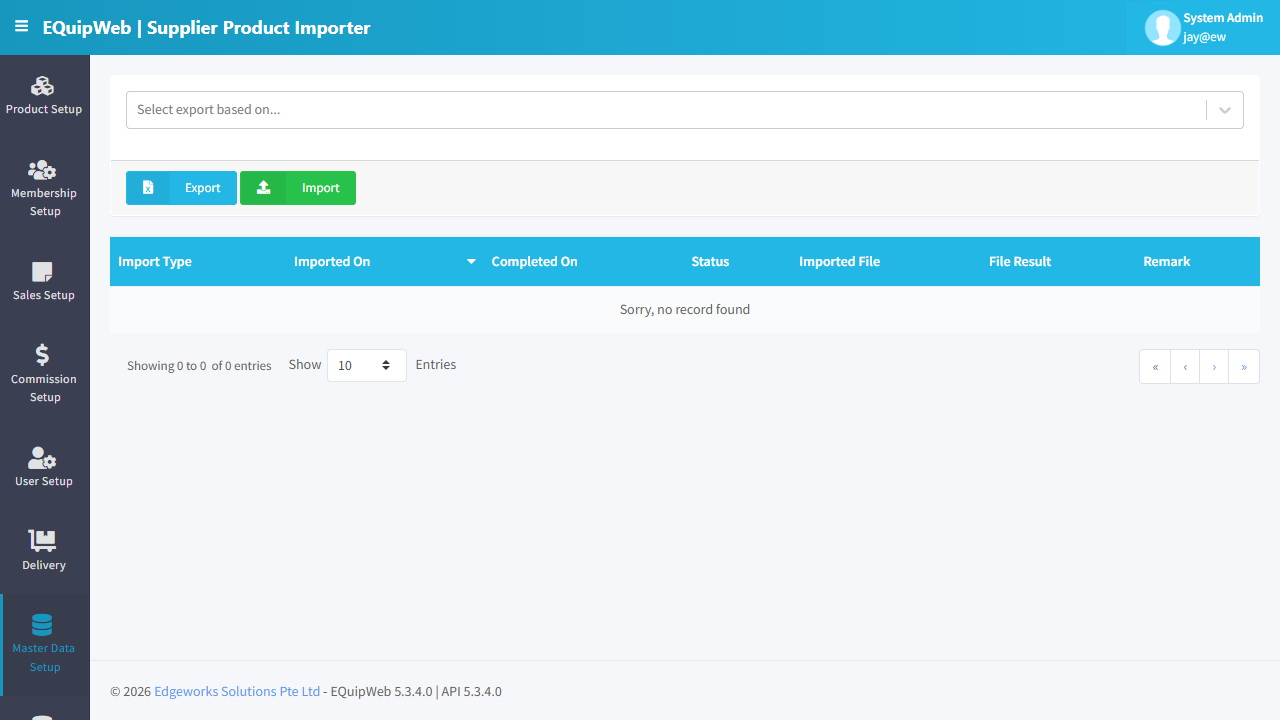 3. Open in Excel and fill in the mappings.
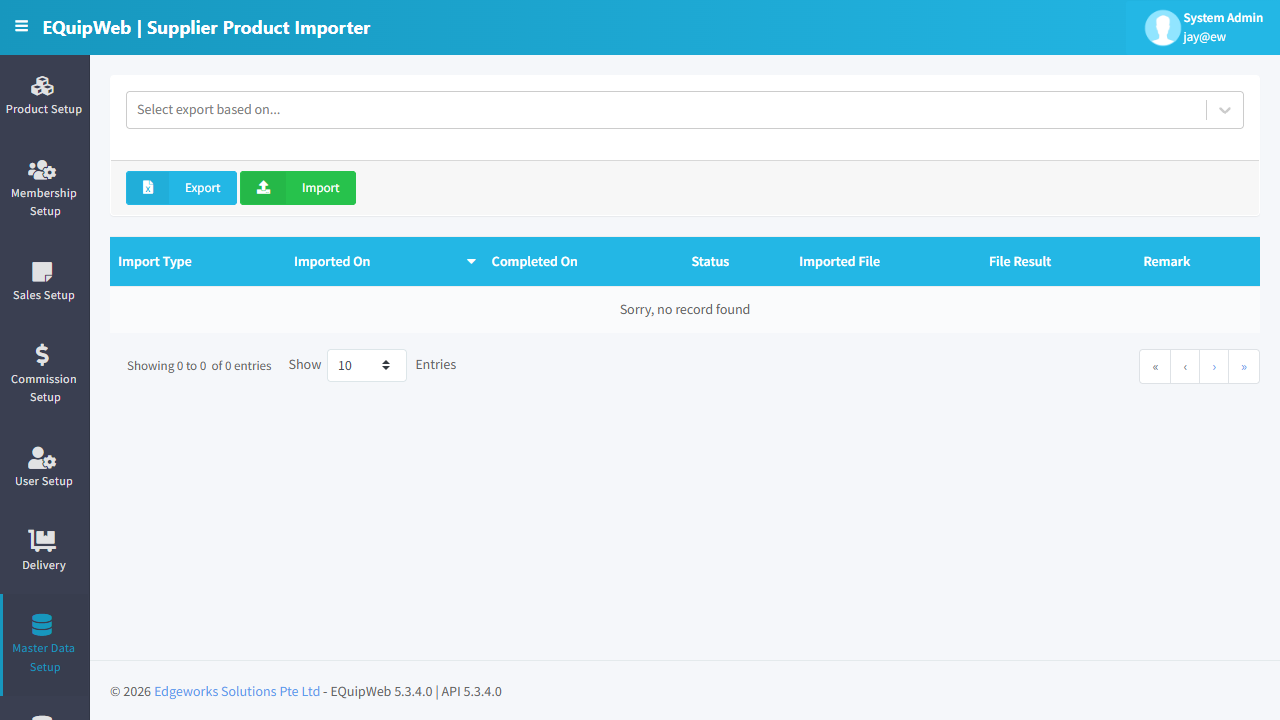 4. Ensure SupplierName exactly matches suppliers configured in Supplier Setup (Section 8.8).
5. Save as CSV.
6. Click Browse → Select your CSV file.
4. Ensure SupplierName exactly matches suppliers configured in Supplier Setup (Section 8.8).
5. Save as CSV.
6. Click Browse → Select your CSV file.
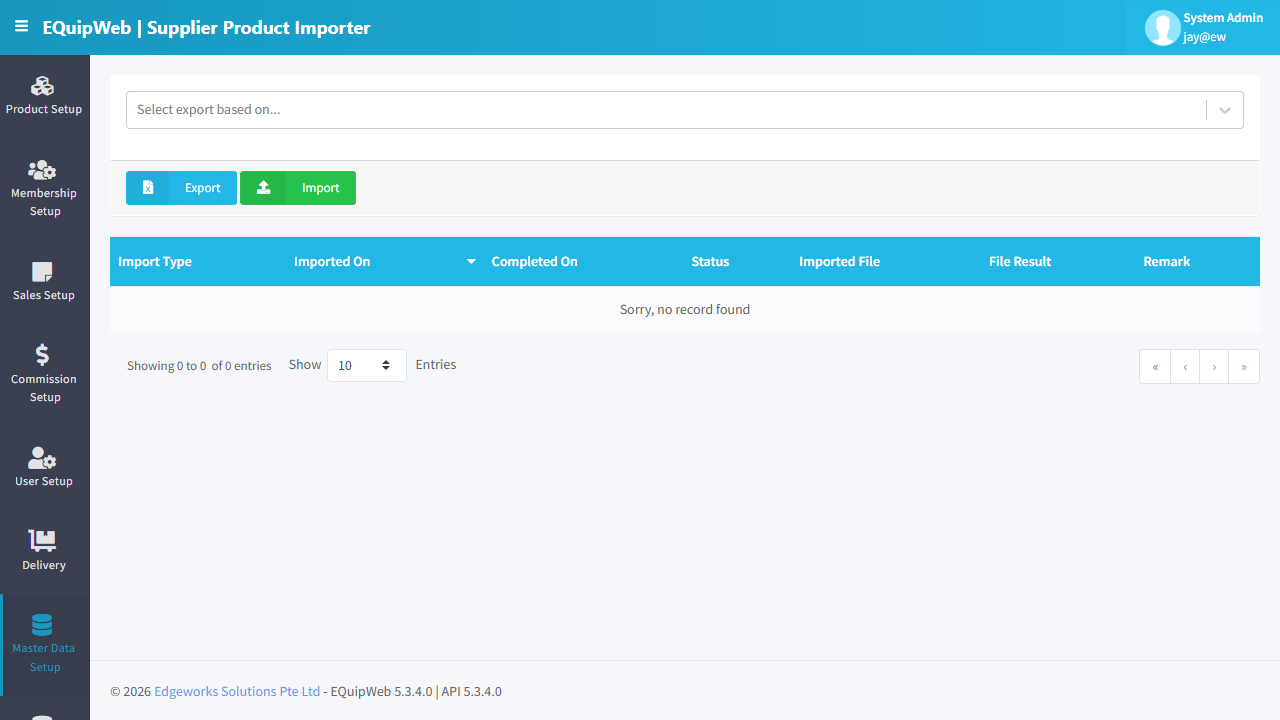 7. Click Upload to process.
- Review results:
- ✅ Created: New supplier-product links created.
- 🔄 Updated: Existing links updated (cost price, lead time, etc.).
- ❌ Error: Invalid ItemNo or SupplierName.
Use Importer to manage and configure this feature in your EQuipWeb system.
10.5.3 Validation Rules
| Rule | Description |
|---|---|
| ItemNo must exist | Must be a valid product in the system |
| SupplierName must exist | Must match a supplier in Supplier Setup |
| CostPrice must be ≥ 0 | Cannot have negative cost prices |
| One product can have multiple suppliers | A product can be sourced from several suppliers |
| IsPreferred → only one per product | Only one supplier can be "preferred" per product |
Use Importer to manage and configure this feature in your EQuipWeb system.
10.5.4 Multi-Supplier Support
One product can have multiple suppliers with different costs:
| ItemNo | Supplier A (Preferred) | Supplier B (Backup) |
|---|---|---|
| I0001 | Cost: $5.50, Lead: 3 days | Cost: $6.00, Lead: 1 day |
When creating a Purchase Order:
- The system defaults to the preferred supplier's cost price.
- You can manually switch to an alternative supplier if needed (e.g., urgent order with faster delivery).
Use Importer to manage and configure this feature in your EQuipWeb system.
💡 Example
Scenario: A retailer sources 300 products from 5 different suppliers and needs to map them all.
Steps:
- Create all 5 suppliers in Supplier Setup (Section 8.8) first.
- Prepare the CSV template with all 300 product-supplier mappings, including cost prices.
- Mark the primary supplier for each product as
IsPreferred = Y. - Import via Supplier Product Importer.
- Now when creating Purchase Orders, the system auto-fills cost prices for each supplier's products.
[!TIP] Keep CostPrice values up-to-date by re-importing periodically when suppliers update their pricing. This ensures Purchase Orders always use the latest costs.
[!IMPORTANT] The SupplierName must exactly match the supplier record (case-sensitive). If "ABC Trading Pte Ltd" is in the system, don't use "ABC Trading" in the CSV — it won't match.
Use Importer to manage and configure this feature in your EQuipWeb system.
Access & Permissions
| Role | View | Create | Edit | Delete |
|---|---|---|---|---|
| Admin | Yes | Yes | Yes | Yes |
| Supervisor | Yes | Yes | Yes | No |
| Cashier | No backend access | — | — | — |
[!NOTE] Exact permissions depend on the Privileges Setup configured for each role. Contact your administrator if you cannot access this page.
Use Importer to manage and configure this feature in your EQuipWeb system.
How to Import Data
- Navigate to Data Importer & Exporter → Supplier Product Importer from the sidebar menu.
-
Click Download Template to get the Excel template with correct column headers.
-
Open the template and fill in your data according to the column headers.
- Save the completed Excel file.
- Click Choose File and select your completed template.
- Click Import to upload and process the file.
- Review the validation results — fix any errors and re-upload if needed.
- Click Confirm Import to finalize.
✅ Expected Result: Data is imported and available in the system.
FAQ
Q: What file format should I use for import? A: Use .xlsx (Excel) format. Download the blank template from the importer page to ensure correct column structure.
Q: Can I undo an import? A: No. Imports cannot be automatically reversed. You would need to manually correct or delete the imported records.
Q: Why does my import show validation errors? A: Check the error details for each row. Common issues include: missing required fields, duplicate codes, invalid date formats, or referencing categories/departments that don't exist yet.
Use Importer to manage and configure this feature in your EQuipWeb system.
Troubleshooting
| Issue | Possible Cause | Solution |
|---|---|---|
| Upload fails with error | File format is not .xlsx or file is corrupted | Download a fresh template, re-enter data, and try again |
| Validation errors on rows | Missing required fields or invalid data format | Check the error details column for specific row issues |
| "Duplicate record" warning | Data already exists in the system | Check if the record exists and decide whether to update or skip |
| Import shows 0 records processed | File is empty or wrong template version | Verify the file has data rows and uses the latest template |
| Error 404 on upload | File too large or server timeout | Split the file into smaller batches (max 500 rows recommended) |
| Data imported but not visible | Filters hiding the new records | Clear all filters and search for the imported records |
Use Importer to manage and configure this feature in your EQuipWeb system.
Related Menus
- Product Setup > Product List — imported product destination
- Membership Setup > Membership List — imported member destination
- Master Data > Supplier Setup — supplier data reference
Use Importer to manage and configure this feature in your EQuipWeb system.
Open Questions / Confirmation Needed
[!NOTE] The following items may vary depending on your system version and configuration:
- Exact permission settings depend on your Privileges Setup configuration
- Sync timing to POS terminals depends on network conditions and sync schedule
- Some features may require additional licensing or module activation
- Field behavior may differ between EQuip versions
If you encounter behavior not described in this manual, contact your system administrator or EQuip support team.
Expected Result: Changes are saved successfully and reflected across the system after the next POS sync.
Field Reference
| Field | Required | Description |
|---|---|---|
| Name / Title | Yes | The display name for this record |
| Status / Active | — | Whether this record is active in the system |
| Created Date | Auto | System-generated creation timestamp |
| Modified Date | Auto | System-generated last modification timestamp |
[!NOTE] Additional fields specific to this page are documented in the sections above. The table above shows common fields present across most pages.
Related Articles
Product Importer
? Backend — EQuipWebRetail ModeData Importer & Exporter Data Importer & Exporter — 11.1 Step-by-step guide to bulk importing products, download template, import modal controls, and troubleshooting import errors Use Importer to manage and configure ...Supplier Setup
? Backend — EQuipWebRetail ModeMaster Data Setup Chapter 8: Master Data Setup — 8.8 Supplier Setup Use Supplier Setup to keep track of your vendors and distributors. Store their contact details, payment terms, and product catalogs here. When you ...Promotion Importer
? Backend — EQuipWebRetail ModeData Importer & Exporter Chapter 10: Data Importer — 10.4 Promotion Importer Use Importer to manage and configure this feature in your EQuipWeb system. Use the Promotion Importer to create or update many promotions at ...Membership Importer
? Backend — EQuipWebRetail ModeData Importer & Exporter Chapter 10: Data Importer — 10.3 Membership Importer Use Importer to manage and configure this feature in your EQuipWeb system. Use the Membership Importer to add many members at once from a ...Material Importer
? Backend — EQuipWebRetail ModeData Importer & Exporter Chapter 11: Data Importer & Exporter — 11.6 Material Importer Use Importer to manage and configure this feature in your EQuipWeb system. Use the Material Importer to upload raw material and ...