Stock Out Reason Setup
Chapter 8: Master Data Setup — 8.10 Stock Out Reason
Use Stock Out Reason to create a list of reasons why stock might be removed — like "Damaged", "Expired", "Sample/Tester", or "Staff Consumption". When staff do a stock-out at the POS or backend, they must select a reason from this list, keeping your records clean.
When to use this: When you need to create or manage the list of reasons staff can select when doing a stock out.
Prerequisites
- No prerequisites — stock out reasons are independent setup
Stock Out Reason List
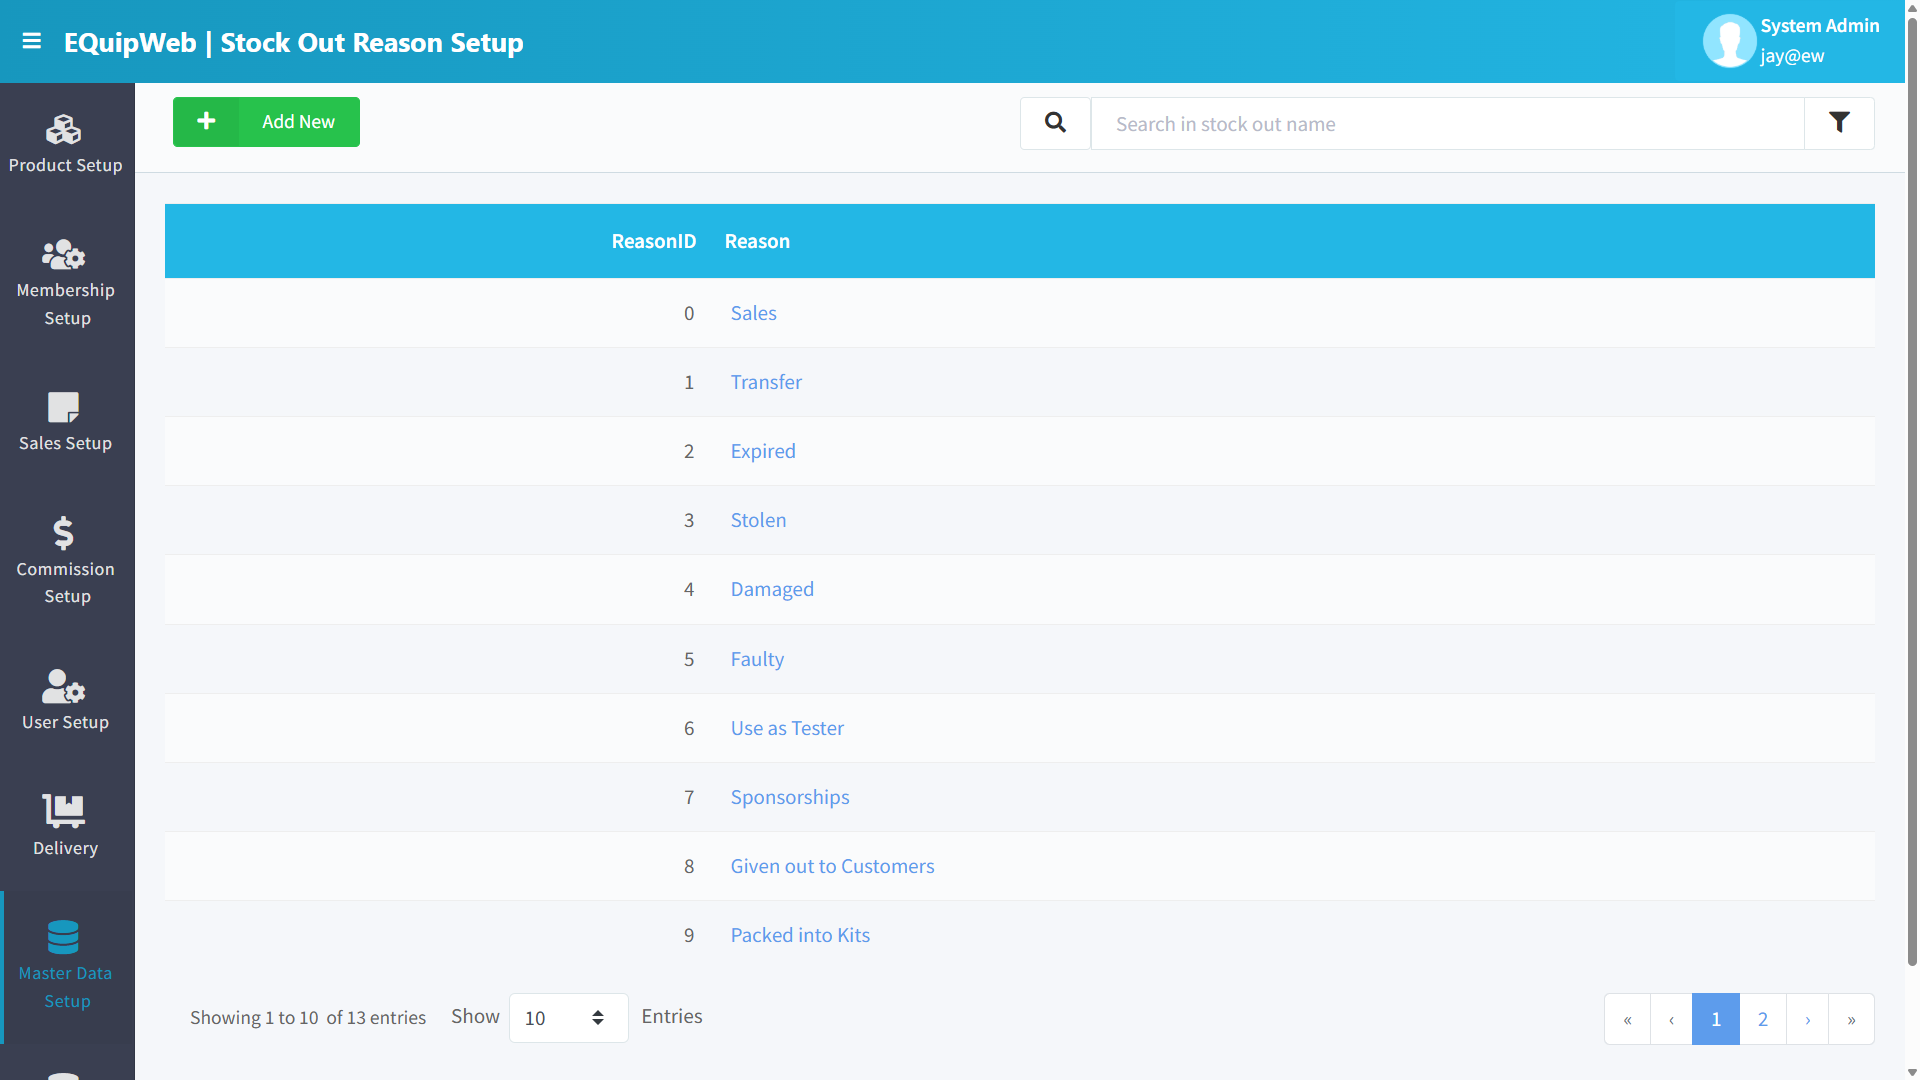
📝 General Description
This is a simple master data page that maintains a list of stock out reasons. These reasons appear as a mandatory dropdown when creating stock out transactions in the Inventory module.
⚙️ UI Elements
| Element | Type | Function |
|---|---|---|
| + Add New | Green Button | Create a new stock out reason |
| Export | Orange Button | Export to Excel |
| Search Bar | Text Input | Filter by reason name |
| 🔽 Filter | Funnel Icon | Show/hide deleted reasons |
8.10.1 Data Grid Columns
| Column | Description |
|---|---|
| Reason Name | Name of the reason (clickable → opens edit form) |
| Description | Additional details about when to use this reason |
| Deleted | Hidden/deleted status |
8.10.2 How to Add a Stock Out Reason
- Navigate to Master Data → Stock Out Reason.
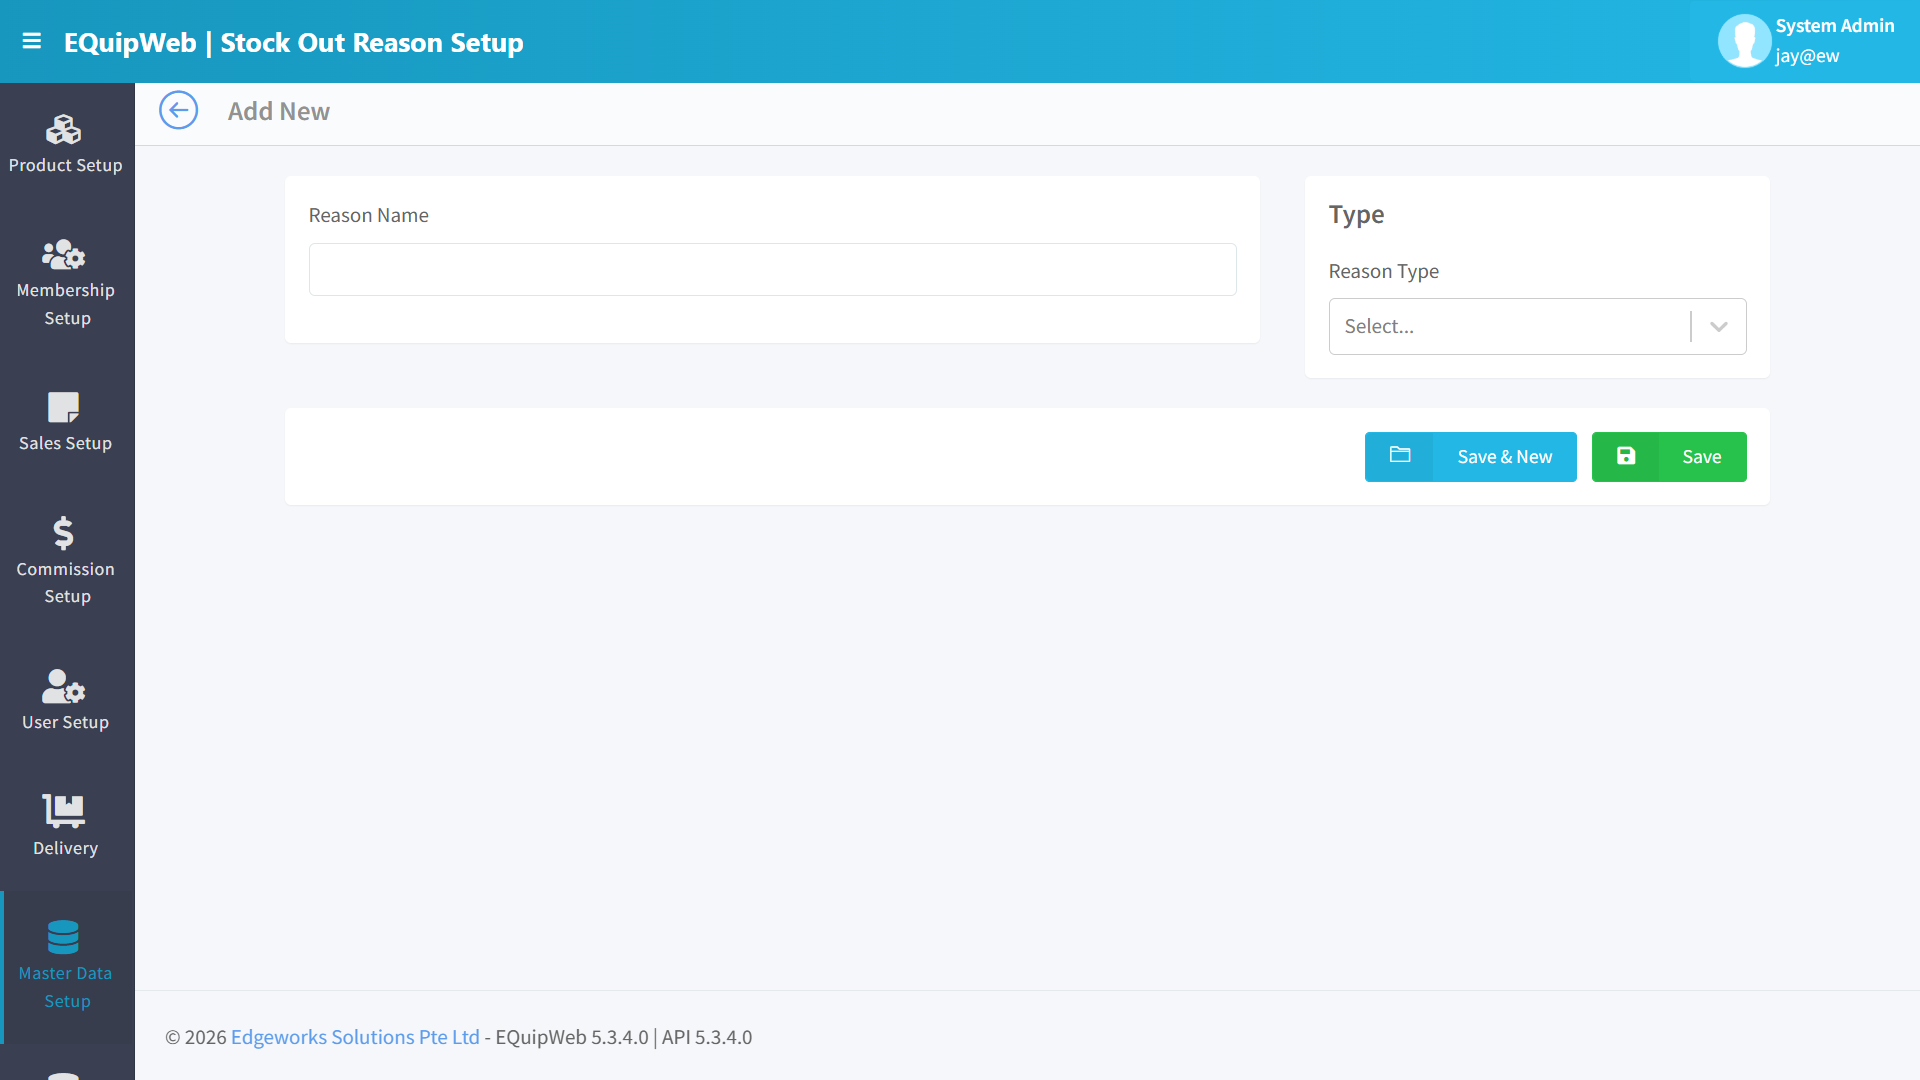 2. Click + Add New.
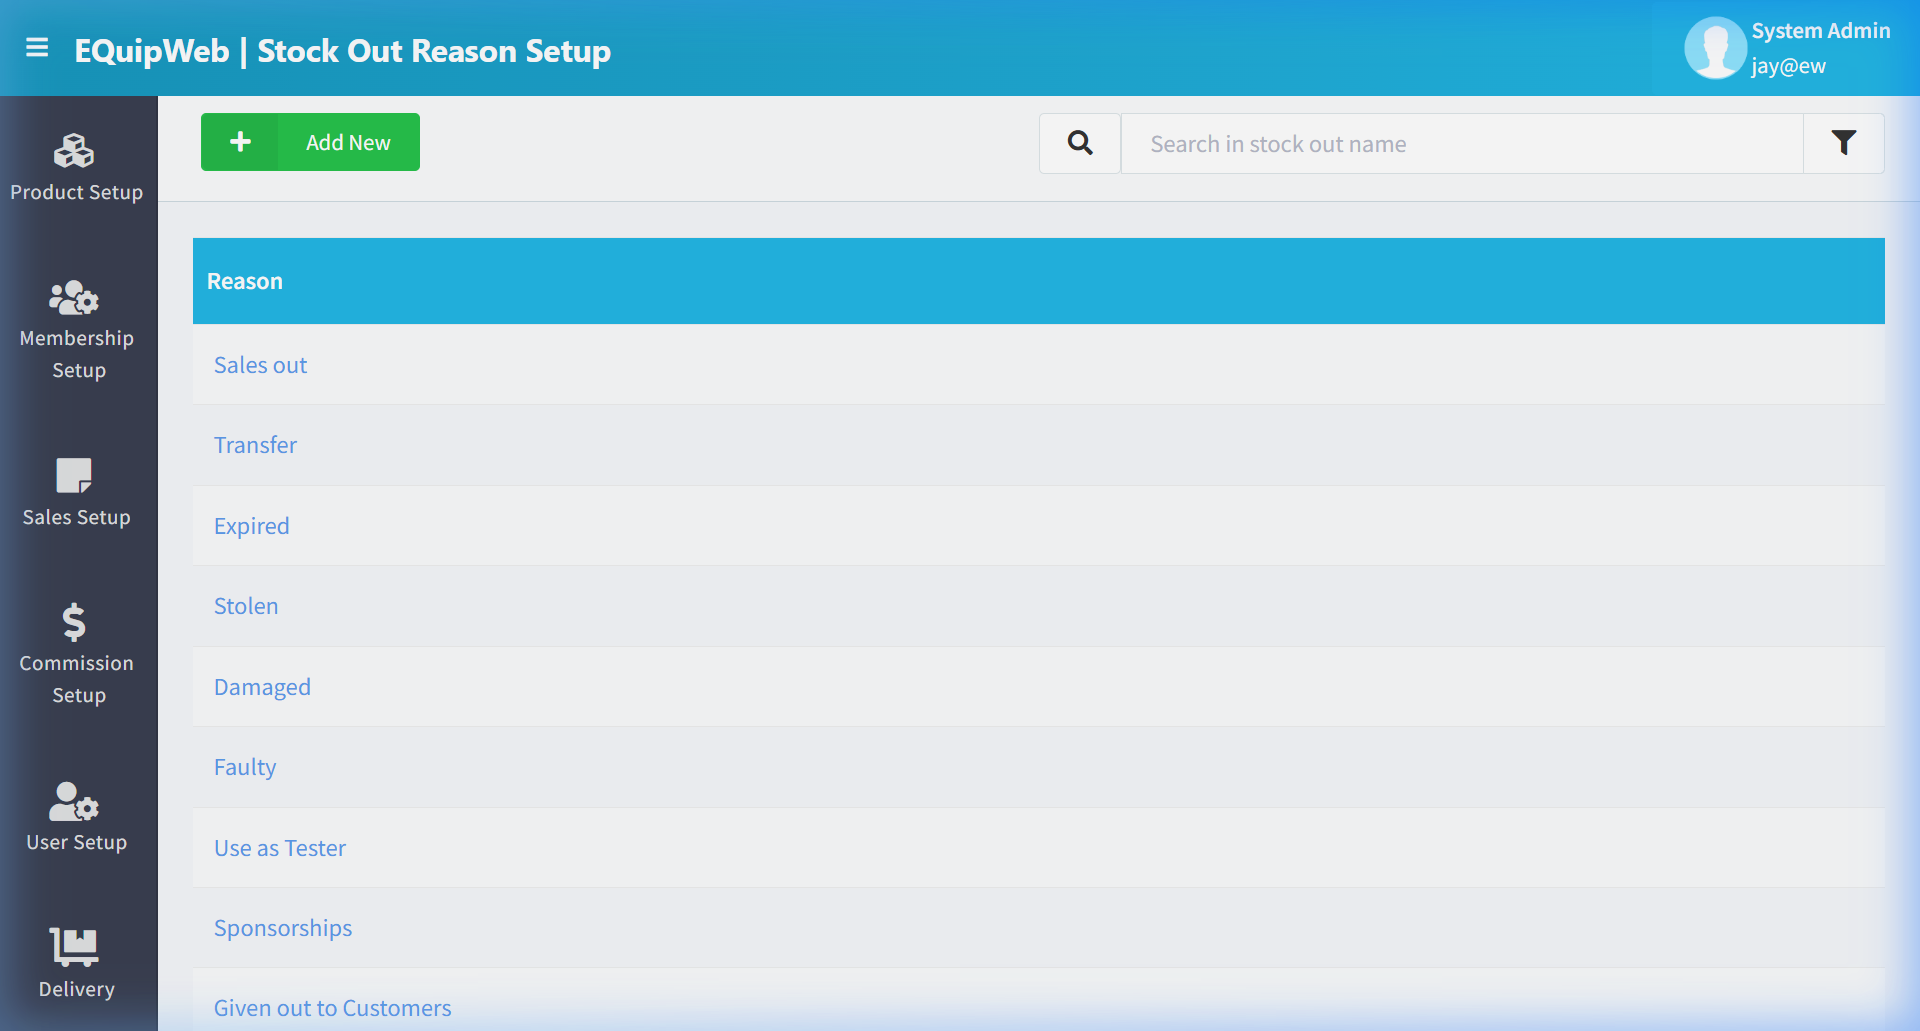
- Enter the Reason Name (e.g., "Damaged Goods", "Expired Products").
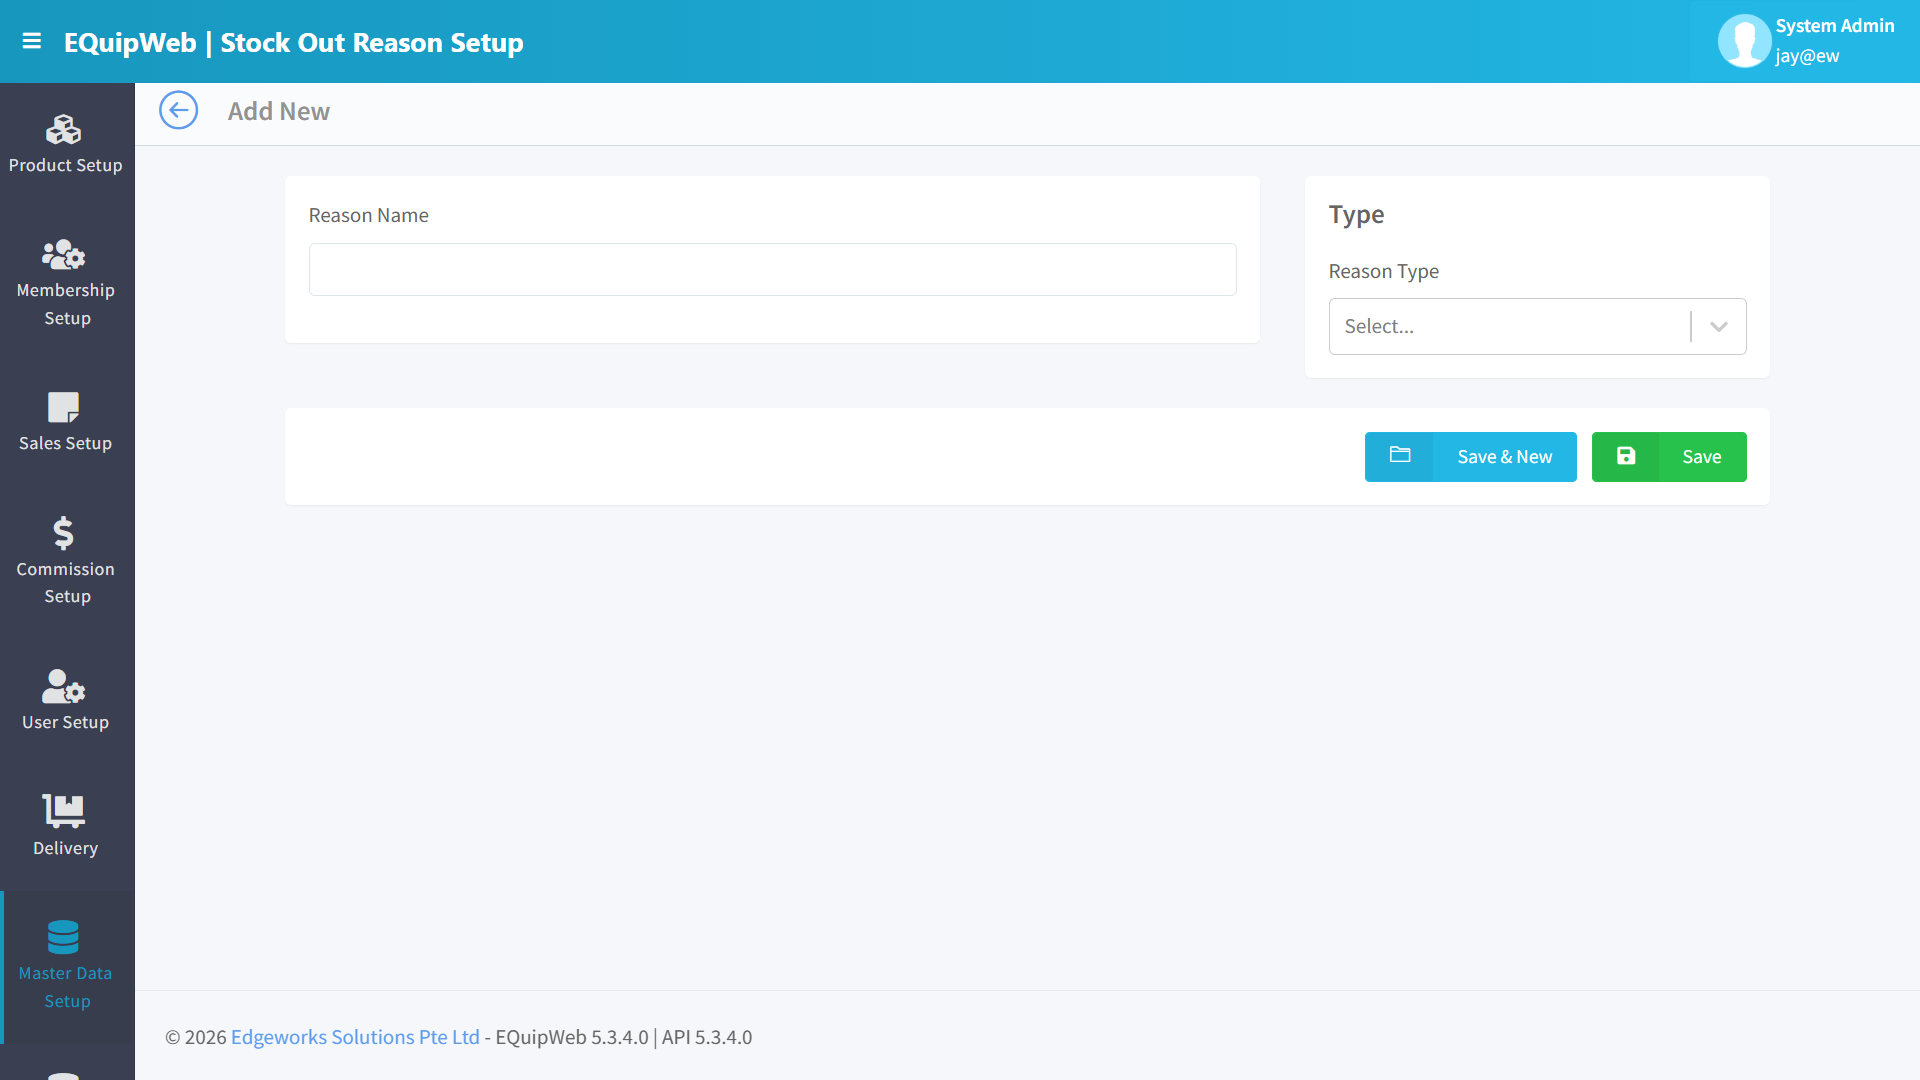 4. Optionally enter a Description explaining when to use this reason.
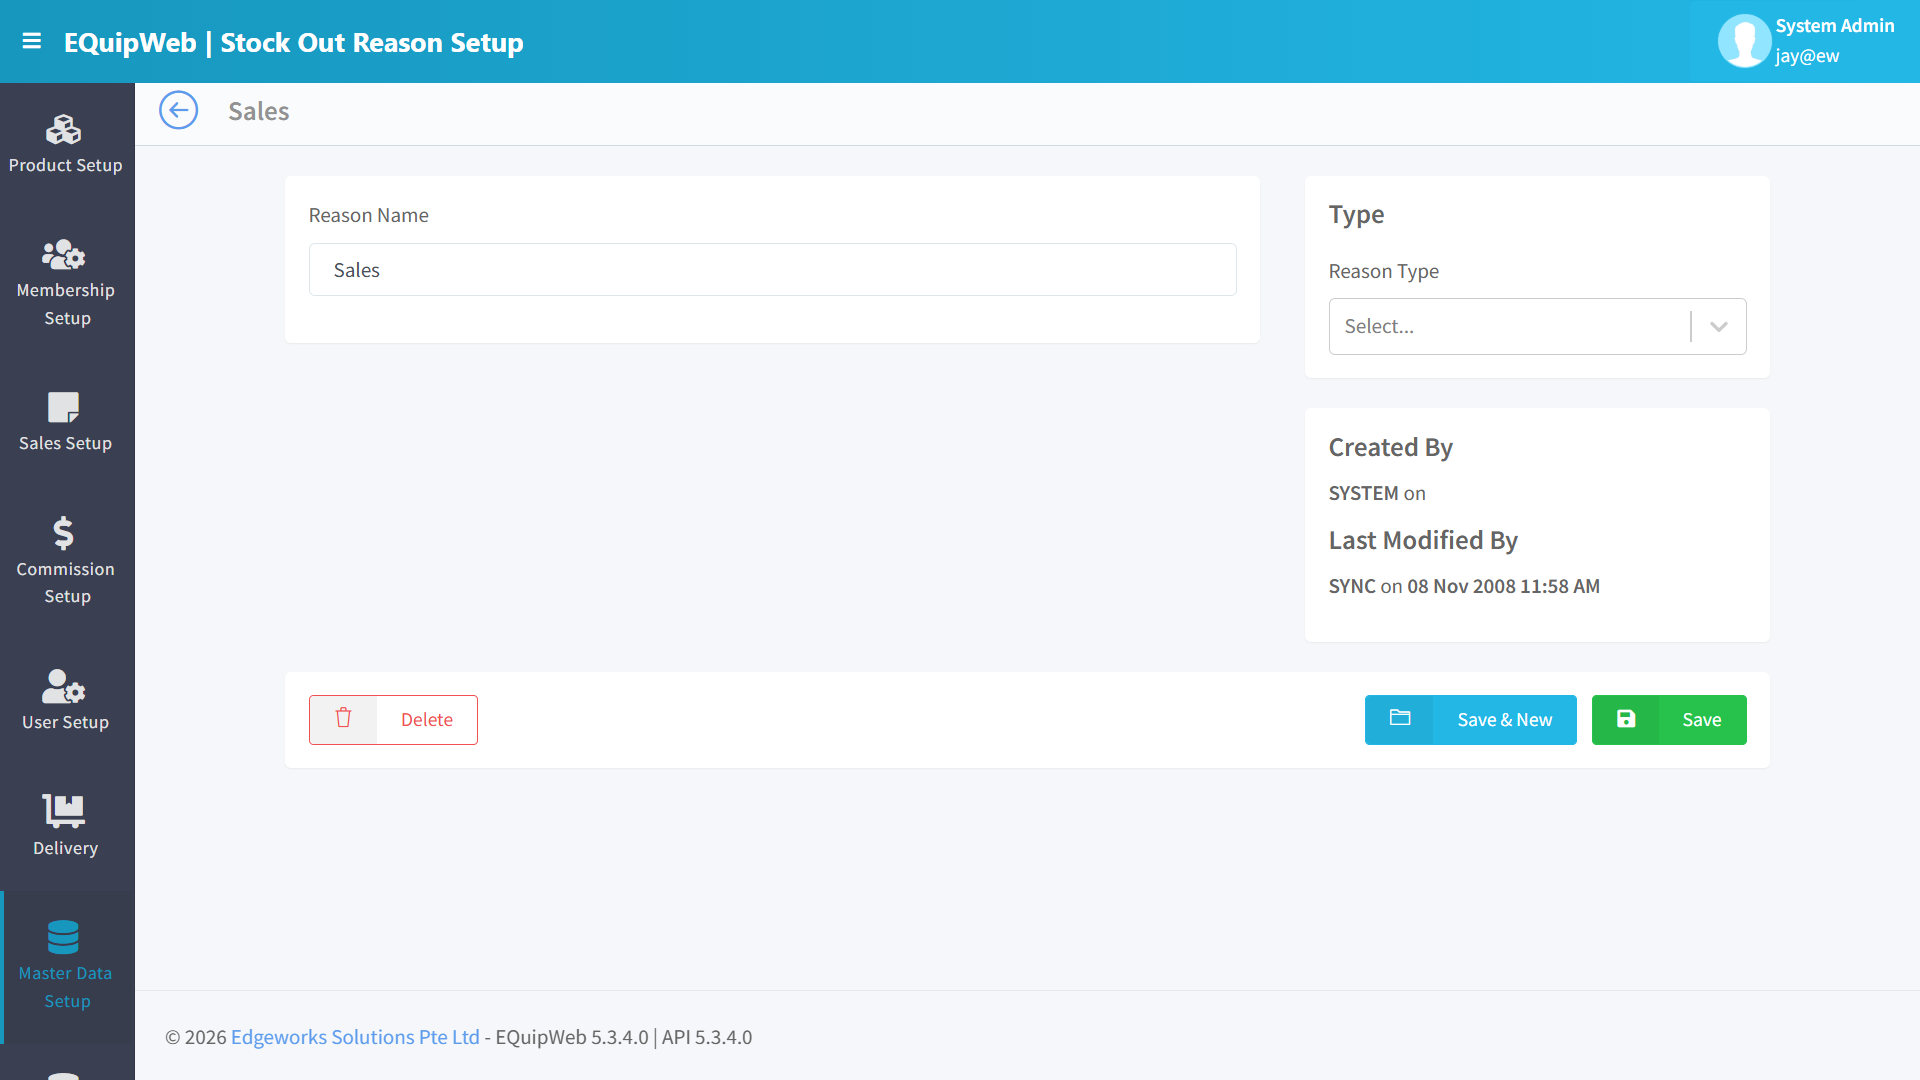 5. Click Save.
Expected Result: The stock out reason is saved.
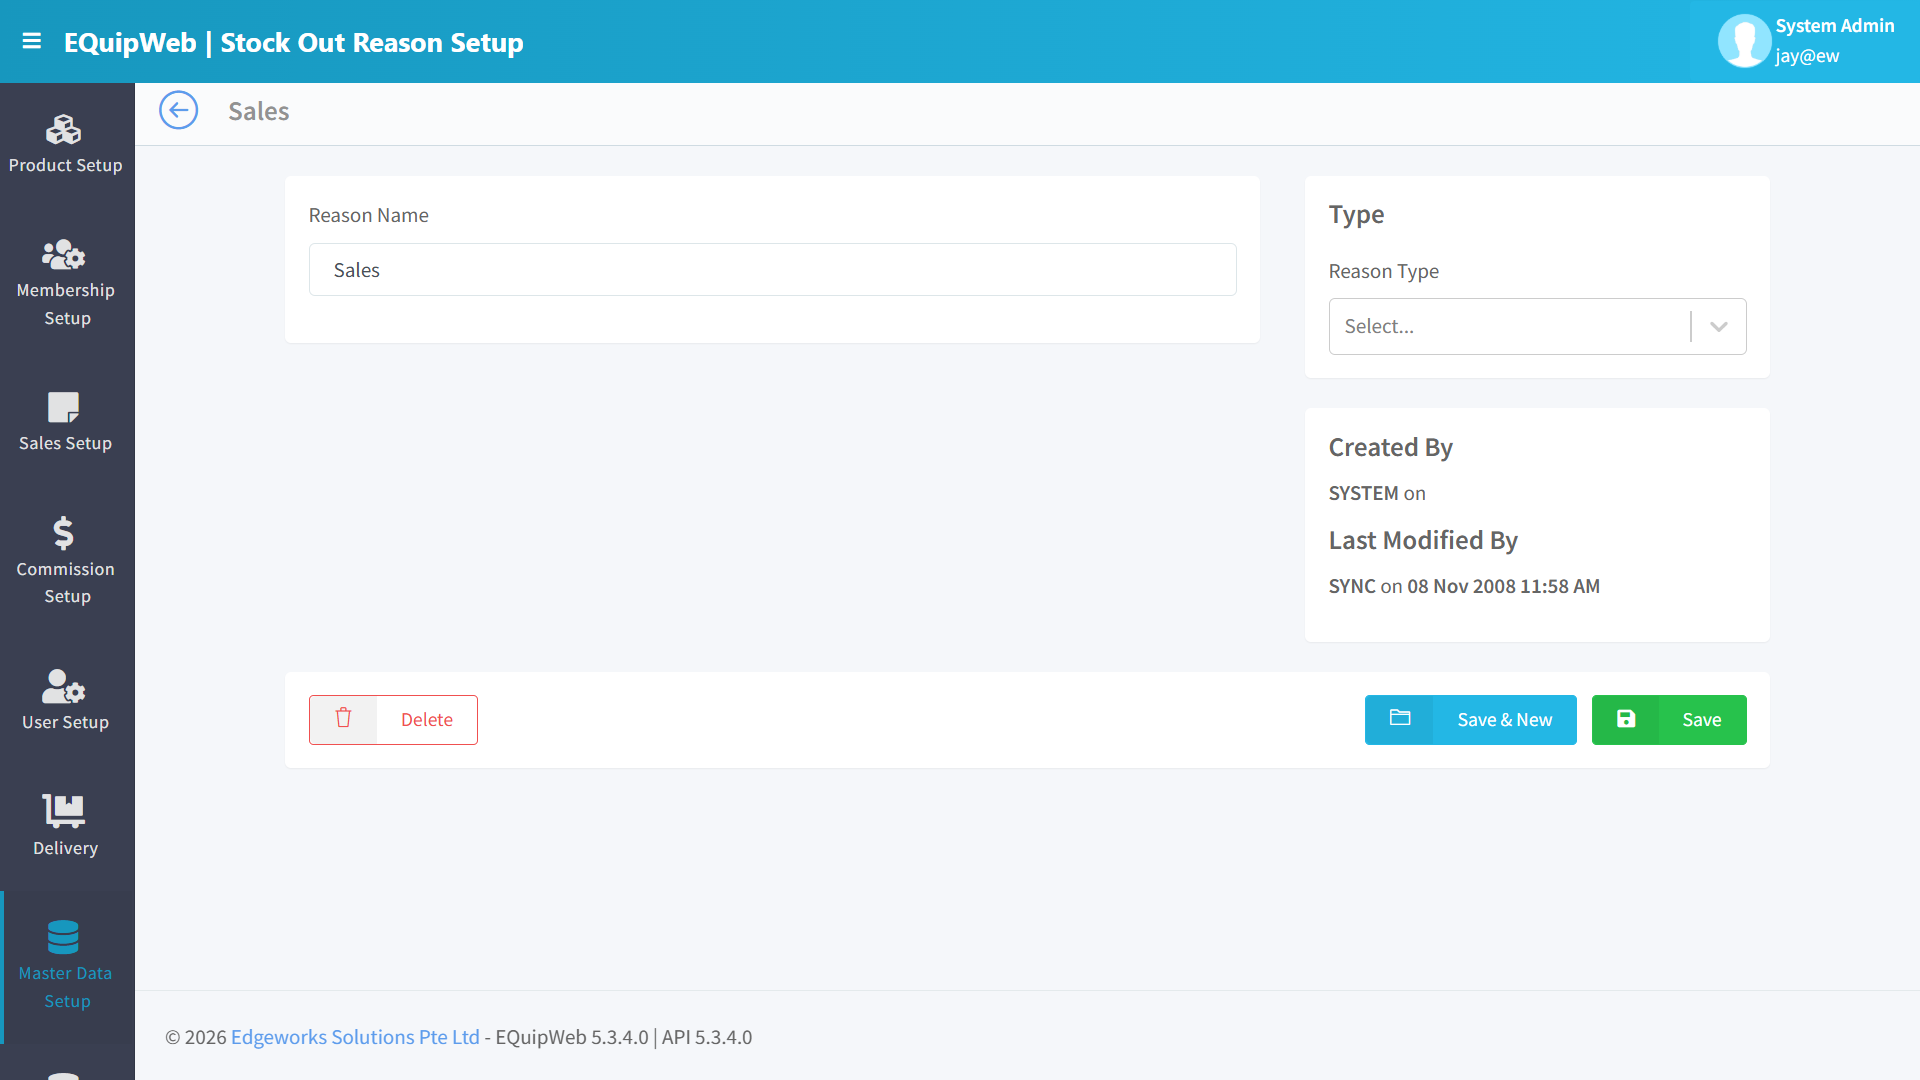
Form Fields
| Field | Type | Required | Description |
|---|---|---|---|
| Reason Name | Text | ✅ Yes | The reason label (e.g., "Damaged", "Expired", "Sample/Tester") |
| Description | Textarea | No | Detailed explanation of the reason |
8.10.3 How to Edit / Delete a Reason
Edit:
- Click on the Reason Name in the data grid.
2. Modify the fields.
3. Click Save.
Delete:
- Open the edit form → Click Delete.
2. The reason is safely deleted and no longer appears in the stock out dropdown.
3. To restore: Filter → Show deleted → Click the reason → Click Restore.
8.10.4 Common Stock Out Reasons
| Reason | When to Use |
|---|---|
| Damaged Goods | Product is physically damaged and unsellable |
| Expired Products | Product has passed its expiry date |
| Sample / Tester | Product is used as a display sample or tester |
| Staff Consumption | Product consumed by staff (e.g., F&B staff meals) |
| Theft / Shrinkage | Stock missing due to suspected theft or unexplained loss |
| Donation | Product donated to charity |
| Return to Supplier | Product returned to the vendor/supplier |
| Transfer Error Correction | Correcting a stock transfer mistake |
💡 Example
Scenario: A cosmetics store needs to track why products are removed from inventory.
Setup:
- Navigate to Stock Out Reason → Click + Add New.
2. Add reasons one by one:
- "Damaged — Broken Packaging" → Save & New
- "Expired Products" → Save & New
- "Tester / Display" → Save & New
- "Staff Purchase (at cost)" → Save & New
- "Return to Supplier" → Save
- Now when warehouse staff does a stock out, they must select one of these reasons — creating an audit trail for inventory shrinkage analysis.
[!TIP] Create specific, descriptive reasons rather than generic ones. "Damaged — Broken Packaging" is more useful for analysis than just "Damaged". This helps identify patterns (e.g., high breakage rates may indicate shipping issues).
[!IMPORTANT] Stock out reasons are required during stock out transactions. If no reasons are configured, staff cannot complete stock out operations. Always have at least 2-3 reasons set up.
Access & Permissions
| Role | View | Create | Edit | Delete |
|---|---|---|---|---|
| Admin | Yes | Yes | Yes | Yes |
| Supervisor | Yes | Yes | Yes | No |
| Cashier | No backend access | — | — | — |
[!NOTE] Exact permissions depend on the Privileges Setup configured for each role. Contact your administrator if you cannot access this page.
How to Add a New Stock Out Reason
- Navigate to Stock Out Reason Setup from the sidebar menu.
-
Click the + Add New button (green button).
-
Fill in the required fields in the form.
-
Fill in any optional fields as needed.
-
Click Save to create the new stock out reason.
✅ Expected Result: The new stock out reason appears in the list and is available for use across the system.
How to Edit a Stock Out Reason
- Navigate to Stock Out Reason Setup from the sidebar menu.
-
Click on the name or code link (blue text) of the record you want to edit.
-
The edit form opens with all current values pre-filled. Modify the fields as needed.
- Click Save to apply your changes.
✅ Expected Result: The stock out reason is updated and changes take effect immediately.
How to Delete a Stock Out Reason
- Navigate to Stock Out Reason Setup from the sidebar menu.
-
Click on the name or code link (blue text) of the record you want to delete.
-
In the edit form, scroll down to the bottom.
- Click the Delete button (red button).
- A confirmation dialog appears — click Yes to confirm.
✅ Expected Result: The stock out reason is soft-deleted — hidden from active lists and POS but can be restored later.
[!WARNING] Records linked to active transactions or other modules cannot be deleted. The system will display an error if deletion is not allowed.
FAQ
Q: Can I delete an outlet that has transaction history? A: You can soft-delete it, but it cannot be permanently removed if it has linked transactions or POS terminals.
Q: Why are changes not showing on the POS terminal? A: The POS needs to sync. Check Terminal Status for the last sync time and trigger a manual sync if needed.
Q: What happens if I change the company name? A: The change will appear on all new receipts after the next POS sync. Existing printed receipts are not affected.
Troubleshooting
| Issue | Possible Cause | Solution |
|---|---|---|
| Cannot save the record | Required fields are empty or invalid | Check all fields marked with * and fill in valid data |
| Record not appearing in POS | POS terminal has not synced yet | Wait for the next sync cycle or manually trigger sync from Terminal Status |
| Cannot delete the record | Record is being used by other modules | Check if the record is linked to active transactions, products, or other settings |
| Changes not taking effect | Browser cache showing old data | Refresh the page (Ctrl+F5) or clear browser cache |
| "Duplicate" error on save | A record with the same name/code already exists | Search the list (including deleted records) for duplicates |
| Page not loading | Session expired or network issue | Log out and log back in. Check your internet connection |
Related Menus
- Product Setup > Product List — products linked to outlets
- User Setup > User List — users assigned to outlets
- Sales Setup > Payment Mode — payment methods per outlet
- Setting > Company Setup — company-wide settings
Open Questions / Confirmation Needed
[!NOTE] The following items may vary depending on your system version and configuration:
- Exact permission settings depend on your Privileges Setup configuration
- Sync timing to POS terminals depends on network conditions and sync schedule
- Some features may require additional licensing or module activation
- Field behavior may differ between EQuip versions
If you encounter behavior not described in this manual, contact your system administrator or EQuip support team.
Related Articles
Webhook Setup
? Backend — EQuipWebRetail ModeSetting Chapter 12: Setting — 12.1 Webhook Setup Use Webhook Setup to send automatic notifications to external systems when something happens in EQuip — like a new sale, a stock update, or a member registration. This ...Stock Template
? Backend — EQuipWebRetail ModeProduct Setup Chapter 2: Product Setup — 2.10 Stock Template Setup Use Stock Template to create reusable ordering lists for restocking. Instead of picking products one by one every time you reorder, create a template ...Outlet Virtual Stock Balance
? Backend — EQuipWebRetail ModeProduct Setup Chapter 2: Product Setup — 2.12 Virtual Stock Use Virtual Stock to set daily quantity limits for products — useful for items you prepare fresh each day (e.g., only 50 croissants available per day). When ...Virtual Stock Importer
? Backend — EQuipWebRetail ModeData Importer & Exporter Chapter 11: Data Importer & Exporter — 11.8 Virtual Stock Importer Use the Virtual Stock Importer to set daily quantity limits for many products at once. If you prepare fresh items each day and ...Privileges Setup
? Backend — EQuipWebRetail ModeUser Setup Chapter 6: User Setup — 6.4 Privileges Setup Use Setup to manage and configure this feature in your EQuipWeb system. Privileges Setup is the master list of all permissions available in the system. Each ...