Webhook Setup
Chapter 12: Setting — 12.1 Webhook Setup
Use Webhook Setup to send automatic notifications to external systems when something happens in EQuip — like a new sale, a stock update, or a member registration. This is useful for connecting EQuip with other business tools.
When to use this: When you want sales, membership, or inventory events to automatically notify your other business tools (e.g., accounting software, chatbots, inventory systems).
Prerequisites
- External endpoint URL available
- IT administrator access required
[!IMPORTANT] This page is typically configured by IT administrators or developers. If you need to add or change a webhook, contact your IT team.
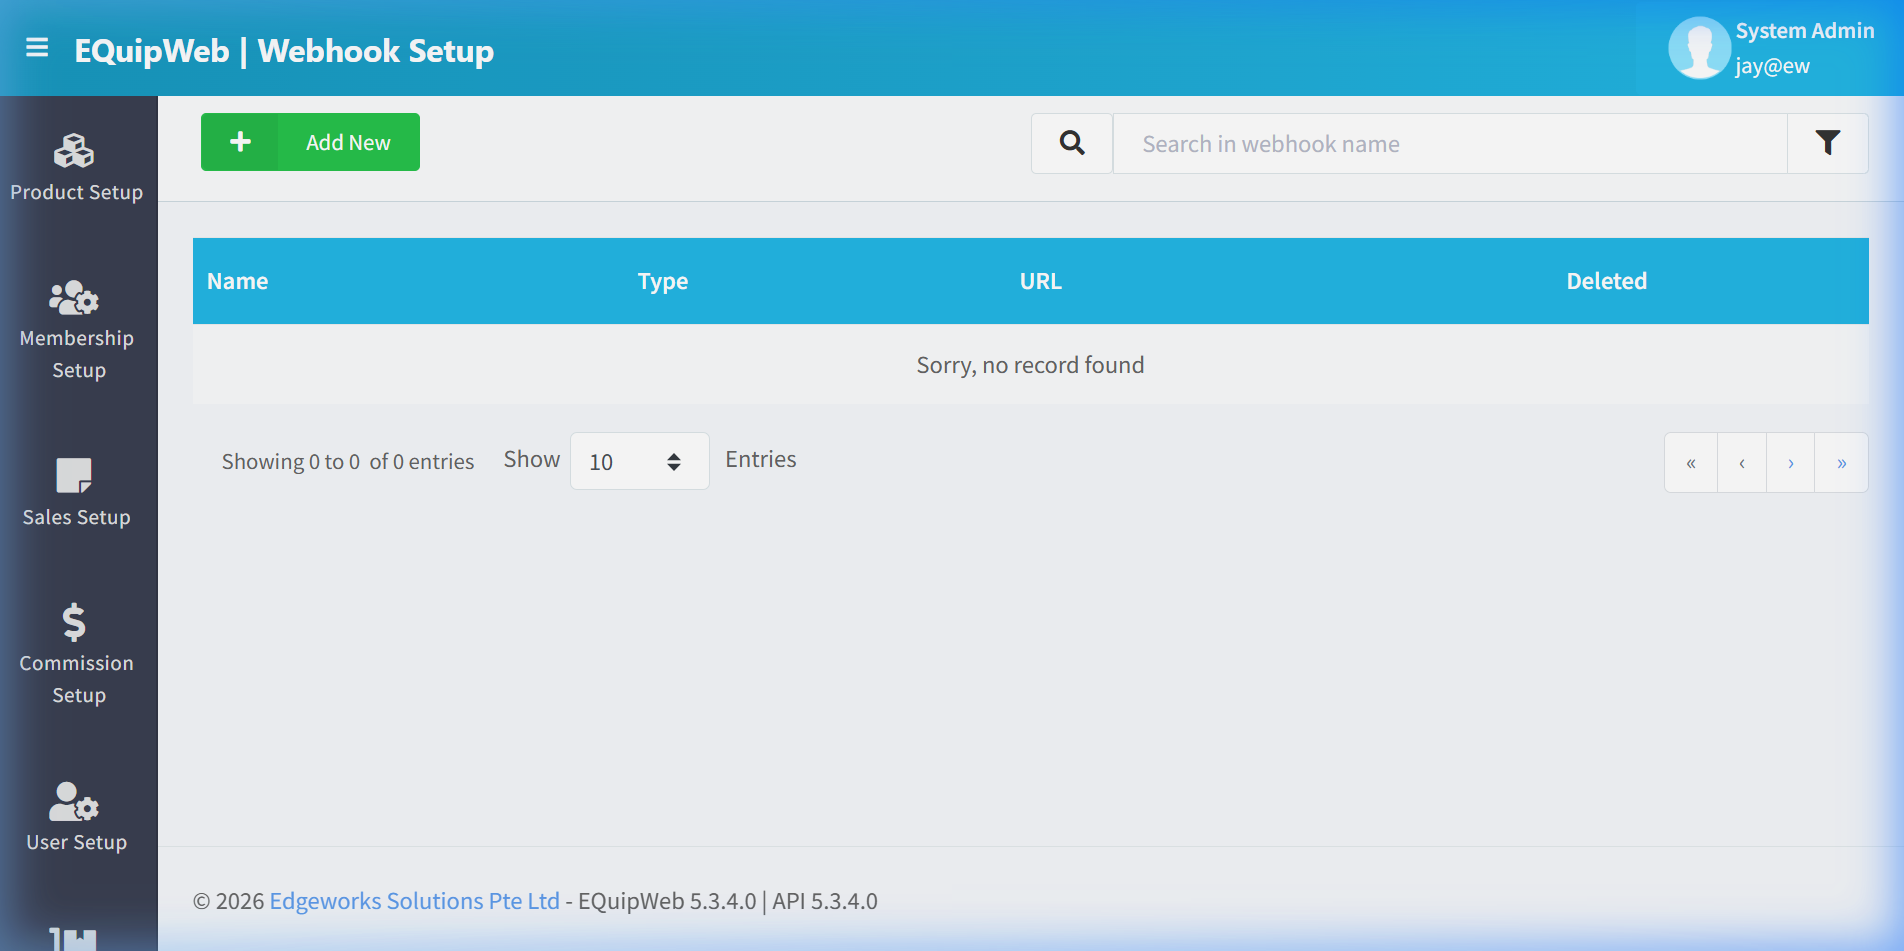
Webhook List
📝 General Description
Webhooks enable real-time integration with external systems. Instead of polling EQuip for data, external systems receive automatic updates when events occur. Common use cases include syncing sales to accounting software, notifying a chatbot of new orders, or triggering inventory alerts.
⚙️ UI Elements
| Element | Type | Function |
|---|---|---|
| + Add New | Green Button | Create a new webhook |
| Search Bar | Text Input | Filter by webhook name |
12.1.1 How to Create a Webhook
- Navigate to Setting → Webhook Setup.
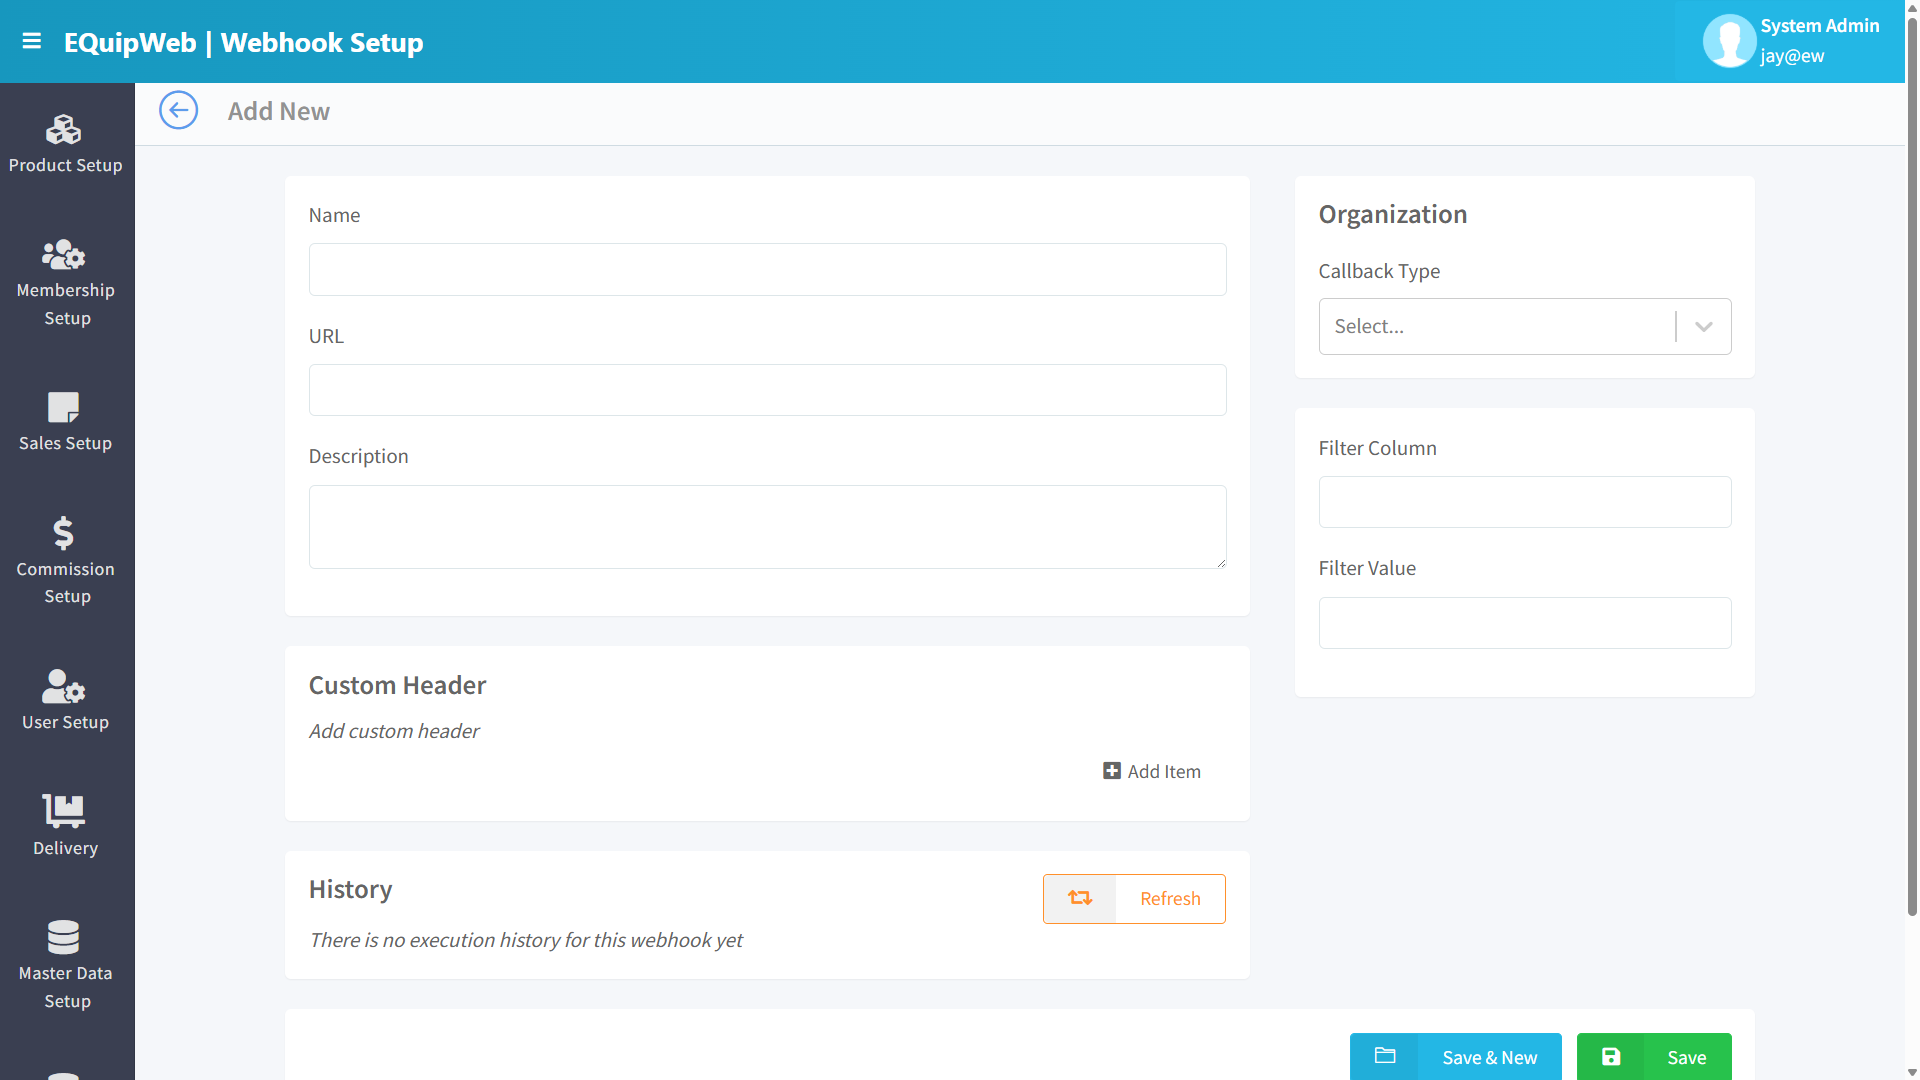 2. Click + Add New.
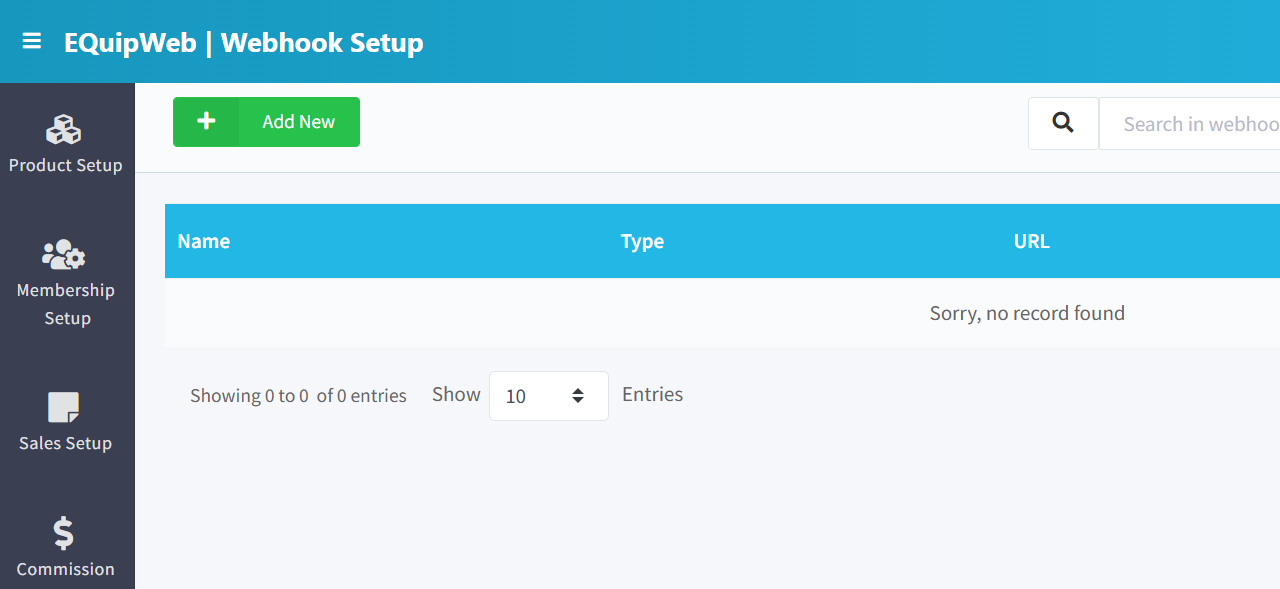
- Fill in:
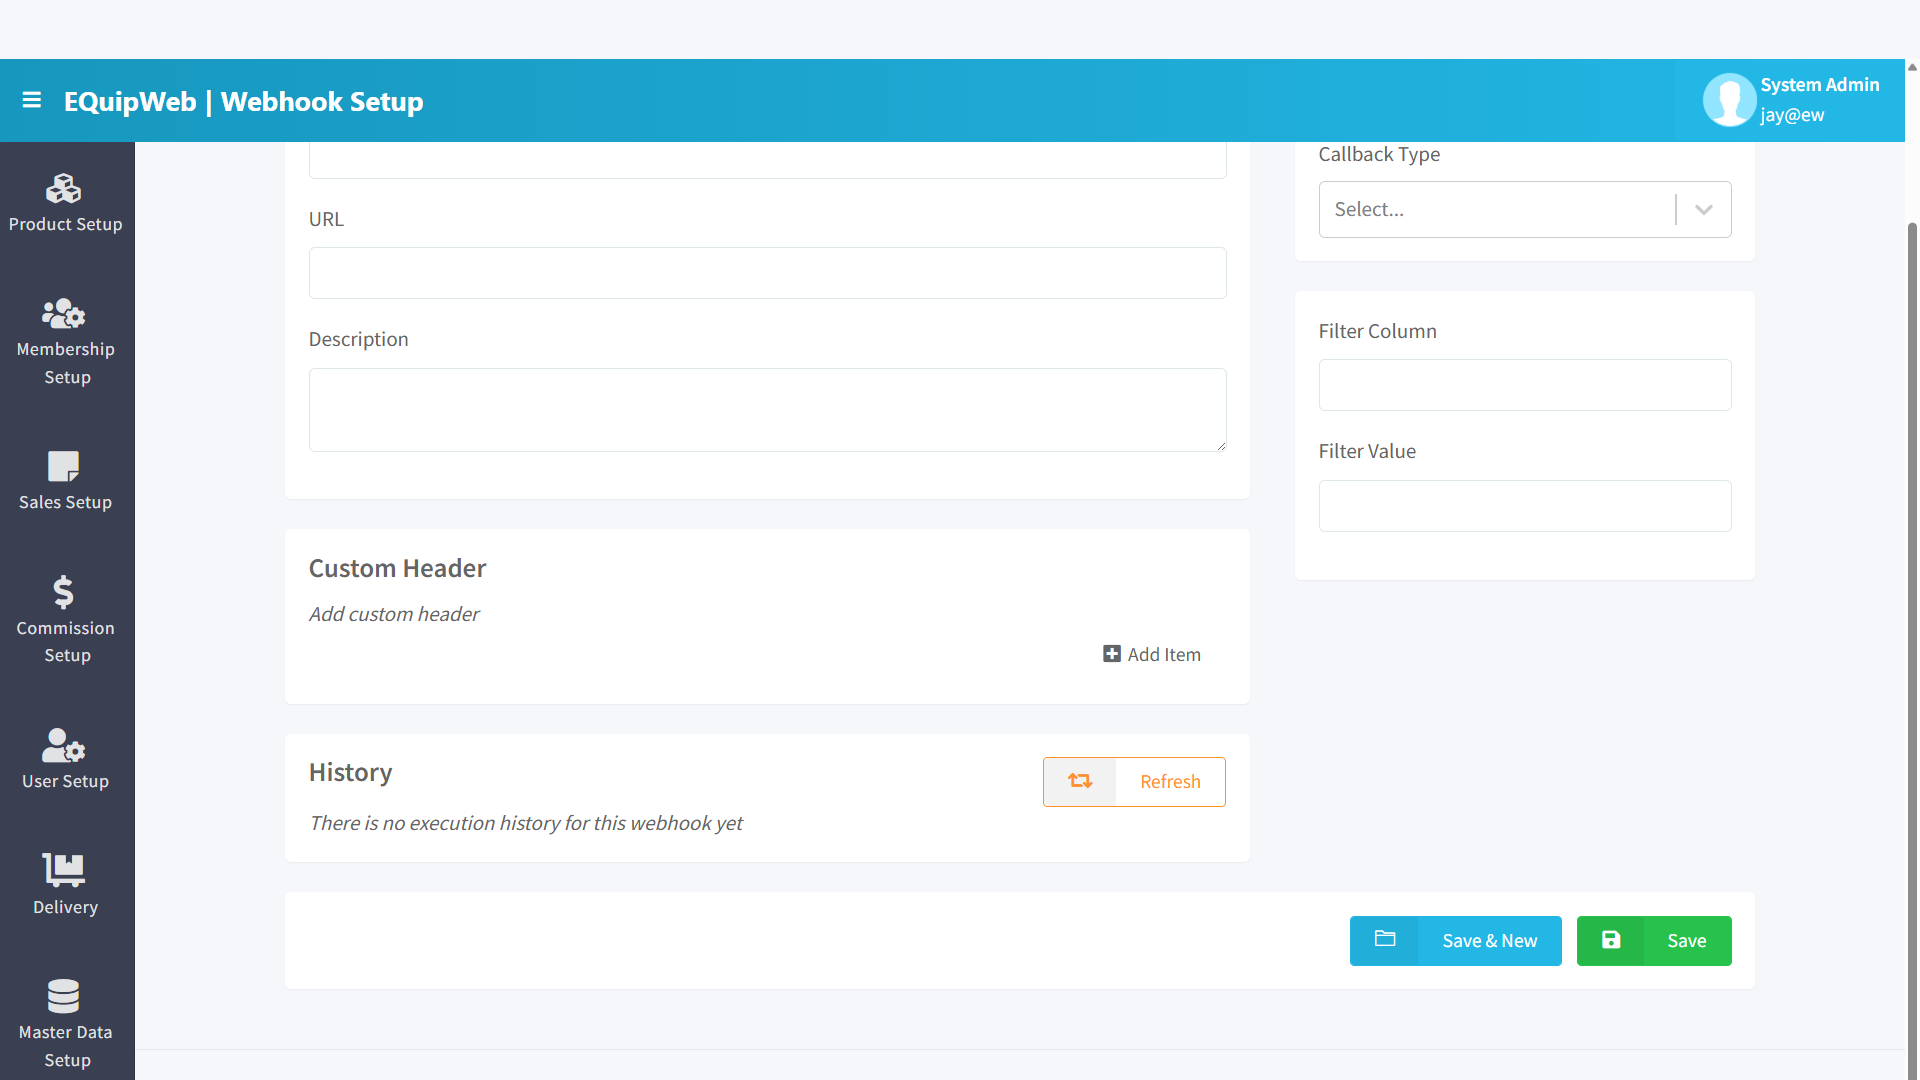
- Webhook Name: Descriptive name (e.g., "Sales → Xero Sync").
- URL: The endpoint URL to receive the webhook POST (e.g.,
https://your-app.com/api/webhook). - Event Type: Select the trigger event.
- Method: POST (default) or PUT.
- Headers: Optional HTTP headers (e.g.,
Authorization: Bearer token123).
- Toggle Enabled → ON.
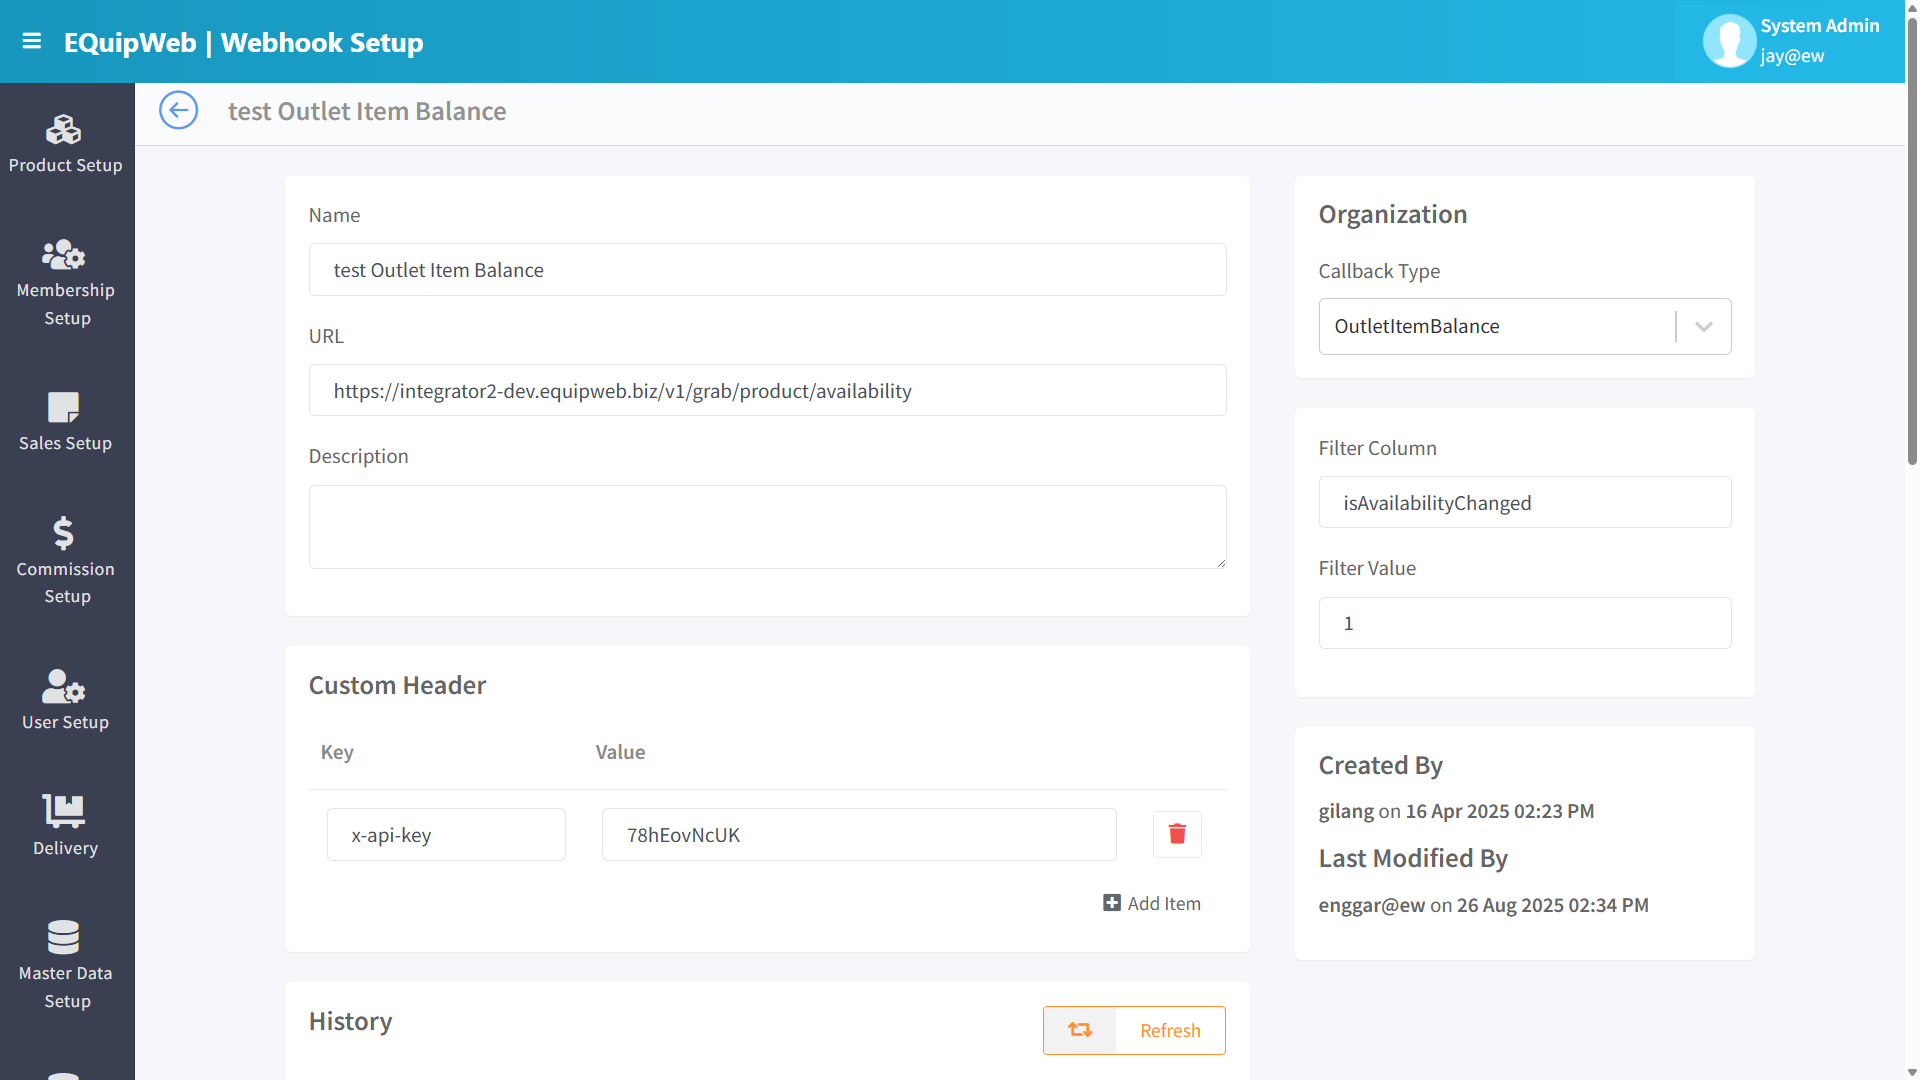 5. Click Save.
Expected Result: The webhook is saved and active.
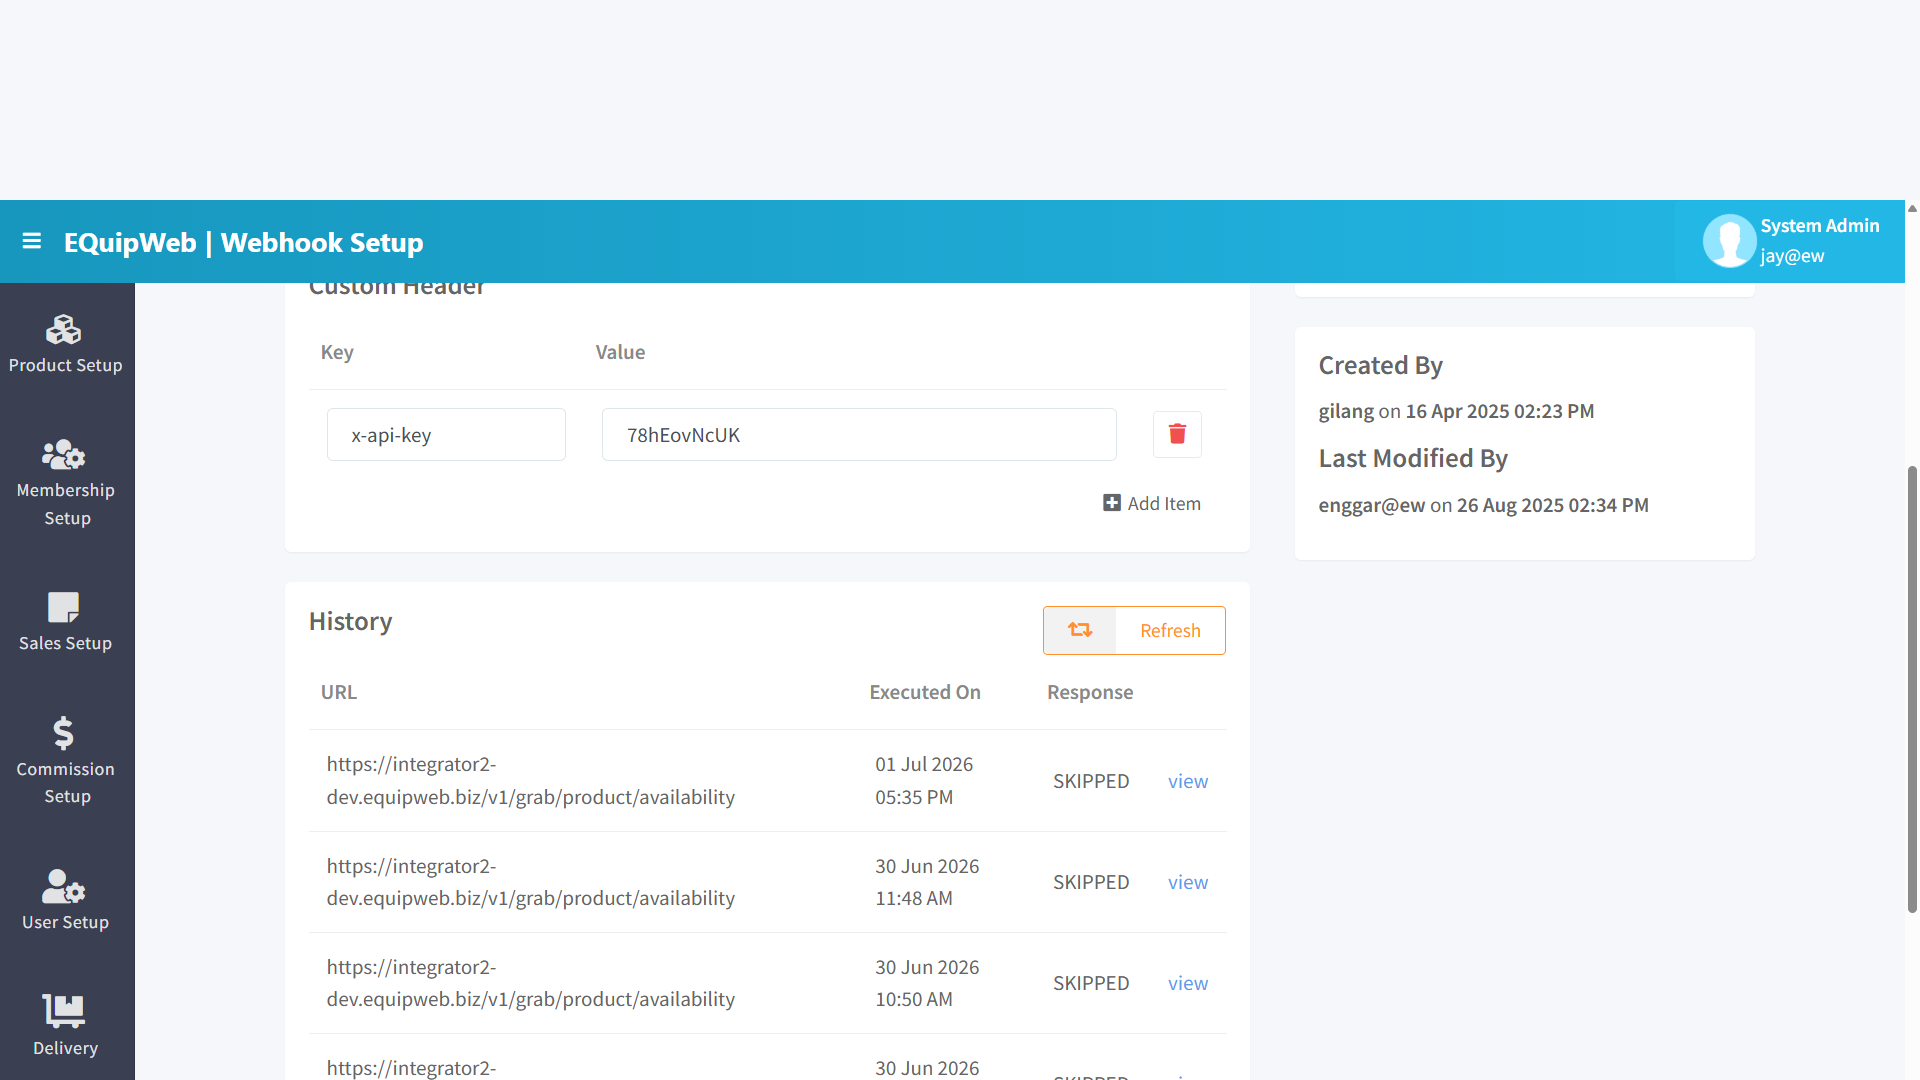
Form Fields
| Field | Type | Required | Description |
|---|---|---|---|
| Webhook Name | Text | ✅ Yes | Descriptive name for internal reference |
| URL | URL | ✅ Yes | Endpoint URL to receive the webhook payload |
| Event Type | Dropdown | ✅ Yes | Trigger event (see event types below) |
| HTTP Method | Dropdown | No | POST (default) or PUT |
| Headers | Key-Value | No | Custom HTTP headers (e.g., Authorization) |
| Enabled | Toggle | No | Enable/disable this webhook |
| Retry on Failure | Toggle | No | Retry failed webhook deliveries (up to 3 attempts) |
12.1.2 Supported Event Types
| Event | Triggered When | Payload Contains |
|---|---|---|
| Sale Completed | A POS sale is finalized and synced | Transaction details, items, amounts, payment methods |
| Member Created | A new member is registered | Member details, group, contact info |
| Member Updated | An existing member's data is changed | Updated member details |
| Stock Alert | A product's stock falls below the low quantity threshold | Product details, current stock, threshold |
| Order Received | A QR ordering/online order is placed | Order details, items, delivery info |
| Stock In | Goods received / stock in is confirmed | Items, quantities, location |
| Stock Out | Stock out is confirmed | Items, quantities, reason |
12.1.3 How to Edit / Delete a Webhook
Edit:
- Click the Webhook Name in the list.
2. Update the URL, event type, or headers.
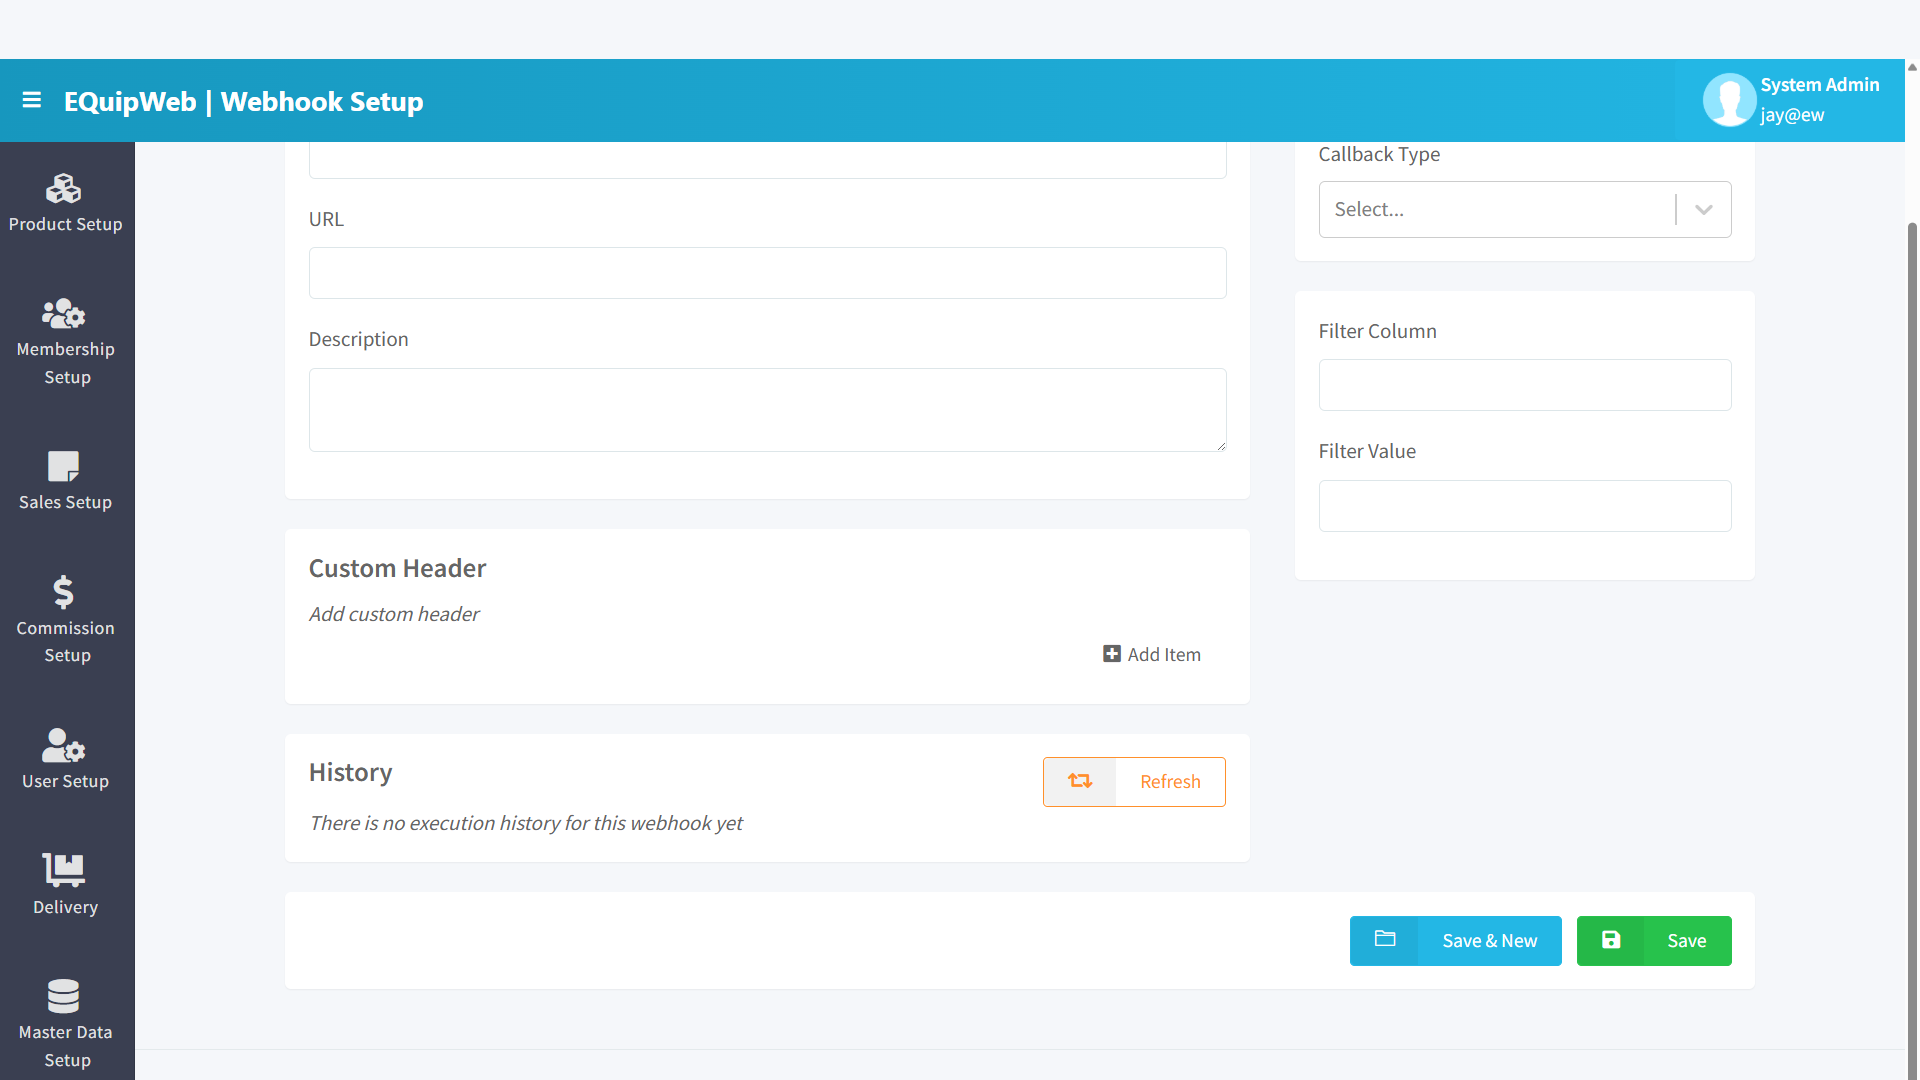 3. Click Save.
Delete:
- Open the edit form → Click Delete.
2. The webhook is removed and no further notifications are sent.
12.1.4 How to Test a Webhook
- Create the webhook with your target URL.
- Use a testing service (e.g., webhook.site) as the URL during testing.
- Trigger the event in the system (e.g., make a test sale).
- Check the testing service to verify the payload was received.
5. Once confirmed, update the URL to your production endpoint.
12.1.5 Webhook Payload Example
Event: Sale Completed
{
  "event": "sale_completed",
  "timestamp": "2026-06-28T15:30:00+08:00",
  "data": {
    "transactionNo": "INV-2026-001234",
    "outlet": "ION Orchard",
    "pos": "ION-POS1",
    "cashier": "jay@ew",
    "totalAmount": 45.90,
    "paymentMethod": "VISA",
    "items": [
      { "itemNo": "I0001", "name": "Bubble Tea", "qty": 2, "price": 5.50 },
      { "itemNo": "I0050", "name": "T-Shirt", "qty": 1, "price": 34.90 }
    ]
  }
}
💡 Tips
[!TIP] Enable Retry on Failure for critical webhooks (e.g., sales sync to accounting). This ensures data isn't lost if the target server is temporarily unavailable.
[!WARNING] Keep webhook Headers secure. If your endpoint requires authentication, use environment-specific tokens and rotate them regularly.
[!IMPORTANT] Webhooks are sent in the background — they don't block the original operation. A failed webhook delivery does not prevent the sale from completing.
Access & Permissions
| Role | View | Create | Edit | Delete |
|---|---|---|---|---|
| IT Administrator | Yes | Yes | Yes | Yes |
| Admin | View only | No | No | No |
| Supervisor / Cashier | No access | — | — | — |
[!WARNING] This page is intended for IT administrators only. Incorrect configuration may affect system connectivity. Contact your IT team for changes.
Business Rules
- Records that are linked to active transactions or other modules cannot be permanently deleted
- Changes made here will take effect on POS terminals after the next sync
- Deleted records can be restored from the list using the Show Deleted filter
- All changes are logged with the user who made them and the timestamp
How to Add a New Webhook
- Navigate to Webhook Setup from the sidebar menu.
-
Click the + Add New button (green button).
-
Fill in the required fields in the form.
-
Fill in any optional fields as needed.
-
Click Save to create the new webhook.
✅ Expected Result: The new webhook appears in the list and is available for use across the system.
How to Edit a Webhook
- Navigate to Webhook Setup from the sidebar menu.
-
Click on the name or code link (blue text) of the record you want to edit.
-
The edit form opens with all current values pre-filled. Modify the fields as needed.
- Click Save to apply your changes.
✅ Expected Result: The webhook is updated and changes take effect immediately.
How to Delete a Webhook
- Navigate to Webhook Setup from the sidebar menu.
-
Click on the name or code link (blue text) of the record you want to delete.
-
In the edit form, scroll down to the bottom.
- Click the Delete button (red button).
- A confirmation dialog appears — click Yes to confirm.
✅ Expected Result: The webhook is soft-deleted — hidden from active lists and POS but can be restored later.
[!WARNING] Records linked to active transactions or other modules cannot be deleted. The system will display an error if deletion is not allowed.
FAQ
Q: Why are my setting changes not taking effect on POS? A: Settings need to sync to POS terminals. Check Terminal Status for sync timing, or trigger a manual sync.
Q: Can I revert a setting change? A: Yes. Simply toggle the setting back to its previous value and save. Changes take effect after the next POS sync.
Q: Who should configure these settings? A: Most settings should be configured by an administrator. Pages marked as "IT Admin only" (App Command, Webhook) require technical knowledge.
Troubleshooting
| Issue | Possible Cause | Solution |
|---|---|---|
| Setting changes not reflected in POS | POS has not synced since the change | Trigger a manual sync or wait for the next automatic sync |
| Toggle not saving | Page not fully loaded or session expired | Refresh the page and try again. Re-login if needed |
| Cannot access this setting | Insufficient permissions | Contact your administrator to check your role privileges |
| Setting reverts after saving | Conflicting setting in another module | Check related settings pages for overriding configurations |
| Page shows blank or error | Browser compatibility issue | Try a different browser (Chrome recommended) or clear cache |
Related Menus
- Master Data > Company Setup — company information
- User Setup > Privileges Setup — permission configuration
- Master Data > POS Setup — POS terminal settings
Open Questions / Confirmation Needed
[!NOTE] The following items may vary depending on your system version and configuration:
- Exact permission settings depend on your Privileges Setup configuration
- Sync timing to POS terminals depends on network conditions and sync schedule
- Some features may require additional licensing or module activation
- Field behavior may differ between EQuip versions
If you encounter behavior not described in this manual, contact your system administrator or EQuip support team.
Related Articles
Feature Setup
? Backend — EQuipWebRetail ModeSetting Setting — 12.5 Feature Setup: Toggle product features, pricing display, and system options Use Feature Setup to turn features on or off across your system. Each feature has a simple toggle switch — flip it ON ...Company Setup (Settings)
Chapter 12: Setting — 12.9 Company Setup (System Level) Use Setup to manage and configure this feature in your EQuipWeb system. Use Company Setup (under Settings) to configure system-wide business settings — like your GST registration number, ...Privileges Setup
? Backend — EQuipWebRetail ModeUser Setup Chapter 6: User Setup — 6.4 Privileges Setup Use Setup to manage and configure this feature in your EQuipWeb system. Privileges Setup is the master list of all permissions available in the system. Each ...Company Setup
? Backend — EQuipWebRetail ModeMaster Data Setup Chapter 8: Master Data Setup — 8.9 Company Setup Use Company Setup (under Master Data) to enter your company's official business details — company name, registration number, address, and contact ...Role Setup
? Backend — EQuipWebRetail ModeUser Setup Chapter 6: User Setup — 6.2 Role Setup Use Role Setup to create job roles for your team — like "Cashier", "Supervisor", "Manager", or "Admin". Each role determines what a user can see and do in the system. ...