Company Setup (Settings)
Chapter 12: Setting — 12.9 Company Setup (System Level)
Use Setup to manage and configure this feature in your EQuipWeb system.
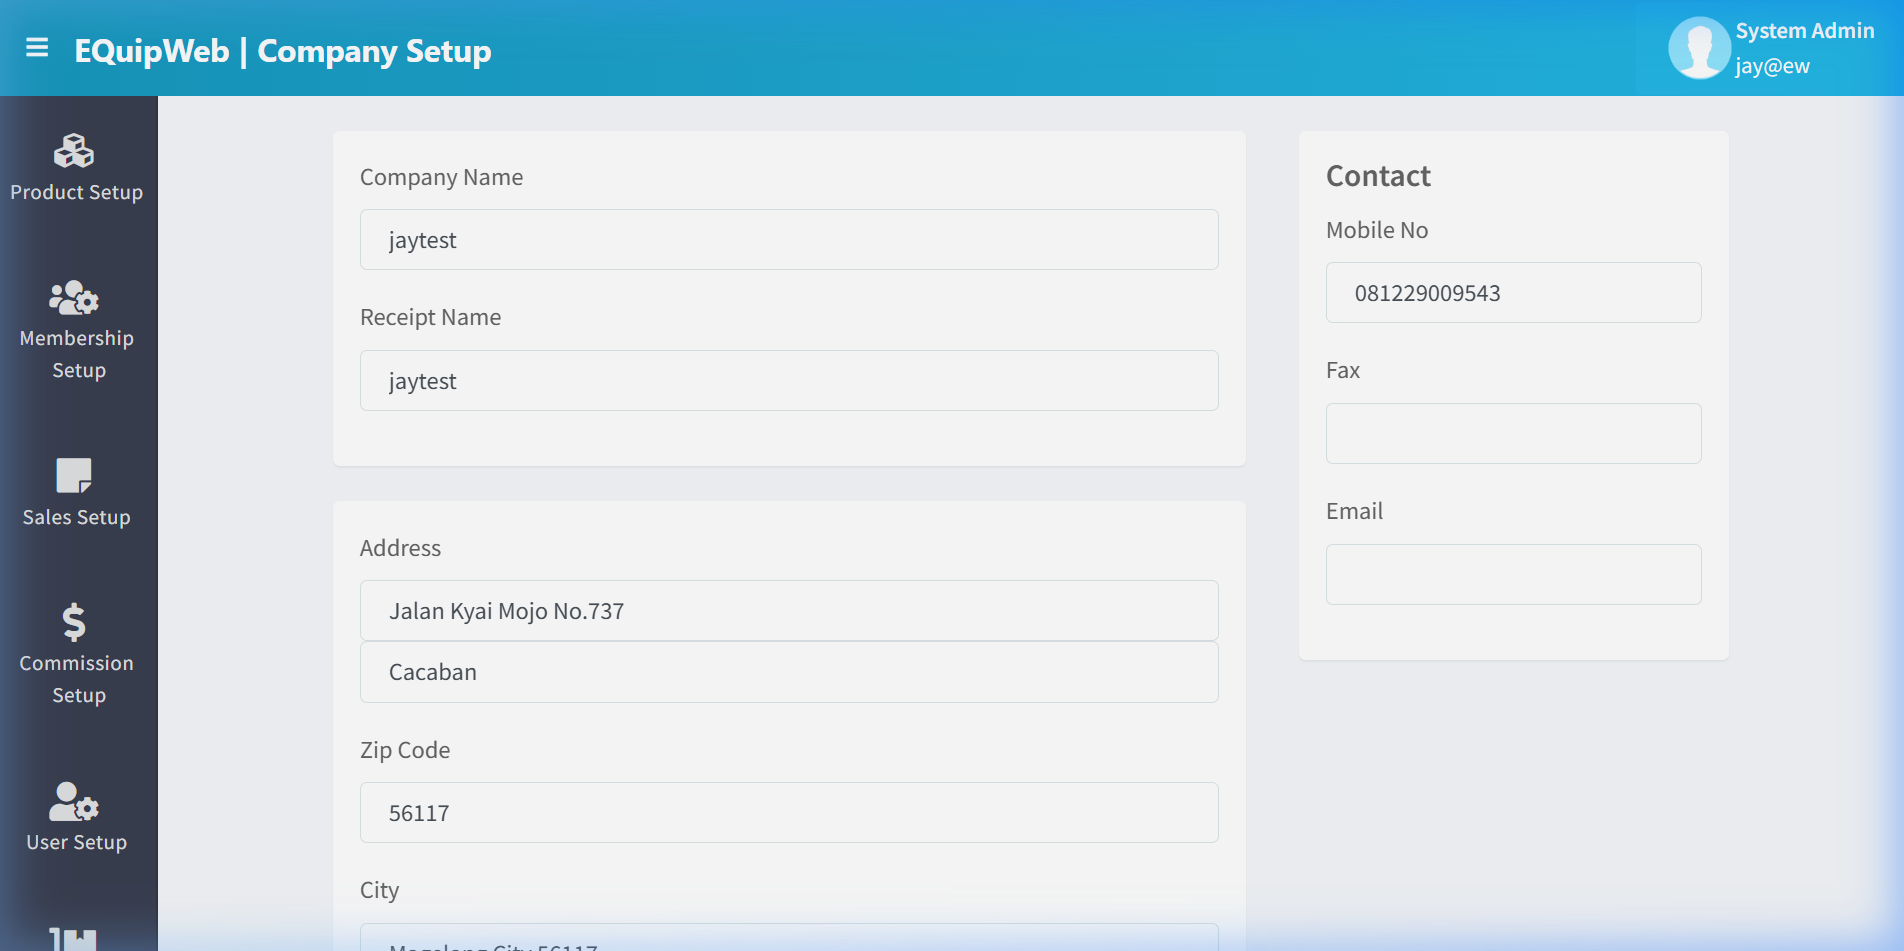
Use Company Setup (under Settings) to configure system-wide business settings — like your GST registration number, financial year, default currency, and receipt header/footer text. These settings apply across all outlets.
When to use this: When you need to update your company name, address, or receipt header/footer text that appears on printed receipts.
Prerequisites
- No prerequisites — company setup is foundational
Company Setup (System Level)
📝 General Description
This is the system-level Company Setup (different from Master Data → Company Setup which handles receipt name and address). This page configures tax registration, company logo, and system-wide operational settings.
Use Setup to manage and configure this feature in your EQuipWeb system.
12.9.1 Configuration Sections
Tax Registration
| Field | Type | Description |
|---|---|---|
| GST Registration No | Text | Tax registration number displayed on invoices and receipts |
| GST Rate (%) | Number | Default GST/VAT rate (e.g., 9% for Singapore) |
| Tax Inclusive Pricing | Toggle | ON = prices include GST; OFF = GST added on top |
Company Branding
| Field | Type | Description |
|---|---|---|
| Company Logo | Image Upload | Logo displayed in EQuipWeb header, reports, and receipts |
| Favicon | Image Upload | Browser tab icon for EQuipWeb |
System Settings
| Field | Type | Description |
|---|---|---|
| Time Zone | Dropdown | System time zone (e.g., "Asia/Singapore" UTC+8) |
| Default Language | Dropdown | Default system language |
| Date Format | Dropdown | Date display format (DD/MM/YYYY, MM/DD/YYYY, etc.) |
| financial year Start | Date Picker | Start of the financial year for reporting |
Use Setup to manage and configure this feature in your EQuipWeb system.
12.9.2 How to Update System Settings
- Navigate to Setting → Company Setup.
- Update the desired fields.
- Click Save.
Expected Result: Settings are saved and apply system-wide.
 4. Changes apply system-wide to all users and terminals.
Use Setup to manage and configure this feature in your EQuipWeb system.
12.9.3 Difference from Master Data Company Setup
| Setting Page (this) | Master Data Page (8.9) |
|---|---|
| GST registration number | Receipt name |
| Company logo | Company address |
| Time zone, language, date format | Contact phone, email |
| Tax-inclusive pricing toggle | Receipt header/footer |
[!IMPORTANT] Update both pages when setting up a new system. This page handles tax and system settings; the Master Data page handles customer-visible info on receipts.
Use Setup to manage and configure this feature in your EQuipWeb system.
💡 Tips
[!TIP] Set the Time Zone correctly during initial setup. Changing it later can cause date discrepancies in historical reports.
[!WARNING] Changing the Tax Inclusive Pricing toggle affects how all prices are calculated system-wide. Test thoroughly before changing this in a live environment.
Use Setup to manage and configure this feature in your EQuipWeb system.
12.9.4 How to Upload Company Logo
- Navigate to Setting → Company Setup.
 2. Click the Company Logo upload area.
 3. Select an image file (recommended: PNG with transparent background, 200×200px).
4. The logo previews in the upload area.
 5. Click Save.
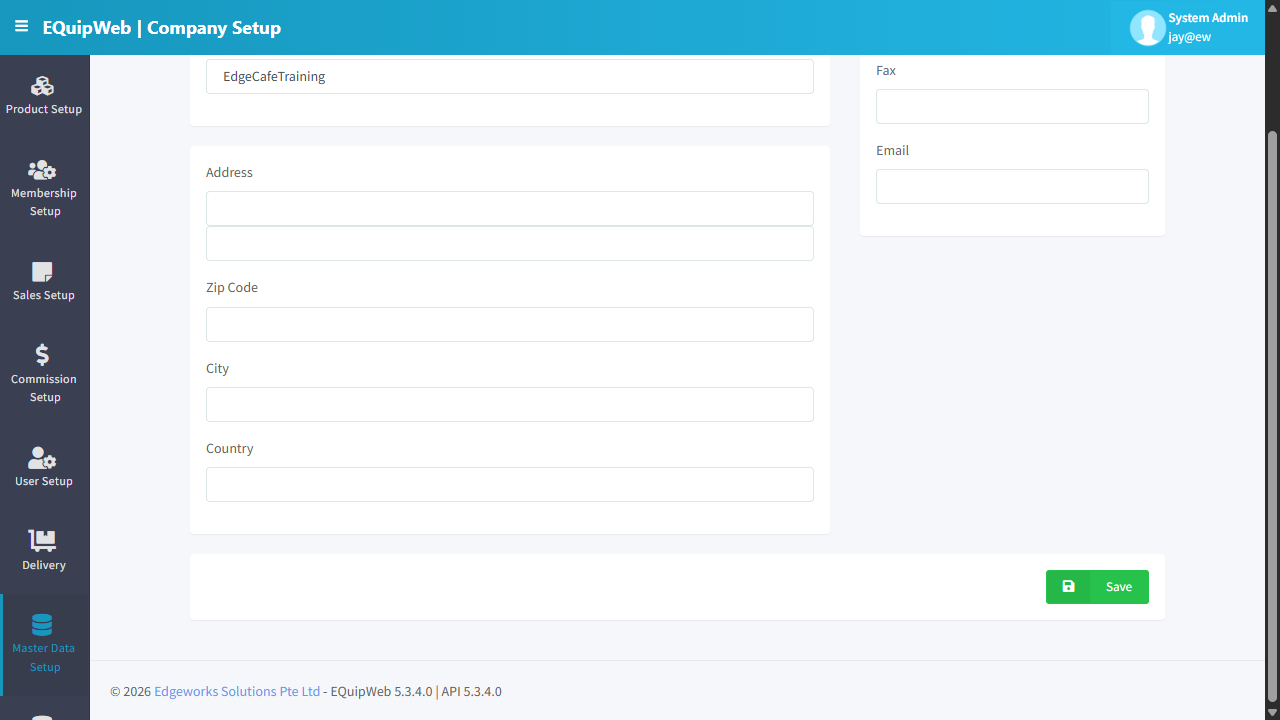 6. The logo now appears in the EQuipWeb header, printed reports, and receipts.
Use Setup to manage and configure this feature in your EQuipWeb system.
12.9.5 How to Configure GST
- Navigate to Setting → Company Setup.
2. Enter your GST Registration No (e.g., M2-1234567-K).
3. Set the GST Rate (e.g., 9 for 9%).
4. Choose Tax Inclusive Pricing:
- ON: Product prices in the system already include GST. The receipt shows the GST portion extracted from the price.
- OFF: Product prices are before GST. GST is added on top during the sale.
- Click Save.
Use Setup to manage and configure this feature in your EQuipWeb system.
💡 Example
Scenario: A Singapore retailer needs to configure GST at 9% with tax-inclusive pricing.
Steps:
- Open Setting → Company Setup.
2. Set GST Registration No: M2-0012345-A.
3. Set GST Rate: 9.
4. Toggle Tax Inclusive Pricing: ON (all product prices in the system include 9% GST).
5. Upload the company logo.
6. Set Time Zone: Asia/Singapore (UTC+8).
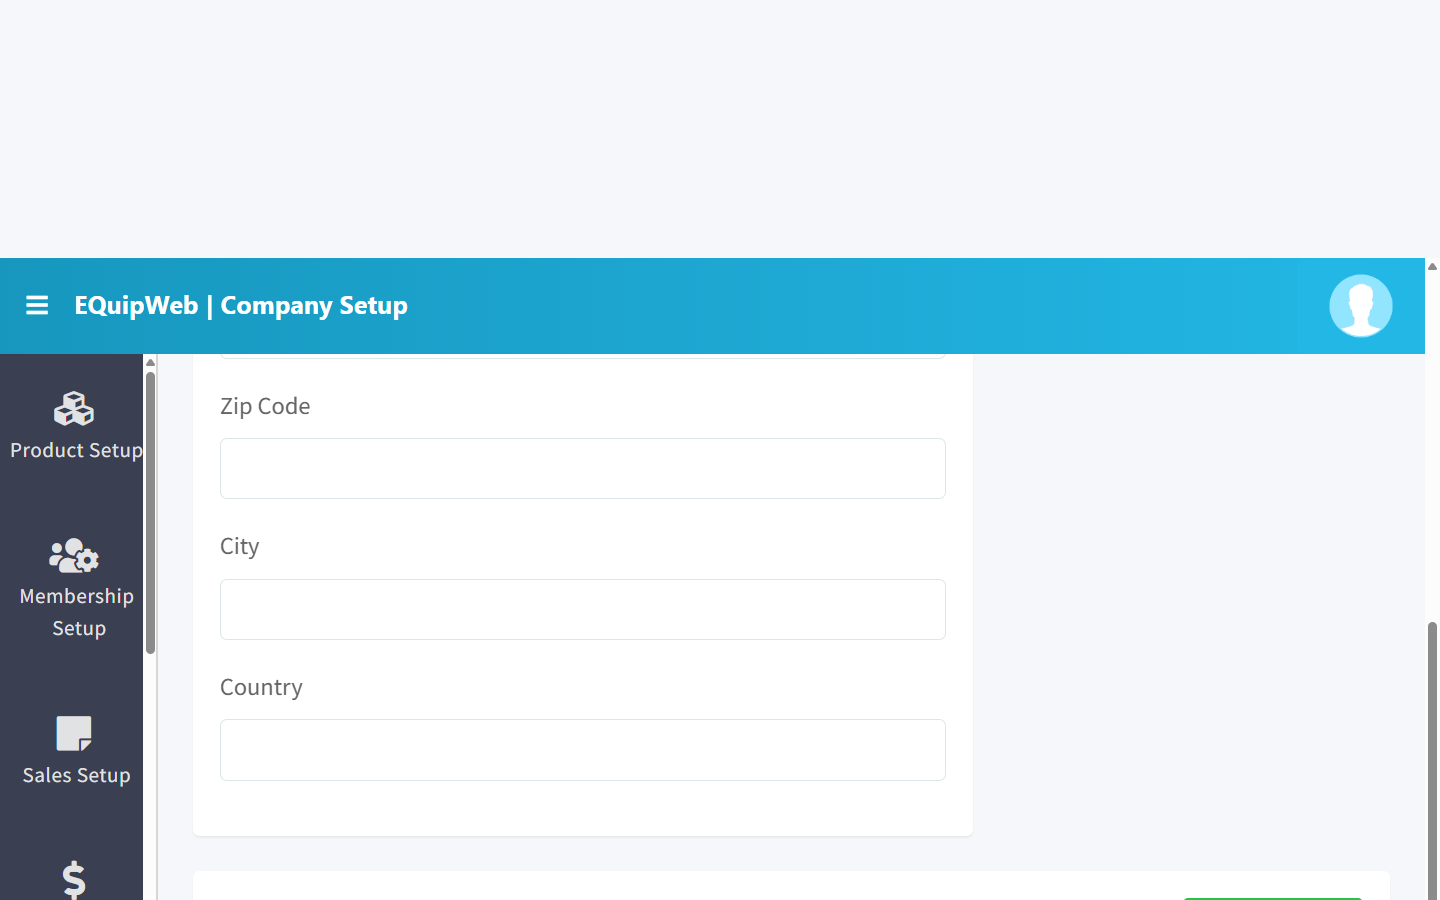 7. Click Save.
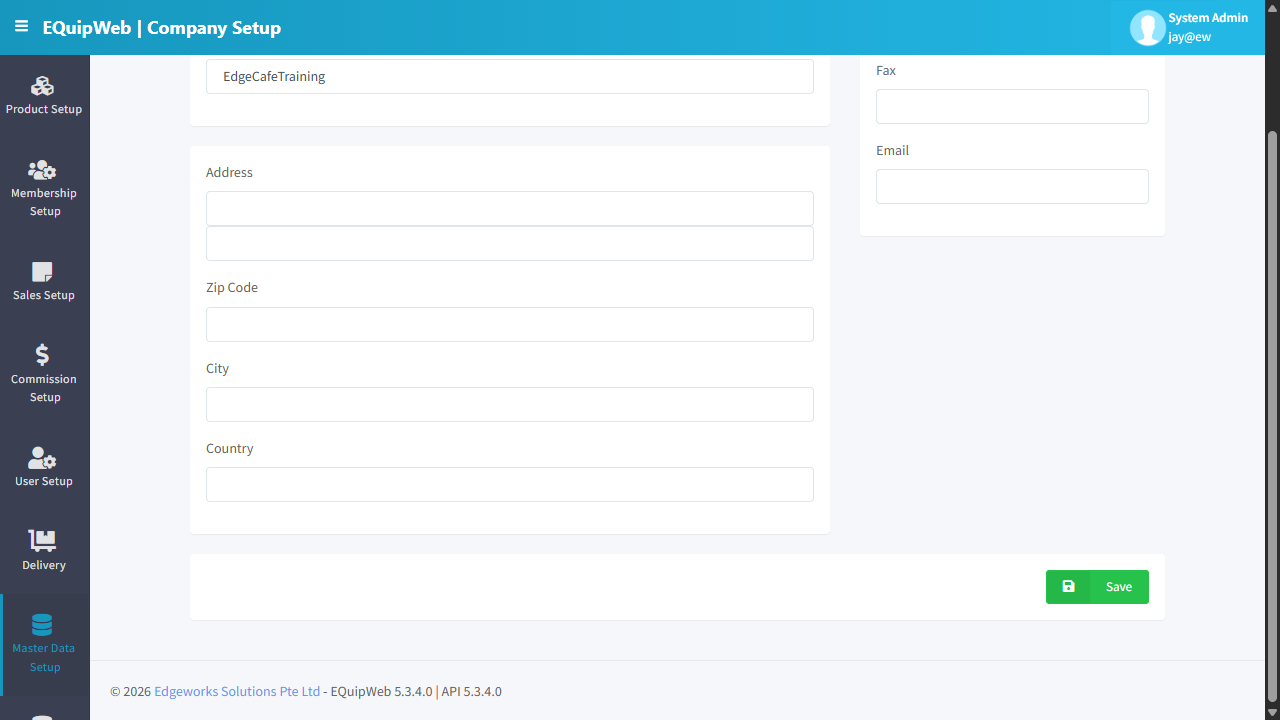
[!NOTE] The GST rate configured here is the default rate. Individual products can have different GST rates configured via GST Setup (Section 4.4) for items with different tax treatments (e.g., zero-rated exports).
Use Setup to manage and configure this feature in your EQuipWeb system.
Access & Permissions
| Role | View | Create | Edit | Delete |
|---|---|---|---|---|
| Admin | Yes | Yes | Yes | Yes |
| Supervisor | Yes | Yes | Yes | No |
| Cashier | No backend access | — | — | — |
[!NOTE] Exact permissions depend on the Privileges Setup configured for each role. Contact your administrator if you cannot access this page.
Use Setup to manage and configure this feature in your EQuipWeb system.
How to Edit Company Information
- Navigate to Setting > Company Setup from the sidebar menu (or Master Data > Company Setup).
- The current company details are displayed on the form.
- Update the fields you want to change (Company Name, Address, Phone, Email, Logo, etc.).
- Click Save to apply your changes.
Expected Result: Company information is updated and will appear on new receipts and documents after the next POS sync.
[!NOTE] Changes to company information affect receipt headers, invoice templates, and other system-generated documents.
FAQ
Q: Why are my setting changes not taking effect on POS? A: Settings need to sync to POS terminals. Check Terminal Status for sync timing, or trigger a manual sync.
Q: Can I revert a setting change? A: Yes. Simply toggle the setting back to its previous value and save. Changes take effect after the next POS sync.
Q: Who should configure these settings? A: Most settings should be configured by an administrator. Pages marked as "IT Admin only" (App Command, Webhook) require technical knowledge.
Use Setup to manage and configure this feature in your EQuipWeb system.
Troubleshooting
| Issue | Possible Cause | Solution |
|---|---|---|
| Setting changes not reflected in POS | POS has not synced since the change | Trigger a manual sync or wait for the next automatic sync |
| Toggle not saving | Page not fully loaded or session expired | Refresh the page and try again. Re-login if needed |
| Cannot access this setting | Insufficient permissions | Contact your administrator to check your role privileges |
| Setting reverts after saving | Conflicting setting in another module | Check related settings pages for overriding configurations |
| Page shows blank or error | Browser compatibility issue | Try a different browser (Chrome recommended) or clear cache |
Use Setup to manage and configure this feature in your EQuipWeb system.
Related Menus
- Master Data > Company Setup — company information
- User Setup > Privileges Setup — permission configuration
- Master Data > POS Setup — POS terminal settings
Use Setup to manage and configure this feature in your EQuipWeb system.
Open Questions / Confirmation Needed
[!NOTE] The following items may vary depending on your system version and configuration:
- Exact permission settings depend on your Privileges Setup configuration
- Sync timing to POS terminals depends on network conditions and sync schedule
- Some features may require additional licensing or module activation
- Field behavior may differ between EQuip versions
If you encounter behavior not described in this manual, contact your system administrator or EQuip support team.
Business Rules
- Records that are linked to active transactions or other modules cannot be permanently deleted
- Changes made here will take effect on POS terminals after the next sync
- Deleted records can be restored from the list using the Show Deleted filter
- All changes are logged with the user who made them and the timestamp
Related Articles
Company Setup
? Backend — EQuipWebRetail ModeMaster Data Setup Chapter 8: Master Data Setup — 8.9 Company Setup Use Company Setup (under Master Data) to enter your company's official business details — company name, registration number, address, and contact ...POS Terminal Settings
? Backend — EQuipWebRetail ModeSetting Chapter 12: Setting — 12.9 POS Terminal Settings Use POS Terminal Settings to fine-tune how each POS terminal behaves — receipt formatting, printer assignments, payment options, and display preferences. ...Membership Integration Settings
? Backend — EQuipWebRetail ModeMembership Setup Chapter 3: Membership Setup — 3.4 Membership Integration Settings Use Membership Integration Settings to connect your EQuip loyalty system with external CRM or marketing platforms. This allows member ...Feature Setup
? Backend — EQuipWebRetail ModeSetting Setting — 12.5 Feature Setup: Toggle product features, pricing display, and system options Use Feature Setup to turn features on or off across your system. Each feature has a simple toggle switch — flip it ON ...Outlet Setup
? Backend — EQuipWebRetail ModeMaster Data Setup Chapter 8: Master Data Setup — 8.3 Outlet Setup Use Outlet Setup to add and manage your store locations. Each outlet has its own address, contact details, operating hours, and receipt settings. When ...