Membership Integration Settings
Chapter 3: Membership Setup — 3.4 Membership Integration Settings
Use Membership Integration Settings to connect your EQuip loyalty system with external CRM or marketing platforms. This allows member data, point balances, and transaction history to sync with your other business tools.
When to use this: When you want to connect your loyalty system with an external CRM or marketing platform.
Prerequisites
- Membership Setup completed
- External CRM system credentials available
- Network connectivity to external API endpoint
Integration Settings Overview
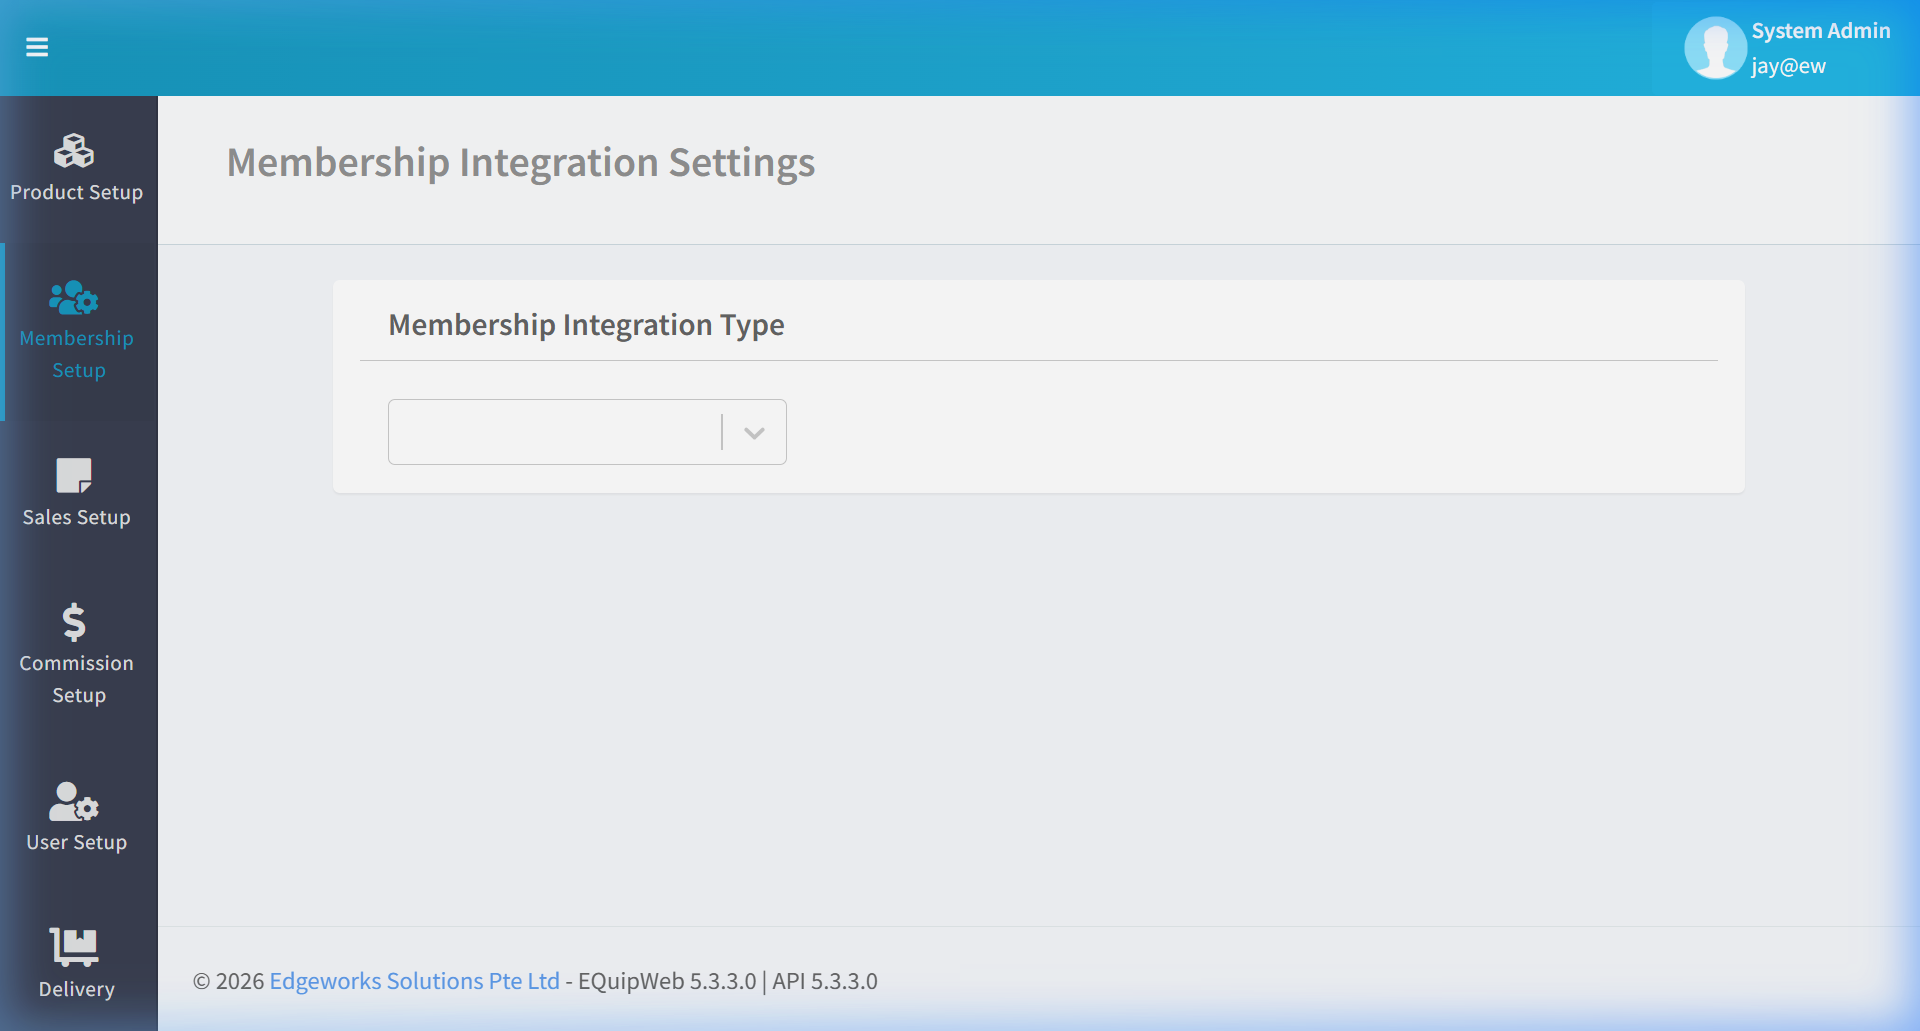
📝 General Description
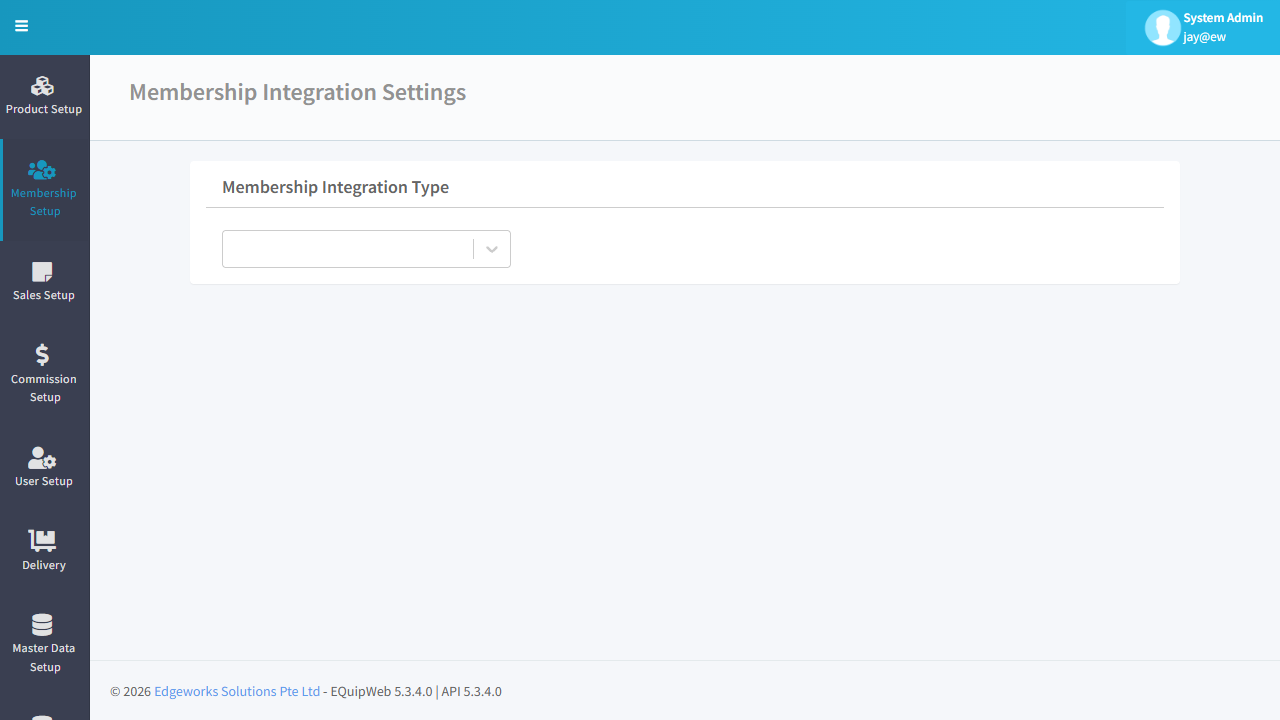
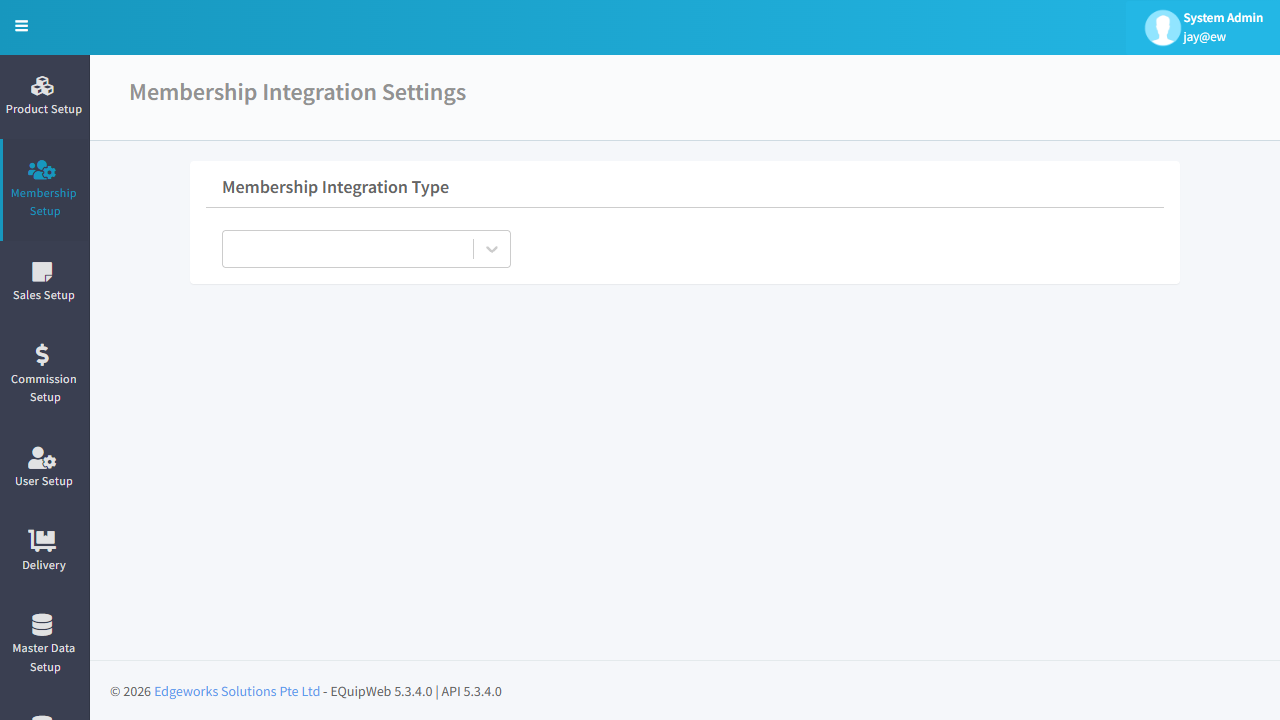
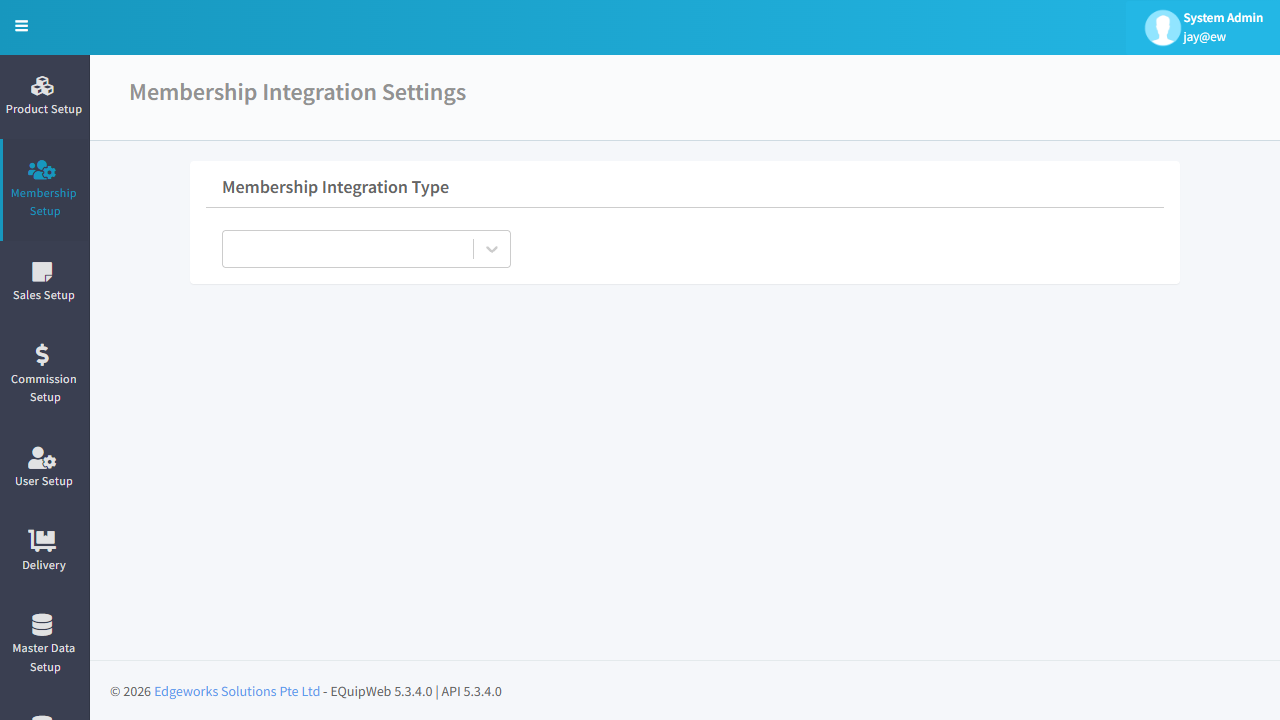
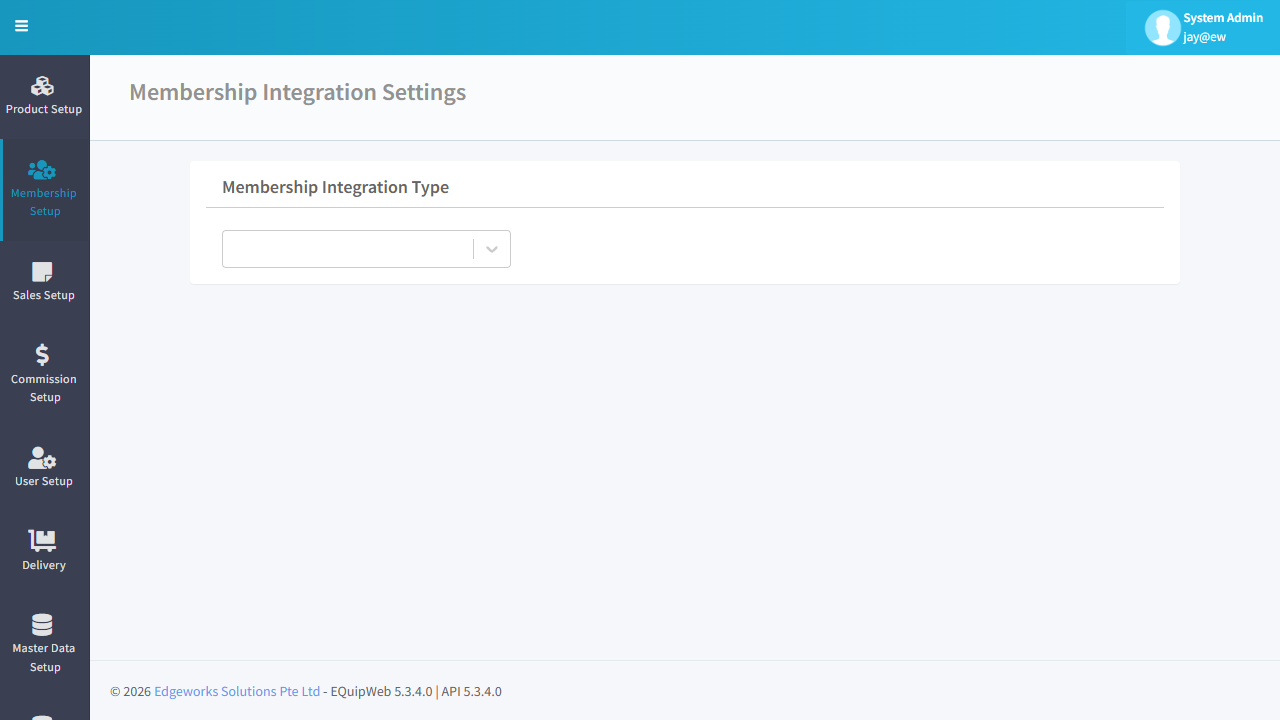
This is a single-page settings screen (not a list). It lets you select an integration type and enter the connection details. The integration keeps member data synced in real-time between EQuip and your external loyalty provider.
Currently supported integration type: CRM (e.g., ProSeller or compatible loyalty providers).
3.4.1 Integration Type Selection
| Field | Type | Description |
|---|---|---|
| Membership Integration Type | Dropdown | Select None (local only) or CRM (external provider) |
When None is selected, all membership data is managed entirely within EQuip — no external sync occurs.
When CRM is selected, additional configuration fields appear:
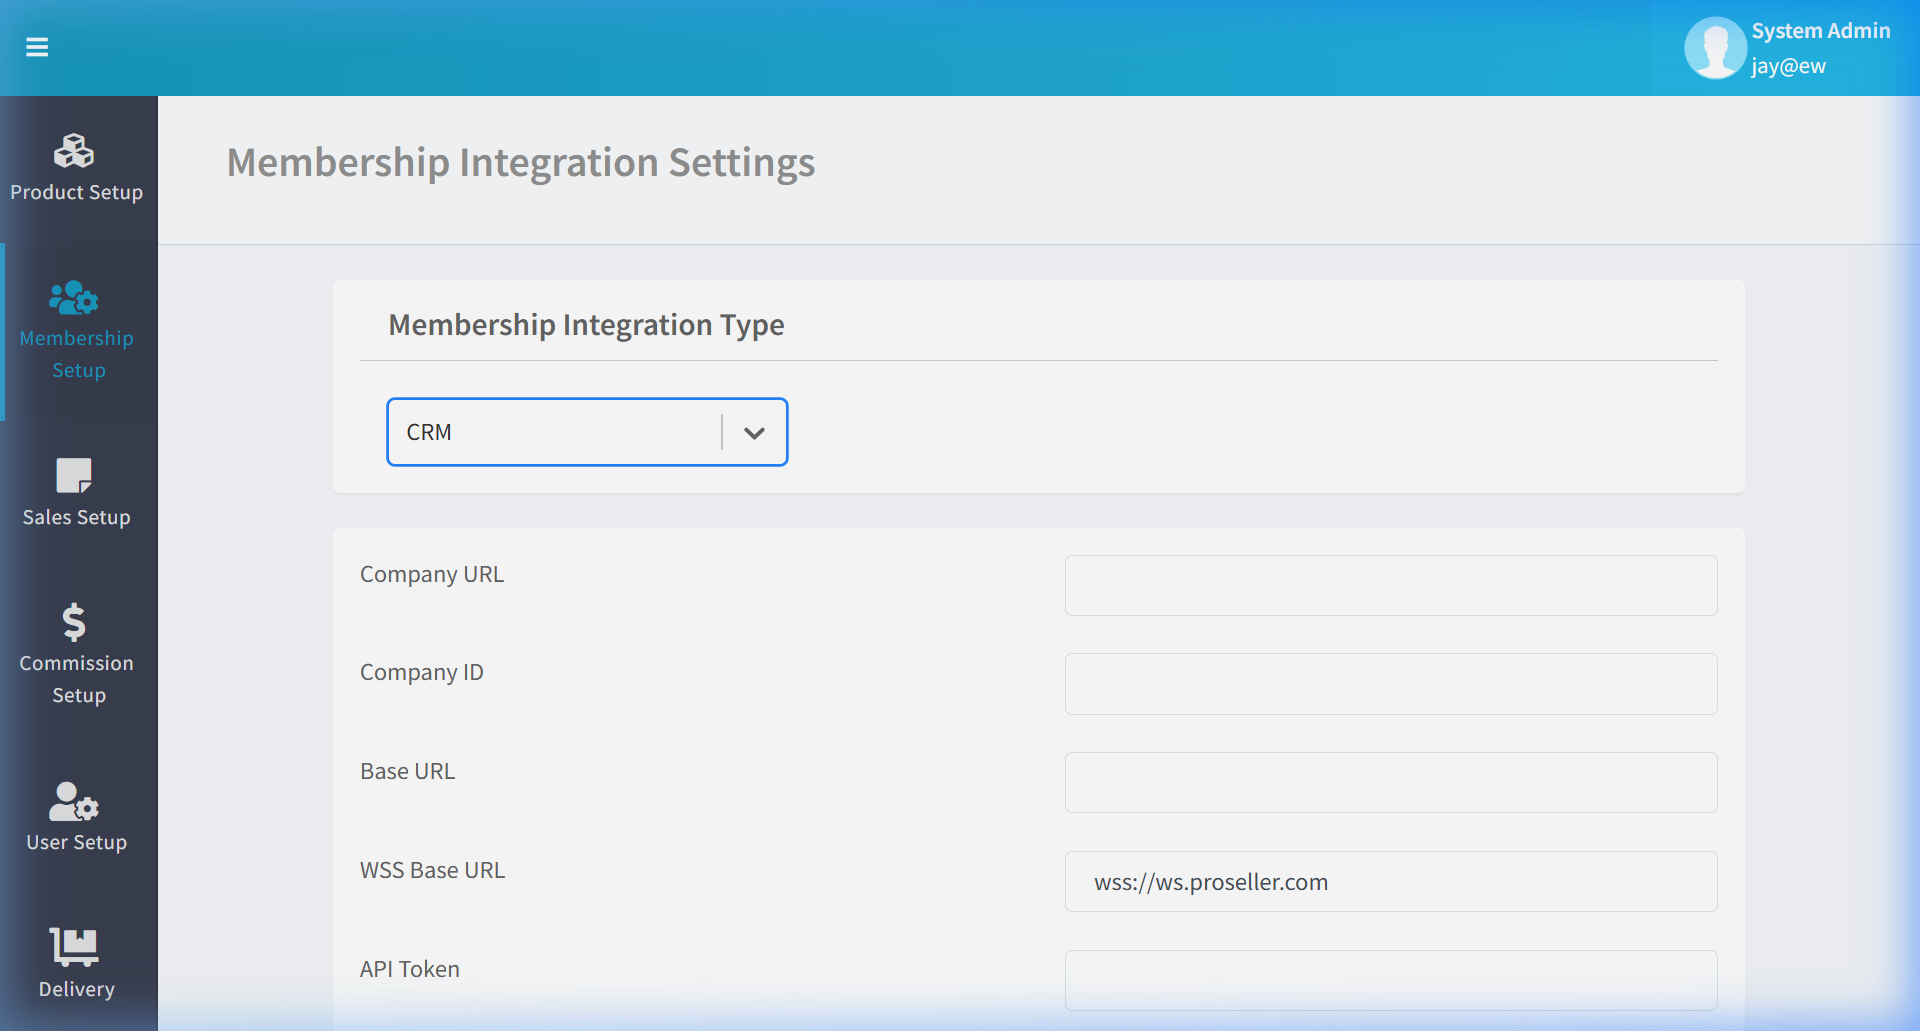
3.4.2 CRM Configuration Fields
| Field | Type | Description |
|---|---|---|
| Company URL | Text | Your company's URL in the CRM portal |
| Company ID | Text | Your unique company identifier assigned by the CRM provider |
| Base URL | Text | REST API base URL for the CRM (e.g., https://api.proseller.com) |
| WSS Base URL | Text | Real-time connection address provided by your CRM provider (e.g., wss://ws.proseller.com) |
| API Token | Text | Security key for connecting to the CRM — provided by your CRM provider |
| Voucher Payment Type | Dropdown | How voucher redemptions are posted as a payment type at POS |
| SVC Payment Type | Dropdown | How stored value card payments are posted at POS |
| Reference By | Text | Field used to look up members in the CRM (e.g., "Mobile", "MembershipNo") |
| API Security Protocol | Text | Security setting — leave as default unless instructed by your IT team |
| Point Rounding Mode | Text | How fractional points are handled (e.g., "INT" = round to nearest integer) |
| Merchant Portal URL | Text | Link to the CRM provider's merchant admin portal |
3.4.3 Toggle Settings
| Toggle | When ON | When OFF |
|---|---|---|
| Use SVC | Stored Value Card balances are kept in sync between EQuip and the CRM provider | SVC is managed in EQuip only — balances are not shared with the CRM |
| Allow Manual Membership Search | Cashiers can manually search and attach members at POS via keyboard entry | Member identification is scan-only (barcode, NFC) — no manual search |
| Enabled Paid Membership | Paid membership plan purchase is available at POS | No paid membership plans presented at checkout |
3.4.4 Enabled / Disabled Button
The Enabled button (green) at the bottom right activates or deactivates the entire integration.
| State | Effect |
|---|---|
| Enabled (green) | All member transactions sync to the CRM in real-time via WebSocket |
| Disabled (grey) | EQuip runs in local-only mode — no CRM sync |
3.4.5 Backend Settings Interaction
These AppSettings control the CRM integration at the POS terminal level:
| Setting | Purpose | Default |
|---|---|---|
UseCRMIntegration | Master switch for CRM integration at POS | false |
UsePaidMembership | Enable paid membership plan options | false |
[!IMPORTANT] The Integration Settings page controls the backend/web portal configuration. For the POS terminal to use CRM integration, the
UseCRMIntegrationsetting must also be enabled in POS terminal settings. Both must be active for end-to-end sync to function.
3.4.6 Real-Time Sync Flow
When CRM integration is active, here's what happens for each member transaction:
Member scanned at POS
  → POS sends lookup to CRM via WSS
  → CRM returns member profile + points + SVC balance
  → Transaction completed at POS
  → POS sends sale event to CRM
  → CRM updates member points, tier status, SVC balance
  → Member's app/portal reflects updated data
💡 Example
Scenario: A multi-outlet retail chain uses ProSeller as their CRM and wants real-time member sync.
Configuration:
- Set Integration Type: CRM
 2. Enter Company ID and API Token from ProSeller dashboard
 3. Set Base URL:
 https://api.proseller.com
 4. Set WSS Base URL:
 wss://ws.proseller.com
 5. Enable Use SVC → ON (sync stored value balances)
 6. Set Reference By:
 Mobile (member lookup by phone number)
 7. Set Point Rounding Mode:
 INT
 8. Click Enabled to activate
Result: When a member taps their card at any outlet's POS, their points, SVC balance, and tier status are fetched live from ProSeller. When the transaction completes, ProSeller's records update instantly.
[!WARNING] Changing integration settings on a live system will temporarily disrupt member lookups at POS while the new connection initialises. Schedule configuration changes during off-peak hours and test with a single outlet before rolling out to all locations.
[!CAUTION] Never share your API Token in screenshots, support tickets, or emails. If your token is compromised, regenerate it from the CRM provider's portal immediately and update this page. All POS terminals will need to sync before they can reconnect.
Access & Permissions
| Role | View | Create | Edit | Delete |
|---|---|---|---|---|
| Admin | Yes | Yes | Yes | Yes |
| Supervisor | Yes | Yes | Yes | No |
| Cashier | No backend access | — | — | — |
[!NOTE] Exact permissions depend on the Privileges Setup configured for each role. Contact your administrator if you cannot access this page.
Expected Result: Changes are saved successfully and reflected across the system after the next POS sync.
Business Rules
- Records that are linked to active transactions or other modules cannot be permanently deleted
- Changes made here will take effect on POS terminals after the next sync
- Deleted records can be restored from the list using the Show Deleted filter
- All changes are logged with the user who made them and the timestamp
How to Add a New Membership Integration Settings
- Navigate to Membership Integration Settings from the sidebar menu.
- Click the Add New button (green button at the top of the list).
- Fill in the required fields in the form. Refer to the Field Reference table above for field descriptions.
- Configure any optional settings as needed.
- Click Save to create the new record.
Expected Result: The new membership integration settings appears in the list and will be available across the system after the next POS sync.
How to Edit a Membership Integration Settings
- Navigate to Membership Integration Settings from the sidebar menu.
- In the list, click the name or code link (blue text) of the record you want to edit.
- The edit form opens with all current values pre-filled.
- Modify the fields you want to change.
- Click Save to apply your changes.
Expected Result: The updated membership integration settings is saved and changes are reflected across the system after the next POS sync.
How to Delete a Membership Integration Settings
- Navigate to Membership Integration Settings from the sidebar menu.
- Click the name or code link (blue text) of the record you want to delete.
- In the edit form, scroll down to the bottom.
- Click the Delete button (red button).
- A confirmation dialog appears — click Yes to confirm deletion.
Expected Result: The record is soft-deleted — it is hidden from the active list and POS terminals but can be restored later using the "Show Deleted" filter.
[!WARNING] Records linked to active transactions or other modules cannot be deleted. The system will display an error if deletion is not allowed.
FAQ
Q: Why is the member not receiving points? A: Check that the member's group has benefit rules configured in Membership Benefit. Also verify the transaction qualifies (minimum spend, eligible products).
Q: Can I merge duplicate member records? A: This must be done by your system administrator. Contact support with both member IDs for assistance.
Q: How do I transfer a member to a different group? A: Edit the member record and change the Membership Group field. The change takes effect immediately.
Troubleshooting
| Issue | Possible Cause | Solution |
|---|---|---|
| Cannot save the record | Required fields are empty or invalid | Check all fields marked with * and fill in valid data |
| Record not appearing in POS | POS terminal has not synced yet | Wait for the next sync cycle or manually trigger sync from Terminal Status |
| Cannot delete the record | Record is being used by other modules | Check if the record is linked to active transactions, products, or other settings |
| Changes not taking effect | Browser cache showing old data | Refresh the page (Ctrl+F5) or clear browser cache |
| "Duplicate" error on save | A record with the same name/code already exists | Search the list (including deleted records) for duplicates |
| Page not loading | Session expired or network issue | Log out and log back in. Check your internet connection |
Related Menus
- Product Setup > Promotion Setup — member-only promotions
- Sales Setup > Discount Setup — member discount types
- Sales Setup > Voucher Setup — voucher redemption for members
- Setting > Membership Compulsory — require membership at checkout
Open Questions / Confirmation Needed
[!NOTE] The following items may vary depending on your system version and configuration:
- Exact permission settings depend on your Privileges Setup configuration
- Sync timing to POS terminals depends on network conditions and sync schedule
- Some features may require additional licensing or module activation
- Field behavior may differ between EQuip versions
If you encounter behavior not described in this manual, contact your system administrator or EQuip support team.
Related Articles
Membership Setup
? Backend — EQuipWebRetail ModeMembership Setup Chapter 3: Membership Setup — 3.1 Membership List The Membership List is where you manage all your loyalty members. You can look up a customer, check their points balance, update their details, or see ...Membership Compulsory
? Backend — EQuipWebRetail ModeSetting Chapter 12: Setting — 12.8 Membership Compulsory Setup Use Membership Compulsory Setup to choose which fields are required when registering a new member. For example, make "Phone Number" and "Email" mandatory, ...POS Order Integration
? Backend — EQuipWebRetail ModeMaster Data Setup Chapter 8: Master Data Setup — 8.7 POS Order Integration Use POS Order Integration to connect your POS terminals with external ordering systems. This is where you set up how orders from third-party ...Membership Importer
? Backend — EQuipWebRetail ModeData Importer & Exporter Chapter 10: Data Importer — 10.3 Membership Importer Use Importer to manage and configure this feature in your EQuipWeb system. Use the Membership Importer to add many members at once from a ...POS Terminal Settings
? Backend — EQuipWebRetail ModeSetting Chapter 12: Setting — 12.9 POS Terminal Settings Use POS Terminal Settings to fine-tune how each POS terminal behaves — receipt formatting, printer assignments, payment options, and display preferences. ...