Membership Setup
Chapter 3: Membership Setup — 3.1 Membership List
The Membership List is where you manage all your loyalty members. You can look up a customer, check their points balance, update their details, or see their purchase history — all from this one page.
When to use this: When you need to look up a member, edit their details, check their points balance, or manage member records.
Prerequisites
- Membership Group created (defines tier structure)
- Outlet Setup completed
Membership List Overview
📝 General Description
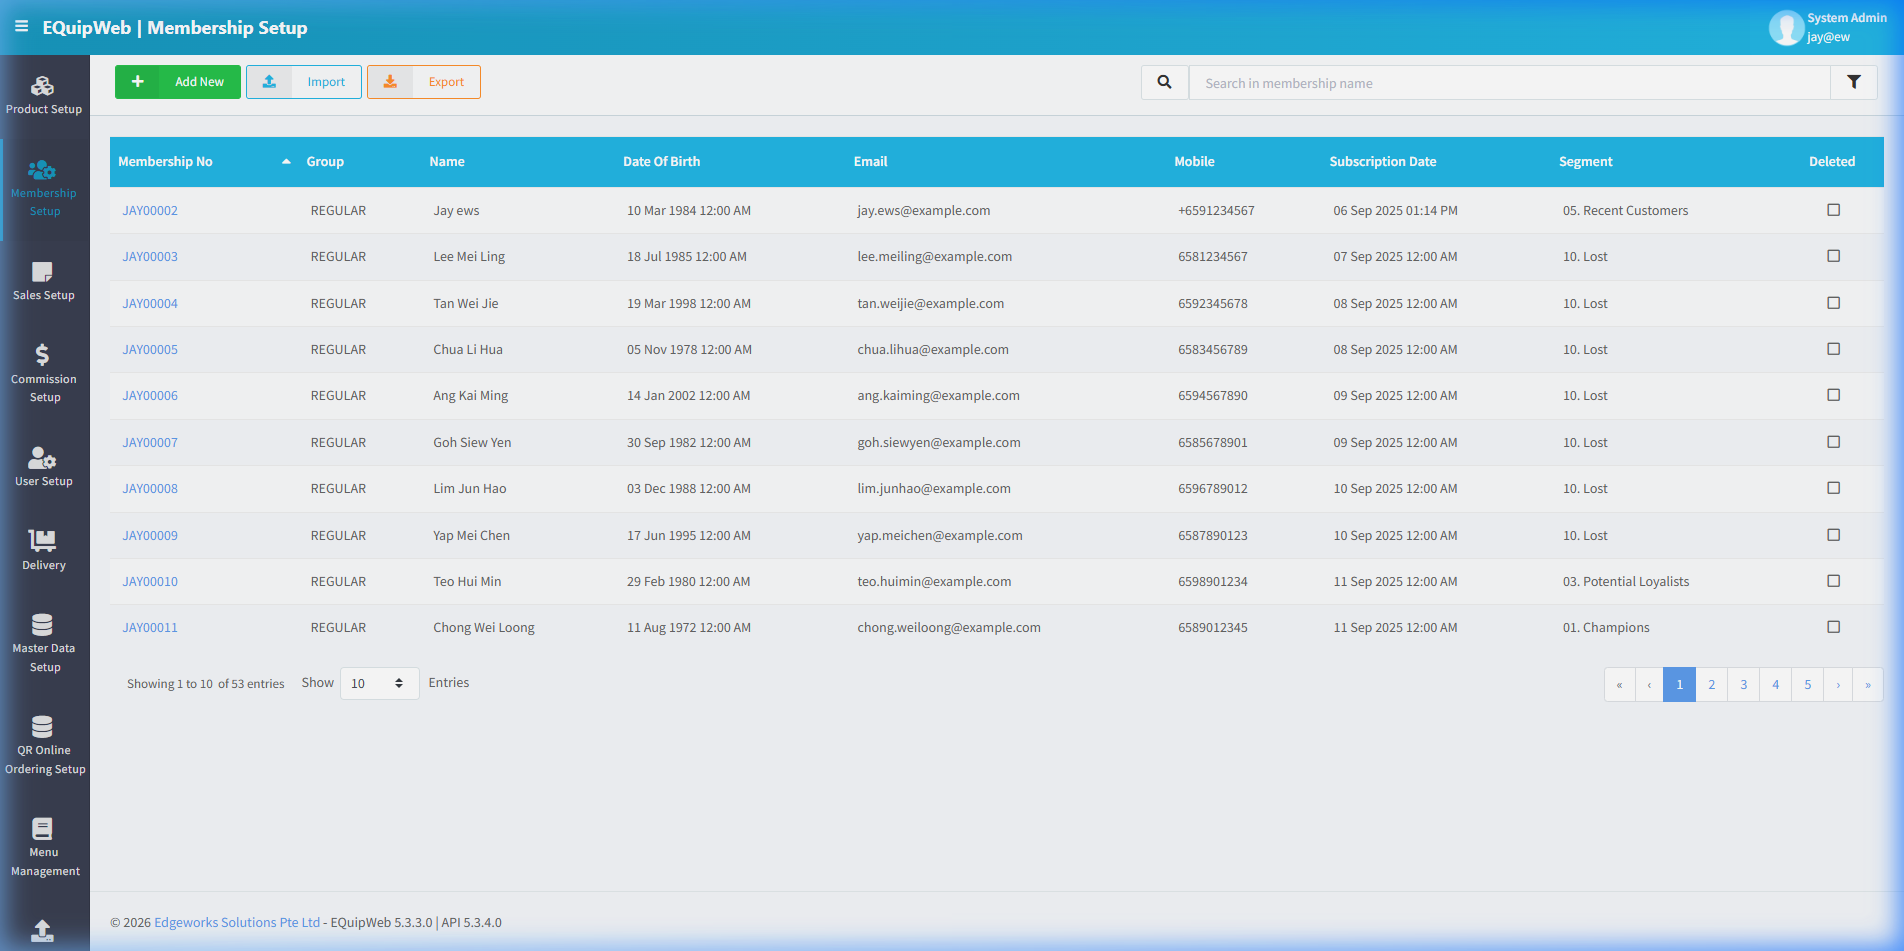
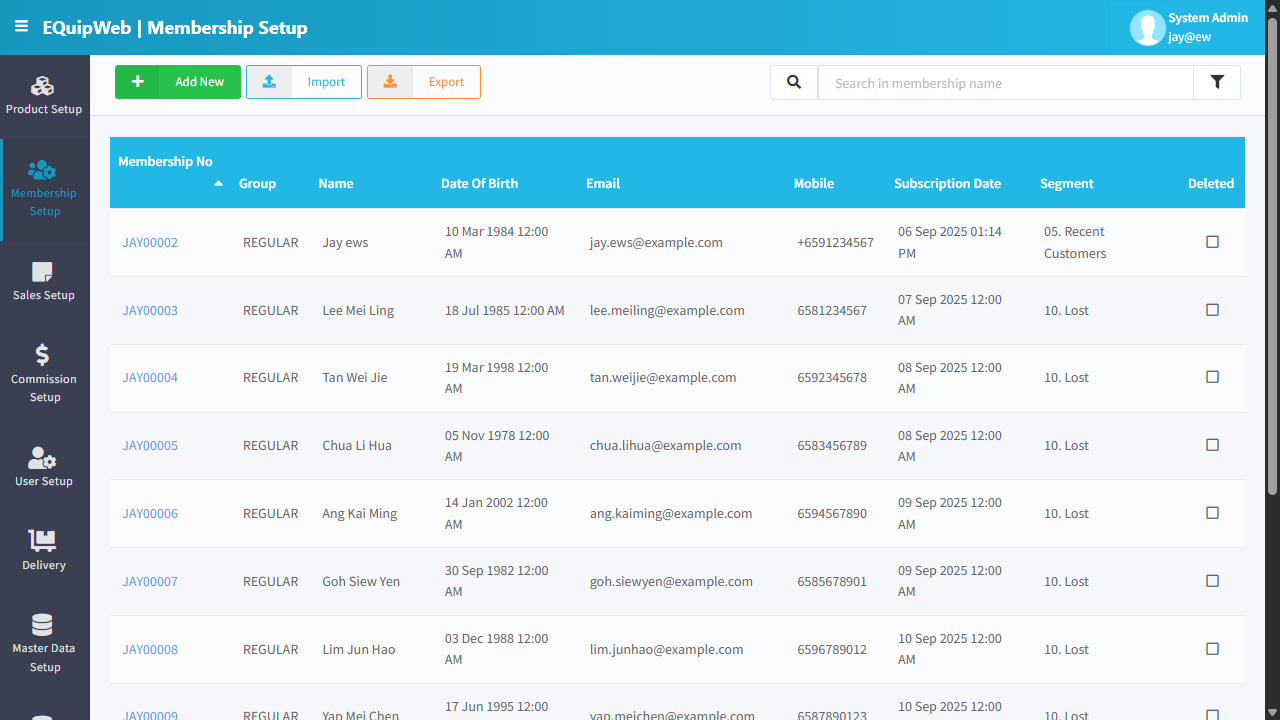
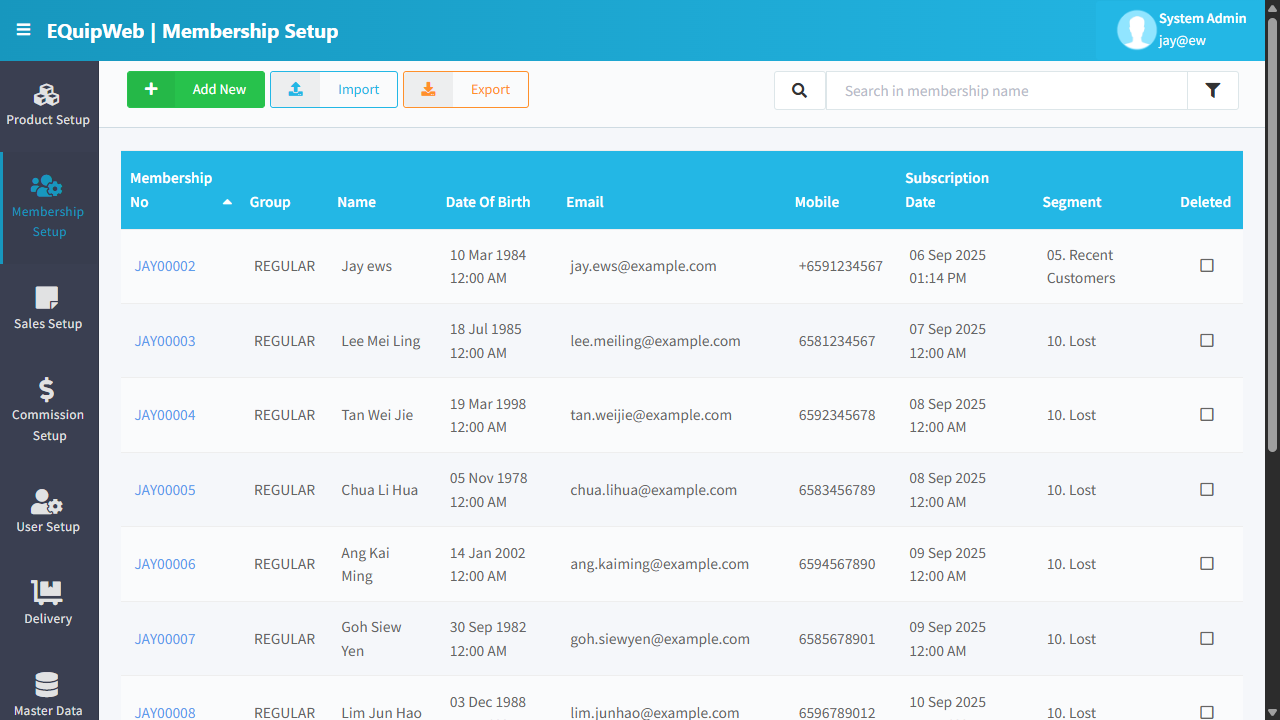
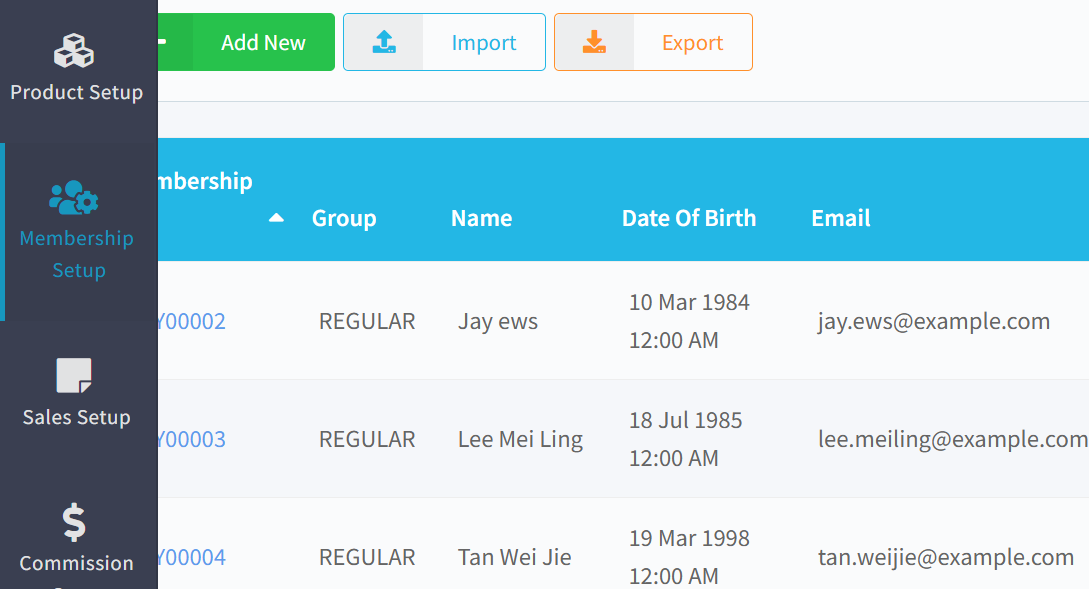
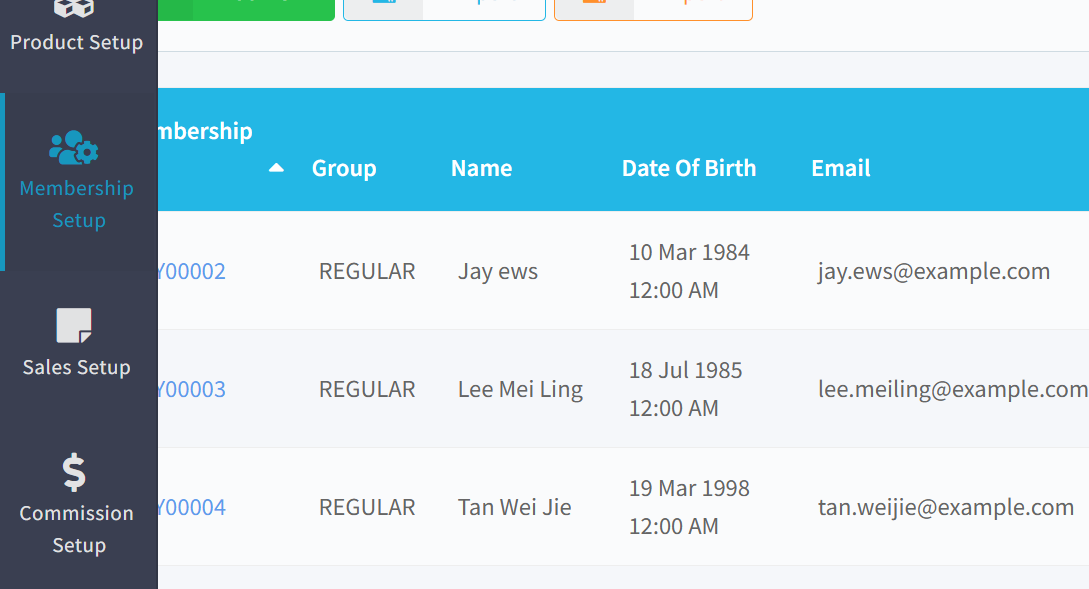
The screenshot above shows 53 test members (JAY00002–JAY00011 visible on page 1) across 5 pages. Each row displays the membership number, group tier (all REGULAR in this example), member name, date of birth, email, mobile, subscription date, and Segment classification (e.g., "01. Champions", "03. Potential Loyalists", "05. Recent Customers", "10. Lost"). The Segment column uses RFM-based customer segmentation to categorize member activity.
⚙️ UI Elements
| Element | Type | Function |
|---|---|---|
| + Add New | Green Button | Register a new member manually |
| Import | Blue Button | Bulk import members from Excel/CSV |
| Export | Orange Button | Download the full member list |
| Search Bar | Text Input | Search by name, membership no, mobile, or email |
| 🔽 Filter | Funnel Icon | Filter by membership group, show/hide deleted |
3.1.1 Data Grid Columns
| Column | Description |
|---|---|
| MembershipNo | Unique member ID (clickable → opens edit form) |
| Group | Membership tier (e.g., Regular, Gold, Platinum, Diamond) |
| Name | Member display name |
| DateOfBirth | Date of birth (used for birthday promotions) |
| Member's email address | |
| Mobile | Mobile phone number |
| SubscriptionDate | Date the member joined |
| Segment | Member segment classification |
| Deleted | Hidden/deleted status |
3.1.2 Add / Edit Member
Personal Information Card
| Field | Type | Required | Description |
|---|---|---|---|
| Membership No | Text | ✅ Yes | Unique membership number (e.g., "MEM00001"). Auto-generated if MembershipGroup.AutoGenerate setting is enabled. |
| Title | Dropdown | No | Mr / Mrs / Ms / Dr |
| First Name | Text | No | Member's first name |
| Last Name | Text | No | Member's last name |
| Name to Appear | Text | No | Display name on receipts and loyalty cards |
| Chinese Name | Text | No | Chinese name (for bilingual receipts) |
| Gender | Dropdown | No | Male / Female |
| Date of Birth | Date Picker | No | Used for birthday promotions and auto-drive triggers |
| NRIC | Text | No | National ID / IC number. Also used as a POS search key |
| Nationality | Text | No | Country of citizenship |
| Occupation | Text | No | Job title |
| Marital Status | Dropdown | No | Single / Married / Divorced |
| Remarks | Textarea | No | Internal notes about the member |
Contact Information Card
| Field | Type | Description |
|---|---|---|
| For digital receipts, newsletters, and voucher delivery | ||
| Mobile | Text | For SMS, OTP, and WhatsApp notifications |
| Office | Text | Office phone number |
| Home | Text | Home phone number |
| Fax | Text | Fax number |
Address Card
| Field | Type | Description |
|---|---|---|
| Block | Text | Block number |
| Building Name | Text | Building name |
| Street Name | Text | Street address line 1 |
| Street Name 2 | Text | Street address line 2 |
| Unit No | Text | Unit/apartment number |
| City | Text | City |
| Country | Text | Country |
| Zip Code | Text | Postal code |
Membership Card (Right Column)
| Field | Type | Description |
|---|---|---|
| Membership Group | Dropdown | Tier/group assignment (Regular, Gold, Platinum, Diamond). Determines discount rate and point earning rules. |
| Subscription Date | Date Picker | Date the member joined |
| Expiry Date | Date Picker | When the membership expires. Leave blank for non-expiring memberships. |
| Sales Person | Dropdown | Assigned sales rep for this member |
Points & Balance Summary (Edit Mode — Read-Only)
These fields are auto-calculated and read-only. They pull from separate summary tables:
| Field | Source Table | Description |
|---|---|---|
| Total Points | MembershipPointSummary | Accumulated loyalty points |
| SVC Balance | MembershipSVCSummary | Stored Value Credit balance (prepaid wallet) |
| Total Purchase | MembershipPurchaseSummary | Lifetime spend total |
3.1.3 Custom Fields
The Membership form supports custom fields added through the Custom Field Setup page.
Go to Settings → Custom Field Setup → Set Page to
membershipto define additional fields that appear on the member edit form.
Custom fields can be:
- Text, Numeric, Date, Dropdown, Checkbox data types
- Positioned on the Left or Right column of the form
- Marked as mandatory to enforce data collection
These are stored in the userfld1–userfld20 columns of the Membership table, or in CustomField1–CustomField10 for extended fields.
3.1.4 Member Actions
| Button | Function |
|---|---|
| Save | Saves the membership record |
| Save and New | Saves then opens a blank form for a new member |
| Delete | Removes the member (hidden from POS searches) |
| Restore | Restores a safely deleted member |
3.1.5 POS Sync Behavior
Changes saved to member records sync to POS terminals according to the outlet's data sync schedule.
| Action | POS Behavior |
|---|---|
| New member added | Member searchable at POS after next sync |
| Group changed | Discount rate updates on next sync |
| Expiry date updated | Expired member blocked from POS after sync |
| Member deleted | Hidden from POS search after sync |
[!TIP] If a member change needs to take effect immediately, trigger a manual data sync from the POS terminal's settings menu, or use the App Command Setup to push a sync command to the terminal.
3.1.6 Feature Settings
These backend settings affect how the Membership List works at POS:
| Setting | Purpose | Default |
|---|---|---|
PointOfSaleInfo.useMembership | Enable membership features at POS | true |
EnableMembershipDiscount | Auto-apply membership discount when member is scanned | false |
IsMembershipCompulsory | Require member to be attached before any sale | false |
MembershipGroup.AutoGenerate | Auto-generate membership numbers on new registration | true |
SalesInvoice_DisablePromptBirthday | Disable birthday pop-up notification at POS | false |
How to Edit a member
- In the Membership List page, find the member you want to change.
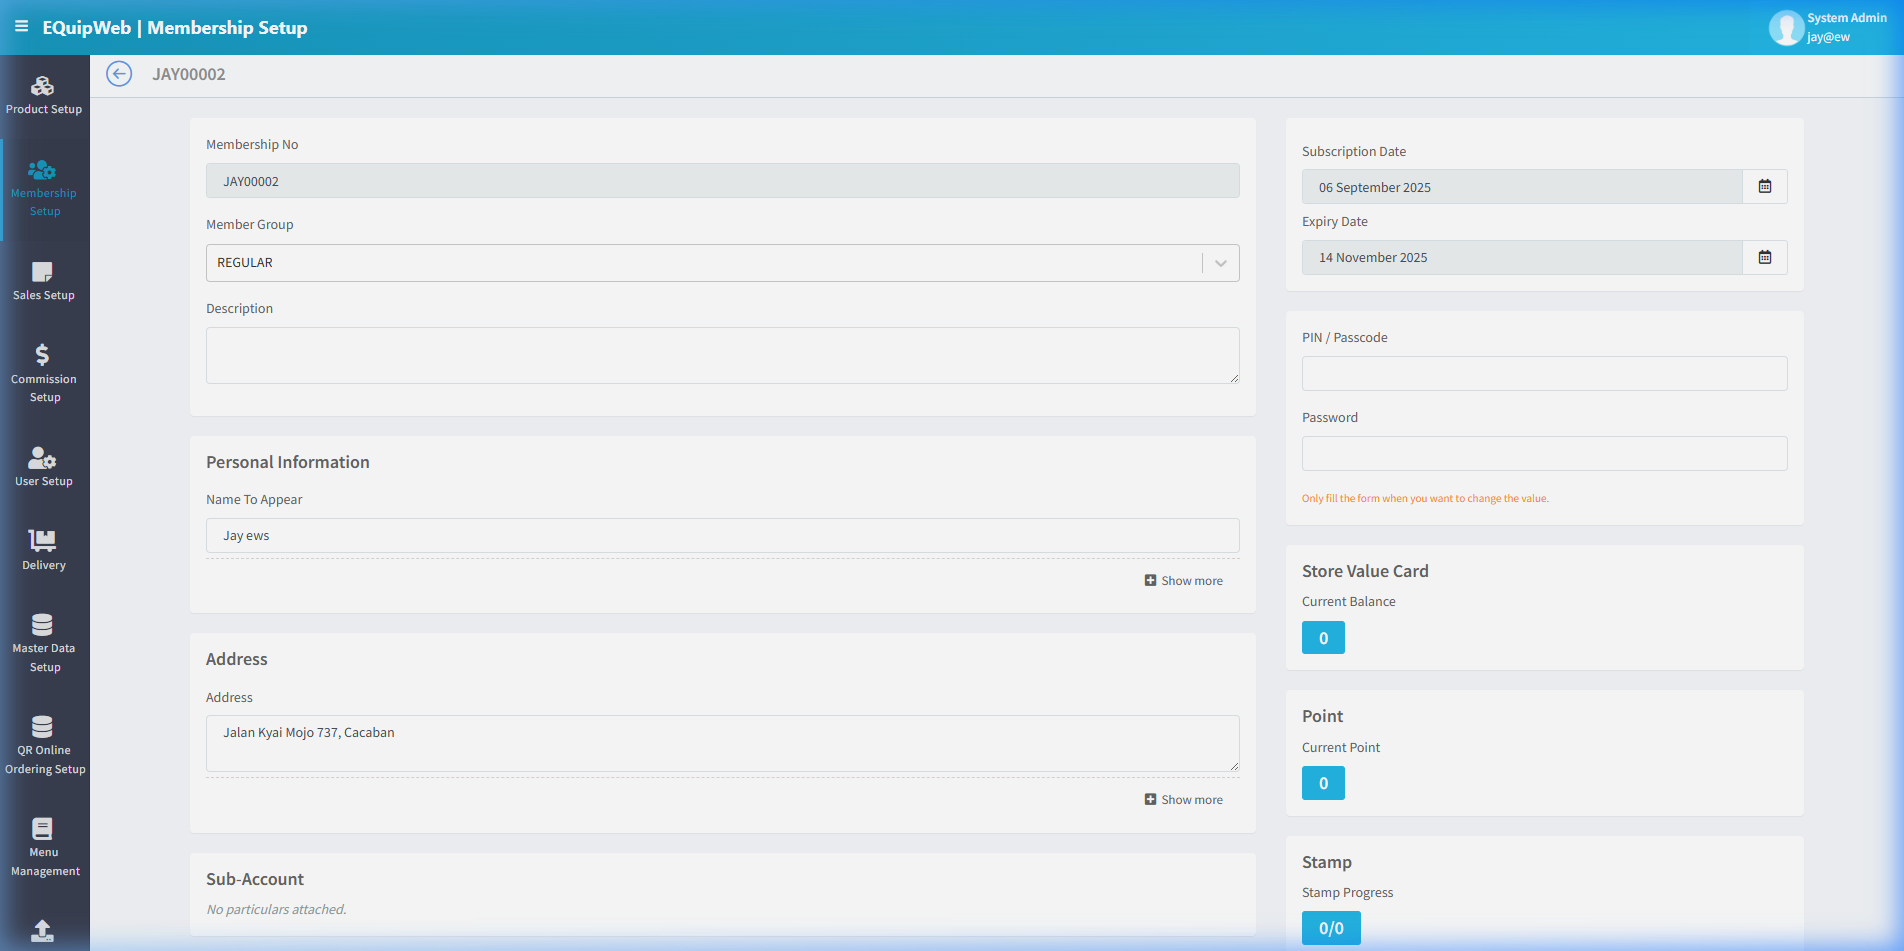
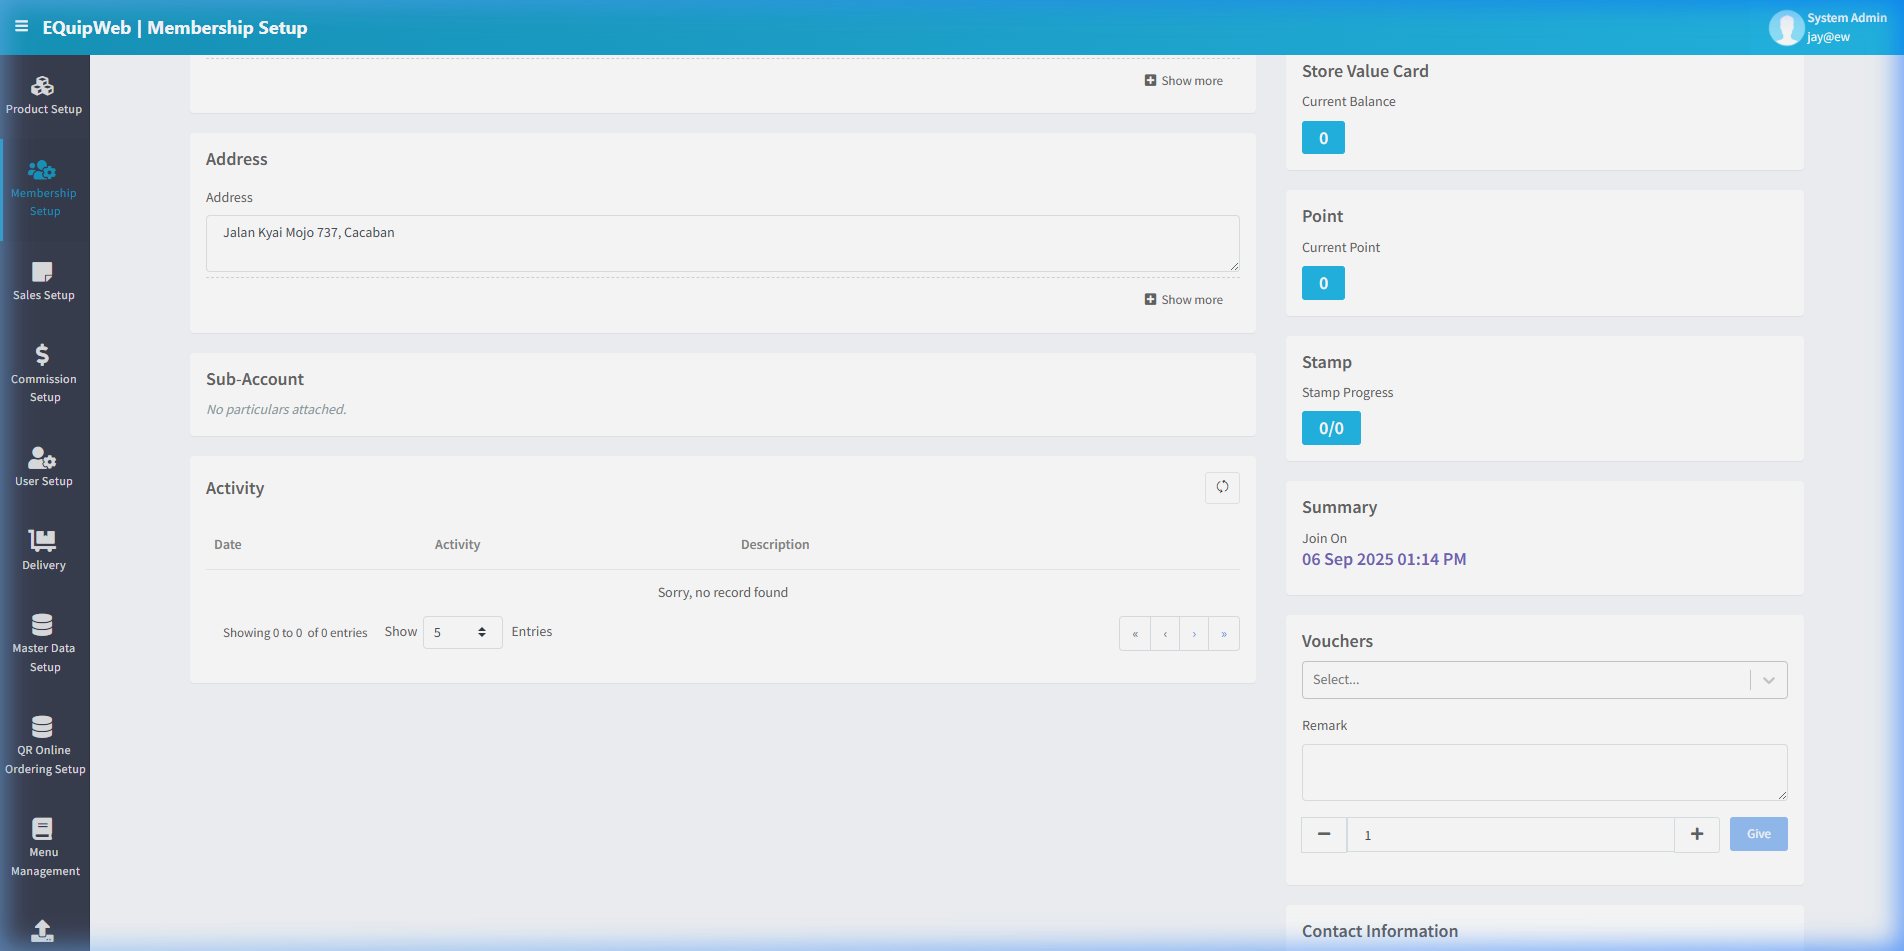
- Click the blue member name or ID link. The edit form opens — it looks the same as the "Add New" form, but all fields are already filled in with the current values.
-
Change the fields you need to update.
-
Click Save to apply your changes.
Expected Result: The member record is saved and updated.
[!TIP] To make changes, just click the name of any member in the list — the same form opens with everything already filled in. Change what you need and click Save.
💡 Example
Scenario: A retail store registers a new walk-in customer as a member.
- Customer fills in a registration form at the counter.
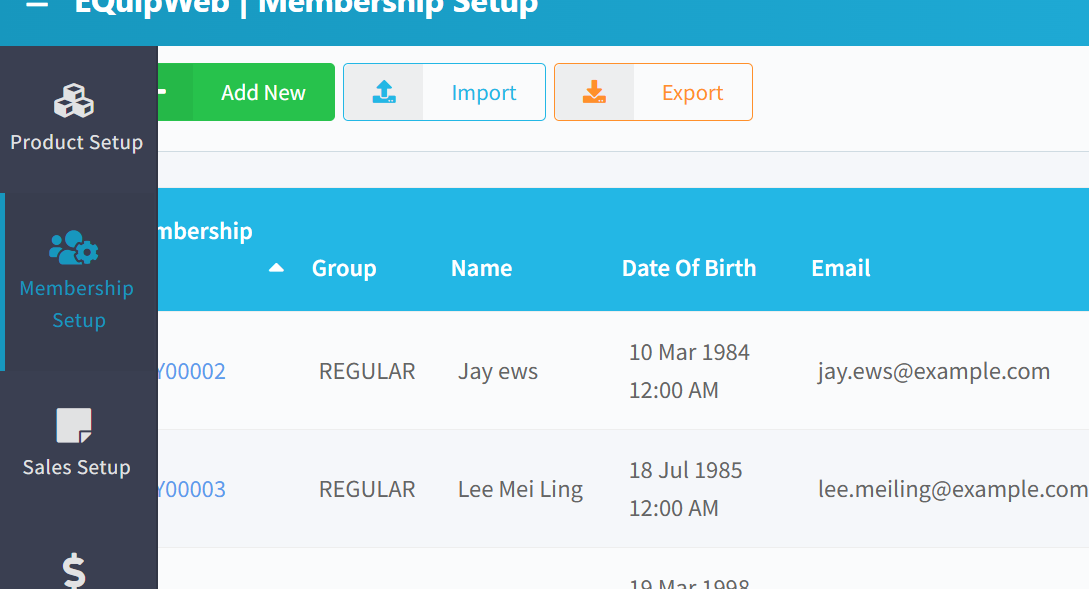
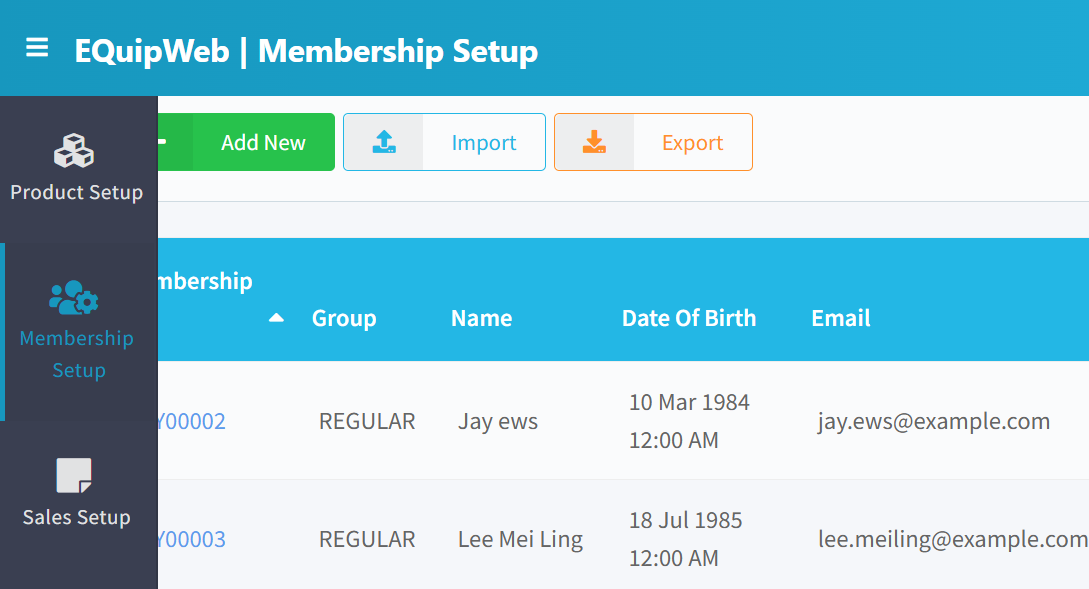 2. Cashier goes to Membership List → Click + Add New.
 3. Fill in:
- Membership No:
MEM00100(or auto-generated) - First Name:
Sarah, Last Name:Tan - Mobile:
+6591234567 - Email:
sarah.tan@email.com - DOB:
1990-05-15 - Membership Group: Regular (default tier)
- Click Save.
 5. Sarah is now registered → She starts earning points on every purchase.
6. After spending $500, she qualifies for automatic upgrade to Gold tier (if auto-upgrade is configured in the Membership Group).
5. Sarah is now registered → She starts earning points on every purchase.
6. After spending $500, she qualifies for automatic upgrade to Gold tier (if auto-upgrade is configured in the Membership Group).
[!TIP] Use Import to bulk-register members when migrating from another system. The Excel template includes all required fields. This saves hours of manual data entry for large member databases.
[!NOTE] Members can also be registered directly at the POS terminal using the Quick Add form, which captures minimal info (name, mobile, email) without leaving the sales flow.
Access & Permissions
| Role | View | Create | Edit | Delete |
|---|---|---|---|---|
| Admin | Yes | Yes | Yes | Yes |
| Supervisor | Yes | Yes | Yes | No |
| Cashier | No backend access | — | — | — |
[!NOTE] Exact permissions depend on the Privileges Setup configured for each role. Contact your administrator if you cannot access this page.
Business Rules
- Records that are linked to active transactions or other modules cannot be permanently deleted
- Changes made here will take effect on POS terminals after the next sync
- Deleted records can be restored from the list using the Show Deleted filter
- All changes are logged with the user who made them and the timestamp
How to Delete a Membership
- Navigate to Membership Setup from the sidebar menu.
2. Click the name or code link (blue text) of the record you want to delete.
3. In the edit form, scroll down to the bottom.
4. Click the Delete button (red button).
5. A confirmation dialog appears — click Yes to confirm deletion.
Expected Result: The record is soft-deleted — it is hidden from the active list and POS terminals but can be restored later using the "Show Deleted" filter.
[!WARNING] Records linked to active transactions or other modules cannot be deleted. The system will display an error if deletion is not allowed.
How to Add a New Membership
- Navigate to Membership Setup from the sidebar menu.
-
Click the + Add New button (green button).
-
Fill in the required fields in the form.
-
Fill in any optional fields as needed.
-
Click Save to create the new membership.
✅ Expected Result: The new membership appears in the list and is available for use across the system.
FAQ
Q: Why is the member not receiving points? A: Check that the member's group has benefit rules configured in Membership Benefit. Also verify the transaction qualifies (minimum spend, eligible products).
Q: Can I merge duplicate member records? A: This must be done by your system administrator. Contact support with both member IDs for assistance.
Q: How do I transfer a member to a different group? A: Edit the member record and change the Membership Group field. The change takes effect immediately.
Troubleshooting
| Issue | Possible Cause | Solution |
|---|---|---|
| Cannot save the record | Required fields are empty or invalid | Check all fields marked with * and fill in valid data |
| Record not appearing in POS | POS terminal has not synced yet | Wait for the next sync cycle or manually trigger sync from Terminal Status |
| Cannot delete the record | Record is being used by other modules | Check if the record is linked to active transactions, products, or other settings |
| Changes not taking effect | Browser cache showing old data | Refresh the page (Ctrl+F5) or clear browser cache |
| "Duplicate" error on save | A record with the same name/code already exists | Search the list (including deleted records) for duplicates |
| Page not loading | Session expired or network issue | Log out and log back in. Check your internet connection |
Related Menus
- Product Setup > Promotion Setup — member-only promotions
- Sales Setup > Discount Setup — member discount types
- Sales Setup > Voucher Setup — voucher redemption for members
- Setting > Membership Compulsory — require membership at checkout
Open Questions / Confirmation Needed
[!NOTE] The following items may vary depending on your system version and configuration:
- Exact permission settings depend on your Privileges Setup configuration
- Sync timing to POS terminals depends on network conditions and sync schedule
- Some features may require additional licensing or module activation
- Field behavior may differ between EQuip versions
If you encounter behavior not described in this manual, contact your system administrator or EQuip support team.
Related Articles
Membership Group Setup
? Backend — EQuipWebRetail ModeMembership Setup Chapter 3: Membership Setup — 3.2 Membership Group Setup Use Membership Group Setup to create your loyalty tiers — like Regular, Gold, Platinum, or Diamond. Each tier can have different benefits, ...Membership Benefit Setup
? Backend — EQuipWebRetail ModeMembership Setup Chapter 3: Membership Setup — 3.3 Membership Benefit Setup Use Membership Benefit Setup to give your loyalty members automatic discounts. For example, Gold members might get 10% off all purchases. Set ...Membership Compulsory
? Backend — EQuipWebRetail ModeSetting Chapter 12: Setting — 12.8 Membership Compulsory Setup Use Membership Compulsory Setup to choose which fields are required when registering a new member. For example, make "Phone Number" and "Email" mandatory, ...Membership Importer
? Backend — EQuipWebRetail ModeData Importer & Exporter Chapter 10: Data Importer — 10.3 Membership Importer Use Importer to manage and configure this feature in your EQuipWeb system. Use the Membership Importer to add many members at once from a ...Membership Integration Settings
? Backend — EQuipWebRetail ModeMembership Setup Chapter 3: Membership Setup — 3.4 Membership Integration Settings Use Membership Integration Settings to connect your EQuip loyalty system with external CRM or marketing platforms. This allows member ...