Currency Setup
Chapter 4: Sales Setup — 4.8 Currency Setup
Use Currency Setup to add the currencies your business accepts. If you only accept one currency (e.g., SGD), it's already set up for you. Multi-currency businesses can add USD, MYR, or others here.
When to use this: When your business accepts payments in multiple currencies.
Prerequisites
- No prerequisites — currencies are independent setup
Currency List
📝 General Description
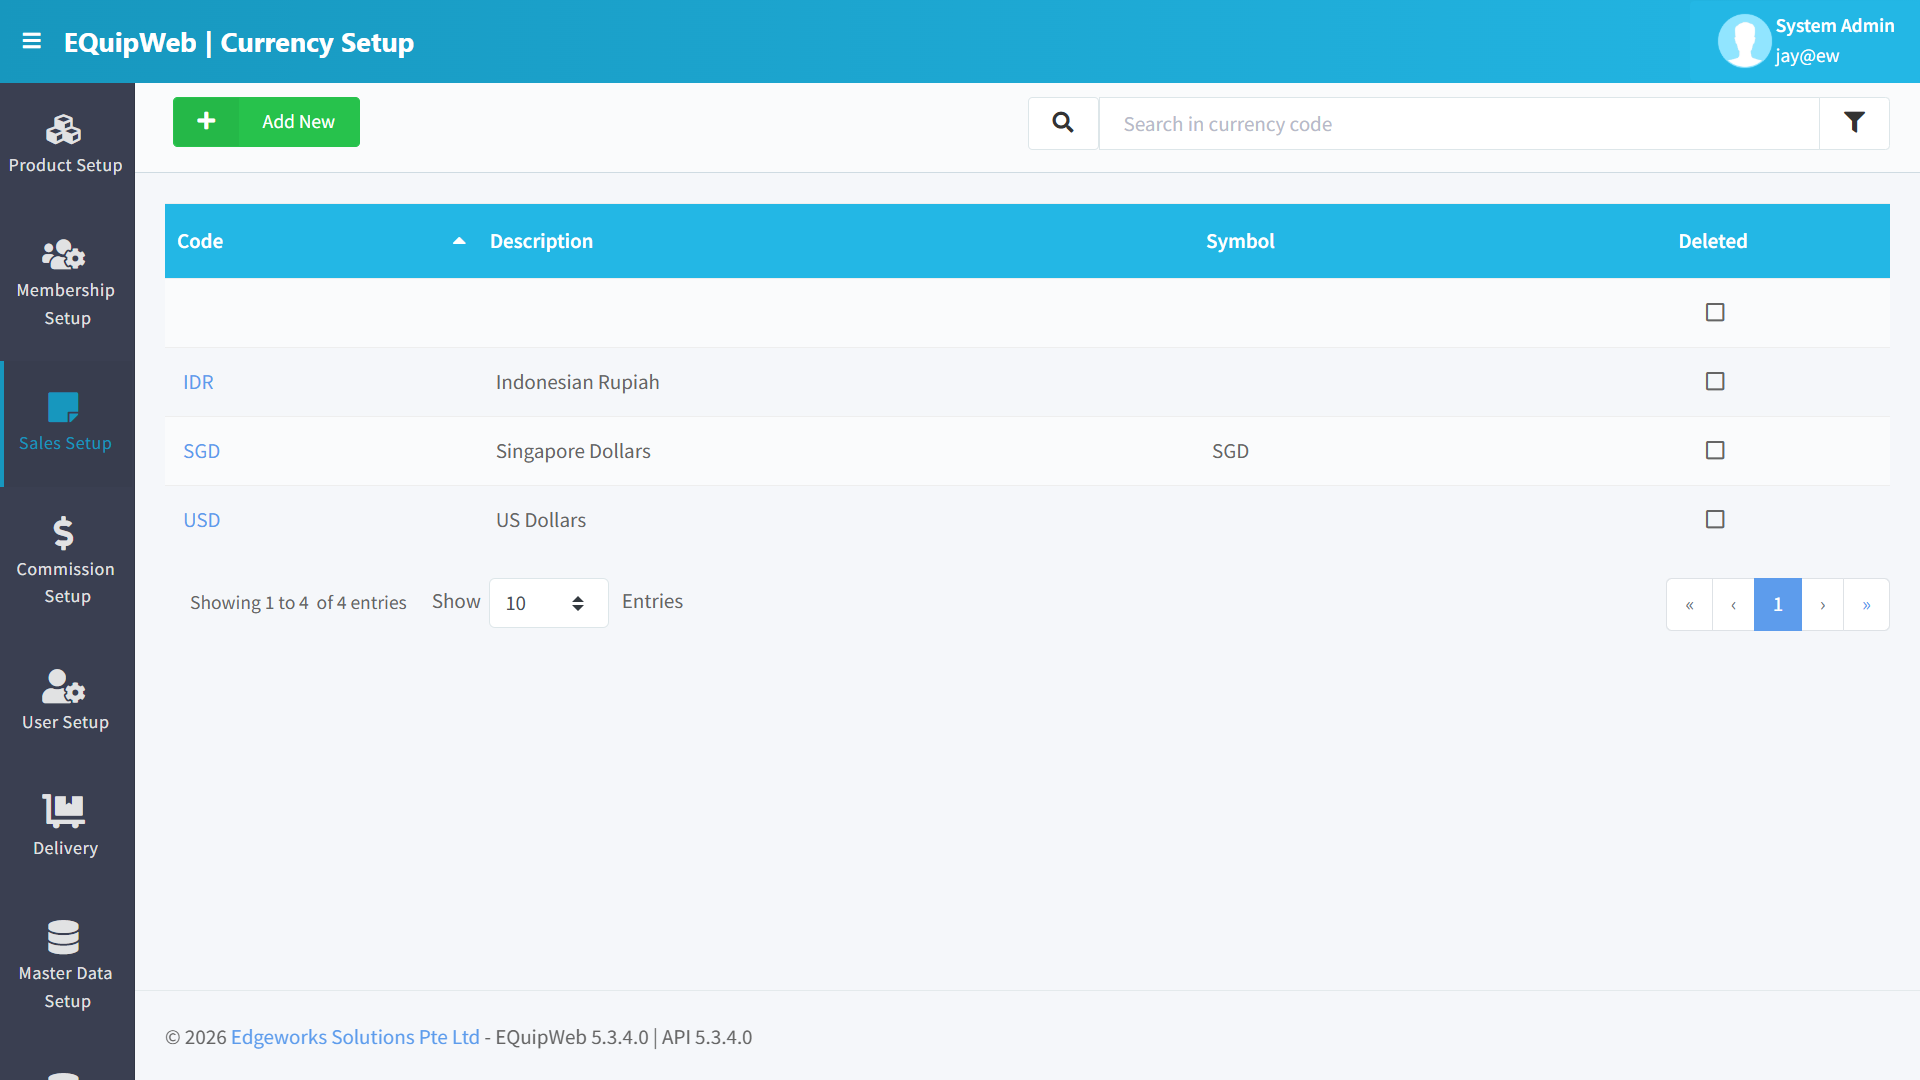
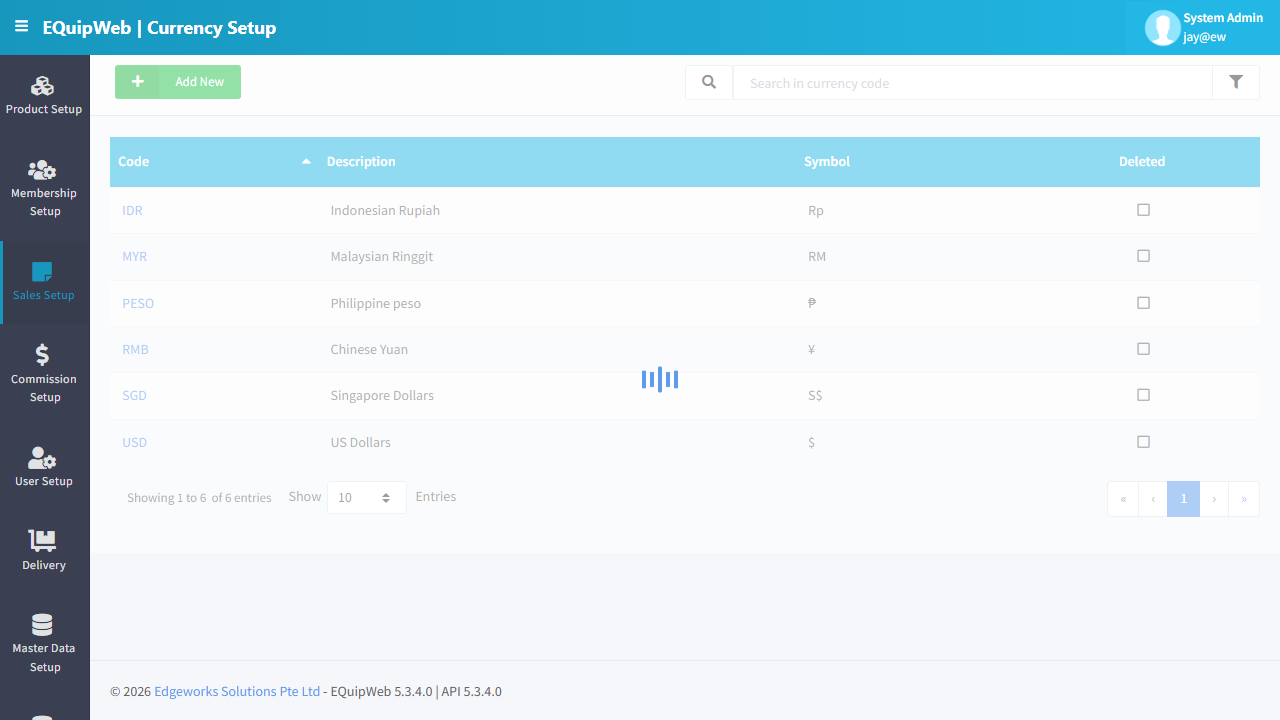
This page displays all currencies configured in the system. Currencies defined here become available in the Exchange Rate Setup (Section 4.7) dropdown. The system comes pre-configured with common currencies, but you can add custom currencies as needed.
⚙️ UI Elements
| Element | Type | Function |
|---|---|---|
| + Add New | Green Button | Create a new currency entry |
| 🔍 Search in currency code | Text Input | Filter by currency code |
| 🔽 Filter | Funnel Icon | Show/hide deleted entries |
4.8.1 Data Grid Columns
| Column | Description |
|---|---|
| Code | Currency code — standard ISO 4217 code (e.g., IDR, MYR, USD). Clickable → opens edit form |
| Description | Full currency name (e.g., Indonesian Rupiah, Malaysian Ringgit) |
| Symbol | Currency symbol (e.g., Rp, RM, $, ¥, ₱, S$) |
| Deleted | Soft-delete checkbox |
4.8.2 How to Add a Currency
- Navigate to Sales Setup → Currency Setup.
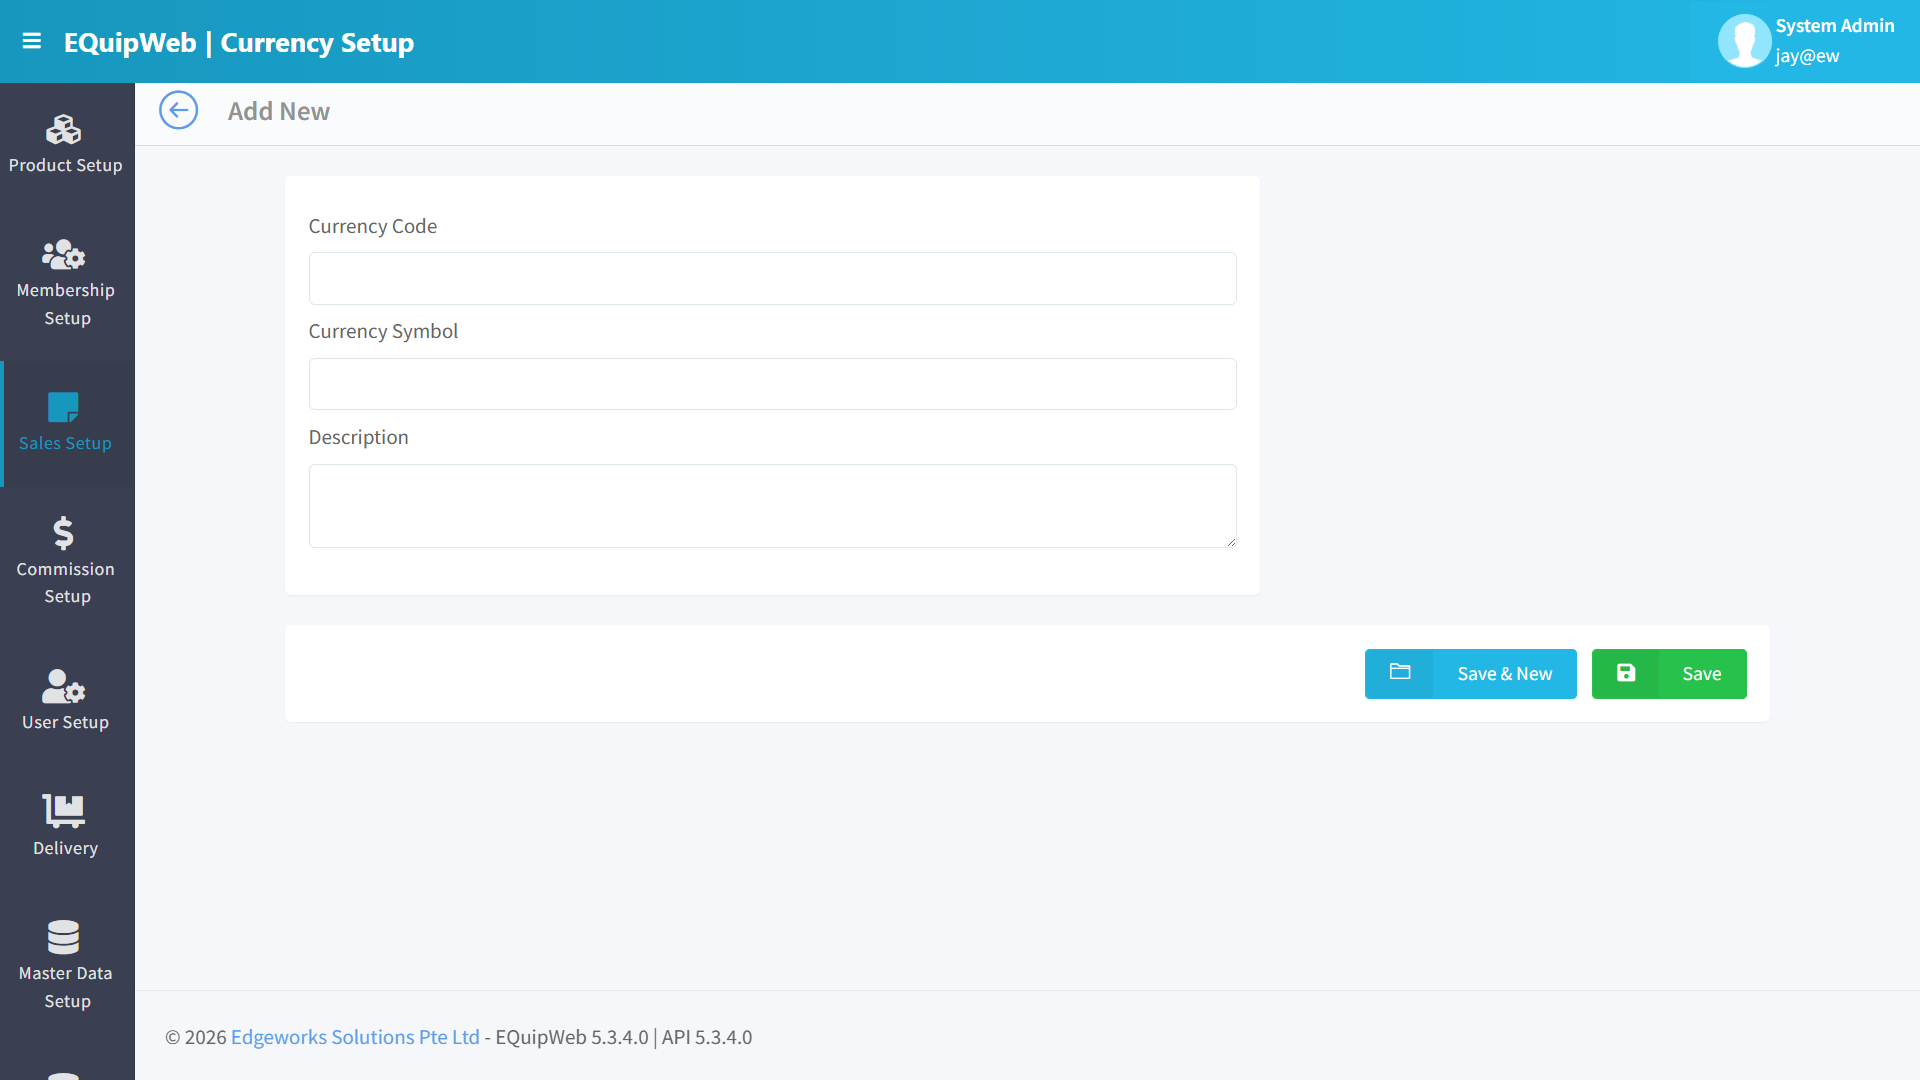 2. Click the green + Add New button.
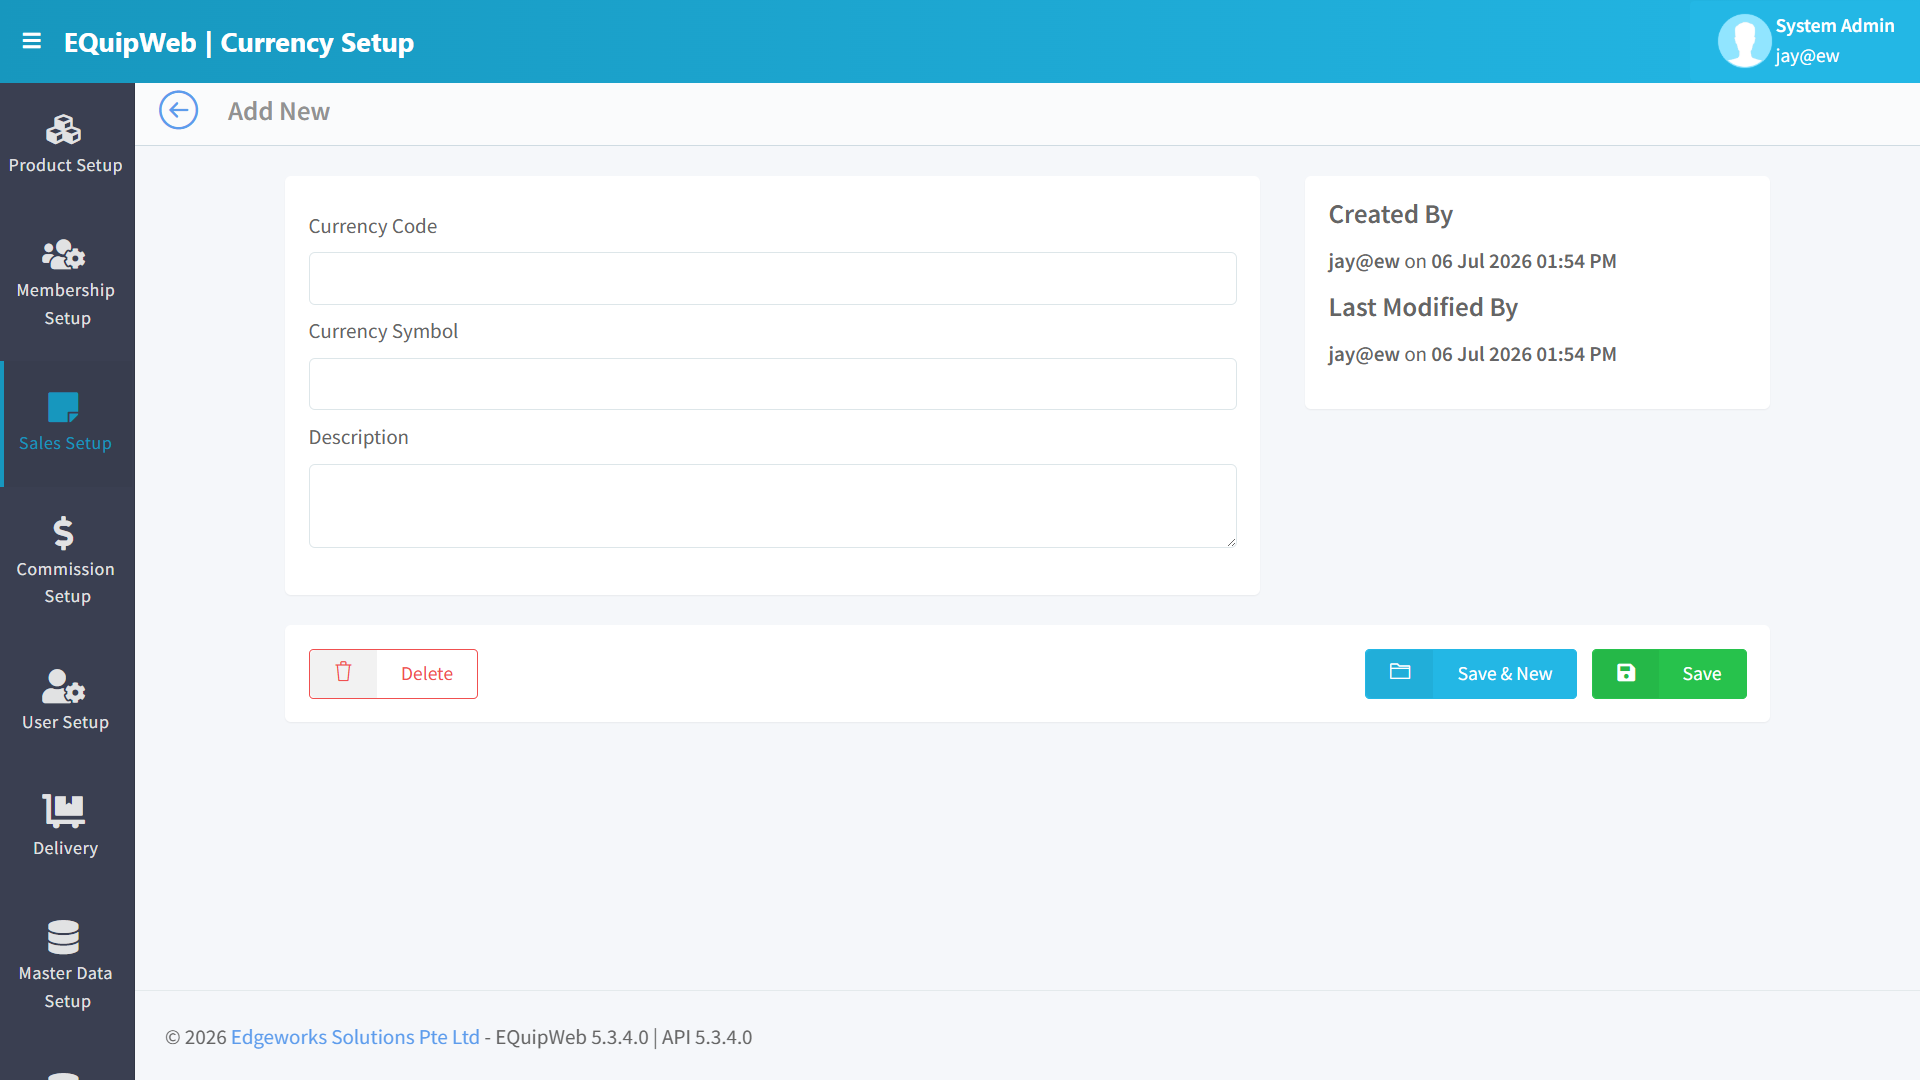
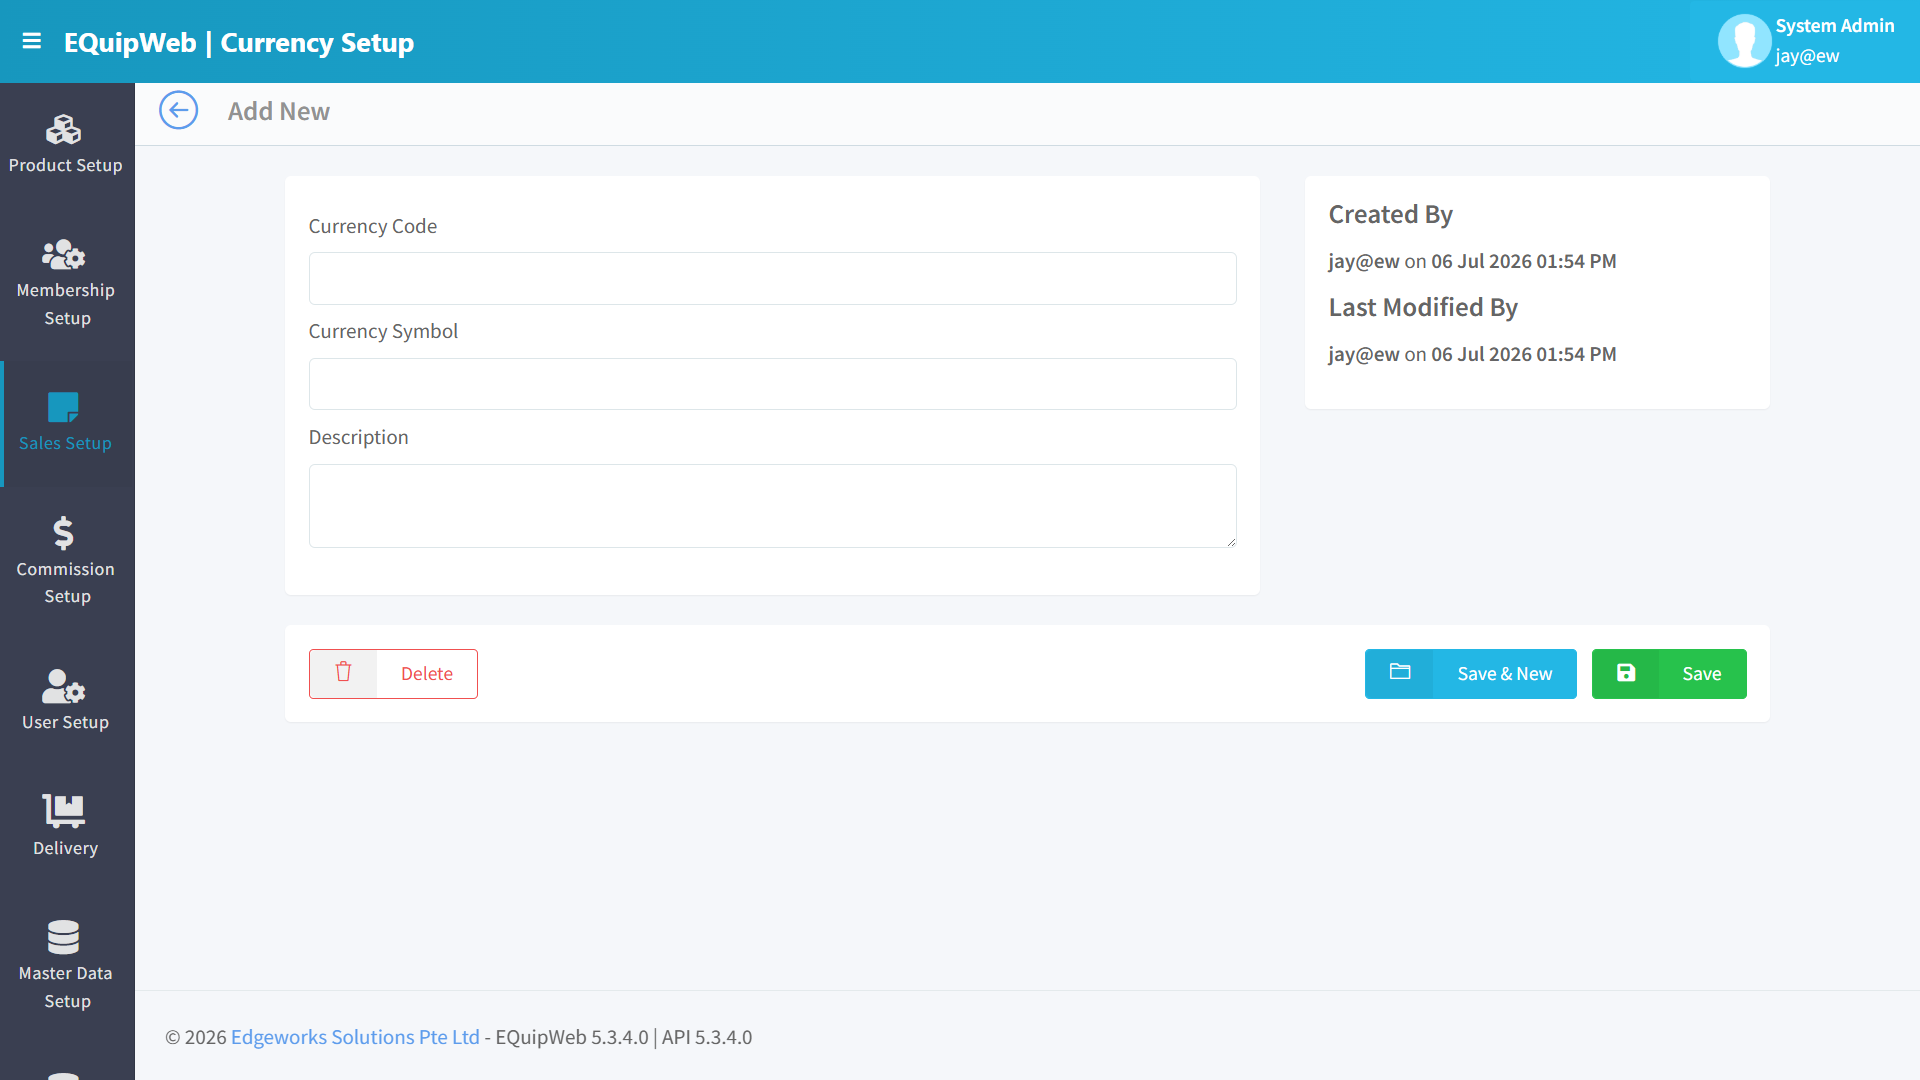
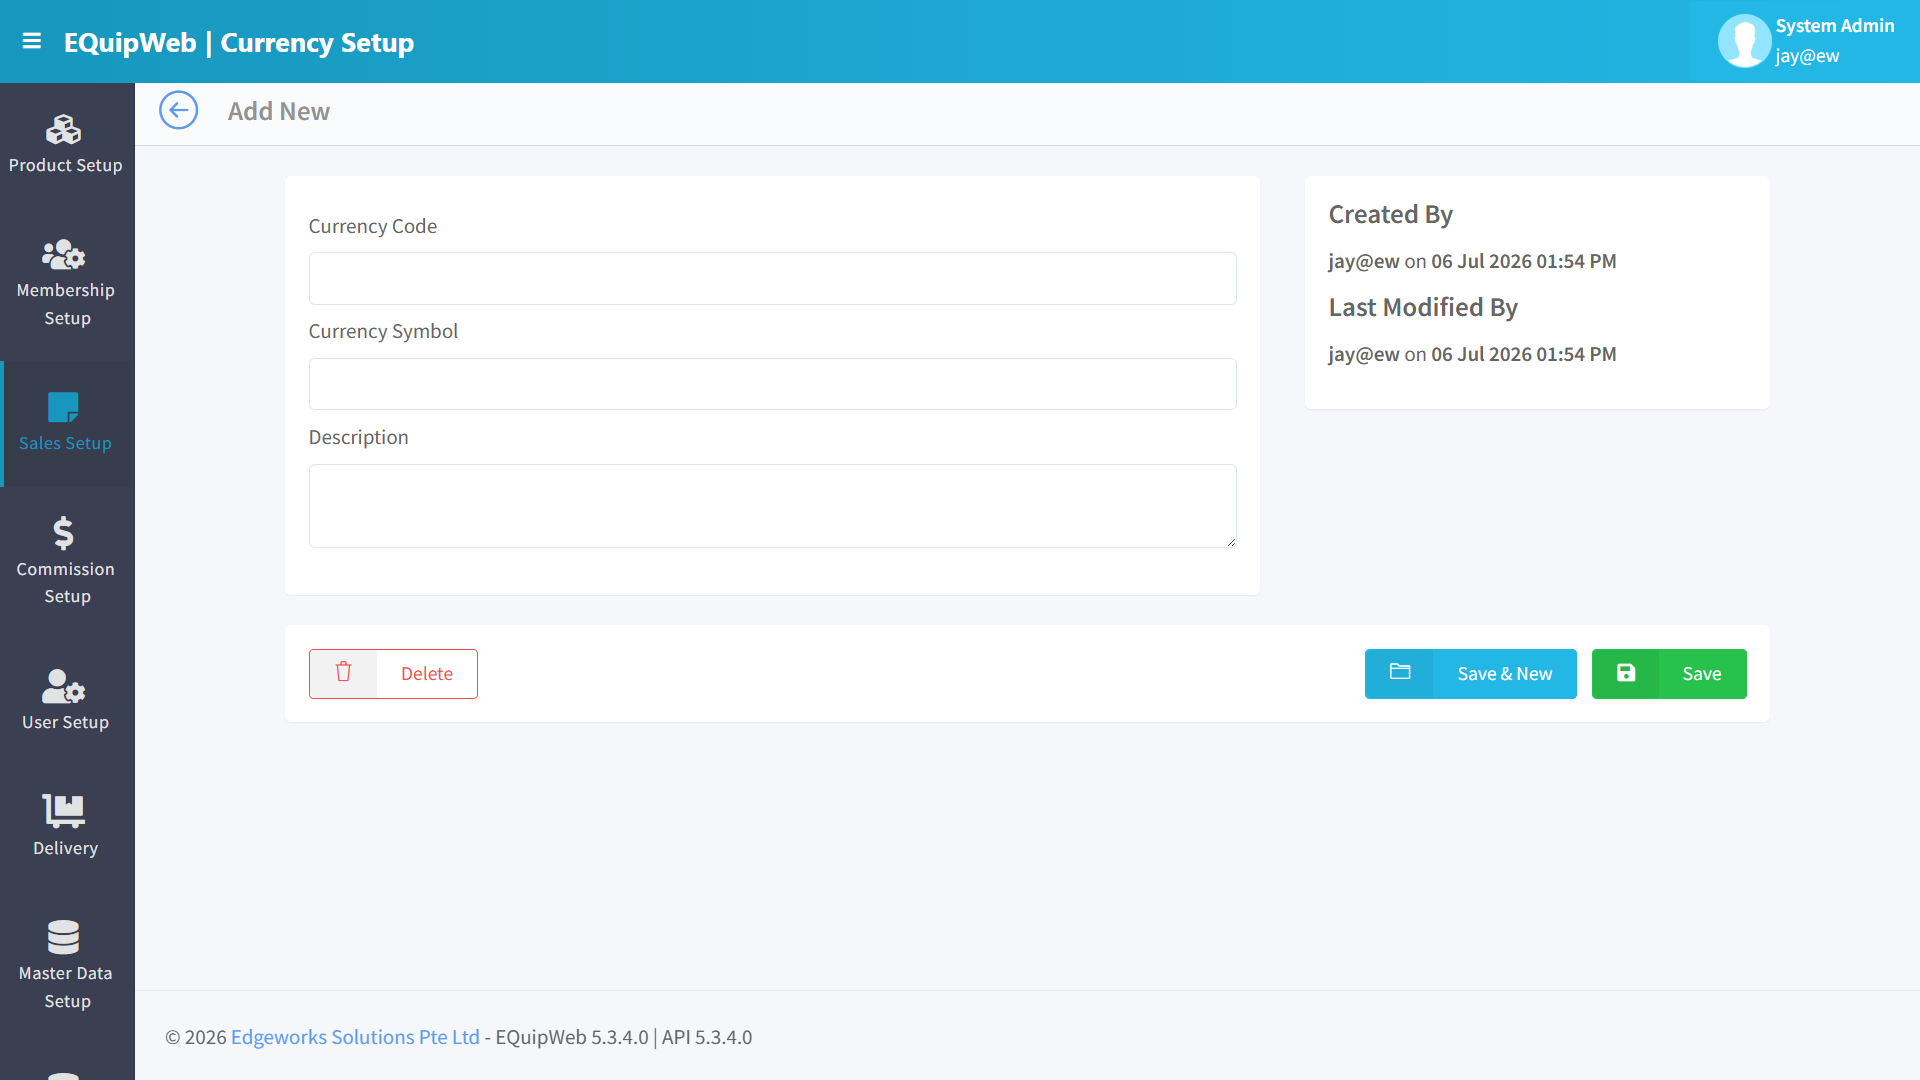
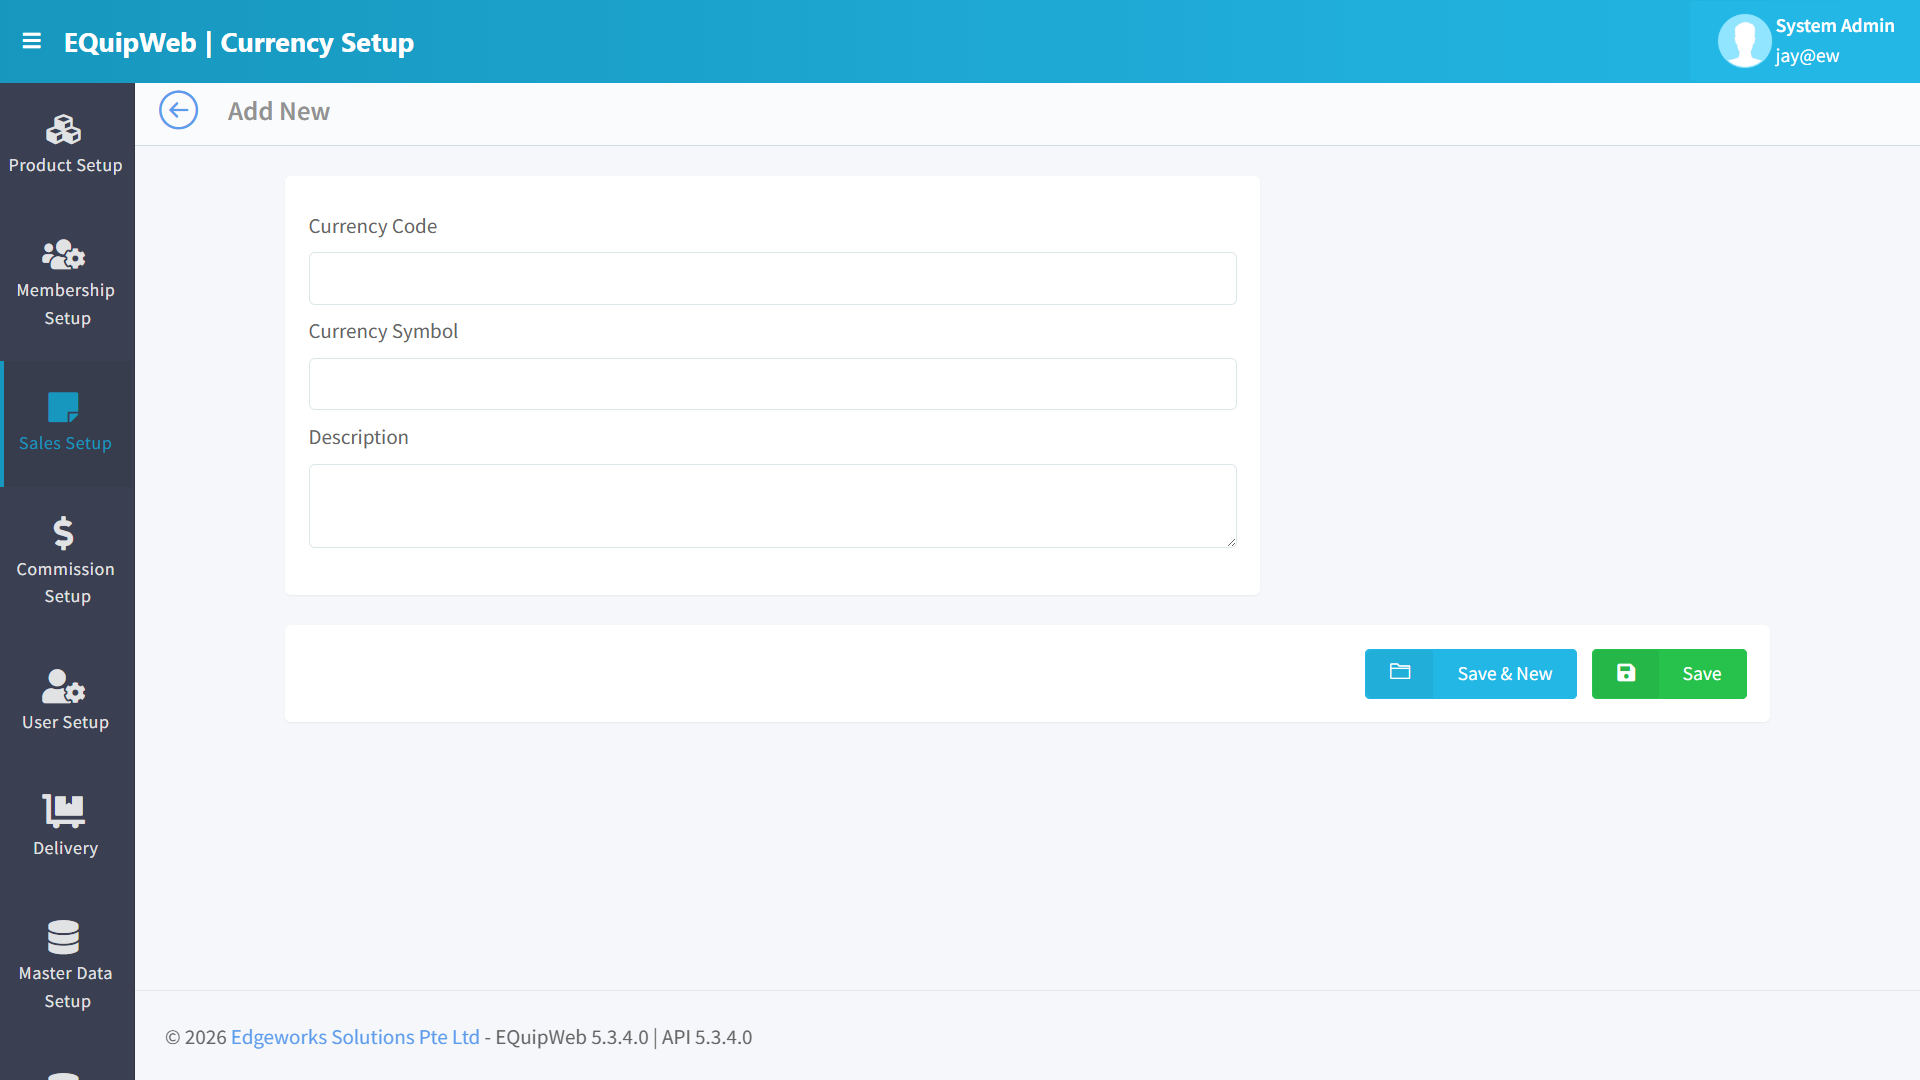 3. The Add New form opens:
Form Fields
| Field | Type | Required | Description |
|---|---|---|---|
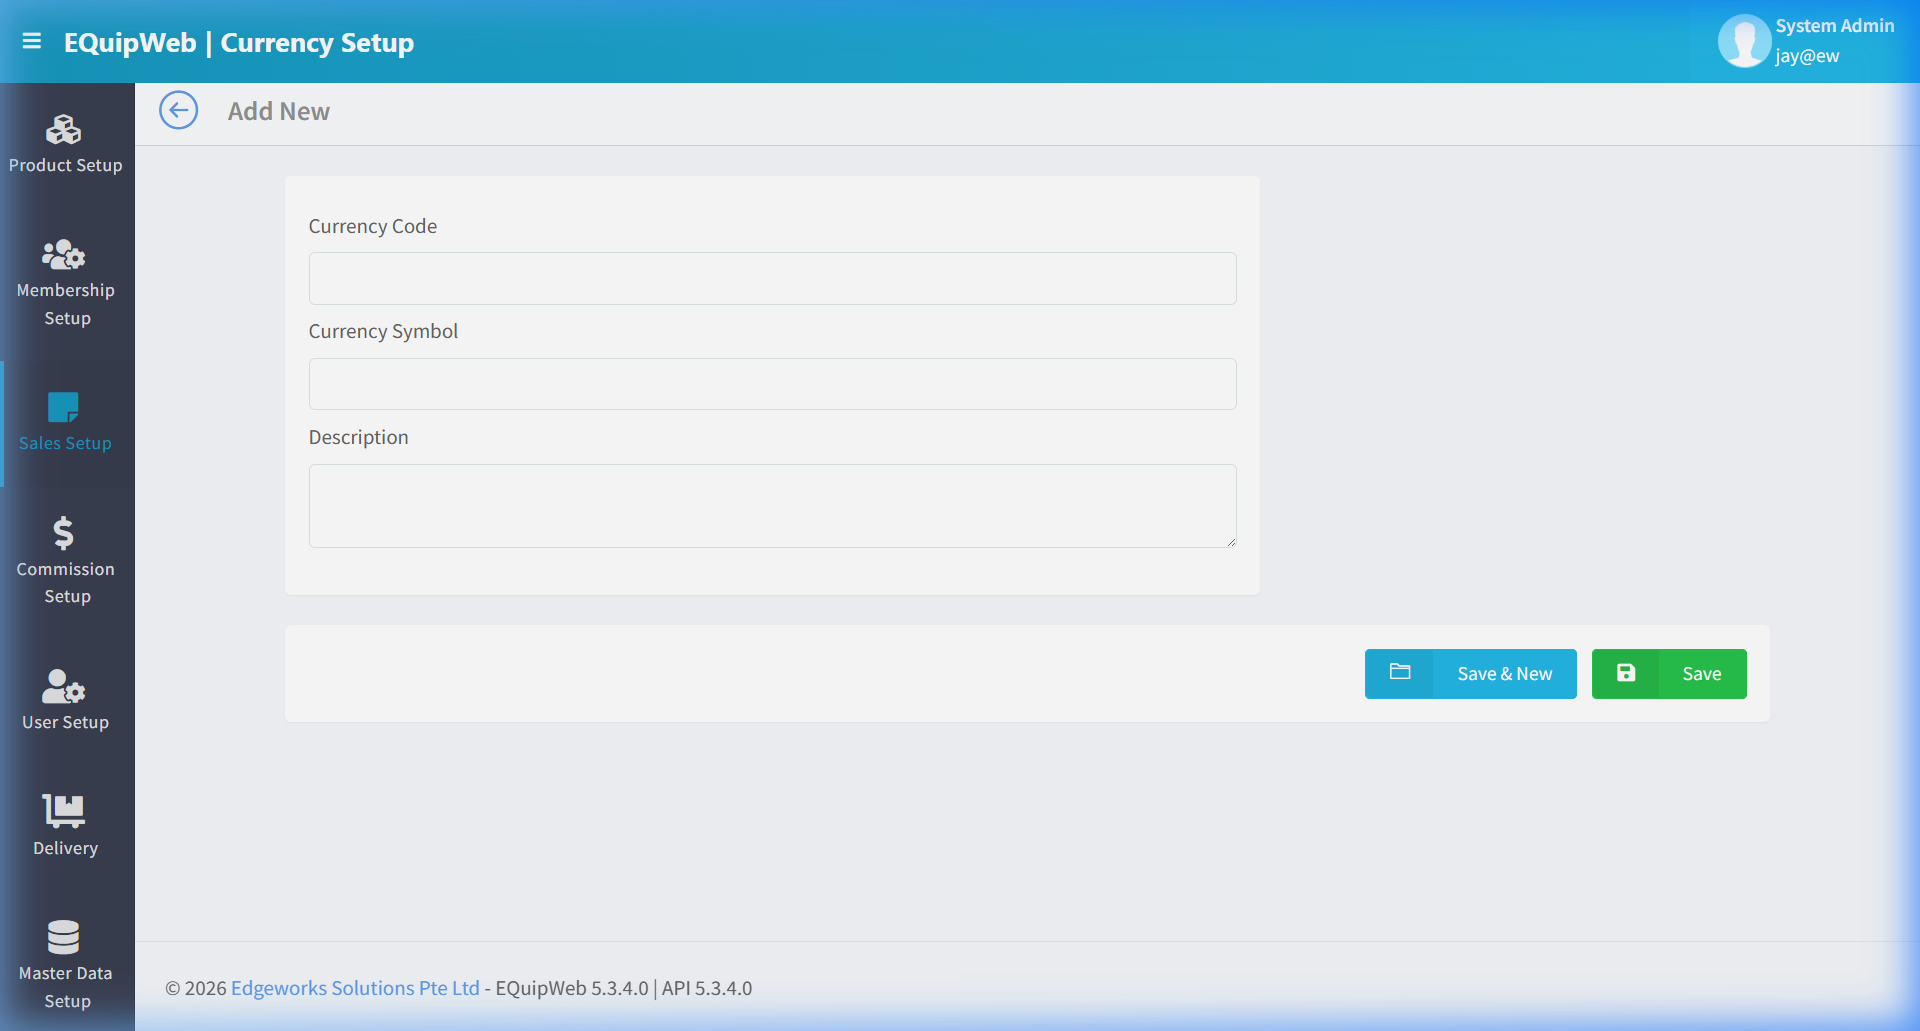
| Currency Code | Text Input | ✅ Yes | ISO 4217 code (e.g., THB, EUR, JPY). Must be unique |
| Currency Symbol | Text Input | ✅ Yes | Display symbol (e.g., ฿, €, ¥) |
| Description | Textarea | No | Full currency name (e.g., Thai Baht, Euro, Japanese Yen) |
- Enter the Currency Code (e.g.,
EUR).
 5. Enter the Currency Symbol (e.g.,
 €).
 6. Enter a Description (e.g.,
 Euro).
 7. Click Save.
Expected Result: The currency is saved.
4.8.3 How to Edit a Currency
- Click the Code link (blue text) in the data grid.
2. The edit form opens with current values pre-filled.
3. Modify the Currency Symbol or Description as needed.
4. Click Save.
[!NOTE] The Currency Code cannot be changed after creation — it is used as the primary key. If you need a different code, delete this entry and create a new one.
4.8.4 How to Delete a Currency
- Open the edit form by clicking the Code link.
2. Click Delete button.
3. The currency is safely deleted and will no longer appear in the Exchange Rate Setup dropdown.
[!WARNING] Do not delete a currency that is currently used in Exchange Rate Setup. Delete the exchange rate entry first, then delete the currency.
4.8.5 Pre-configured Currencies
The system includes these currencies by default:
| Code | Description | Symbol |
|---|---|---|
| IDR | Indonesian Rupiah | Rp |
| MYR | Malaysian Ringgit | RM |
| PESO | Philippine peso | ₱ |
| RMB | Chinese Yuan | ¥ |
| SGD | Singapore Dollars | S$ |
| USD | US Dollars | $ |
Bottom Action Buttons
| Button | Color | Position | Function |
|---|---|---|---|
| Save & New | Green (outline) | Bottom-right | Save current entry and open a blank Add New form |
| Save | Green (solid) | Bottom-right | Save the current entry |
💡 Tips
[!TIP] Use standard ISO 4217 currency codes (e.g., SGD, USD, EUR) for consistency. The Description field is for display purposes, so you can use any human-readable name.
[!IMPORTANT] Currencies must be created here before they can be used in Exchange Rate Setup (Section 4.7). If a currency is missing from the Exchange Rate dropdown, add it here first.
[!NOTE] The base currency for your system is set in Company Setup (Section 8.9). The Currency Setup page manages additional foreign currencies that your POS can accept as payment.
Access & Permissions
| Role | View | Create | Edit | Delete |
|---|---|---|---|---|
| Admin | Yes | Yes | Yes | Yes |
| Supervisor | Yes | Yes | Yes | No |
| Cashier | No backend access | — | — | — |
[!NOTE] Exact permissions depend on the Privileges Setup configured for each role. Contact your administrator if you cannot access this page.
How to Add a New Currency
- Navigate to Currency Setup from the sidebar menu.
-
Click the + Add New button (green button).
-
Fill in the required fields in the form.
-
Fill in any optional fields as needed.
-
Click Save to create the new currency.
✅ Expected Result: The new currency appears in the list and is available for use across the system.
How to Edit a Currency
- Navigate to Currency Setup from the sidebar menu.
-
Click on the name or code link (blue text) of the record you want to edit.
-
The edit form opens with all current values pre-filled. Modify the fields as needed.
- Click Save to apply your changes.
✅ Expected Result: The currency is updated and changes take effect immediately.
How to Delete a Currency
- Navigate to Currency Setup from the sidebar menu.
-
Click on the name or code link (blue text) of the record you want to delete.
-
In the edit form, scroll down to the bottom.
- Click the Delete button (red button).
- A confirmation dialog appears — click Yes to confirm.
✅ Expected Result: The currency is soft-deleted — hidden from active lists and POS but can be restored later.
[!WARNING] Records linked to active transactions or other modules cannot be deleted. The system will display an error if deletion is not allowed.
FAQ
Q: Why is this payment mode not appearing on the POS? A: Check that the payment mode is marked as Active and assigned to the correct outlet. The POS also needs to sync.
Q: Can I edit a completed sales transaction? A: No. Completed transactions cannot be edited. You can void the transaction and create a new one if correction is needed.
Q: How do I set up a new tax rate without affecting past transactions? A: Create a new GST rate with a future Commence Date. The system will automatically apply the old rate to past transactions and the new rate from the effective date.
Troubleshooting
| Issue | Possible Cause | Solution |
|---|---|---|
| Cannot save the record | Required fields are empty or invalid | Check all fields marked with * and fill in valid data |
| Record not appearing in POS | POS terminal has not synced yet | Wait for the next sync cycle or manually trigger sync from Terminal Status |
| Cannot delete the record | Record is being used by other modules | Check if the record is linked to active transactions, products, or other settings |
| Changes not taking effect | Browser cache showing old data | Refresh the page (Ctrl+F5) or clear browser cache |
| "Duplicate" error on save | A record with the same name/code already exists | Search the list (including deleted records) for duplicates |
| Page not loading | Session expired or network issue | Log out and log back in. Check your internet connection |
Related Menus
- Product Setup > Product List — products linked to pricing
- Master Data > Outlet Setup — outlet-specific payment modes
- Master Data > POS Setup — POS terminal configuration
- Setting > Feature Setup — enable/disable sales features
Open Questions / Confirmation Needed
[!NOTE] The following items may vary depending on your system version and configuration:
- Exact permission settings depend on your Privileges Setup configuration
- Sync timing to POS terminals depends on network conditions and sync schedule
- Some features may require additional licensing or module activation
- Field behavior may differ between EQuip versions
If you encounter behavior not described in this manual, contact your system administrator or EQuip support team.
Related Articles
Supplier Setup
? Backend — EQuipWebRetail ModeMaster Data Setup Chapter 8: Master Data Setup — 8.8 Supplier Setup Use Supplier Setup to keep track of your vendors and distributors. Store their contact details, payment terms, and product catalogs here. When you ...Exchange Rate Setup
? Backend — EQuipWebRetail ModeSales Setup Chapter 4: Sales Setup — 4.7 Exchange Rate Use Exchange Rate Setup to set the conversion rates when you accept foreign currency. For example, if a tourist pays in USD, the system will convert it to your ...Company Setup (Settings)
Chapter 12: Setting — 12.9 Company Setup (System Level) Use Setup to manage and configure this feature in your EQuipWeb system. Use Company Setup (under Settings) to configure system-wide business settings — like your GST registration number, ...Membership Group Setup
? Backend — EQuipWebRetail ModeMembership Setup Chapter 3: Membership Setup — 3.2 Membership Group Setup Use Membership Group Setup to create your loyalty tiers — like Regular, Gold, Platinum, or Diamond. Each tier can have different benefits, ...Privileges Setup
? Backend — EQuipWebRetail ModeUser Setup Chapter 6: User Setup — 6.4 Privileges Setup Use Setup to manage and configure this feature in your EQuipWeb system. Privileges Setup is the master list of all permissions available in the system. Each ...