Setup Module Overview
Backend Setup — Module Overview and Getting Started Guide
The Setup Overview provides a quick-reference guide for initial system configuration. This page summarizes the recommended setup sequence to get a new EQuip system operational.
When to use this: When you're setting up EQuipWeb for the first time and need a quick-start guide.
Prerequisites
- User must have appropriate role permissions (see Access & Permissions above)
Getting Started — Setup Sequence
📝 General Description
When setting up a new EQuip system, follow this recommended sequence. Each step builds on the previous one — completing them in order ensures all dependencies are satisfied.
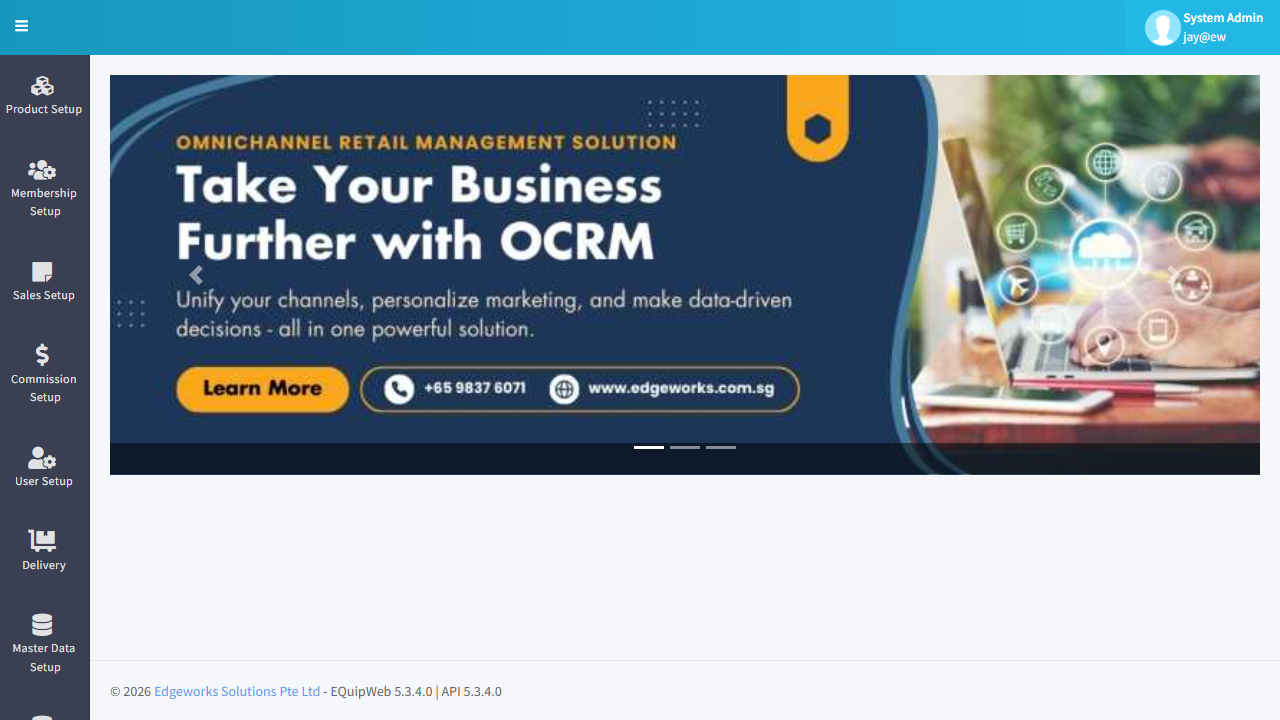
EQuipWeb Sidebar Navigation
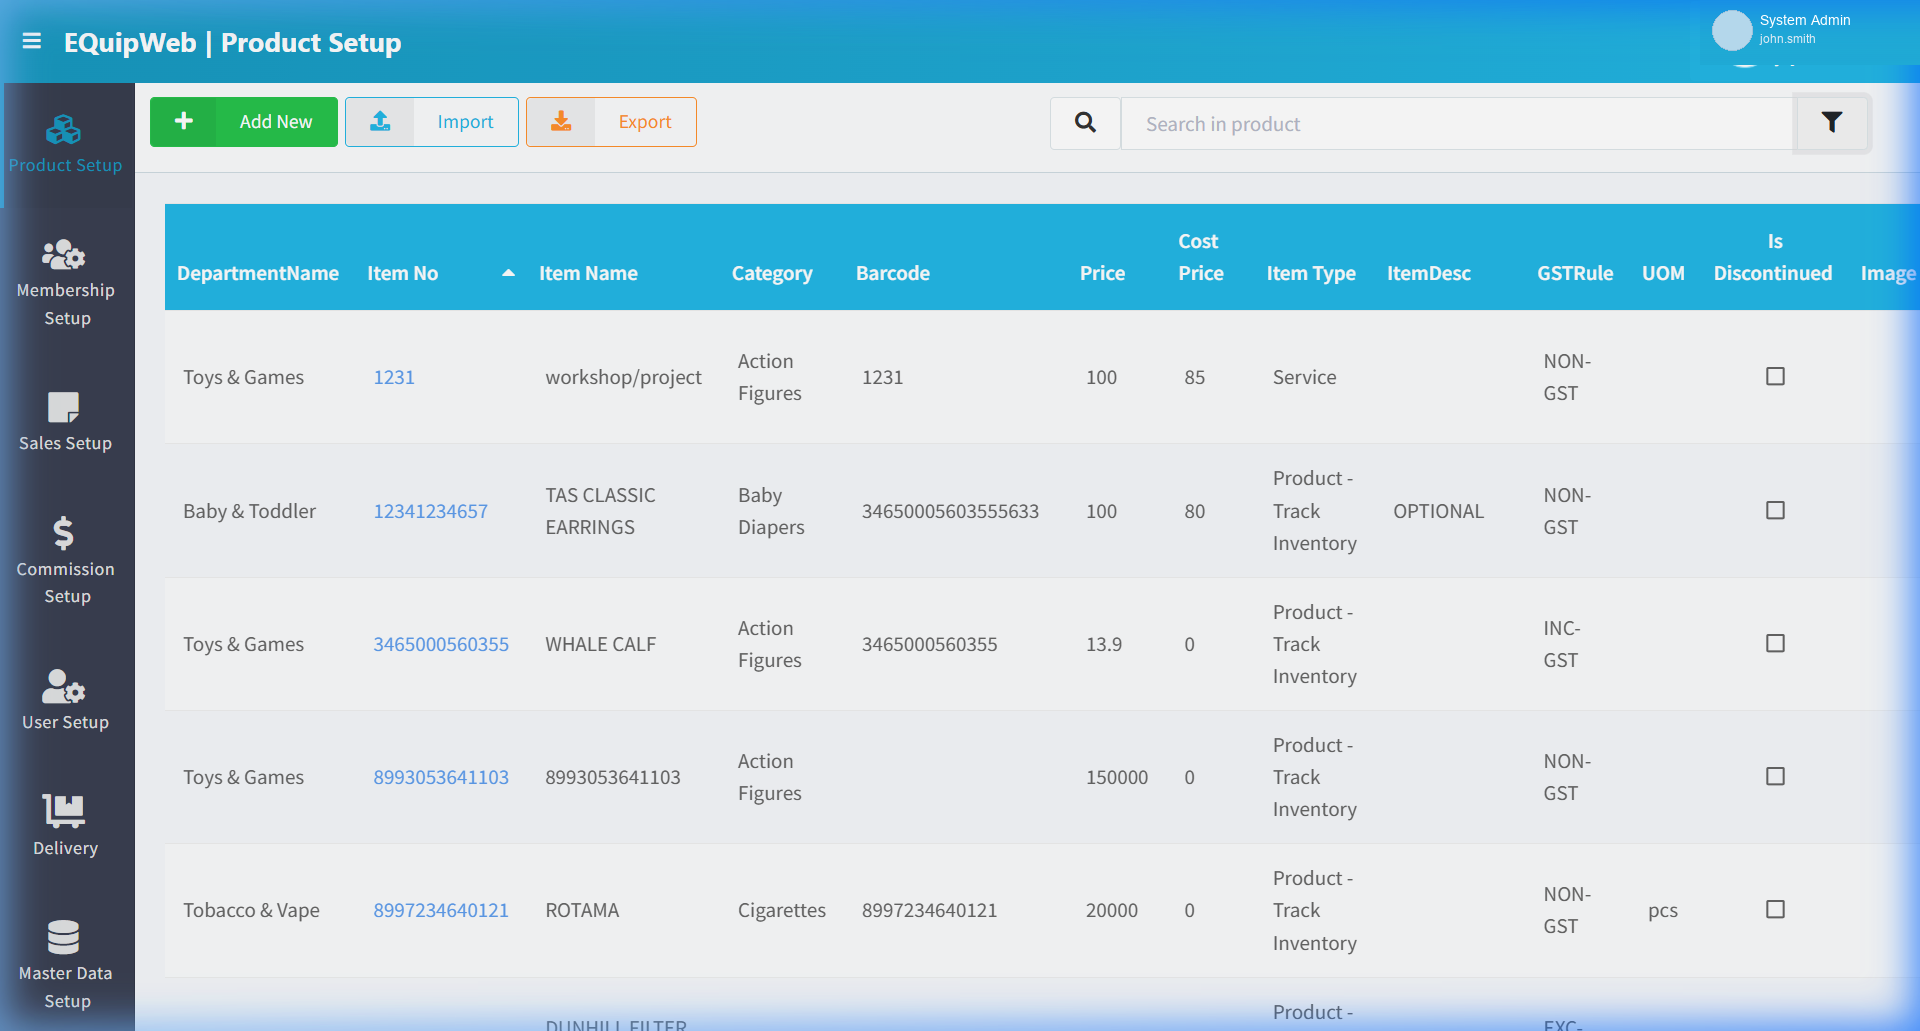
The left sidebar provides access to all backend modules. Icons are always visible; hover or expand to see full labels.
How to Start Setup
- Log in to EQuipWeb and you'll see the Dashboard. The sidebar on the left shows all available modules.
- Start with Master Data Setup — hover over the building icon in the sidebar and click Company Setup.
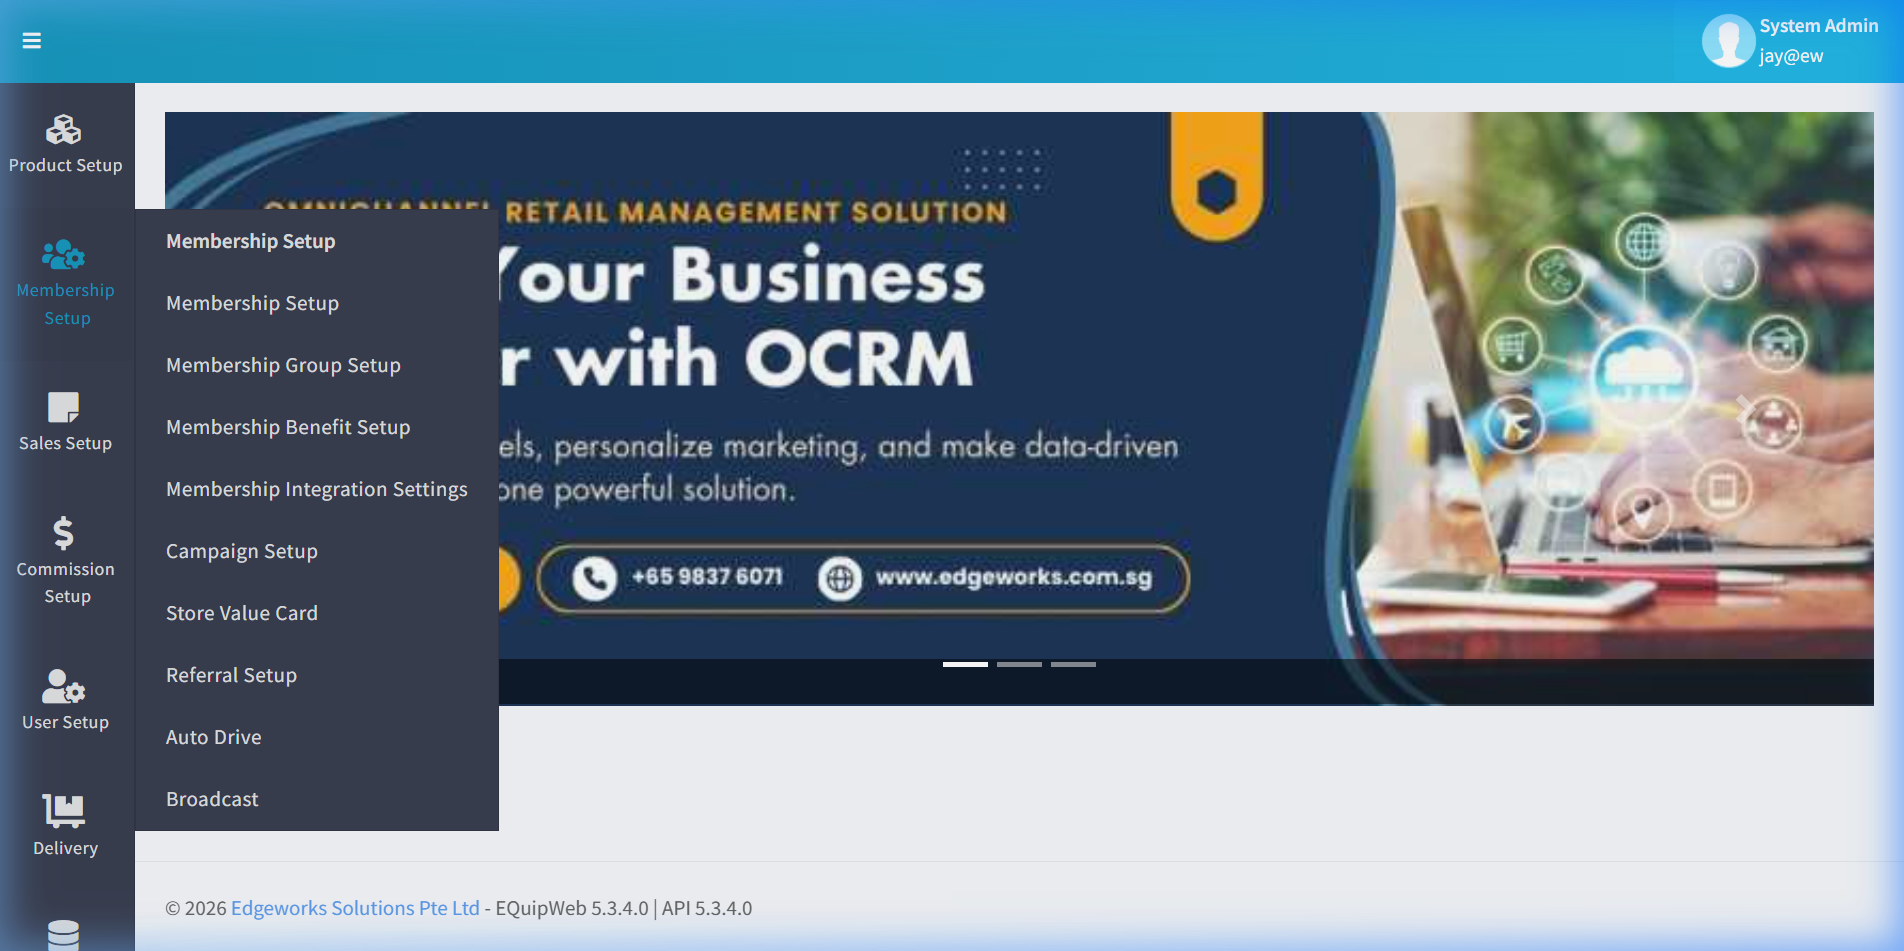
- Complete each phase below in order. Each step links to the relevant page in this wiki.
Phase 1: Foundation Setup
Complete these first — all other modules depend on them.
| Step | Module | Page | What to Configure |
|---|---|---|---|
| 1 | Master Data | Company Setup (8.9) | Company name, address, receipt name |
| 2 | Master Data | Inventory Location (8.5) | Create warehouse/stockroom locations |
| 3 | Master Data | Outlet Setup (8.3) | Create outlets and link to inventory locations |
| 4 | Master Data | POS Setup (8.2) | Register POS terminals for each outlet |
| 5 | User Setup | Role Setup (6.2) | Create user roles (Admin, Cashier, Supervisor) |
| 6 | User Setup | Role Privileges (6.3) | Configure access permissions for each role |
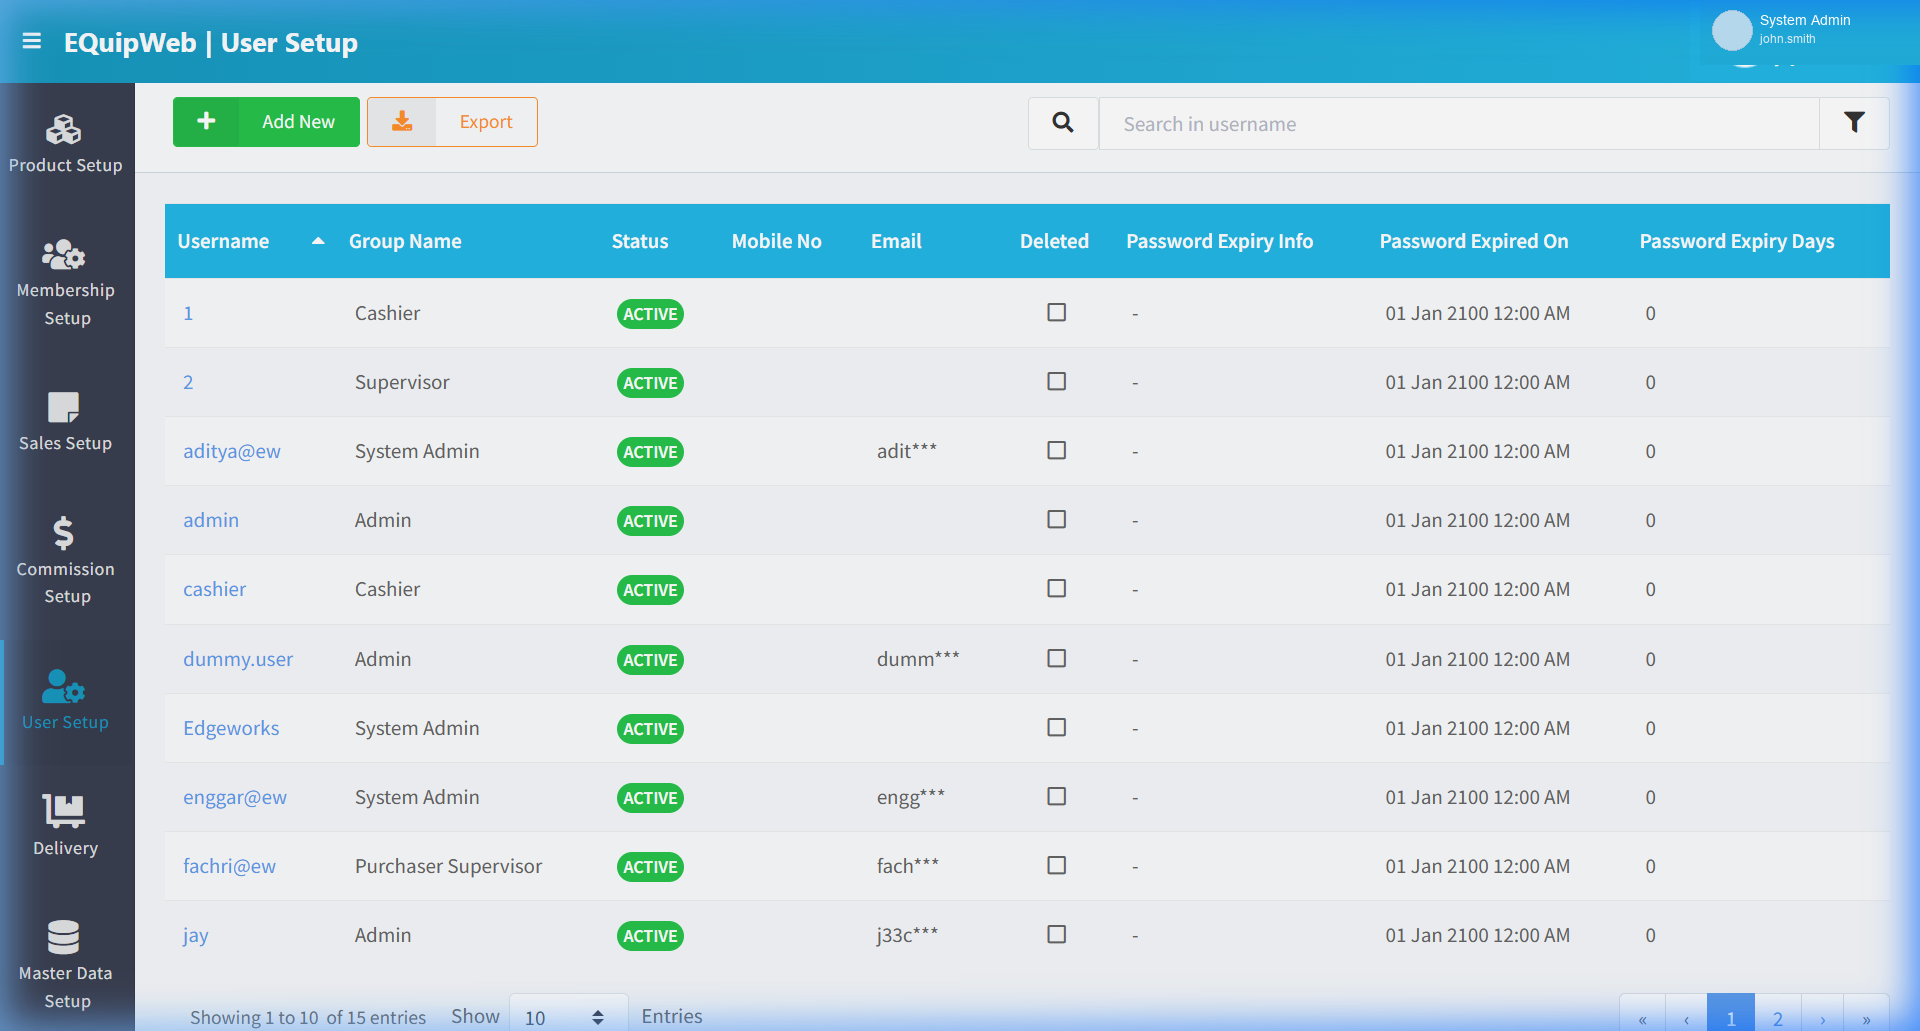
| 7 | User Setup | User List (6.1) | Create user accounts and assign roles |
Phase 2: Product & Sales Configuration
Set up what you sell and how you sell it.
| Step | Module | Page | What to Configure |
|---|---|---|---|
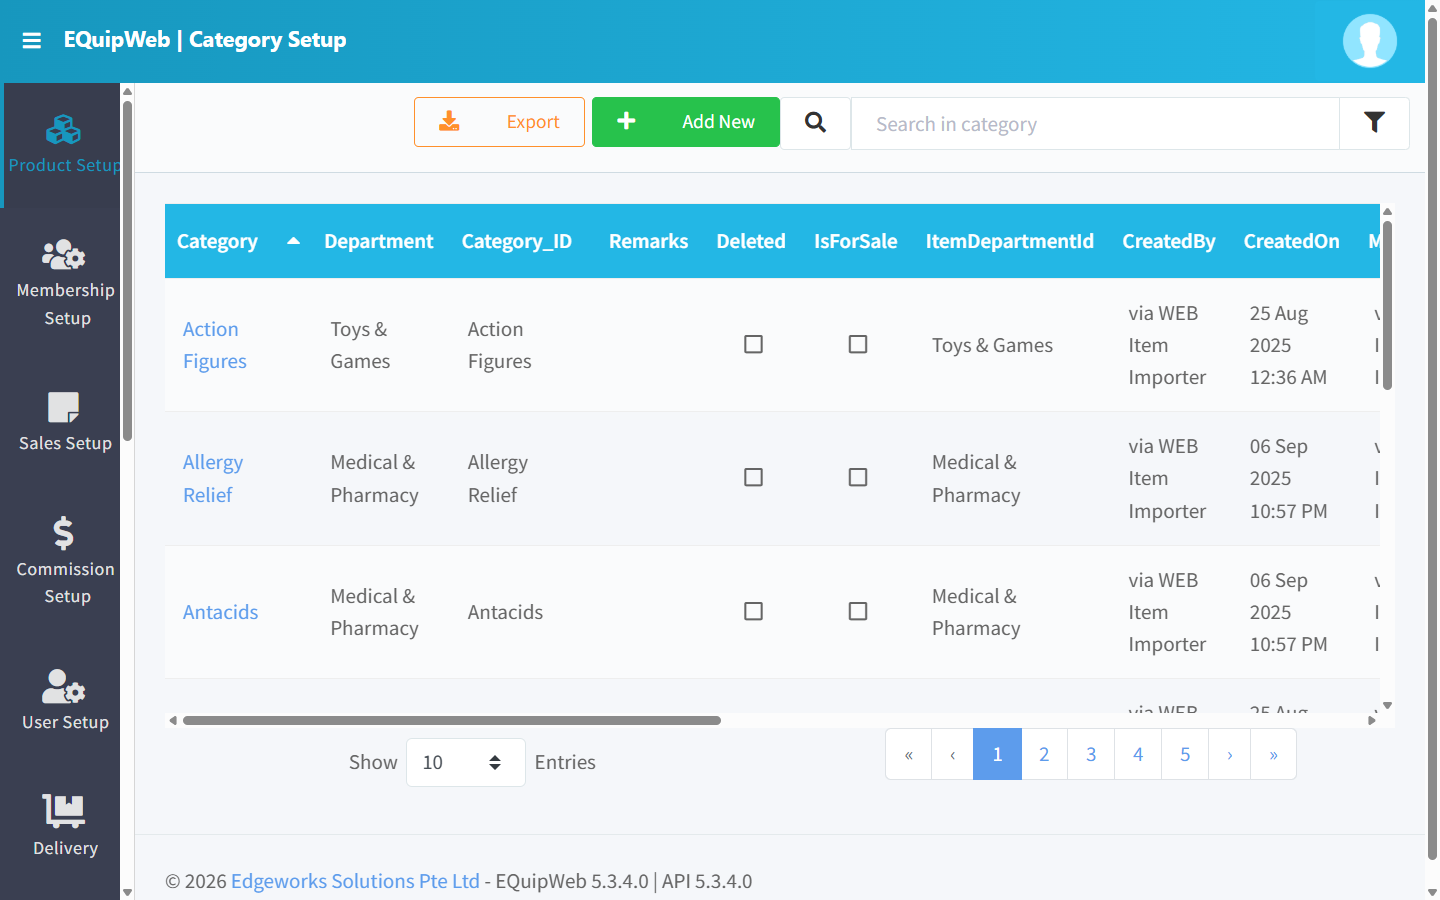
| 8 | Product Setup | Category Setup (1.4) | Create product categories (e.g., Food, Drinks, Retail) |
| 9 | Product Setup | Department Setup (1.5) | Create departments for reporting hierarchy |
| 10 | Product Setup | Product List (1.1) | Add products with prices, barcodes, and categories |
| 11 | Sales Setup | Payment Modes (4.1) | Configure payment methods (Cash, Visa, NETS, GrabPay) |
| 12 | Sales Setup | GST Setup (4.4) | Set up tax rates and rounding rules |
| 13 | Sales Setup | Discount Setup (4.2) | Create discount types (staff, member, promo) |
| 14 | Sales Setup | Hotkey Setup (4.5) | Configure POS screen quick-access buttons |
Phase 3: Optional Modules
Configure based on your business needs.
| Step | Module | Page | When Needed |
|---|---|---|---|
| 15 | Membership | Membership Group (3.2) | If you have a loyalty/membership program |
| 16 | Membership | Membership Benefit (3.3) | If members get special pricing or rewards |
| 17 | Promotions | Promotion Setup (1.9) | If you run promotions (buy-1-get-1, etc.) |
| 18 | Commission | Commission List (5.1) | If staff earn sales commissions |
| 19 | QR Ordering | All QR pages (10.x) | If you offer QR code self-ordering |
| 20 | Online Sales | Online Sales Channel (4.7) | If you sell via online platforms |
| 21 | Menu Management | Menu Builder (11.1) | If you use the KDS (Kitchen Display System) |
Phase 4: Go-Live Checklist
Before going live with the POS, verify these items:
| ✅ | Check Item |
|---|---|
| ☐ | All products are created with correct prices |
| ☐ | Payment modes are configured and tested |
| ☐ | POS terminals are registered and synced (check Terminal Status) |
| ☐ | User accounts are created with correct roles |
| ☐ | GST settings are correct for your jurisdiction |
| ☐ | Receipt header/footer shows the correct company info |
| ☐ | Opening stock has been entered via Stock In |
| ☐ | At least one test transaction has been processed |
💡 Tips
[!TIP] Use the Simulate Sales feature (Section 4.10) to test your setup before going live. This creates test transactions without affecting real data.
[!IMPORTANT] Complete Phase 1 before adding products or sales settings. Products require categories (Phase 2), which require the outlet structure (Phase 1) to be in place.
[!NOTE] After initial setup, most changes are incremental — adding new products, creating promotions, updating prices. The full setup sequence is only needed once per new system deployment.
Access & Permissions
| Role | View | Create | Edit | Delete |
|---|---|---|---|---|
| Admin | Yes | Yes | Yes | Yes |
| Supervisor | Yes | Yes | Yes | No |
| Cashier | No backend access | — | — | — |
[!NOTE] Exact permissions depend on the Privileges Setup configured for each role. Contact your administrator if you cannot access this page.
Expected Result: Changes are saved successfully and reflected across the system after the next POS sync.
Field Reference
| Field | Required | Description |
|---|---|---|
| Name / Title | Yes | The display name for this record |
| Status / Active | — | Whether this record is active in the system |
| Created Date | Auto | System-generated creation timestamp |
| Modified Date | Auto | System-generated last modification timestamp |
[!NOTE] Additional fields specific to this page are documented in the sections above. The table above shows common fields present across most pages.
Business Rules
- Records that are linked to active transactions or other modules cannot be permanently deleted
- Changes made here will take effect on POS terminals after the next sync
- Deleted records can be restored from the list using the Show Deleted filter
- All changes are logged with the user who made them and the timestamp
FAQ
Q: I forgot my password — how do I reset it? A: Contact your system administrator to reset your password from User Setup > User List.
Q: Why can't I see all menus in the sidebar? A: Your role may not have permissions for all modules. Contact your administrator to check your assigned privileges.
Troubleshooting
| Issue | Possible Cause | Solution |
|---|---|---|
| Cannot save the record | Required fields are empty or invalid | Check all fields marked with * and fill in valid data |
| Record not appearing in POS | POS terminal has not synced yet | Wait for the next sync cycle or manually trigger sync from Terminal Status |
| Cannot delete the record | Record is being used by other modules | Check if the record is linked to active transactions, products, or other settings |
| Changes not taking effect | Browser cache showing old data | Refresh the page (Ctrl+F5) or clear browser cache |
| "Duplicate" error on save | A record with the same name/code already exists | Search the list (including deleted records) for duplicates |
| Page not loading | Session expired or network issue | Log out and log back in. Check your internet connection |
Related Menus
- User Setup > User List — account management
- User Setup > Role Setup — role assignment
- Setting > Feature Setup — system feature toggles
Open Questions / Confirmation Needed
[!NOTE] The following items may vary depending on your system version and configuration:
- Exact permission settings depend on your Privileges Setup configuration
- Sync timing to POS terminals depends on network conditions and sync schedule
- Some features may require additional licensing or module activation
- Field behavior may differ between EQuip versions
If you encounter behavior not described in this manual, contact your system administrator or EQuip support team.
Related Articles
Feature Setup
? Backend — EQuipWebRetail ModeSetting Setting — 12.5 Feature Setup: Toggle product features, pricing display, and system options Use Feature Setup to turn features on or off across your system. Each feature has a simple toggle switch — flip it ON ...Membership Setup
? Backend — EQuipWebRetail ModeMembership Setup Chapter 3: Membership Setup — 3.1 Membership List The Membership List is where you manage all your loyalty members. You can look up a customer, check their points balance, update their details, or see ...Product Setup
? Backend — EQuipWebRetail ModeProduct Setup Chapter 2: Product Setup — 2.1 Product List The Product List is where you see all your products in one place. From here, you can search, filter, edit, or delete any product. Think of it as your master ...Report Portal Overview
? Report Portal Report Portal — Module Overview and Navigation GuidePrivileges Setup
? Backend — EQuipWebRetail ModeUser Setup Chapter 6: User Setup — 6.4 Privileges Setup Use Setup to manage and configure this feature in your EQuipWeb system. Privileges Setup is the master list of all permissions available in the system. Each ...