Locked User
Chapter 6: User Setup — 6.5 Locked User
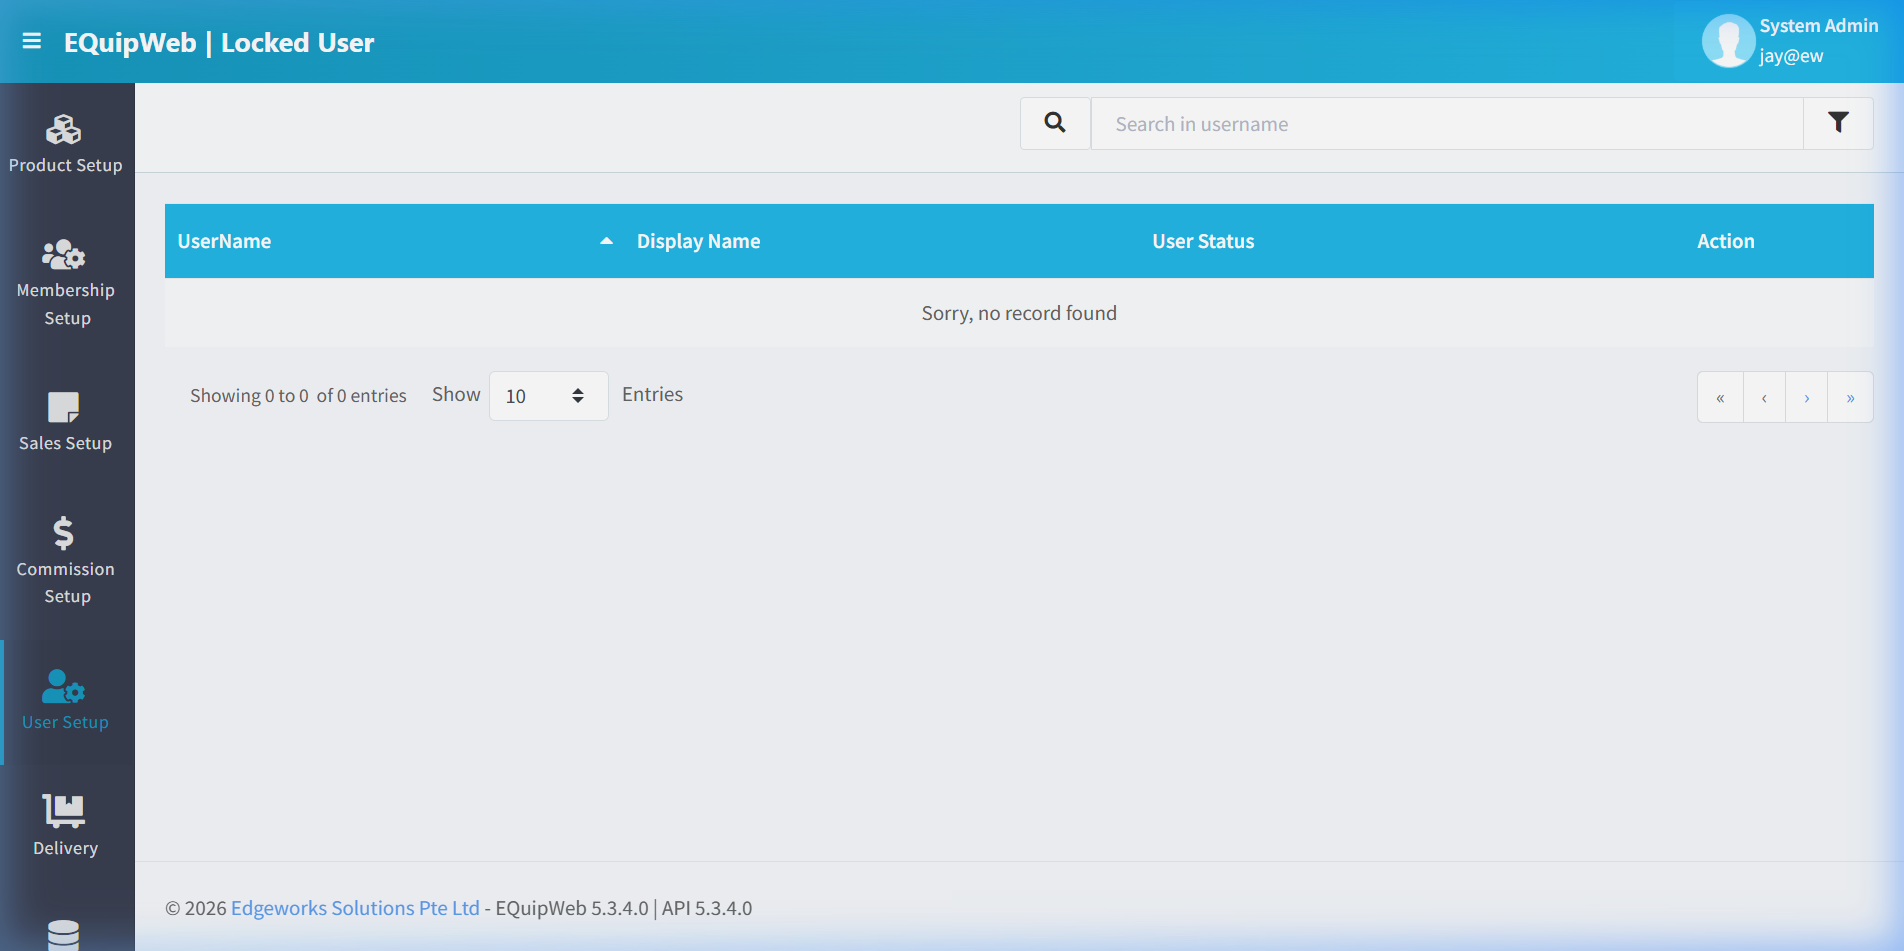
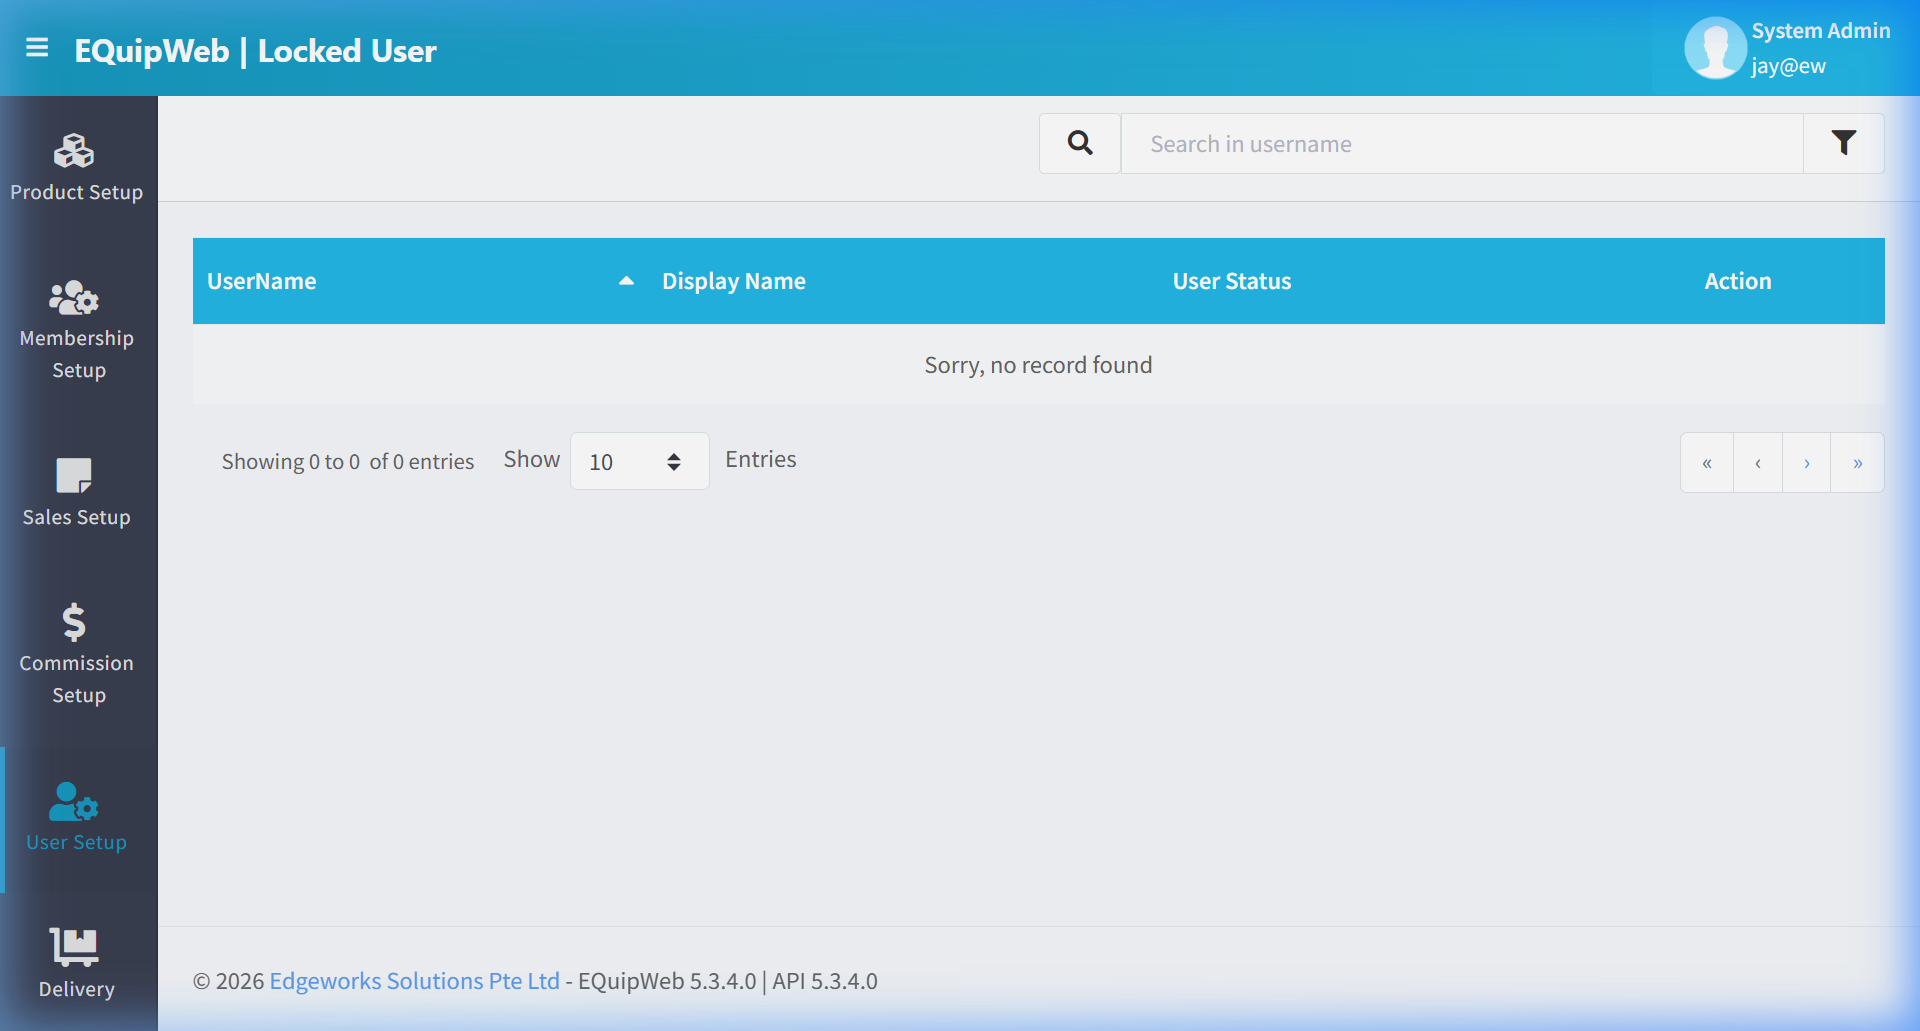
The Locked User page shows accounts that have been locked — either because someone entered the wrong password too many times, or because an admin locked it on purpose. From here, you can unlock accounts so the user can log in again.
When to use this: When a staff member is locked out and needs their account unlocked.
Prerequisites
- User accounts must exist in the system
Locked User List
📝 General Description
When a user exceeds the maximum number of consecutive failed login attempts (typically 3–5, depending on system configuration), their account is automatically locked as a security measure. This page provides a centralized view of all currently locked accounts and allows administrators to unlock them instantly.
⚙️ UI Elements
| Element | Type | Function |
|---|---|---|
| Search Bar | Text Input | Filter locked accounts by username |
| 🔽 Filter | Funnel Icon | Advanced filter options |
6.5.1 Data Grid Columns
| Column | Description |
|---|---|
| Username | The login username of the locked account |
| Display Name | The user's full display name |
| Group Name | The role assigned to this user (e.g., Cashier, Admin) |
| User Status | Current account status — typically shows "Locked" |
| Locked On | Timestamp of when the account was locked |
| Failed Attempts | Number of consecutive failed login attempts that triggered the lock |
| Action | Unlock button — click to immediately restore account access |
6.5.2 How Account Locking Works
User enters wrong password
    ↓
Failed attempt counter increments
    ↓
Counter reaches max threshold (3–5 attempts)
    ↓
Account status → LOCKED
    ↓
User sees "Account locked" message at login
    ↓
Admin unlocks via this page → Counter resets to 0
    ↓
User can log in again immediately
Lock Triggers
| Trigger | Description |
|---|---|
| Failed Password | User enters the wrong password multiple consecutive times |
| EQuipWeb Login | Failed login attempts on the backend portal |
| POS Login | Failed login attempts on WinPowerPOS terminals |
| API Authentication | Failed API authentication attempts (if configured) |
6.5.3 Unlocking a User
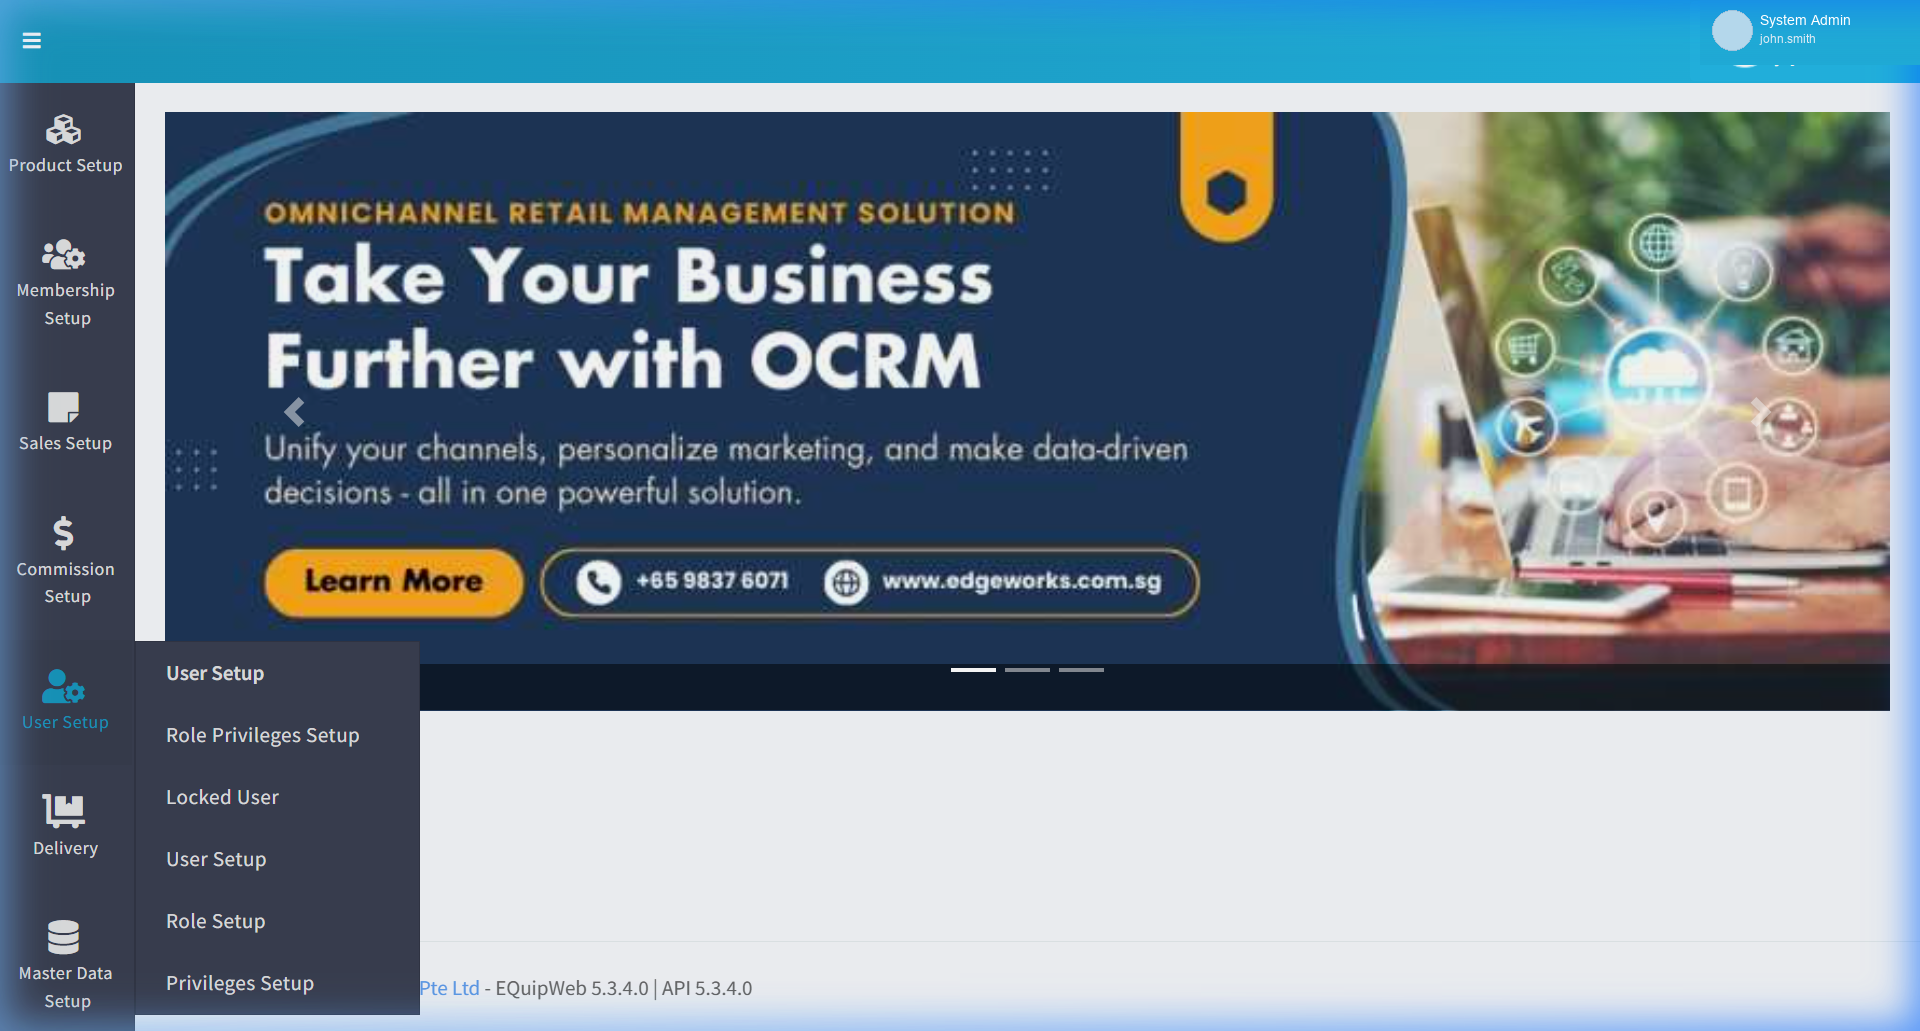
- Navigate to User Setup → Locked User.
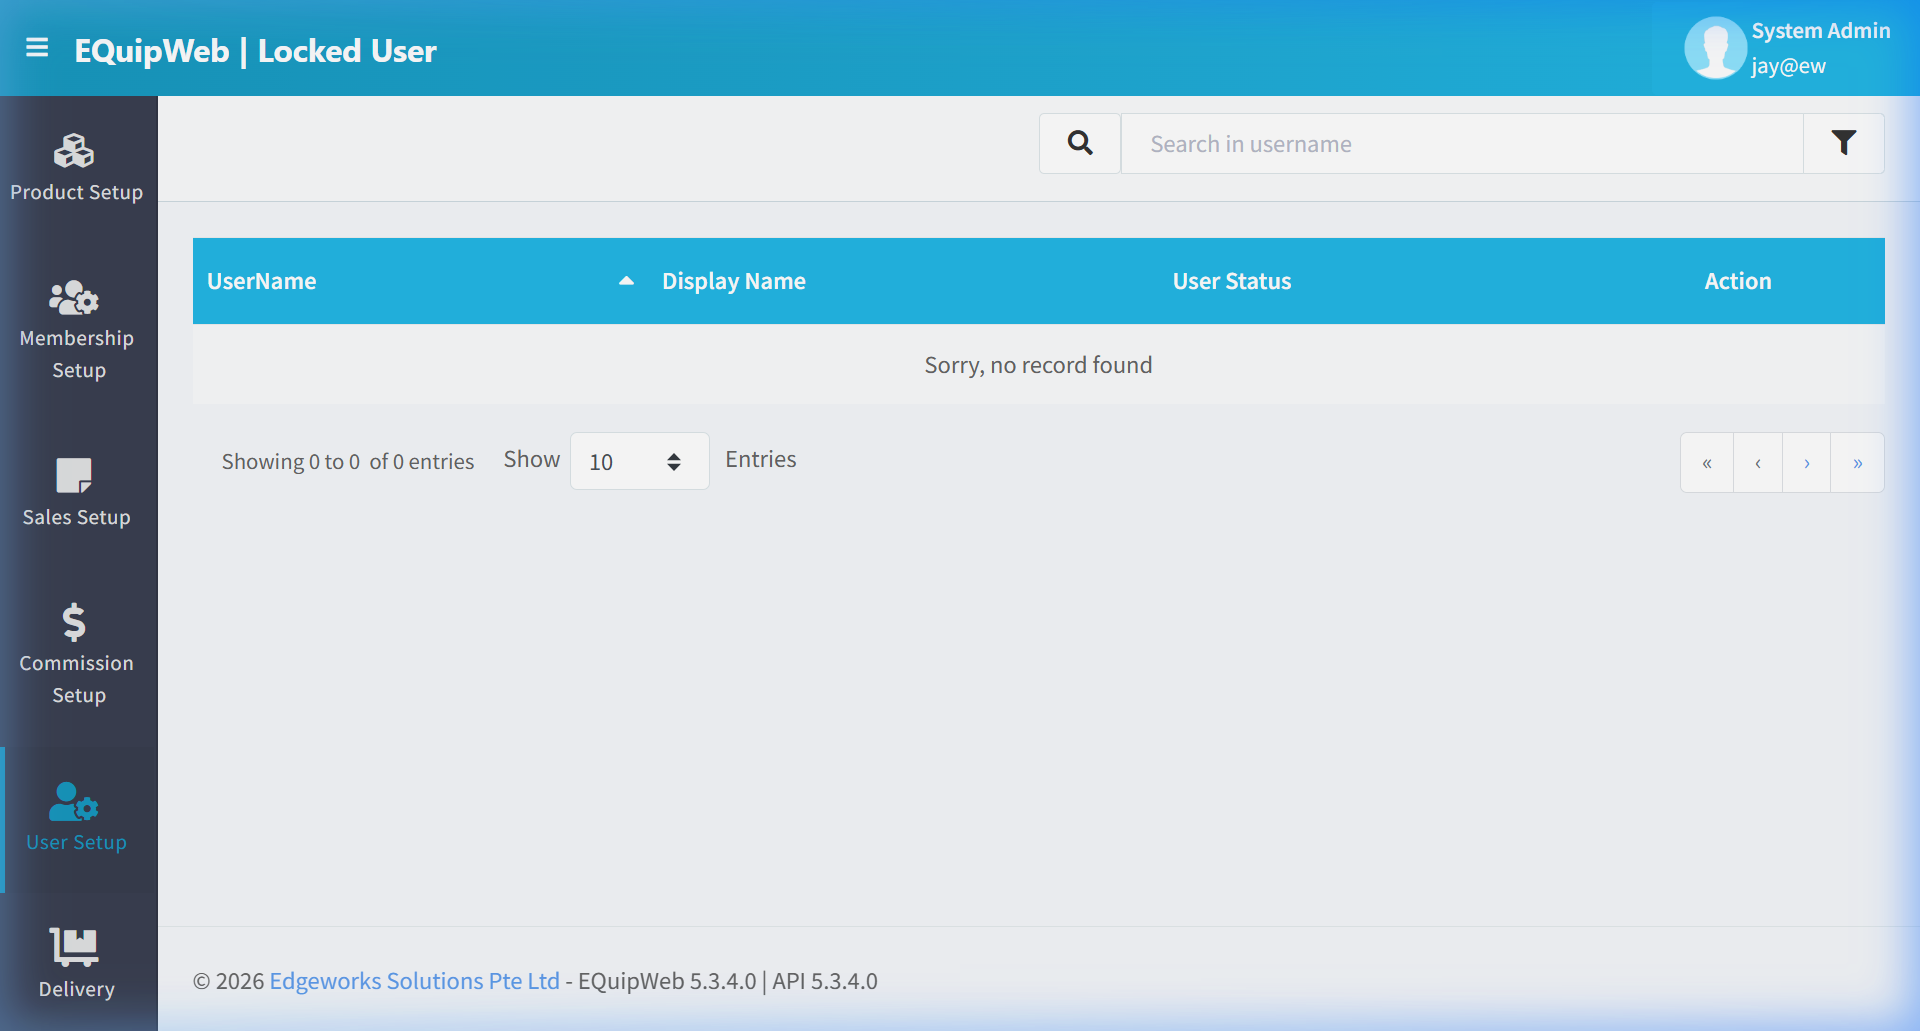
- If any accounts are locked, they appear in the data grid.
- Locate the locked user using the search bar if needed.
- Click the Unlock button in the Action column.
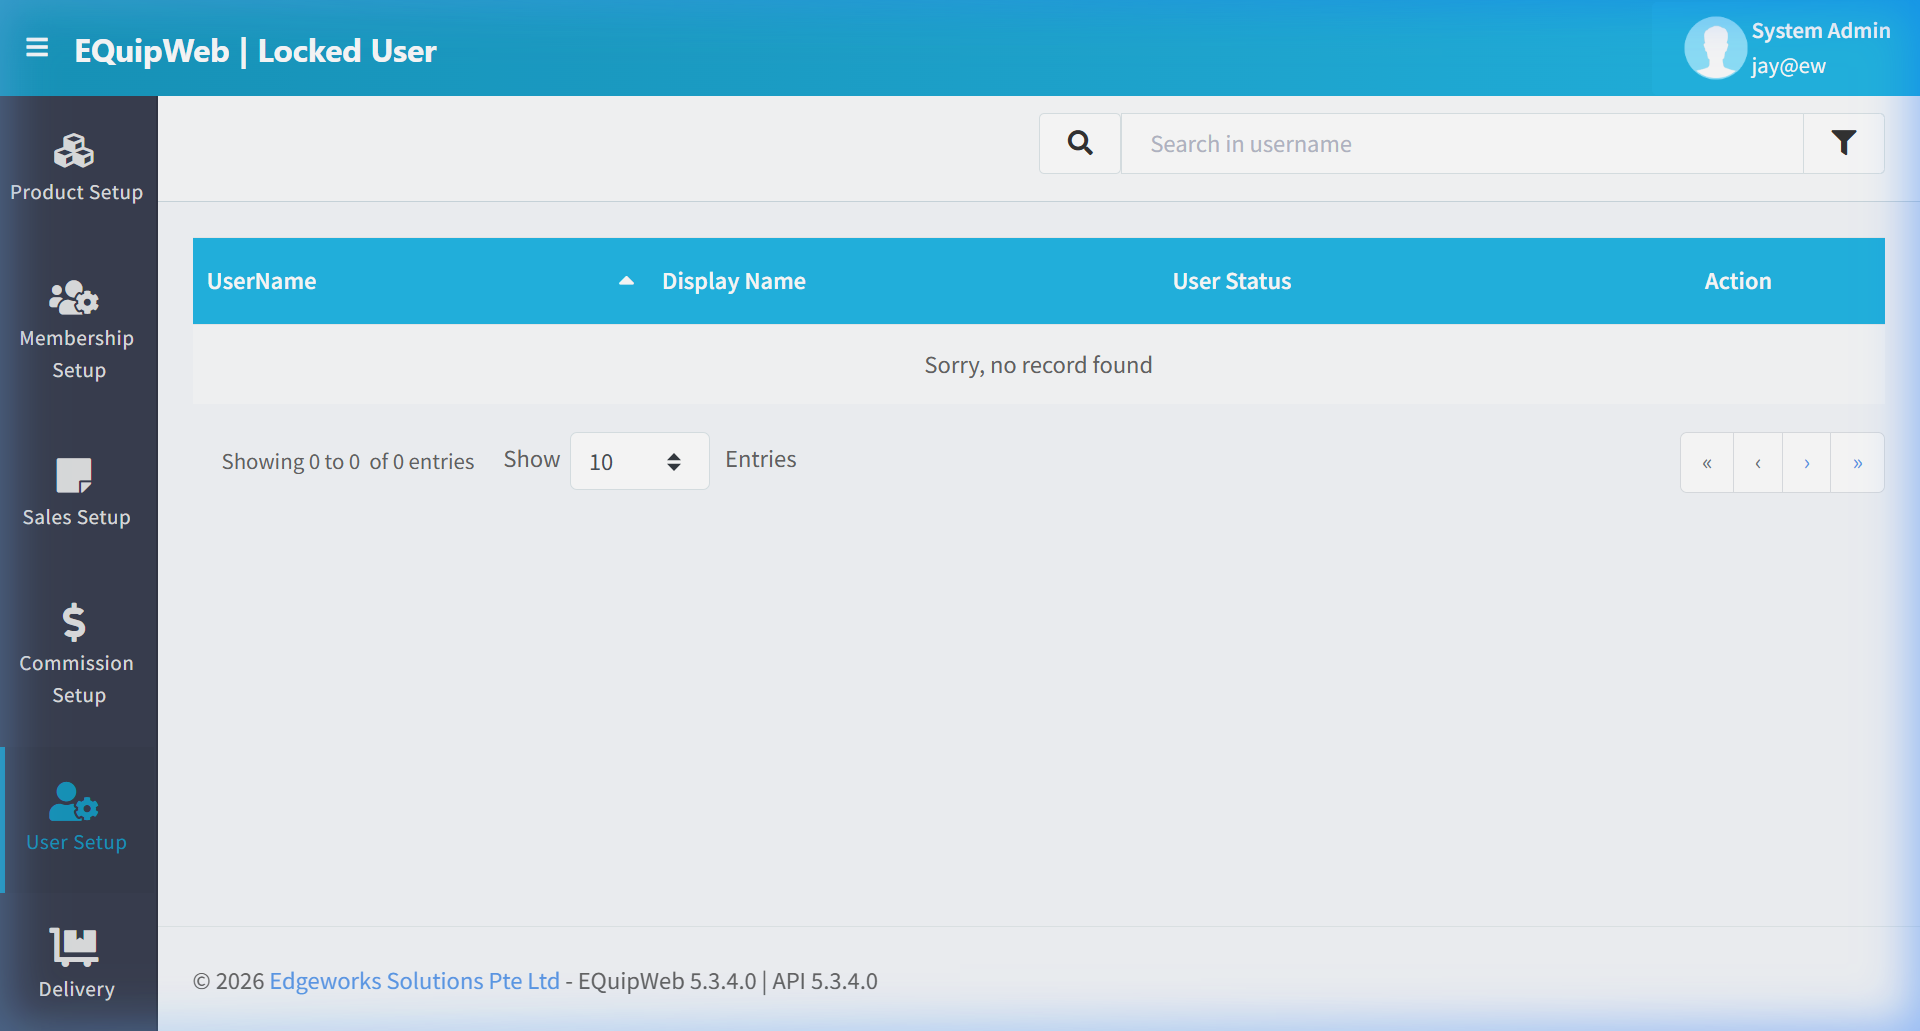
- The account is immediately unlocked — the user can log in again without resetting their password.
[!NOTE] Unlocking a user does not change their password. If the user has forgotten their password, you must also reset it via User List (Section 6.1).
6.5.4 Related Settings
These settings in Feature Setup (Section 12.1) control the locking behavior:
| Setting | Description | Default |
|---|---|---|
MaxLoginAttempts | Number of failed attempts before auto-lock | 5 |
LockDurationMinutes | Auto-unlock after N minutes (0 = manual unlock only) | 0 |
PasswordExpiryDays | Days before password expires (0 = never) | 0 |
6.5.5 Preventing Account Lockouts
| Best Practice | Description |
|---|---|
| Clear password policy | Communicate password requirements to all staff |
| Password reminders | Enable password expiry notifications before the actual expiry date |
| POS PIN mode | For cashiers, use short numeric PINs instead of complex passwords to reduce typo-based lockouts |
| Regular audits | Check this page weekly to identify users who frequently get locked out — they may need a password reset or training |
💡 Example
Scenario: A cashier calls in saying they can't log into the POS terminal. They're getting an "Account Locked" message.
Resolution:
- Go to User Setup → Locked User.
- Search for the cashier's username (e.g., "cashier3").
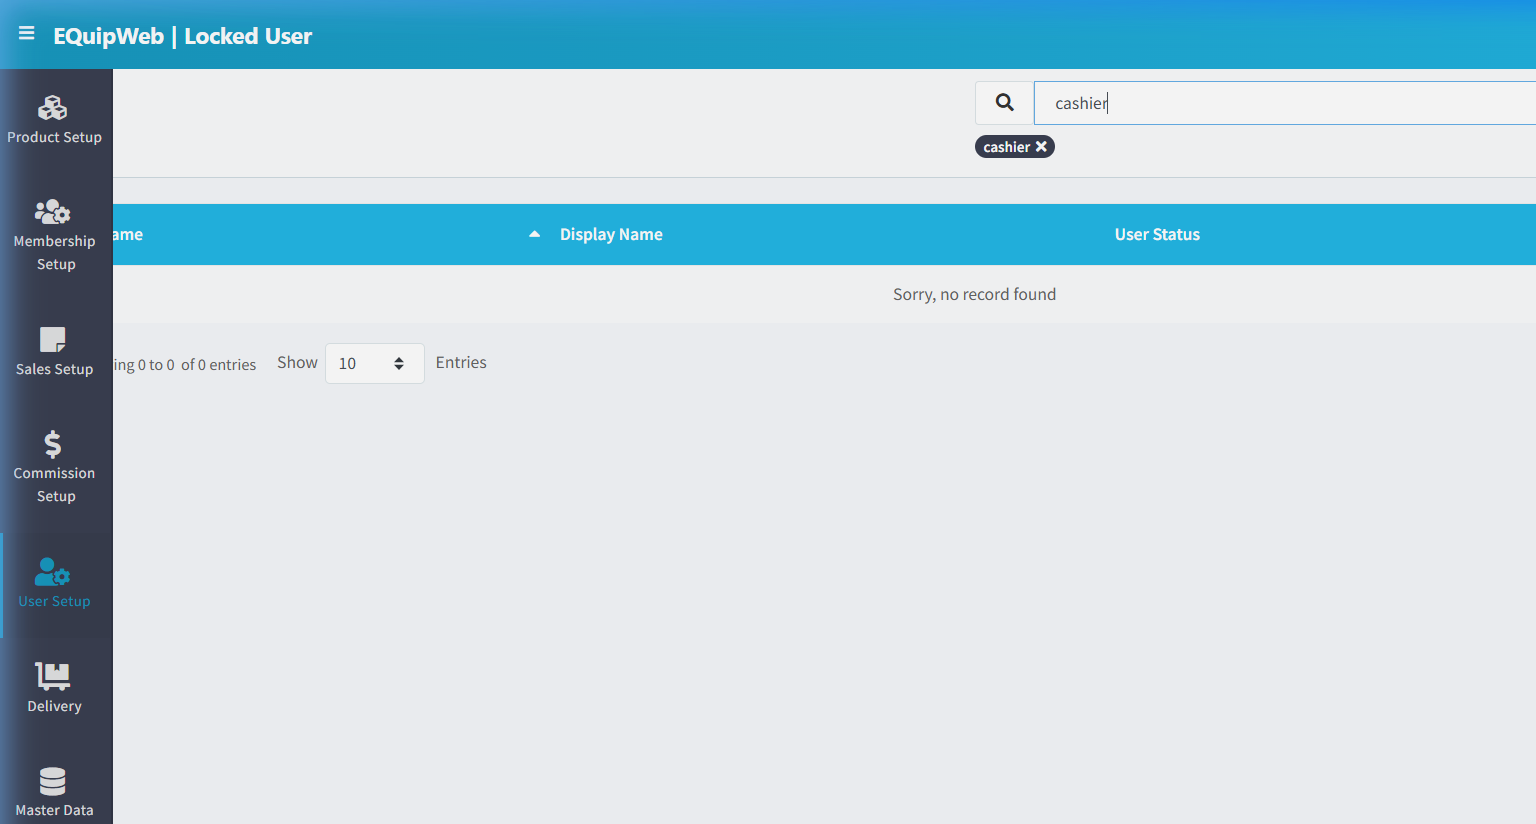 3. See the entry showing 5 failed attempts, locked at 09:15 AM today.
- Click Unlock.
- Call the cashier back — they can now log in immediately.
- If they still can't log in, go to User List (Section 6.1) → reset their password.
[!TIP] If the same user repeatedly gets locked out, consider checking if their POS terminal has a stuck keyboard or if another staff member is accidentally trying to log in with the wrong credentials on that terminal.
[!WARNING] If you see unfamiliar usernames with high failed-attempt counts, this could indicate a brute-force attack. Investigate the source (check login timestamps and IP addresses if available) before unlocking the accounts.
Access & Permissions
| Role | View | Create | Edit | Delete |
|---|---|---|---|---|
| Admin | Yes | Yes | Yes | Yes |
| Supervisor | Yes | Yes | Yes | No |
| Cashier | No backend access | — | — | — |
[!NOTE] Exact permissions depend on the Privileges Setup configured for each role. Contact your administrator if you cannot access this page.
Expected Result: Changes are saved successfully and reflected across the system after the next POS sync.
Field Reference
| Field | Required | Description |
|---|---|---|
| Name / Title | Yes | The display name for this record |
| Status / Active | — | Whether this record is active in the system |
| Created Date | Auto | System-generated creation timestamp |
| Modified Date | Auto | System-generated last modification timestamp |
[!NOTE] Additional fields specific to this page are documented in the sections above. The table above shows common fields present across most pages.
Business Rules
- Records that are linked to active transactions or other modules cannot be permanently deleted
- Changes made here will take effect on POS terminals after the next sync
- Deleted records can be restored from the list using the Show Deleted filter
- All changes are logged with the user who made them and the timestamp
How to Unlock a Locked User
- Navigate to User Setup > Locked User from the sidebar menu.
- The list shows all currently locked user accounts with their lock reason and timestamp.
- Find the locked user you want to unlock.
- Click the Unlock button next to the user's name.
- A confirmation dialog appears — click Yes to confirm.
Expected Result: The user account is unlocked and they can log in again immediately.
How Users Get Locked
Users can get locked in three ways:
- Automatic — Failed Login Attempts: After multiple consecutive wrong passwords (typically 5 attempts), the system automatically locks the account.
- Manual — Administrator Action: An admin can manually lock a user from User Setup.
- Remote Lock — From HQ (POS Only): HQ can remotely lock POS terminal users.
[!WARNING] Only administrators with the appropriate privileges can unlock user accounts. If you cannot access this page, contact your system administrator.
FAQ
Q: A user is locked out — how do I unlock them? A: Go to User Setup > Locked User to view and unlock locked accounts. Accounts may lock after multiple failed login attempts.
Q: Can a user have multiple roles? A: Each user is assigned one role. To combine permissions, create a custom role with the needed privileges in Role Setup and Privileges Setup.
Q: Why can't a user see certain menus? A: Their role may not have the required privileges. Check Privileges Setup for the user's assigned role.
Troubleshooting
| Issue | Possible Cause | Solution |
|---|---|---|
| Cannot save the record | Required fields are empty or invalid | Check all fields marked with * and fill in valid data |
| Record not appearing in POS | POS terminal has not synced yet | Wait for the next sync cycle or manually trigger sync from Terminal Status |
| Cannot delete the record | Record is being used by other modules | Check if the record is linked to active transactions, products, or other settings |
| Changes not taking effect | Browser cache showing old data | Refresh the page (Ctrl+F5) or clear browser cache |
| "Duplicate" error on save | A record with the same name/code already exists | Search the list (including deleted records) for duplicates |
| Page not loading | Session expired or network issue | Log out and log back in. Check your internet connection |
Related Menus
- Setting > Feature Setup — system feature toggles
- Master Data > Outlet Setup — outlet access assignment
- User Setup > Role Setup — role definitions
- User Setup > Privileges Setup — permission configuration
Open Questions / Confirmation Needed
[!NOTE] The following items may vary depending on your system version and configuration:
- Exact permission settings depend on your Privileges Setup configuration
- Sync timing to POS terminals depends on network conditions and sync schedule
- Some features may require additional licensing or module activation
- Field behavior may differ between EQuip versions
If you encounter behavior not described in this manual, contact your system administrator or EQuip support team.
Related Articles
User Setup
? Backend — EQuipWebRetail ModeUser Setup Chapter 6: User Setup — 6.1 User List Use List to manage and configure this feature in your EQuipWeb system. The User List shows everyone who has access to your EQuip system — from cashiers to managers. Here ...Login Page
? Backend — EQuipWebRetail ModeChapter 1: Getting Started Chapter 1: Getting Started — 1.1 Login Use Login to manage and configure this feature in your EQuipWeb system. The Login page is the secure entry point for all EQuipWeb users. It supports ...Role Setup
? Backend — EQuipWebRetail ModeUser Setup Chapter 6: User Setup — 6.2 Role Setup Use Role Setup to create job roles for your team — like "Cashier", "Supervisor", "Manager", or "Admin". Each role determines what a user can see and do in the system. ...Role Privileges Setup
? Backend — EQuipWebRetail ModeUser Setup Chapter 6: User Setup — 6.3 Role Privileges Use Role Privileges to decide exactly what each role can see and do. For example, you might let Cashiers process sales but block them from viewing reports or ...Privileges Setup
? Backend — EQuipWebRetail ModeUser Setup Chapter 6: User Setup — 6.4 Privileges Setup Use Setup to manage and configure this feature in your EQuipWeb system. Privileges Setup is the master list of all permissions available in the system. Each ...