Login Page
Chapter 1: Getting Started — 1.1 Login
Use Login to manage and configure this feature in your EQuipWeb system.
The Login page is the secure entry point for all EQuipWeb users. It supports multiple authentication methods including standard username/password, SAML SSO (Single Sign-On), and passwordless OTP login.
When to use this: When you need to log in to the EQuipWeb backend portal to manage your business settings.
Prerequisites
- User must have appropriate role permissions (see Access & Permissions above)
Login Page
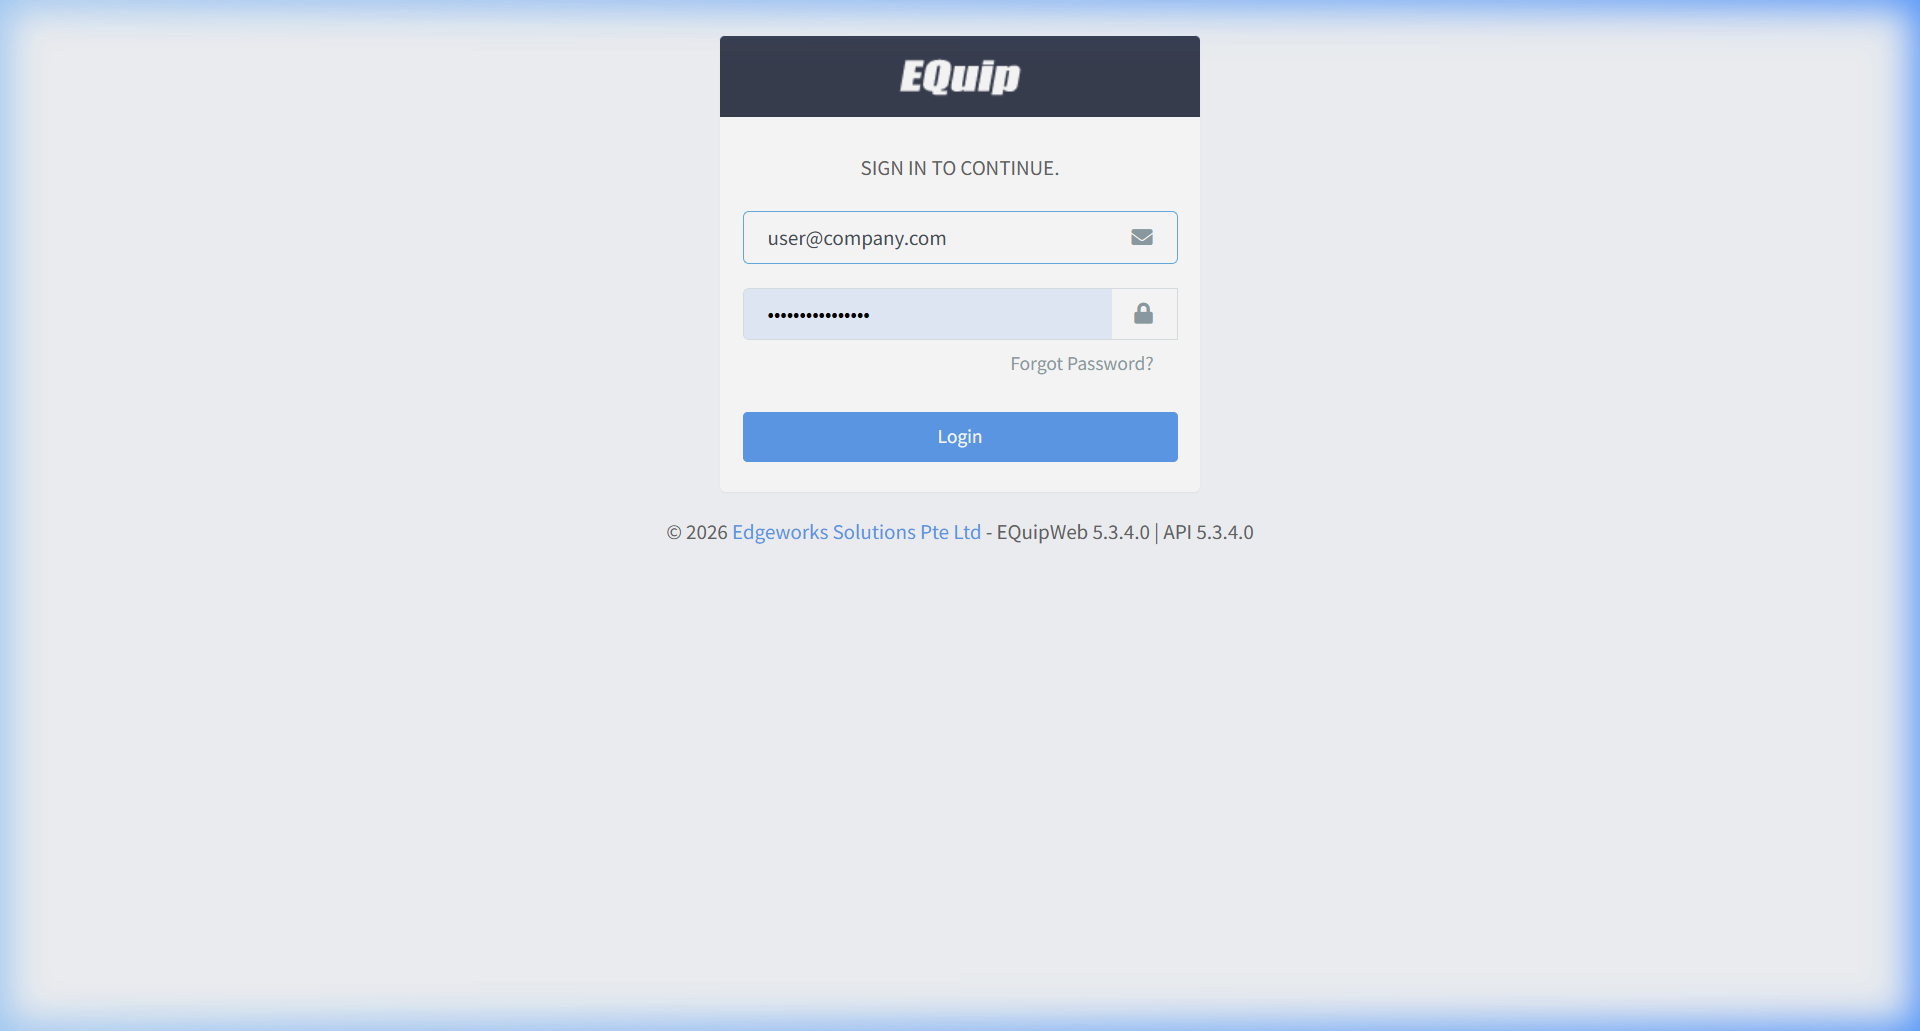
📗 General Description
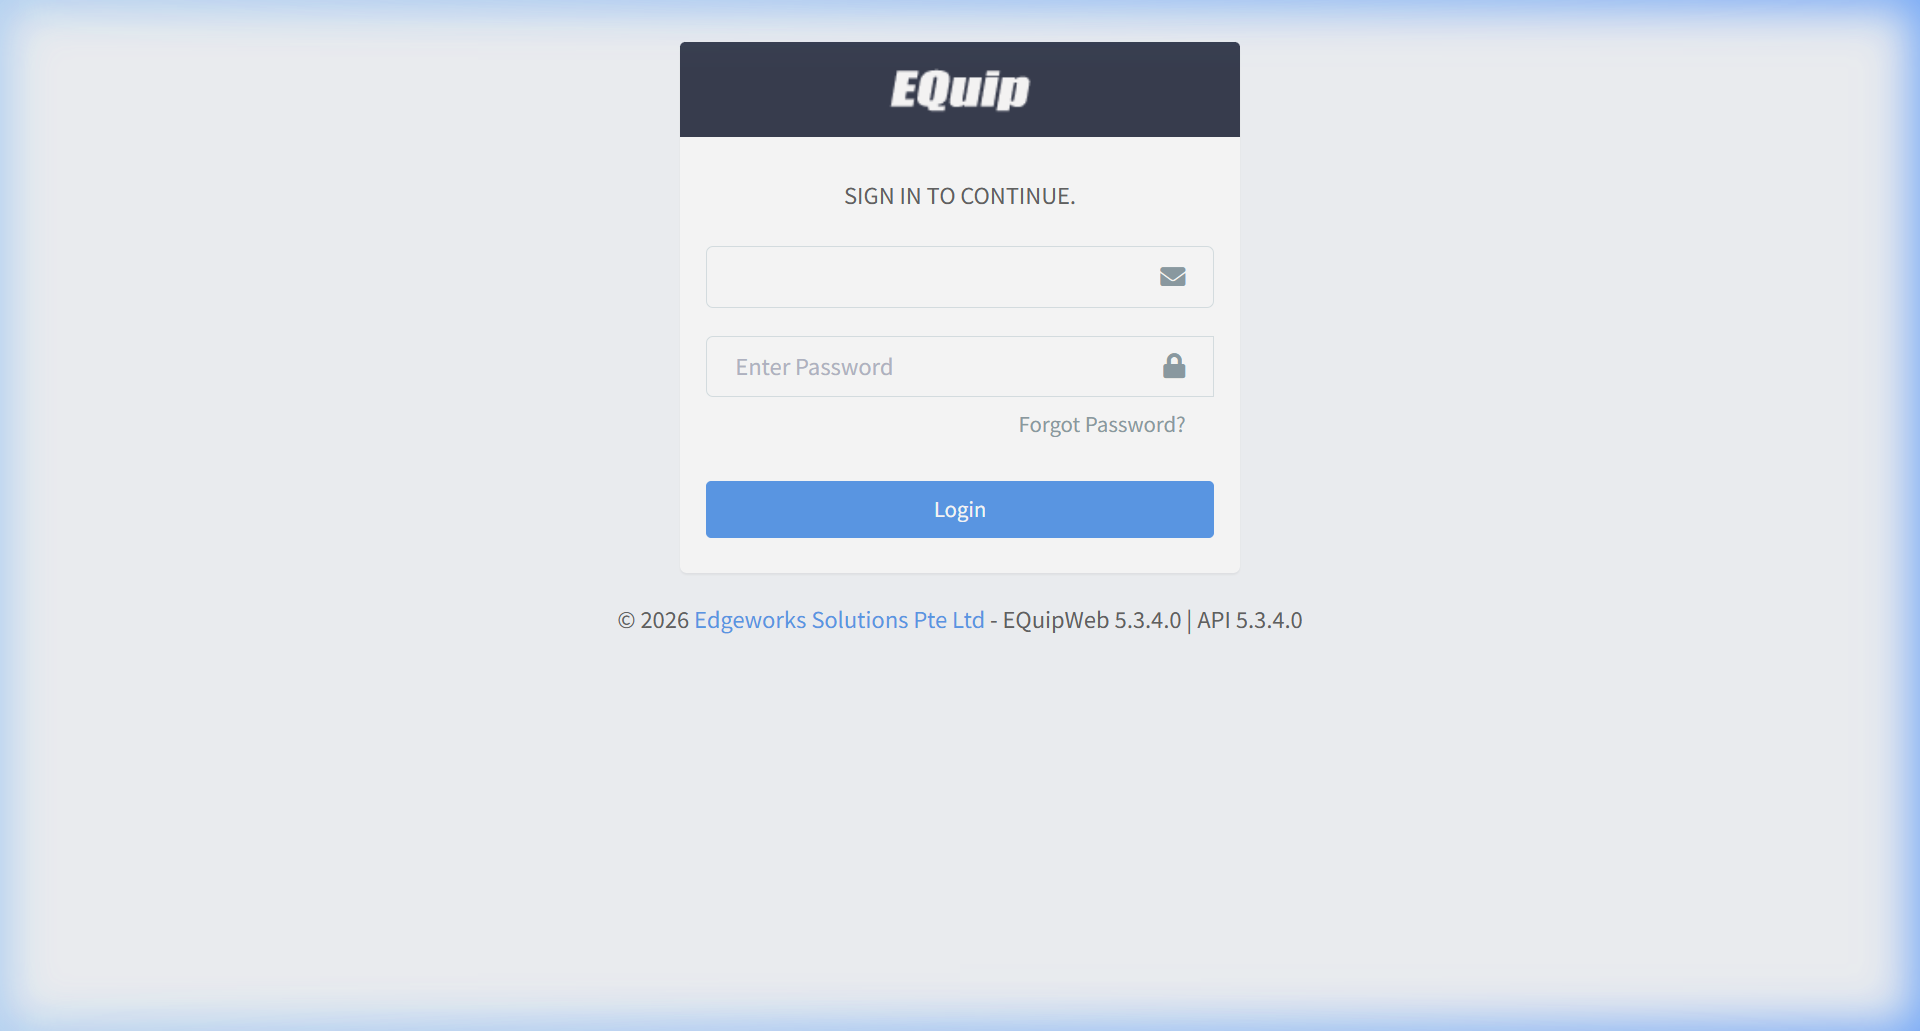
The login page displays the EQuip logo at the top, followed by a "SIGN IN TO CONTINUE" message and two input fields. The design is a centered card layout on a light blue/gray gradient background. The footer shows the copyright info and EQuipWeb version number.
⚙︗ UI Elements
- 🔴 1. EQuip Logo
- Element Type: Header Banner (Dark Gray)
- Function: Displays the EQuip brand logo. This is not clickable.
- 🔴 2. Username / Email Field
- Element Type: Input Field with ✉︗ (envelope) icon
- Function: Enter your registered email address (e.g.,
user@company.com).
- 🔴 3. Password Field
- Element Type: Input Field with 🔒 (lock) icon — masked characters
- Function: Enter your account password. Characters are hidden for security.
- 🔴 4. Forgot Password? Link
- Element Type: Hyperlink (gray text)
- Function: Opens the password recovery flow. See section 1.1.3 below.
- 🔴 5. Login Button
- Element Type: Button (Blue, full-width)
- Function: Submits credentials for authentication.
- 🔴 6. Footer / Version Info
- Element Type: Text
- Function: Shows copyright year, company name, EQuipWeb version, and API version.
Use Login to manage and configure this feature in your EQuipWeb system.
1.1.1 Standard Login (Username + Password)
The most common login method. Every user has an email and password created by the system administrator.
Step-by-Step
- Open your web browser (Chrome recommended).
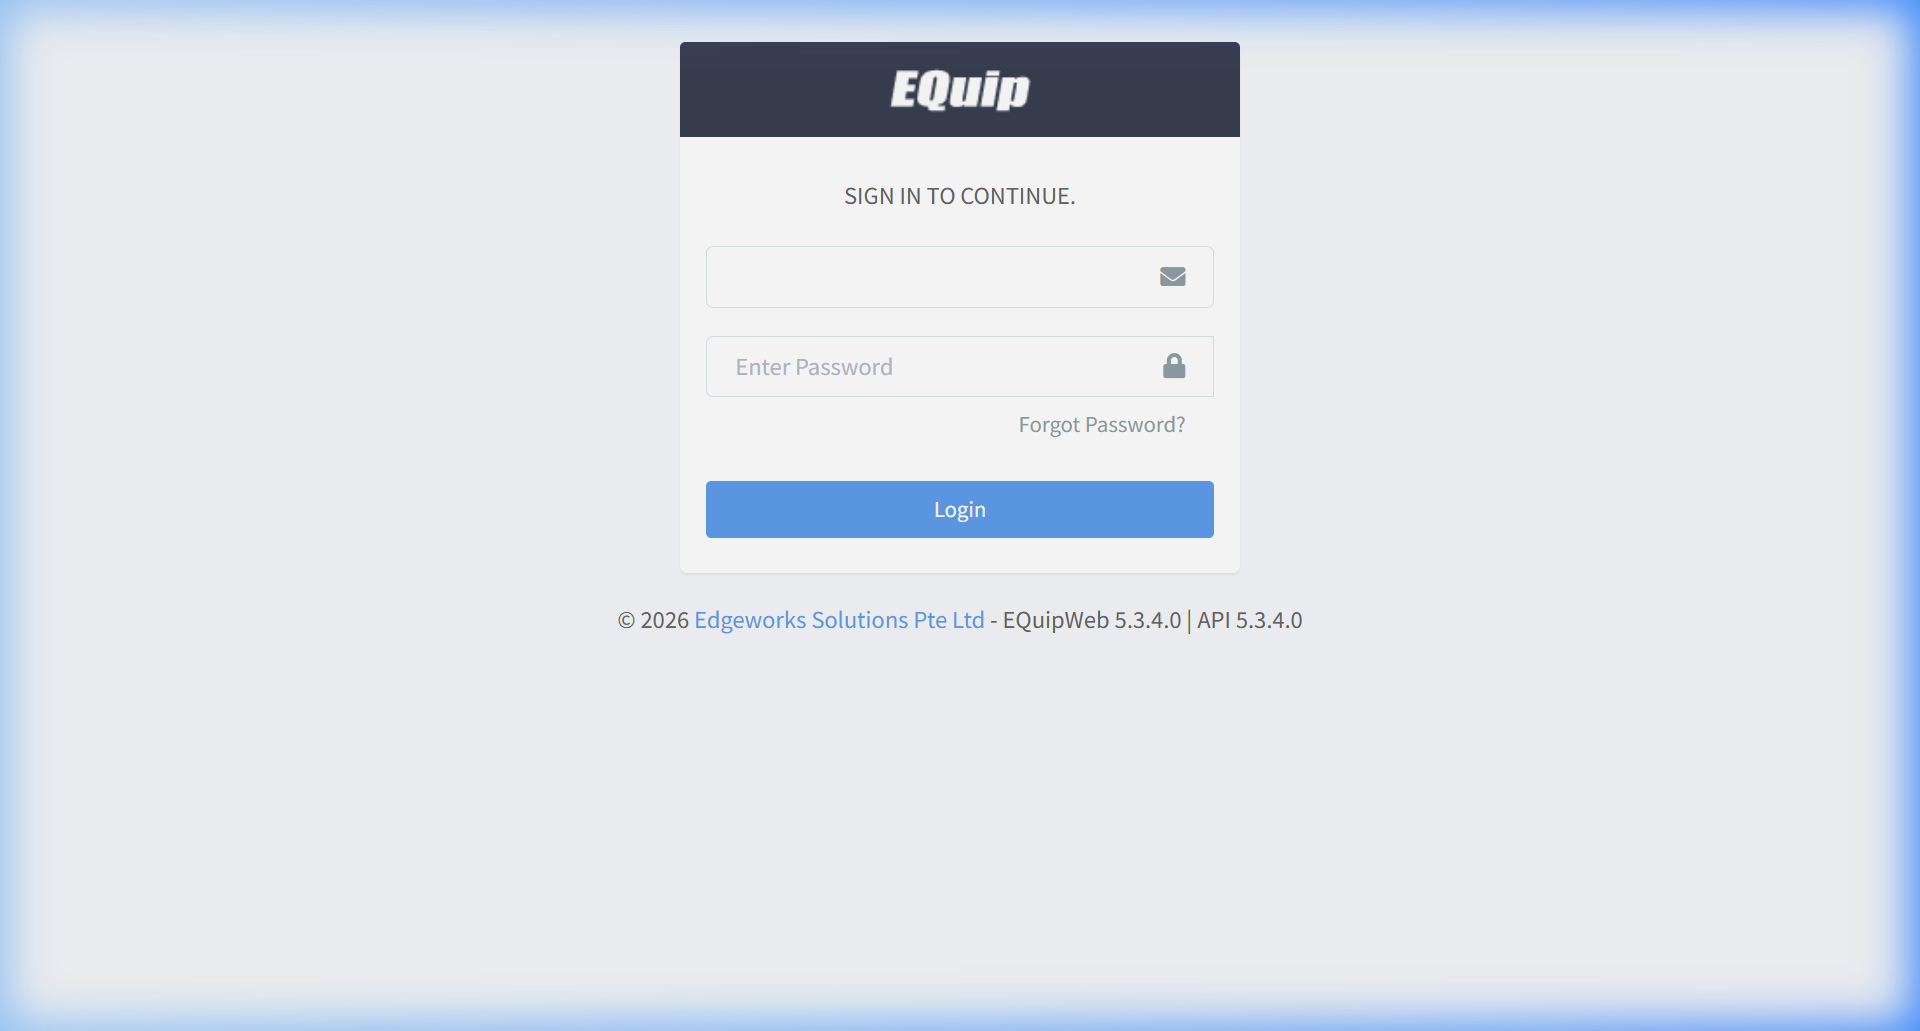 2. Navigate to your company's EQuipWeb URL:
 https://[server]/[company]/Setup/new/login.
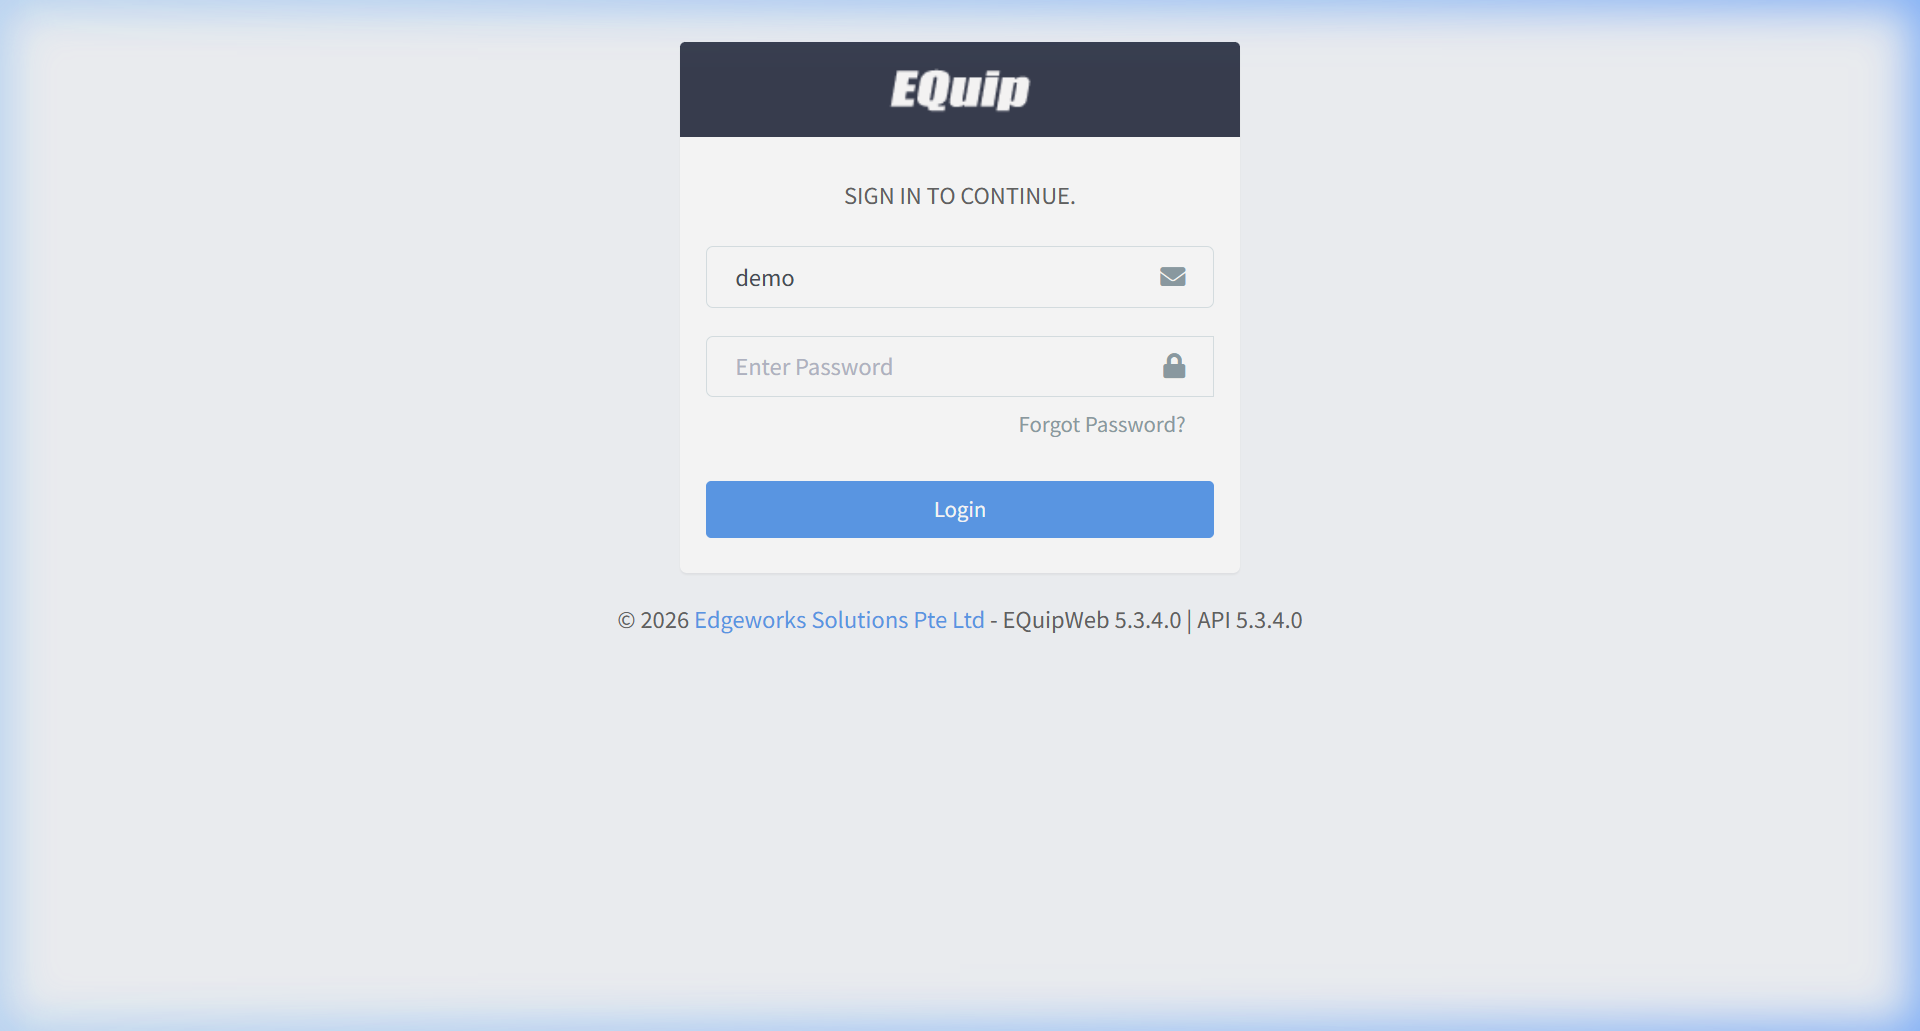 3. Enter your email address in the first field.
 4. Enter your password in the second field.
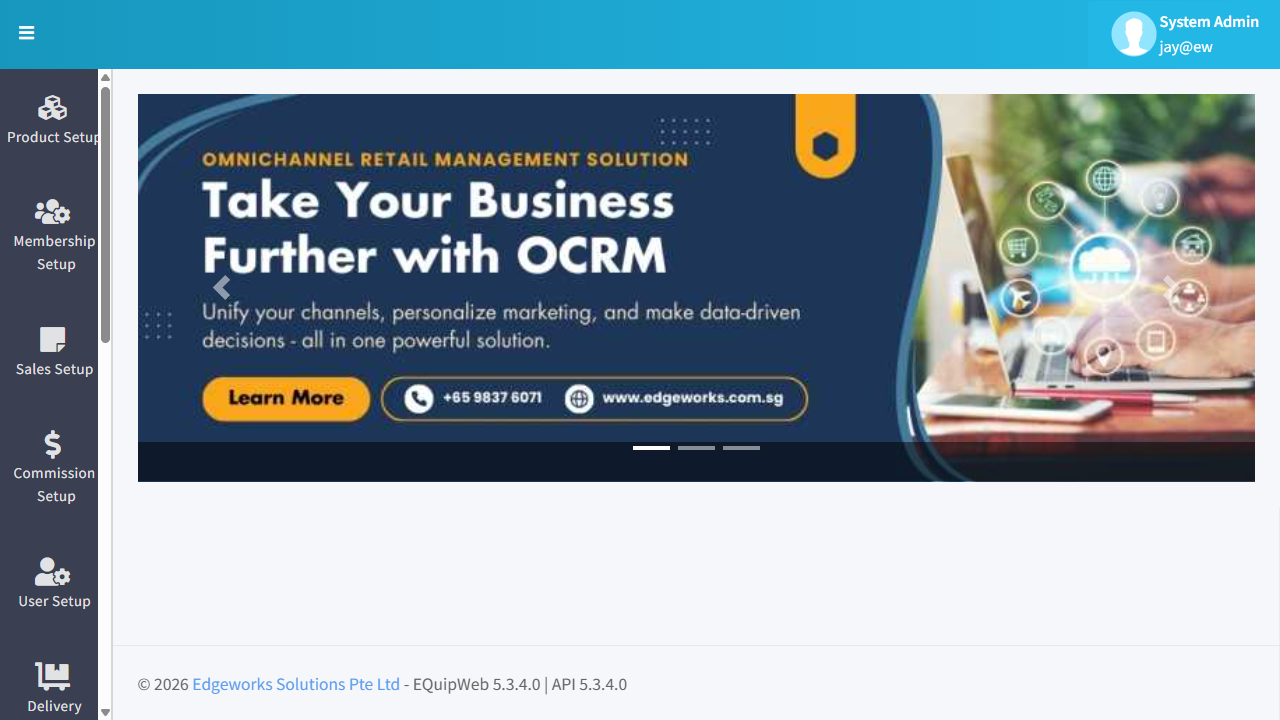 5. Click the blue Login button.
- On success → you are redirected to the Home / Dashboard page.
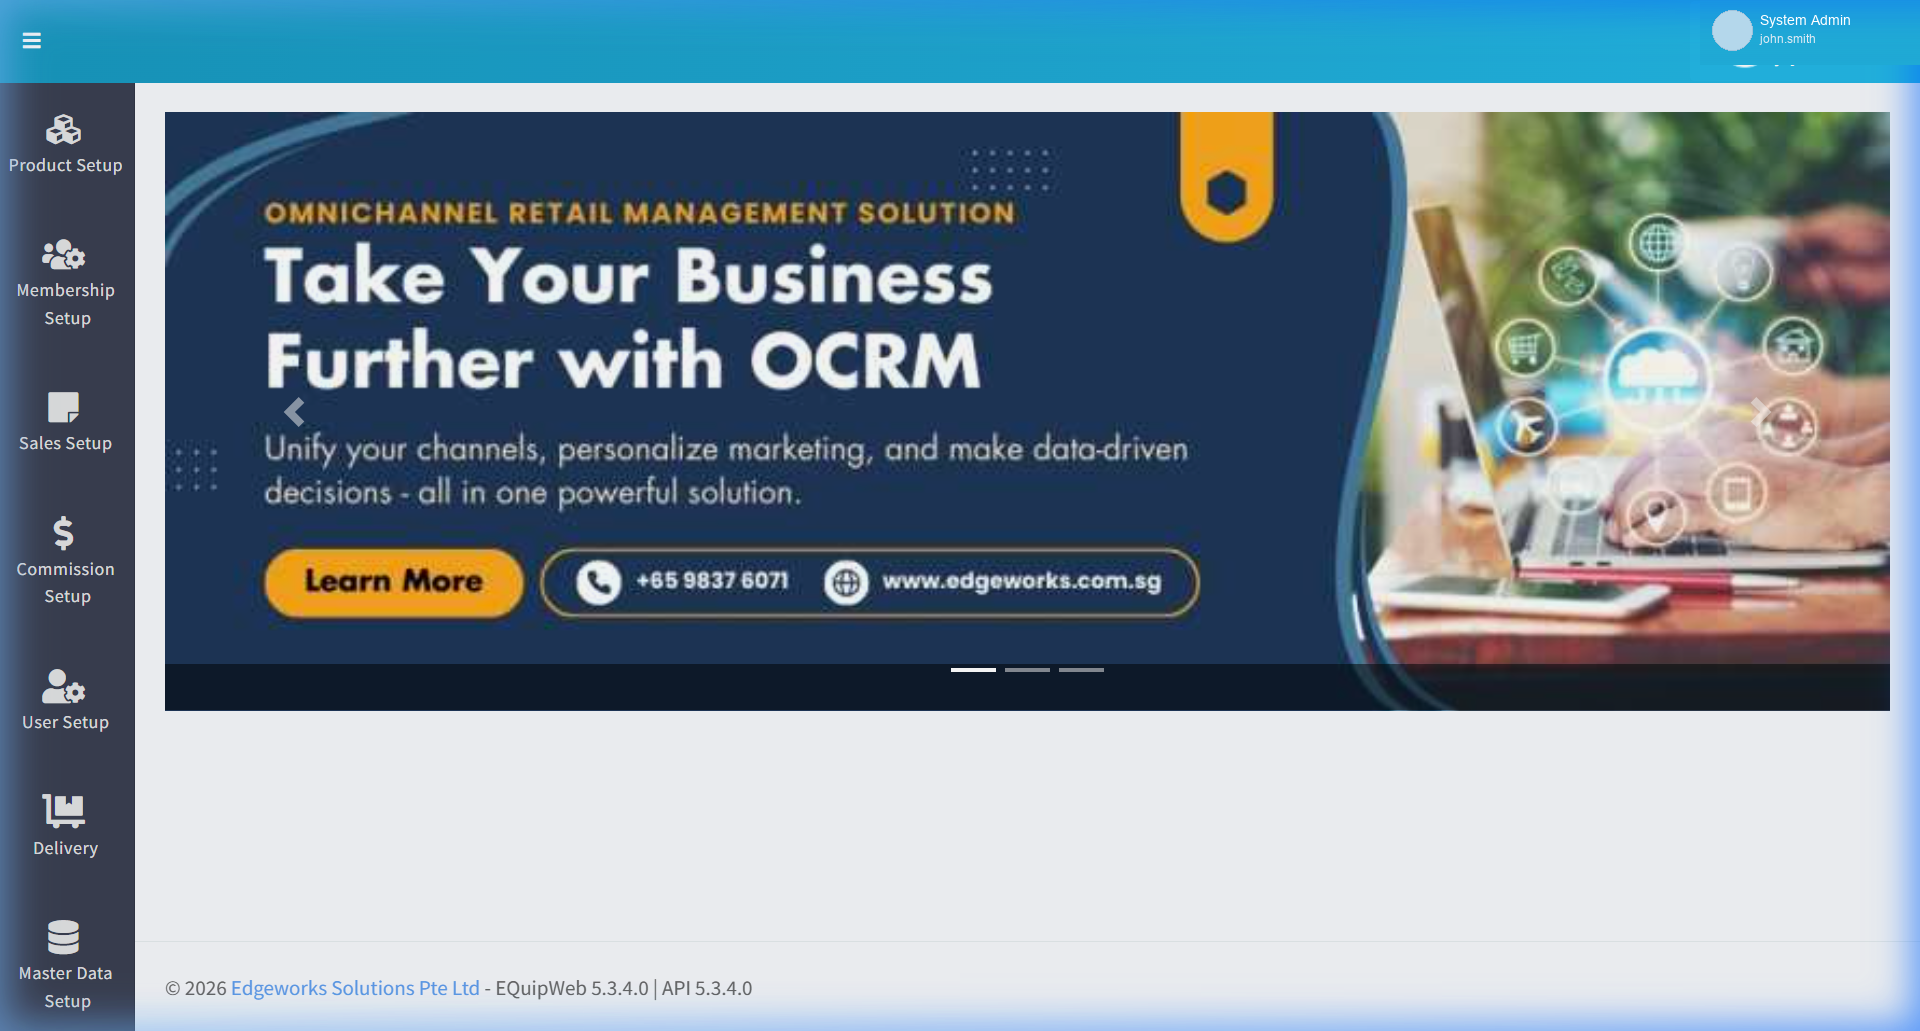
What Happens After Login
| Result | What You See | What To Do |
|---|---|---|
| ✅ Success | Redirected to Dashboard (Home page) | You're in! |
| ◌ Wrong credentials | Error message: "Invalid username or password" | Check your email/password. Remember it's case-sensitive. |
| 🔗 MFA enabled | OTP input field appears (see 1.1.4) | Enter the OTP code sent to your email/phone. |
| 🔄 Password reset required | A new tab opens to the reset password page | Your admin has flagged your account for a password change. |
| 🔒 Account locked | Redirected to the lock page (see 1.1.5) | Too many failed attempts. Contact your administrator. |
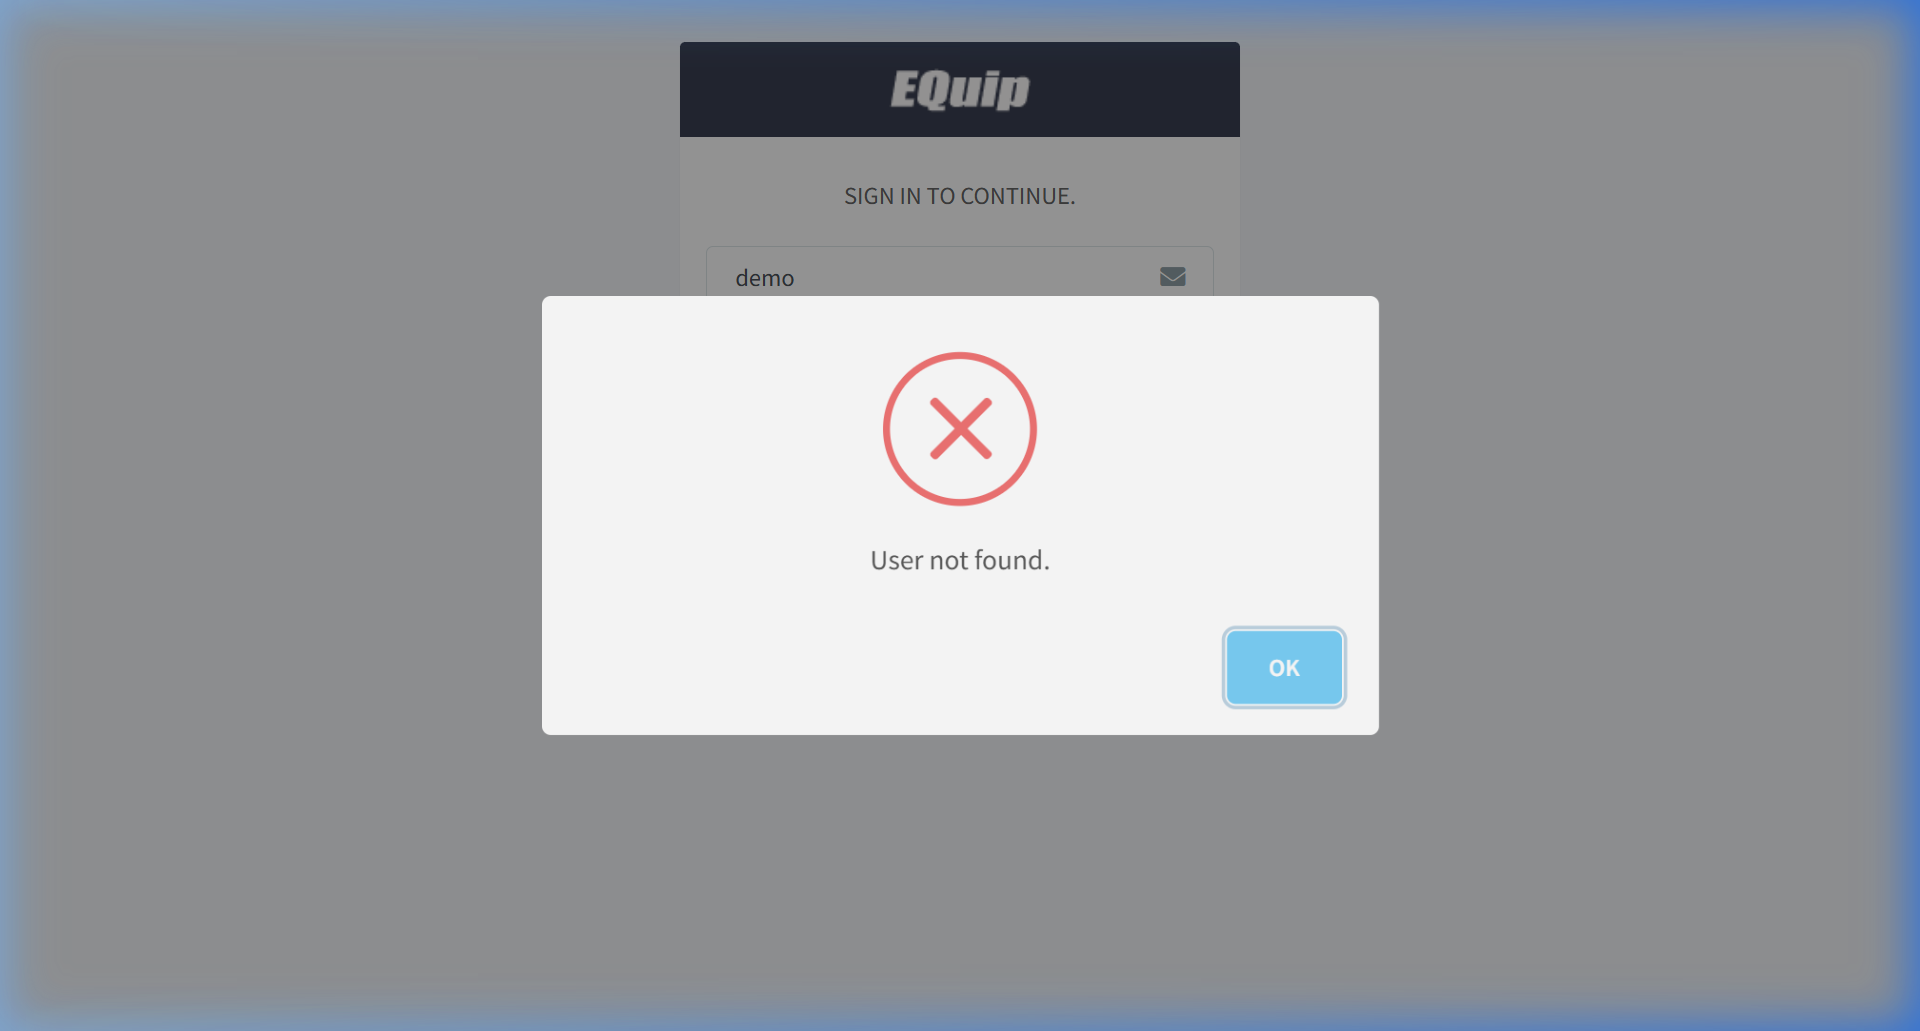
◌ Wrong Credentials — Error Dialog
If you enter an incorrect email or password, a red error alert appears below the login fields:
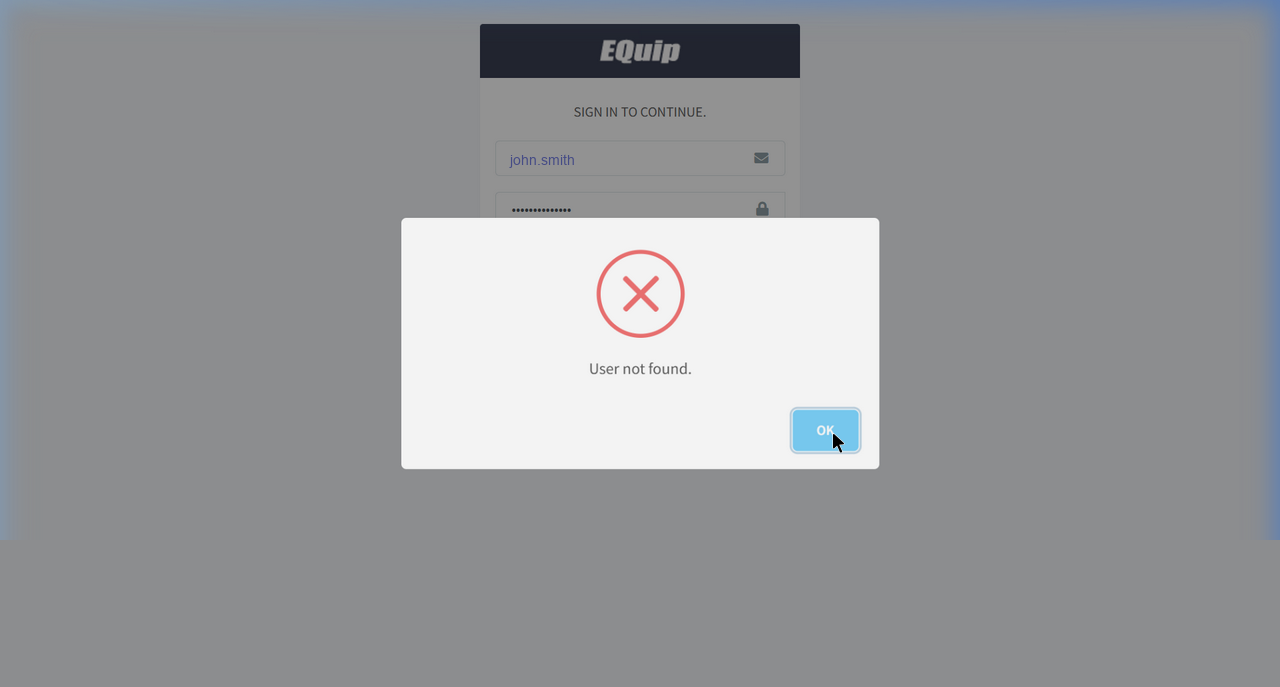
- The error message disappears when you re-enter credentials.
- Each failed attempt increments the login attempt counter (see section 1.1.5 for lockout rules).
💡 Example
Scenario: Jay, a store manager at a retail chain in Singapore, needs to check today's sales report.
- He opens Chrome and goes to
https://equipweb.biz/mycompany/Setup/new/login.
2. Enters jay@mycompany.com and his password.
3. Clicks Login → Dashboard loads → He clicks Report Portal from the profile menu to access sales data.
Use Login to manage and configure this feature in your EQuipWeb system.
1.1.2 SAML SSO Login
For companies that use corporate identity providers (e.g., Azure AD, Okta, Google Workspace), EQuipWeb supports SAML 2.0 Single Sign-On. When SAML is configured, users authenticate through their company's login portal instead of typing a password into EQuipWeb.
How SAML SSO Works
- Admin configures SAML in Feature Setup → SAML Settings (see Chapter 12).
- When a user visits the login page:
- If
SAML_DisableNormalLogin= true → The user is automatically redirected to the company's SSO portal (no username/password fields shown). - If
SAML_DisableNormalLogin= false → A "Sign in with [Provider Name]" button appears alongside the normal login form.
- If
- User authenticates at the SSO portal (e.g., enters their corporate Microsoft 365 credentials).
4. SSO portal redirects back to EQuipWeb with a success token.
5. EQuipWeb validates the token and logs the user in — no EQuipWeb password needed.
SAML Configuration Settings
| Setting | Description |
|---|---|
| SAML_Provider | Name of the identity provider (e.g., "Azure AD", "Okta") |
| SAML_AuthURL | URL of the SSO authentication endpoint |
| SAML_DisplayName | Button label shown on the login page (e.g., "Sign in with Azure") |
| SAML_DisableNormalLogin | When true, normal username/password login is hidden. Only SSO is available. When false, both SSO and normal login are shown. |
[!NOTE] SAML SSO setup requires coordination between your IT admin (who manages the identity provider) and the EQuipWeb administrator. Contact Edgeworks support for assistance with initial SAML configuration.
Use Login to manage and configure this feature in your EQuipWeb system.
1.1.3 Forgot Password
If you forget your password, you can reset it through the self-service flow.
Step-by-Step
- On the login page, click the "Forgot Password?" link (gray text below the password field).
- A prompt appears asking for your username or email. Enter it and click Submit.
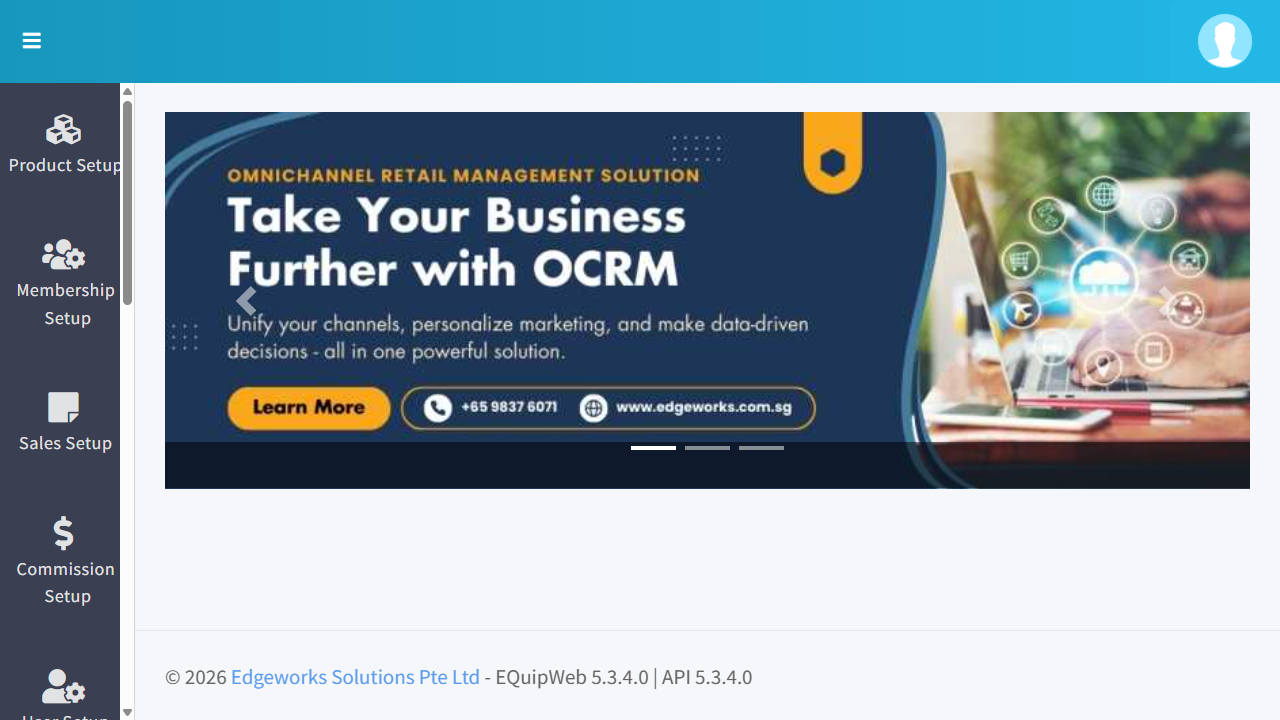
- An OTP (one-time password) is sent to your registered email or mobile number.
- Enter the OTP code in the verification field.
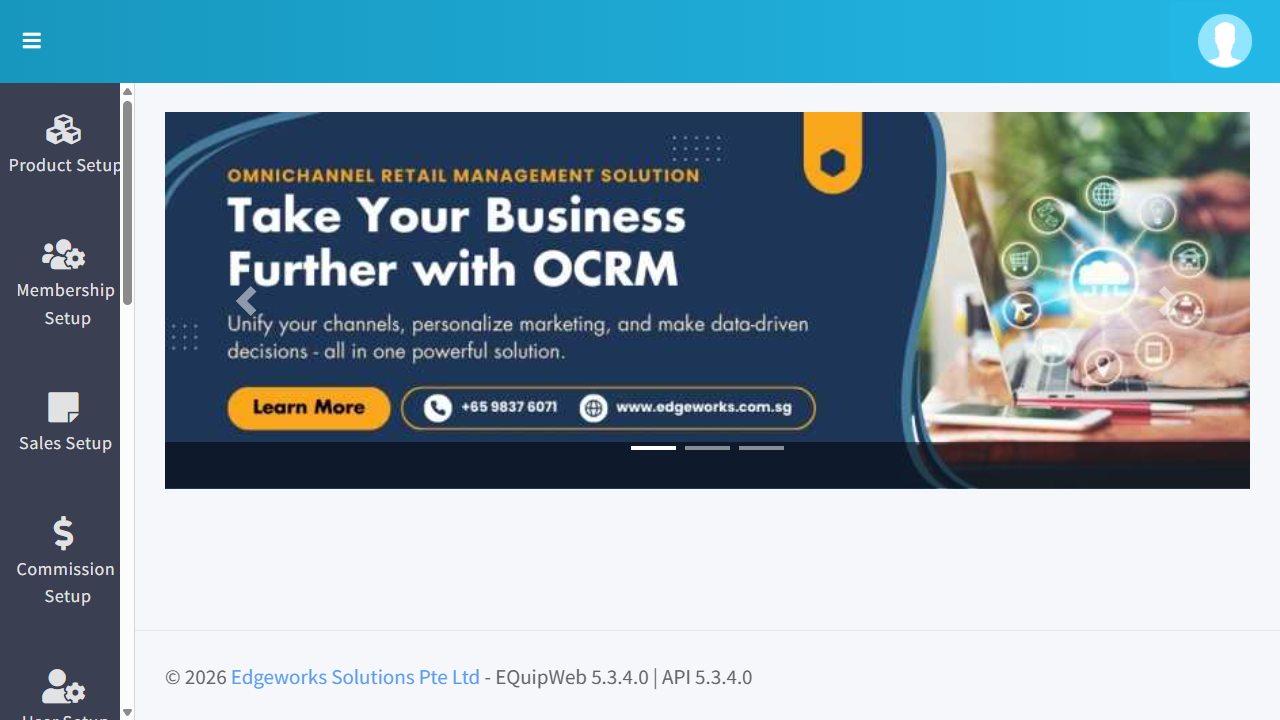
- If the OTP is valid, you are redirected to the Reset Password page:
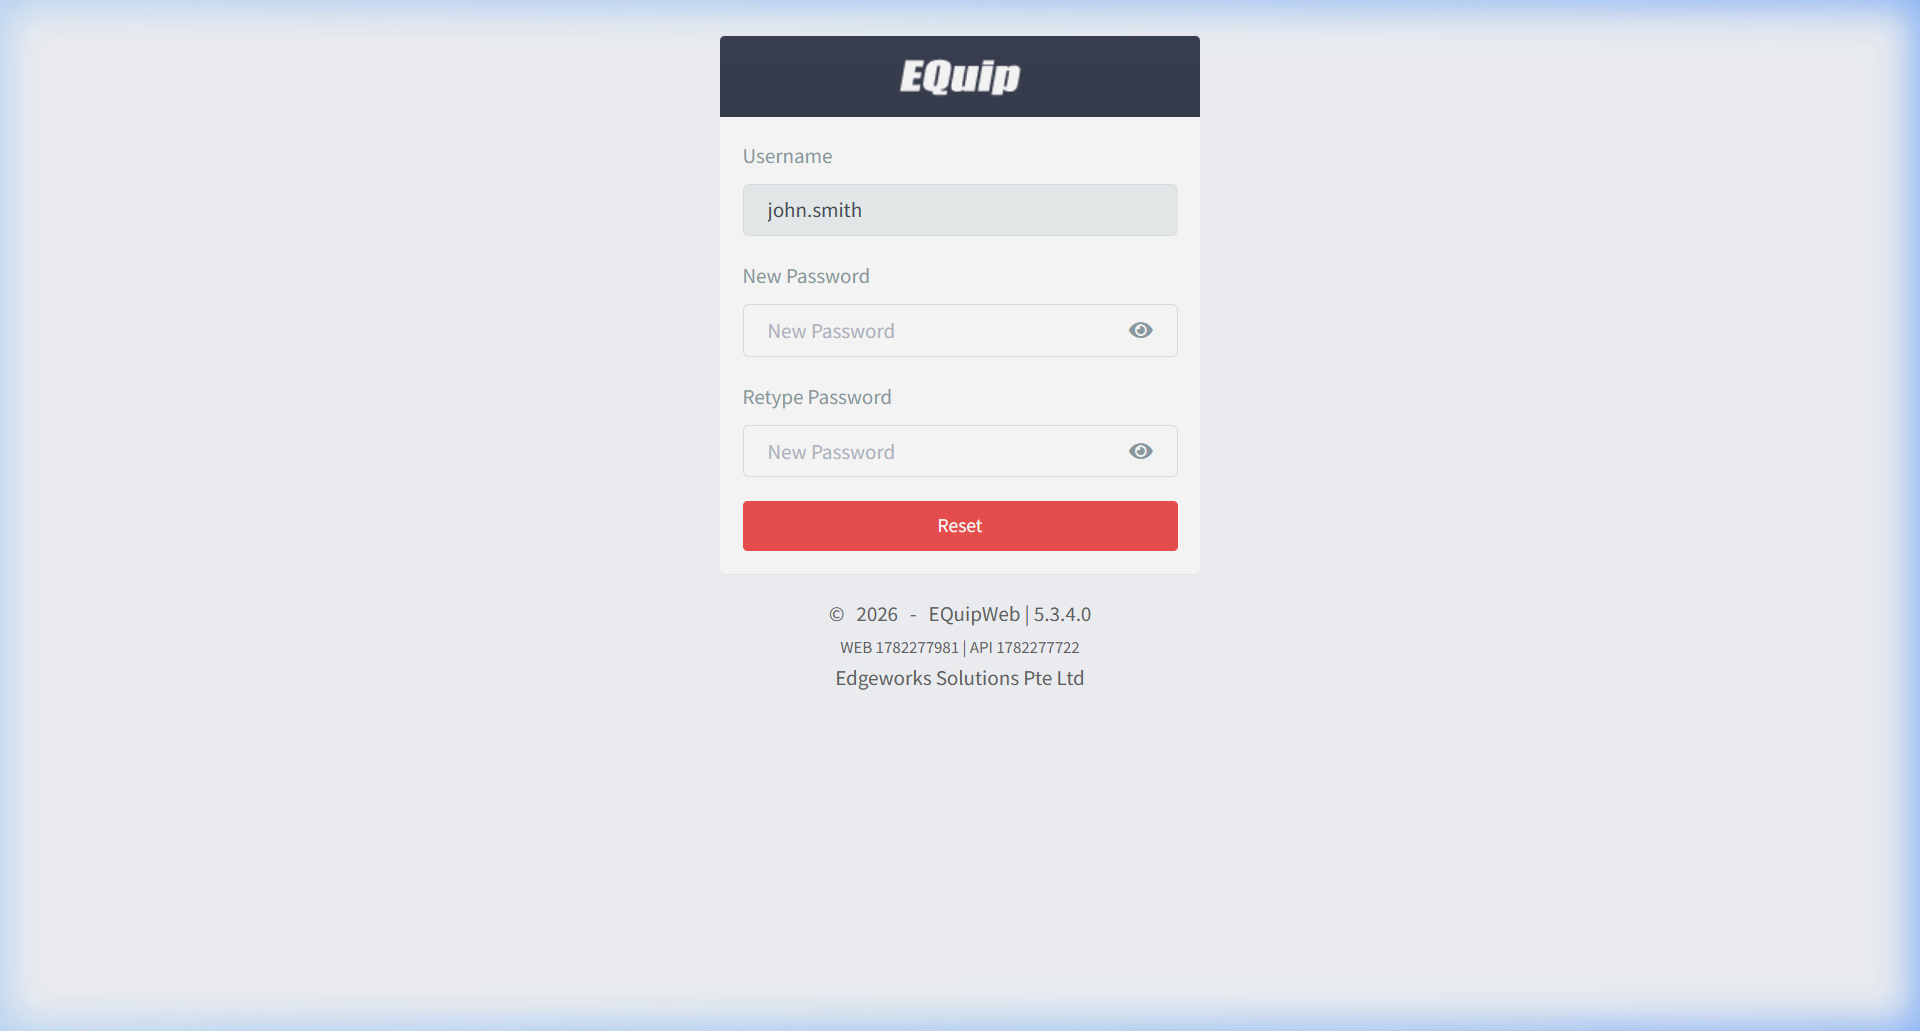
- On the Reset Password page:
- Username field is pre-filled and disabled (read-only).
- Enter your New Password.
- Re-enter it in the Retype Password field.
- Click the red Reset button.
- On success → You are redirected back to the login page. Log in with your new password.
Password Rules
- Minimum 8 characters (configurable by admin).
- New password must match the "Retype Password" field exactly.
- Some companies enforce password complexity (uppercase, lowercase, numbers, special characters).
Use Login to manage and configure this feature in your EQuipWeb system.
1.1.4 Multi-Factor Authentication (MFA / OTP)
When MFA is enabled for your account (configured by admin), a second verification step is required after entering your username and password.
How MFA Works
- You enter your username and password and click Login.
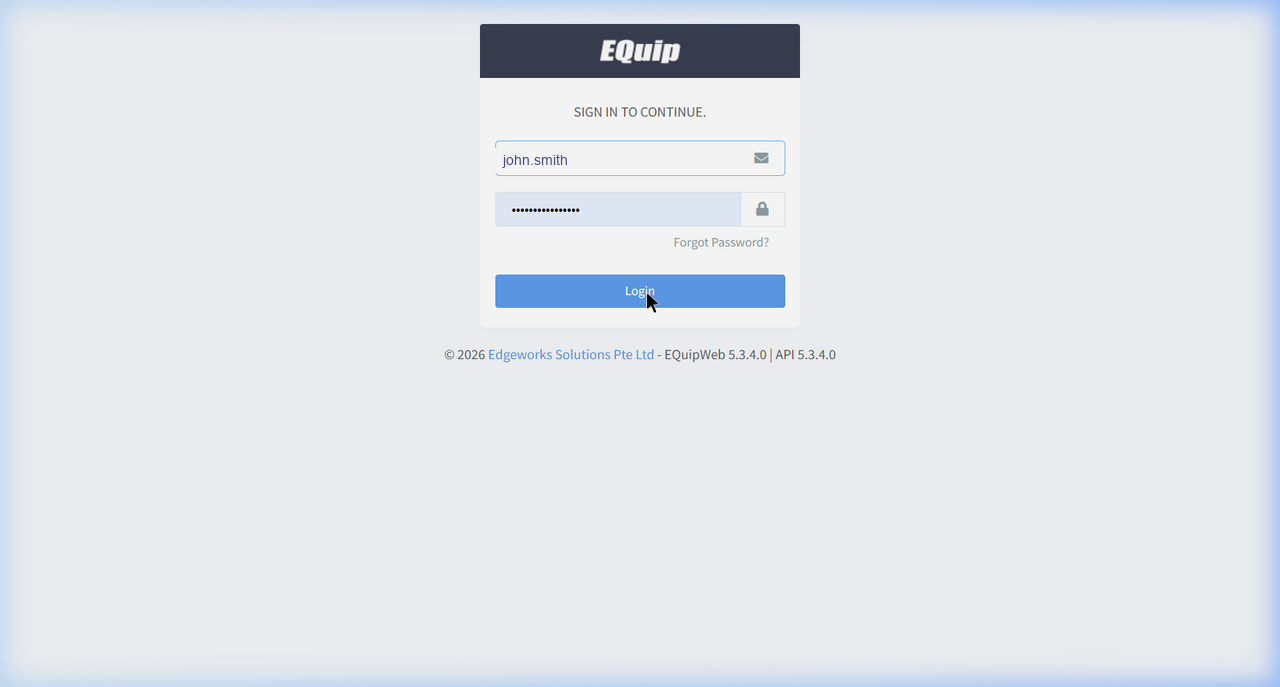
- The system verifies your credentials — if correct, instead of logging you in directly, it shows an OTP input screen.
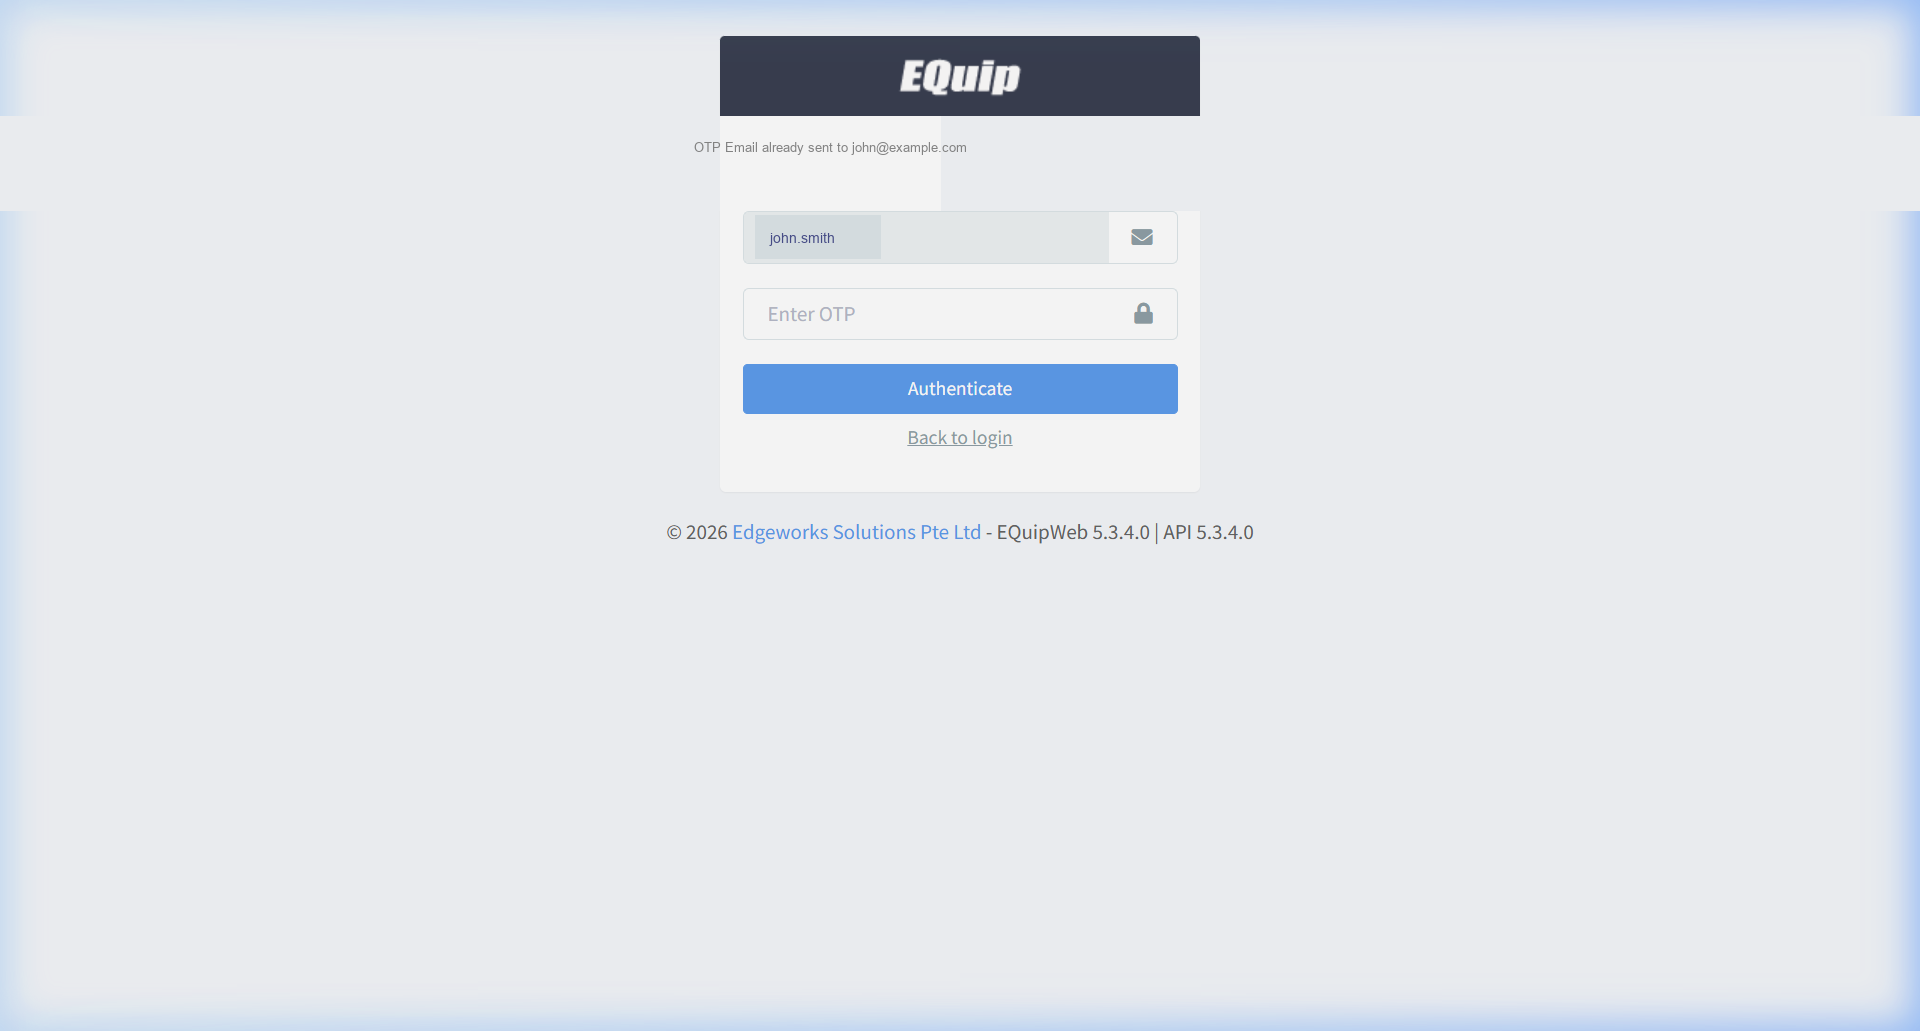
- An OTP code is sent to your registered email or mobile number (depending on system configuration).
- Enter the OTP code in the field and click Authenticate.
5. On success → You are logged in and redirected to Dashboard.
◌ Invalid OTP Error
If you enter an incorrect or expired OTP code, an error message is displayed:
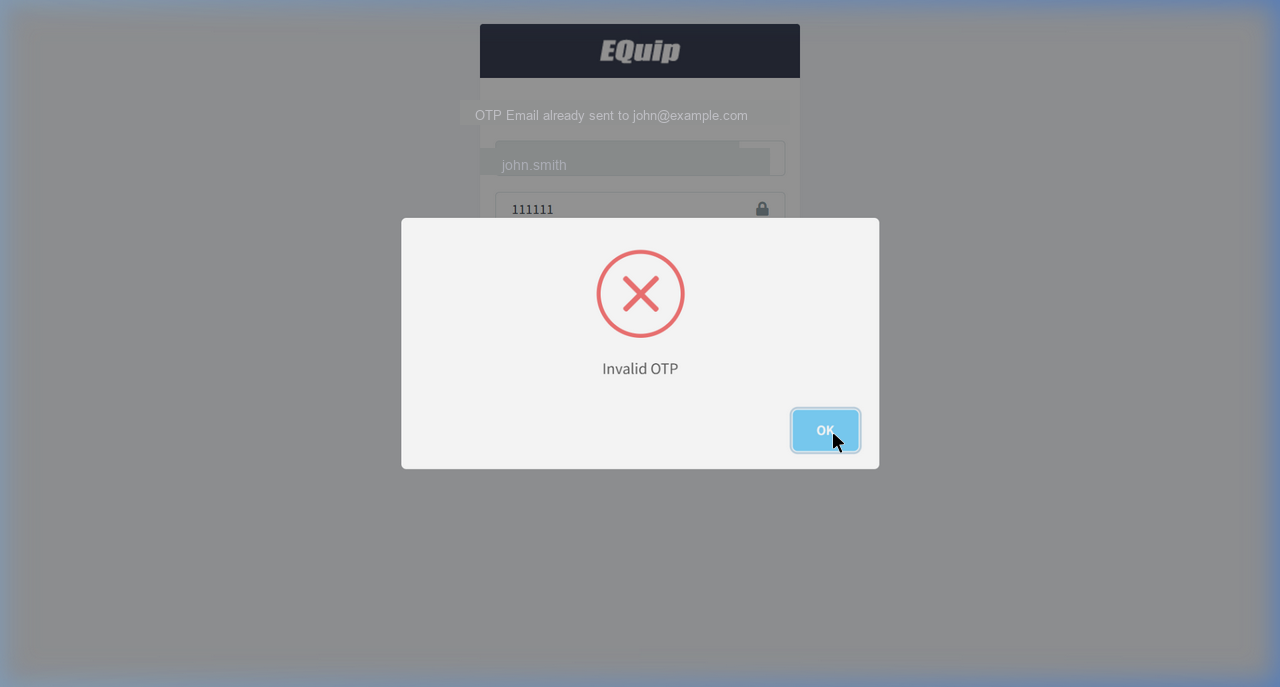
- Click Resend OTP to get a new code.
- Check your spam/junk folder if the email doesn't arrive.
OTP Details
| Property | Description |
|---|---|
| OTP Length | Typically 6 digits |
| OTP Delivery | Via Email or SMS (configured per user/system) |
| OTP Expiry | Time-limited — expires after a few minutes |
| One-time use | Once used, the OTP cannot be reused |
💡 Example
Scenario: A company handling sensitive financial data requires all admin users to use MFA.
- Admin user enters
admin@company.com+ password → clicks Login.
2. Screen changes: password fields are replaced by an OTP input field. Message: "An OTP has been sent to your email."
3. Admin checks email inbox → receives code 483921.
4. Enters 483921 → clicks Authenticate → Dashboard loads.
[!IMPORTANT] If you don't receive the OTP, check your spam/junk folder. If the OTP has expired, click Resend OTP to get a new code. Contact your administrator if the problem persists.
Use Login to manage and configure this feature in your EQuipWeb system.
1.1.5 Account Locked
If you enter the wrong password too many times, your account will be locked for security. This protects against brute-force password attacks.
Use Login to manage and configure this feature in your EQuipWeb system.
How Users Get Locked
There are two ways a user account can be locked:
1. Automatic — Failed Login Attempts
The system tracks every failed login attempt. When the number of consecutive failures exceeds the Login Attempt Limit (configured per User Group), the account is automatically locked.
What happens step-by-step:
- User enters wrong password → Error message: "Invalid username or password".
- User tries again with wrong password → Same error appears. Each attempt increments the failed login counter.
- After exceeding the limit (e.g., 5 attempts) → The system returns result code 603 or 604.
- The user is automatically redirected to the Account Locked page (
/lock).
2. Manual — Administrator Action
An administrator can manually lock any user account from the User Setup module. This is useful for:
- Temporarily restricting access for terminated staff
- Suspending accounts during security investigations
- Enforcing access control for users on leave
The admin locks a user via the User API:
POST /api/User/LockUser/{username}3. Remote Lock — From HQ (POS Only)
For POS terminals, HQ can remotely lock a user account via the POSProcessor.LockUserAccount background processor. This immediately invalidates the user's passcode and forces a UI logout on the next interaction.
Use Login to manage and configure this feature in your EQuipWeb system.
What the Locked User Sees
When your account is locked, the system redirects you to the /lock page:
You cannot log in until one of the following happens:
- ✅ An administrator unlocks your account via User Setup → Locked User (see below).
- ◱︗ The auto-release period expires (if
AutoReleaseLockedUserPeriodis configured, the account auto-unlocks after the set number of minutes).
Use Login to manage and configure this feature in your EQuipWeb system.
How to Unlock a User (Administrator)
Only administrators with access to User Setup can unlock user accounts.
Step-by-Step
- Log in to EQuipWeb as an administrator.
- In the left sidebar, hover over the User Setup icon (👤) to expand the flyout menu.
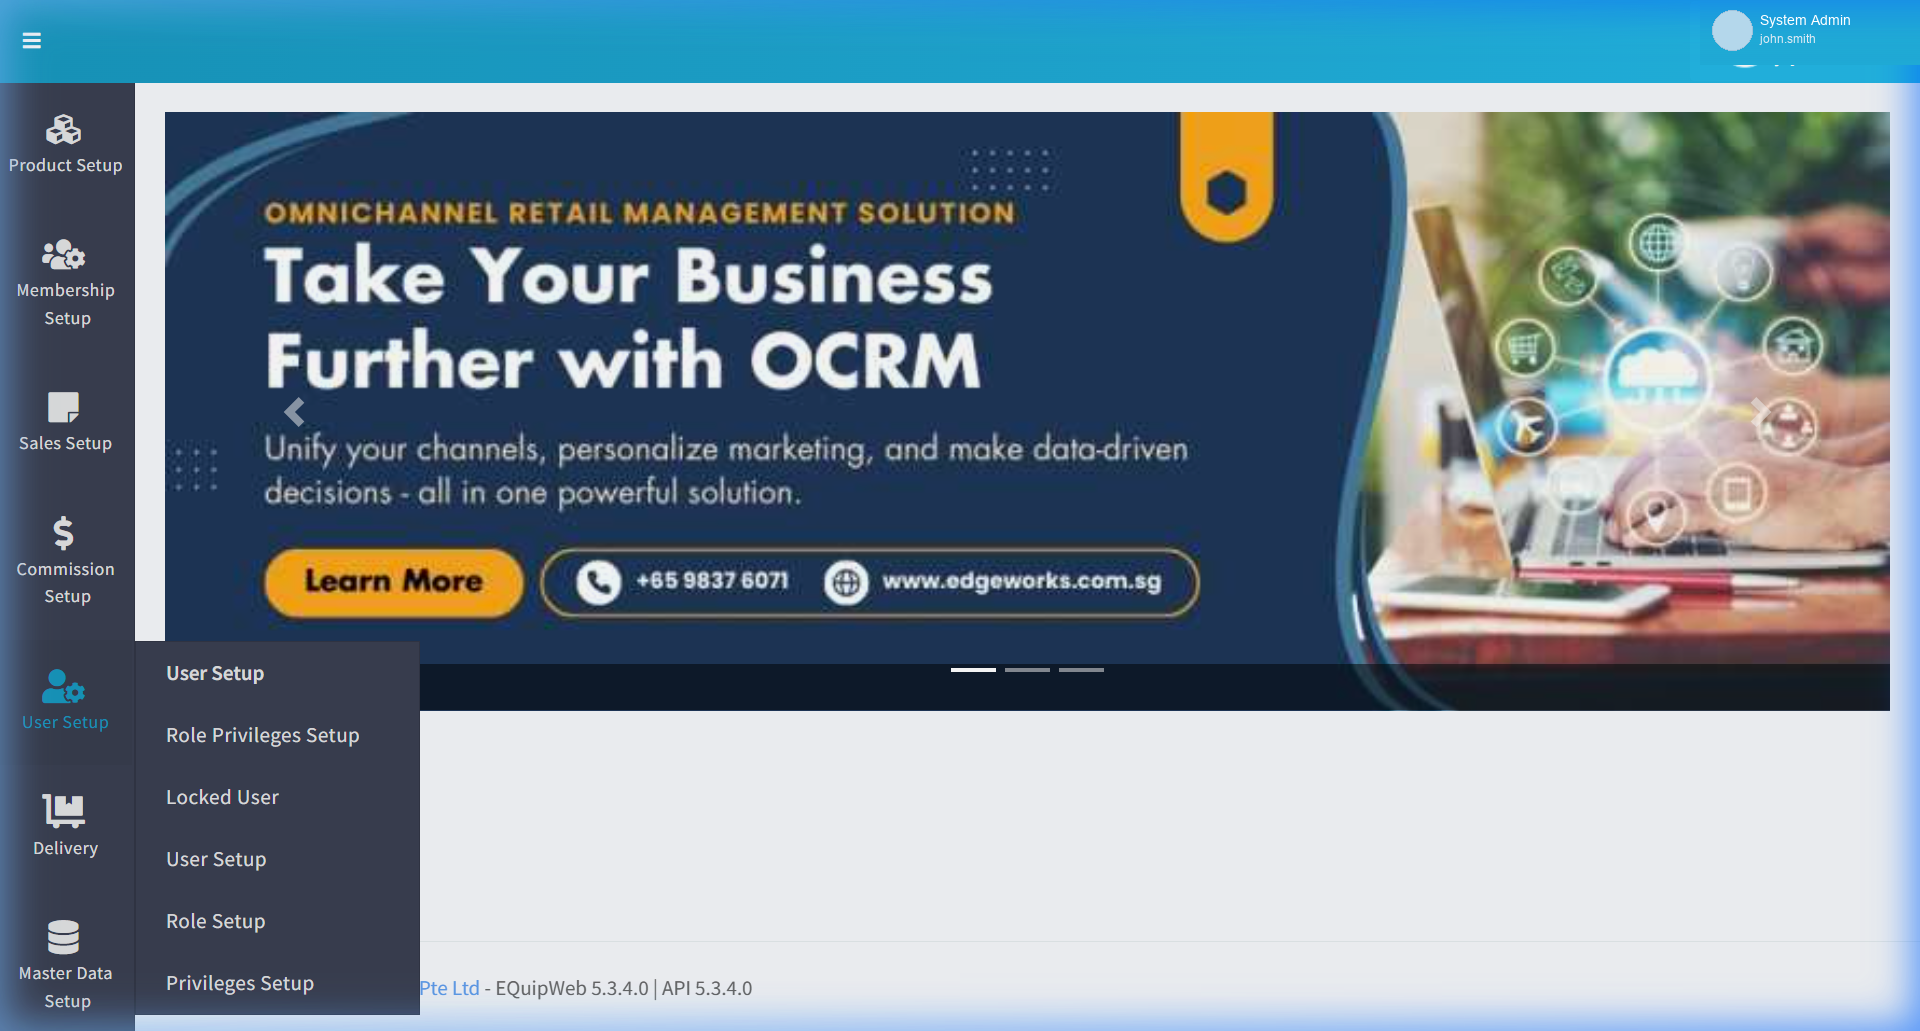
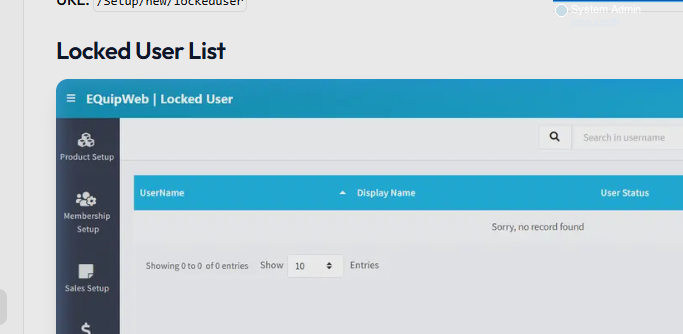
- Click Locked User from the flyout menu. The Locked User list page loads at
/lockeduser.
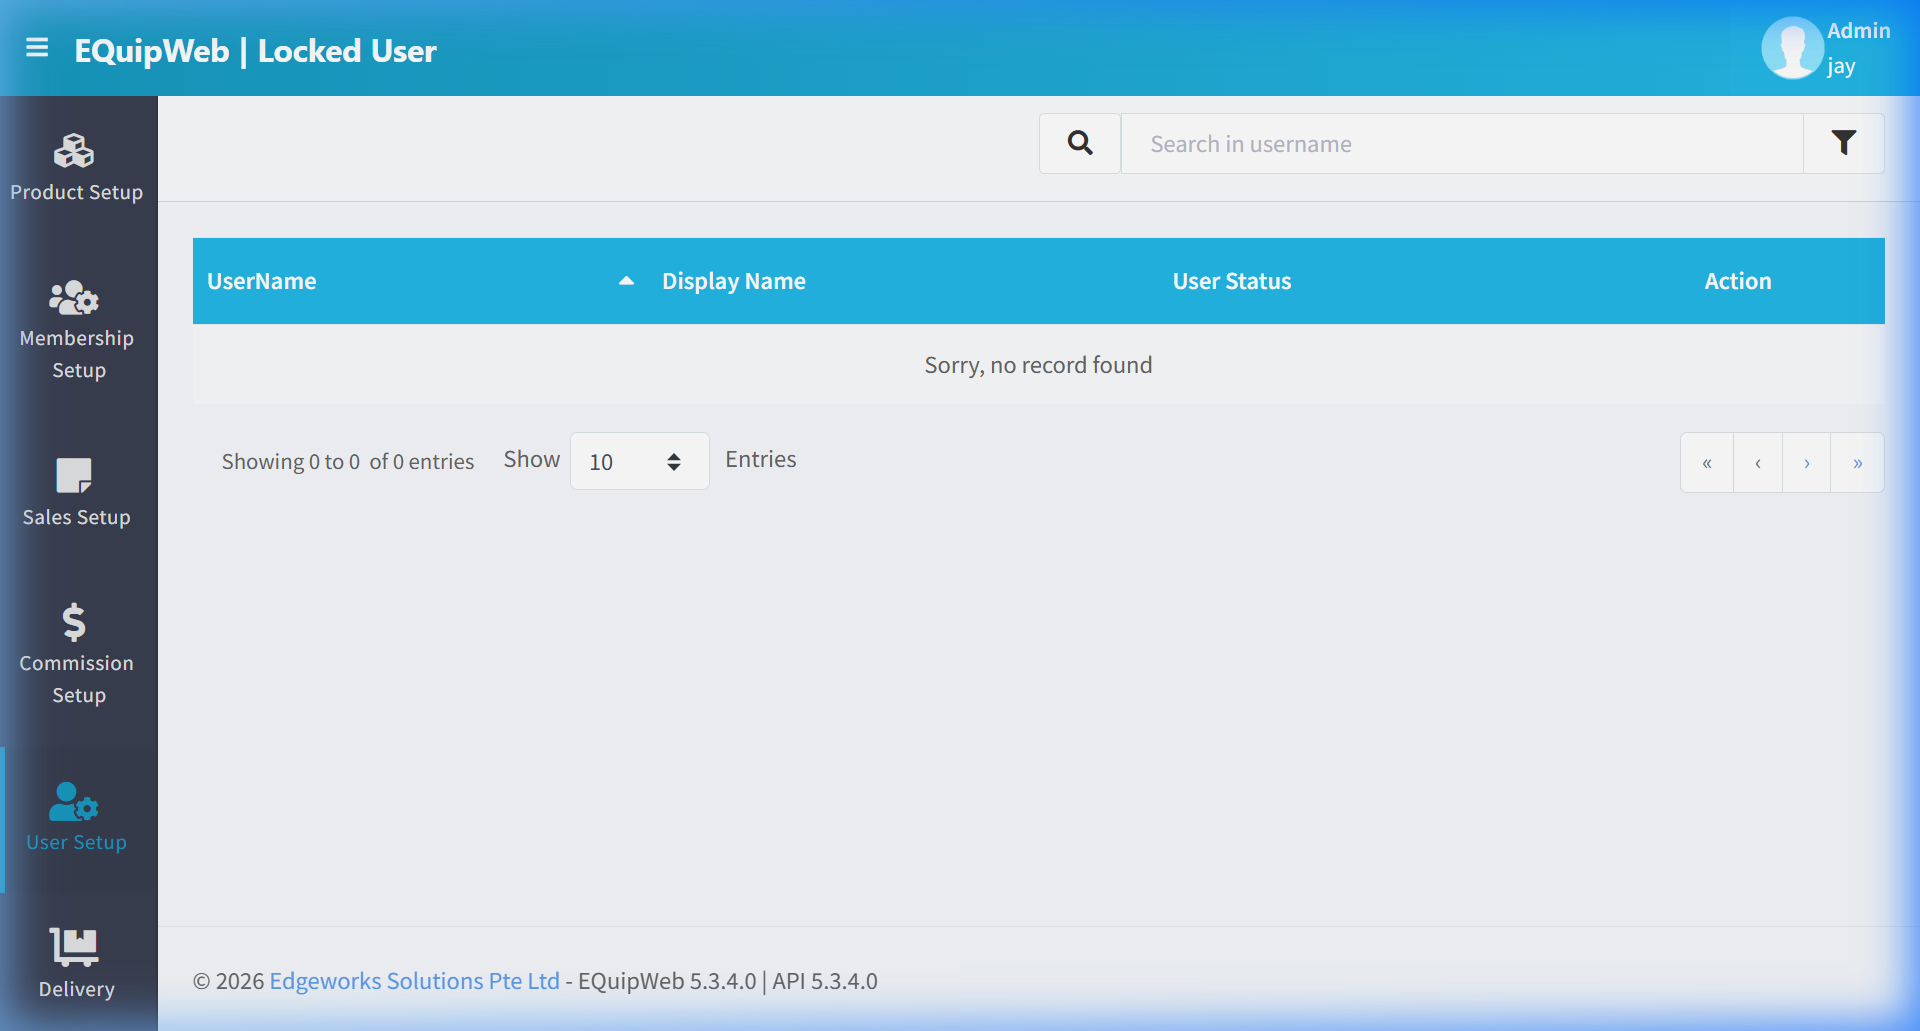
- Find the locked user in the list. You can use the search bar to filter by username.
5. Click the Unlock button next to the user's name.
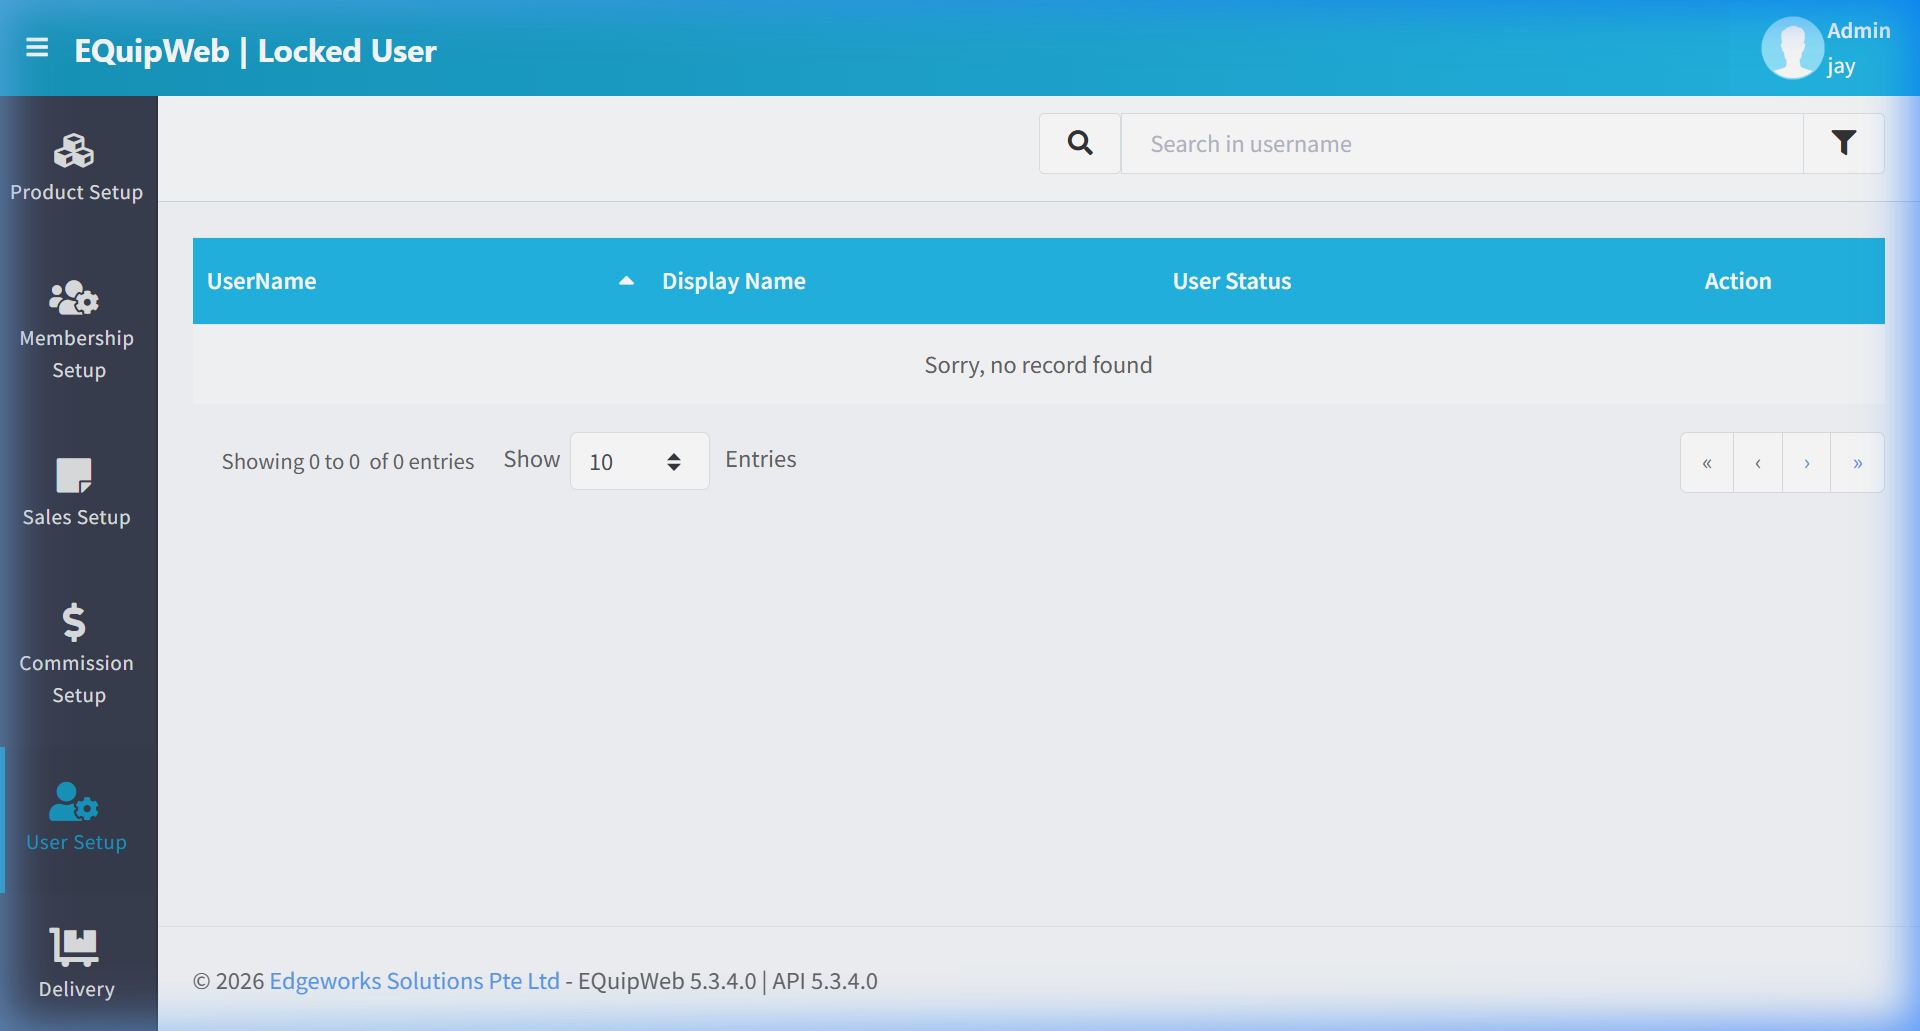
- The user's account is immediately unlocked. They can now log in with their correct credentials.
Use Login to manage and configure this feature in your EQuipWeb system.
Password Policy Settings
These settings control lockout behavior and are configured per User Group by the system administrator:
| Setting | Description | Default |
|---|---|---|
| LoginAttemptLimit | Maximum number of failed login attempts before the account is automatically locked | 5 |
| AutoReleaseLockedUserPeriod | Number of minutes before a locked account is automatically unlocked. Set to 0 for manual unlock only. | 0 (manual) |
| PasswordExpiryPeriod | Number of days before a password expires and must be changed | (varies) |
Use Login to manage and configure this feature in your EQuipWeb system.
💡 Example
Scenario: A cashier tries to log in to EQuipWeb but has forgotten their new password.
- Attempt 1: Wrong password → "Invalid username or password" error appears.
- Attempt 2–5: Same wrong password → Same error each time. Counter increments.
- Attempt 6: Account locked → Redirected to the lock page.
- Cashier calls the store manager.
- Manager logs in to EQuipWeb → Goes to User Setup → Locked User.
- Manager finds the cashier's account → Clicks Unlock.
- Cashier can now log in again (with the correct password this time!).
[!WARNING] Account lockout is a security feature designed to prevent brute-force password attacks. Do NOT disable it or set the Login Attempt Limit too high. Instead, encourage users to use the Forgot Password flow (section 1.1.3) before their account gets locked.
[!TIP] If your organization frequently has locked accounts, consider enabling AutoReleaseLockedUserPeriod (e.g., set to 15 minutes) so accounts auto-unlock without admin intervention.
Use Login to manage and configure this feature in your EQuipWeb system.
Access & Permissions
| Role | View | Create | Edit | Delete |
|---|---|---|---|---|
| Admin | Yes | Yes | Yes | Yes |
| Supervisor | Yes | Yes | Yes | No |
| Cashier | No backend access | — | — | — |
[!NOTE] Exact permissions depend on the Privileges Setup configured for each role. Contact your administrator if you cannot access this page.
Use Login to manage and configure this feature in your EQuipWeb system.
FAQ
Q: I forgot my password — how do I reset it? A: Contact your system administrator to reset your password from User Setup > User List.
Q: Why can't I see all menus in the sidebar? A: Your role may not have permissions for all modules. Contact your administrator to check your assigned privileges.
Use Login to manage and configure this feature in your EQuipWeb system.
Troubleshooting
| Issue | Possible Cause | Solution |
|---|---|---|
| Cannot save the record | Required fields are empty or invalid | Check all fields marked with * and fill in valid data |
| Record not appearing in POS | POS terminal has not synced yet | Wait for the next sync cycle or manually trigger sync from Terminal Status |
| Cannot delete the record | Record is being used by other modules | Check if the record is linked to active transactions, products, or other settings |
| Changes not taking effect | Browser cache showing old data | Refresh the page (Ctrl+F5) or clear browser cache |
| "Duplicate" error on save | A record with the same name/code already exists | Search the list (including deleted records) for duplicates |
| Page not loading | Session expired or network issue | Log out and log back in. Check your internet connection |
Use Login to manage and configure this feature in your EQuipWeb system.
Related Menus
- User Setup > User List — account management
- User Setup > Role Setup — role assignment
- Setting > Feature Setup — system feature toggles
Use Login to manage and configure this feature in your EQuipWeb system.
Open Questions / Confirmation Needed
[!NOTE] The following items may vary depending on your system version and configuration:
- Exact permission settings depend on your Privileges Setup configuration
- Sync timing to POS terminals depends on network conditions and sync schedule
- Some features may require additional licensing or module activation
- Field behavior may differ between EQuip versions
If you encounter behavior not described in this manual, contact your system administrator or EQuip support team.
Expected Result: Changes are saved successfully and reflected across the system after the next POS sync.
Field Reference
| Field | Required | Description |
|---|---|---|
| Name / Title | Yes | The display name for this record |
| Status / Active | — | Whether this record is active in the system |
| Created Date | Auto | System-generated creation timestamp |
| Modified Date | Auto | System-generated last modification timestamp |
[!NOTE] Additional fields specific to this page are documented in the sections above. The table above shows common fields present across most pages.
Related Articles
Locked User
? Backend — EQuipWebRetail ModeUser Setup Chapter 6: User Setup — 6.5 Locked User The Locked User page shows accounts that have been locked — either because someone entered the wrong password too many times, or because an admin locked it on purpose. ...Profile & Account
? Backend — EQuipWebRetail ModeChapter 1: Getting Started Chapter 1: Getting Started — 1.3 Profile & Account Use Account to manage and configure this feature in your EQuipWeb system. The Profile section is accessed from the top-right corner of any ...User Setup
? Backend — EQuipWebRetail ModeUser Setup Chapter 6: User Setup — 6.1 User List Use List to manage and configure this feature in your EQuipWeb system. The User List shows everyone who has access to your EQuip system — from cashiers to managers. Here ...Main Portal
? Backend — EQuipWebRetail ModeChapter 1: Getting Started Backend Login — Main Portal Dashboard The Main Portal is the first page you see after logging into EQuipWeb. It provides a high-level overview of your business with key metrics, quick-access ...Feature Setup
? Backend — EQuipWebRetail ModeSetting Setting — 12.5 Feature Setup: Toggle product features, pricing display, and system options Use Feature Setup to turn features on or off across your system. Each feature has a simple toggle switch — flip it ON ...