Barcode Printing
Chapter 2: Product Setup — 2.8 Barcode Printing
Use Barcode Printing to generate and print barcode labels for your products. Select the products you need labels for, choose your label size, and print — perfect for pricing new arrivals or repricing during promotions.
When to use this: When you need to print barcode labels for your products.
Prerequisites
- Products must exist with barcode data
Barcode Printing Interface
📝 General Description
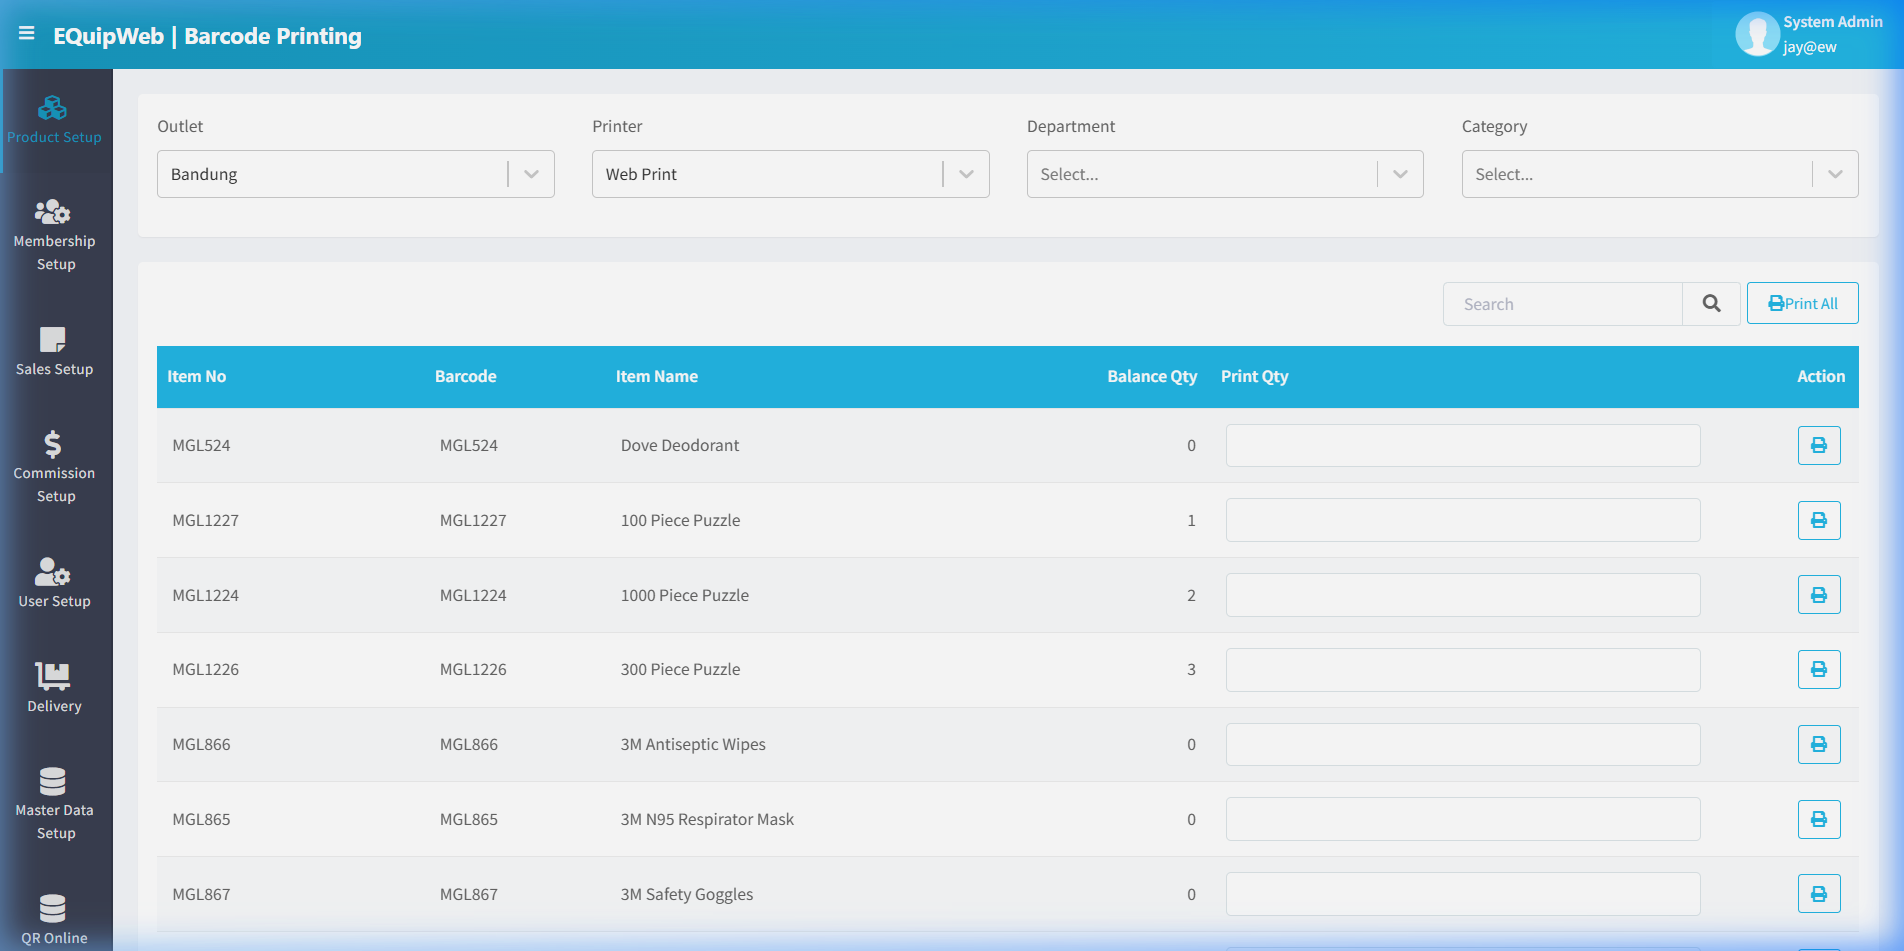
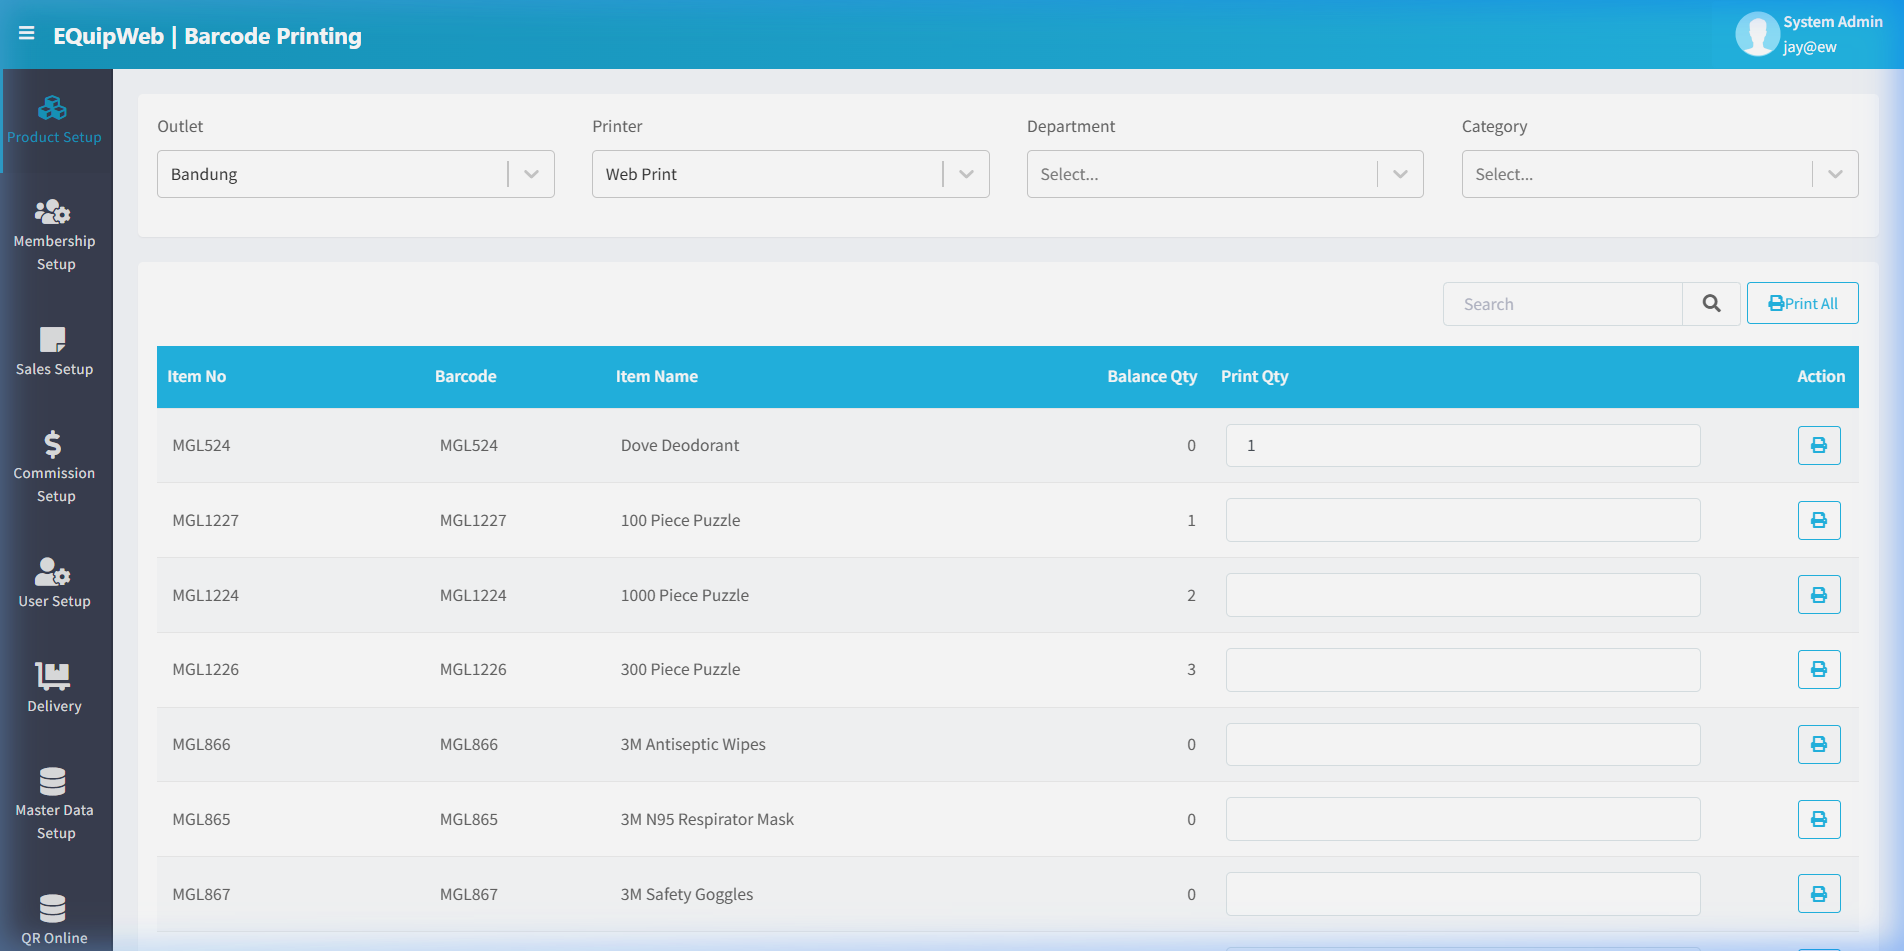
The Barcode Printing page provides a filter-search-print workflow. Select an outlet and printer, optionally filter by department/category, then specify the quantity of labels for each product and print.
Filter Panel
| Filter | Type | Description |
|---|---|---|
| Outlet | Dropdown | Select the outlet whose products to print labels for (e.g., "Bandung") |
| Printer | Dropdown | Select the printer type/destination (e.g., "Web Print") |
| Department | Dropdown | Filter products by department (optional) |
| Category | Dropdown | Filter products by category (optional) |
Print Queue / Product Grid
| Column | Description |
|---|---|
| Item No | Product code (e.g., MGL524, MGL1227) |
| Barcode | Barcode value to print on the label |
| Item Name | Product display name shown on the label |
| Balance Qty | Current stock quantity on hand |
| Print Qty | Number of labels to print — enter the desired quantity here |
| Action | 🖨️ Print icon — prints labels for this individual product |
Action Buttons
| Button | Function |
|---|---|
| Print All | Print labels for all products in the current view that have a Print Qty set |
| 🖨️ (per row) | Print labels for that specific product only |
| 🔍 Search | Search products by name, barcode, or item number |
⚙️ How to Print Barcodes
Step-by-Step
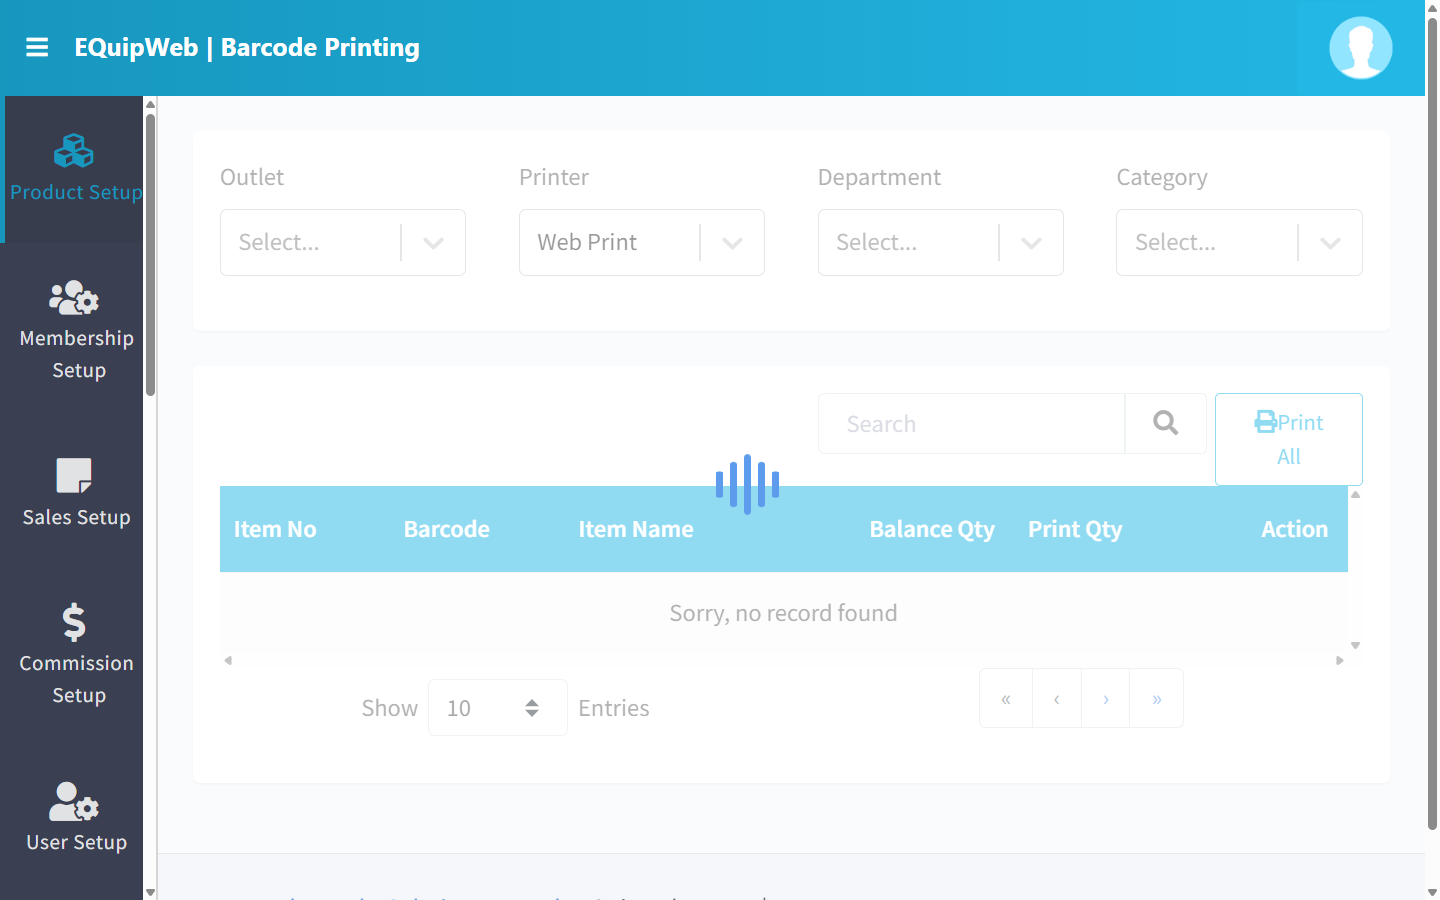
- Select Outlet — Choose the outlet from the dropdown.
 2. Select Printer — Choose the printer or print format (e.g., "Web Print" for browser-based printing).
 3. Filter Products (optional) — Select Department and/or Category to narrow the product list.
 4. Set Print Quantity — Enter the number of labels needed in the Print Qty column for each product.
 5. Print — Click Print All to batch print, or click the 🖨️ icon per row for individual printing.
💡 Example
Scenario: A retail store receives a new shipment of 50 different products and needs to print price labels.
- Go to Barcode Printing page.
2. Select Outlet = "Main Store", Printer = "Zebra ZPL".
3. Filter by Category = "New Arrivals" to see only the new products.
4. Set Print Qty = number of units received for each product.
5. Click Print All → Labels are generated for all products in the queue.
6. Staff applies the labels to products and shelves.
[!TIP] If you're using a Zebra ZPL printer, make sure the label template is configured for ZPL format in the printer settings. Contact your IT team to set up the correct label dimensions.
Access & Permissions
| Role | View | Create | Edit | Delete |
|---|---|---|---|---|
| Admin | Yes | Yes | Yes | Yes |
| Supervisor | Yes | Yes | Yes | No |
| Cashier | No backend access | — | — | — |
[!NOTE] Exact permissions depend on the Privileges Setup configured for each role. Contact your administrator if you cannot access this page.
Expected Result: Changes are saved successfully and reflected across the system after the next POS sync.
How to Print Barcodes
- Navigate to Product Setup > Barcode Printing from the sidebar menu.
- Use the search bar to find the product(s) you want to print barcodes for.
- Select the products by checking the checkbox next to each item.
- Set the quantity of barcode labels to print for each selected product.
- Choose the label format/template (if available).
- Click Print to generate and print the barcode labels.
Expected Result: Barcode labels are generated and sent to the connected label printer.
[!TIP] Ensure your barcode label printer is properly connected and configured before printing. Test with a single label first.
FAQ
Q: Why is my product not showing on the POS? A: The POS needs to sync first. Check Terminal Status to see the last sync time. Also verify the product is not deleted and is assigned to the correct outlet.
Q: Can I delete a product that has sales history? A: You can soft-delete it (it will be hidden from active lists and POS), but it cannot be permanently removed because it is linked to transaction records.
Q: How do I update prices for multiple products at once? A: Use the Data Importer > Product Importer to bulk update. Export the current list, modify prices in the spreadsheet, then re-import.
Troubleshooting
| Issue | Possible Cause | Solution |
|---|---|---|
| Cannot save the record | Required fields are empty or invalid | Check all fields marked with * and fill in valid data |
| Record not appearing in POS | POS terminal has not synced yet | Wait for the next sync cycle or manually trigger sync from Terminal Status |
| Cannot delete the record | Record is being used by other modules | Check if the record is linked to active transactions, products, or other settings |
| Changes not taking effect | Browser cache showing old data | Refresh the page (Ctrl+F5) or clear browser cache |
| "Duplicate" error on save | A record with the same name/code already exists | Search the list (including deleted records) for duplicates |
| Page not loading | Session expired or network issue | Log out and log back in. Check your internet connection |
Related Menus
- Category Setup — product categorization
- Department Setup — reporting hierarchy
- Sales Setup > GST Setup — tax rates for products
- Data Importer > Product Importer — bulk product upload
- Sales Setup > Payment Mode — payment methods at POS
Open Questions / Confirmation Needed
[!NOTE] The following items may vary depending on your system version and configuration:
- Exact permission settings depend on your Privileges Setup configuration
- Sync timing to POS terminals depends on network conditions and sync schedule
- Some features may require additional licensing or module activation
- Field behavior may differ between EQuip versions
If you encounter behavior not described in this manual, contact your system administrator or EQuip support team.
Field Reference
| Field | Required | Description |
|---|---|---|
| Name / Title | Yes | The display name for this record |
| Status / Active | — | Whether this record is active in the system |
| Created Date | Auto | System-generated creation timestamp |
| Modified Date | Auto | System-generated last modification timestamp |
[!NOTE] Additional fields specific to this page are documented in the sections above. The table above shows common fields present across most pages.
Related Articles
Alt Barcode Importer
? Backend — EQuipWebRetail ModeData Importer & Exporter Chapter 11: Data Importer & Exporter — 11.5 Alt Barcode Importer Use Importer to manage and configure this feature in your EQuipWeb system. Use the Alt Barcode Importer to assign additional ...Navigation & Sidebar
? Backend — EQuipWebRetail ModeChapter 1: Getting Started Chapter 1: Getting Started — 1.4 Navigation & Sidebar The sidebar is the primary navigation tool in EQuipWeb. It appears on the left side of every page and provides access to all 11 modules ...Main Portal
? Backend — EQuipWebRetail ModeChapter 1: Getting Started Backend Login — Main Portal Dashboard The Main Portal is the first page you see after logging into EQuipWeb. It provides a high-level overview of your business with key metrics, quick-access ...Simulate Sales
? Backend — EQuipWebRetail ModeSales Setup Sales Setup — 4.10 Simulate Sales Use Simulate Sales to test how a transaction would look before actually processing it. Enter products and see how discounts, promotions, taxes, and surcharges are applied — ...Product Importer
? Backend — EQuipWebRetail ModeData Importer & Exporter Data Importer & Exporter — 11.1 Step-by-step guide to bulk importing products, download template, import modal controls, and troubleshooting import errors Use Importer to manage and configure ...