Simulate Sales
Sales Setup — 4.10 Simulate Sales
Use Simulate Sales to test how a transaction would look before actually processing it. Enter products and see how discounts, promotions, taxes, and surcharges are applied — great for verifying that your pricing setup is correct.
When to use this: When you want to test how a transaction would look before actually processing it.
Prerequisites
- Products, Payment Modes, and Outlets must exist
- At least one POS terminal registered
Simulate Sales Interface
📝 General Description
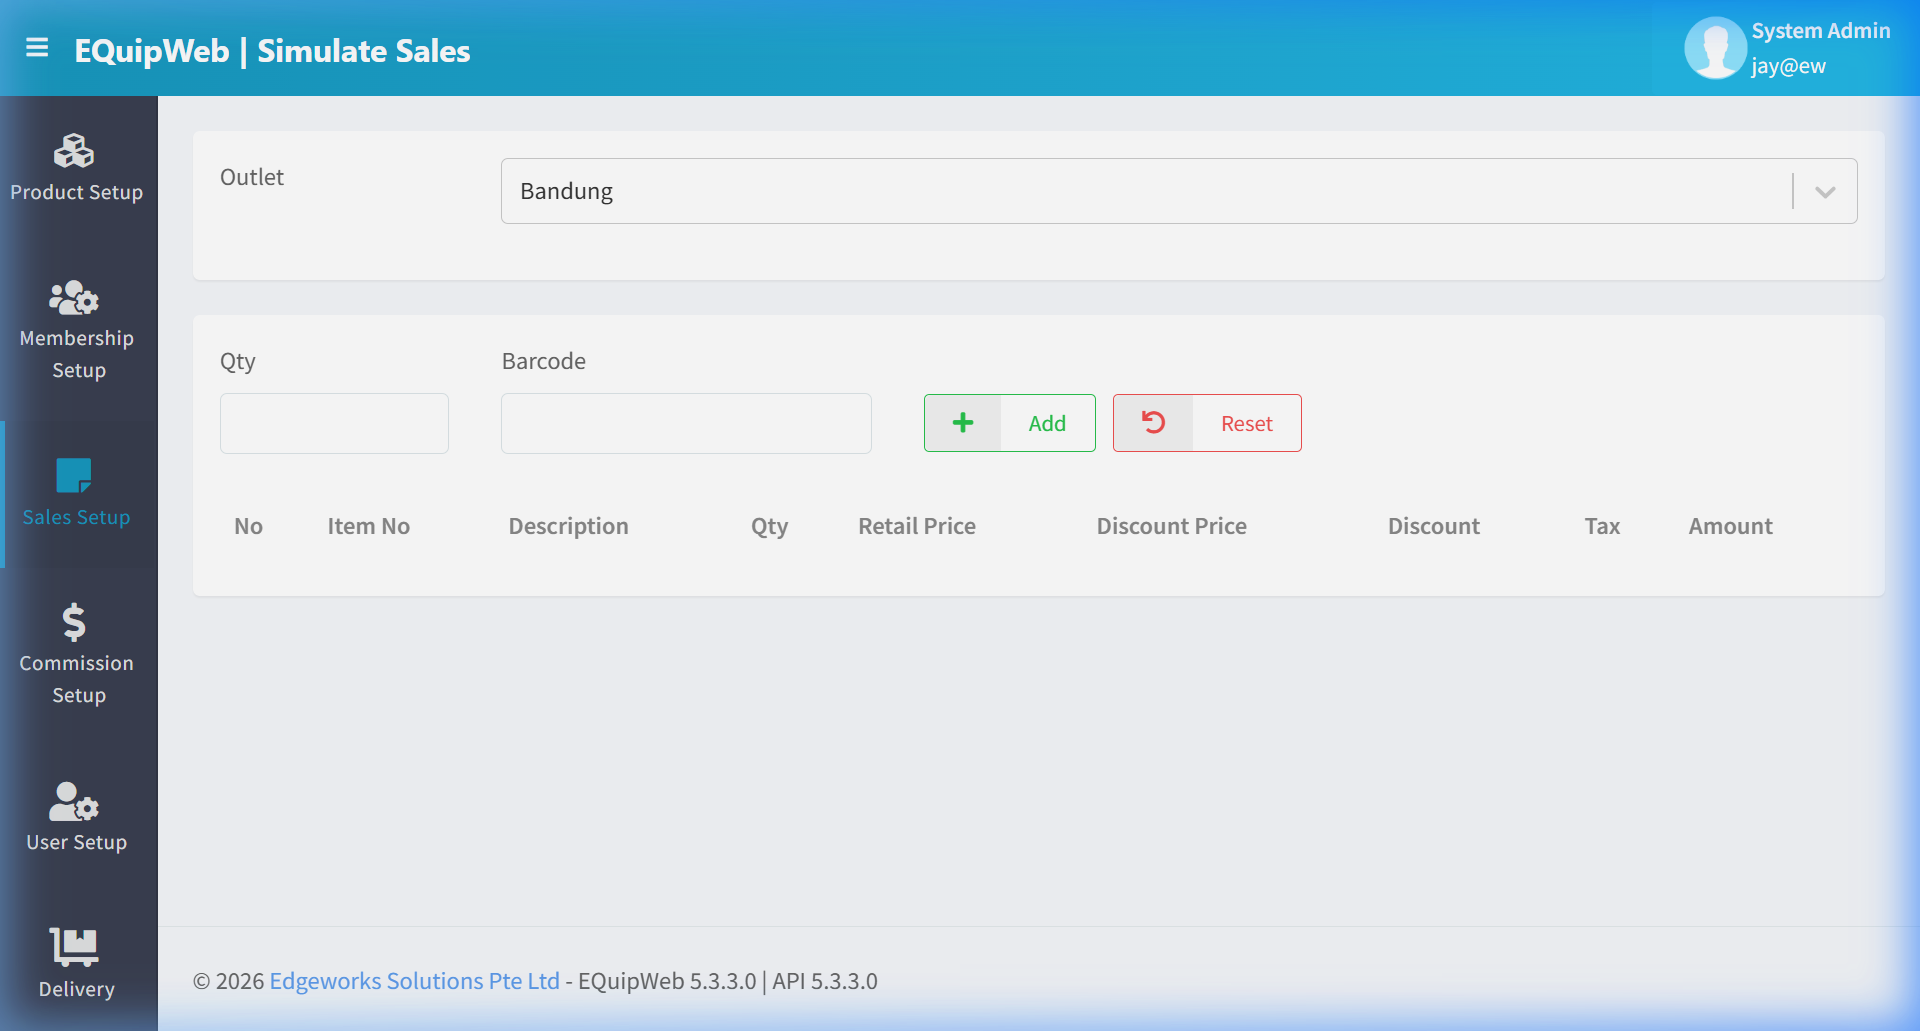
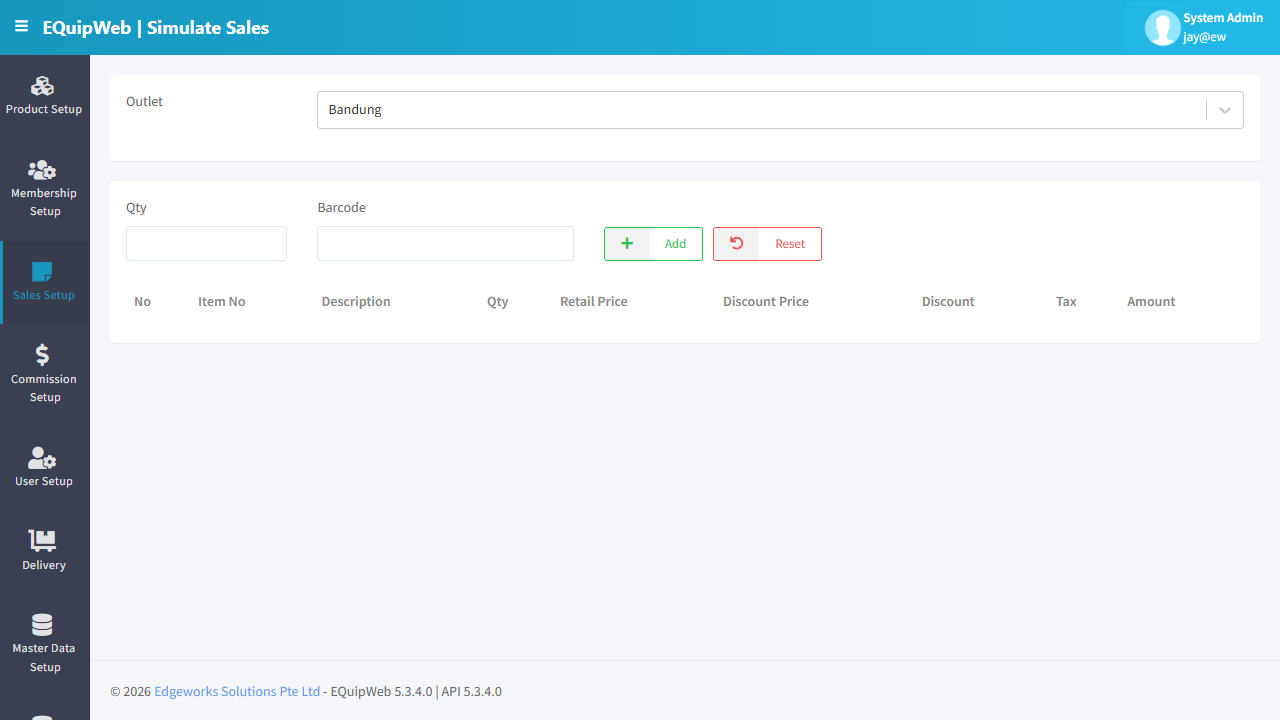
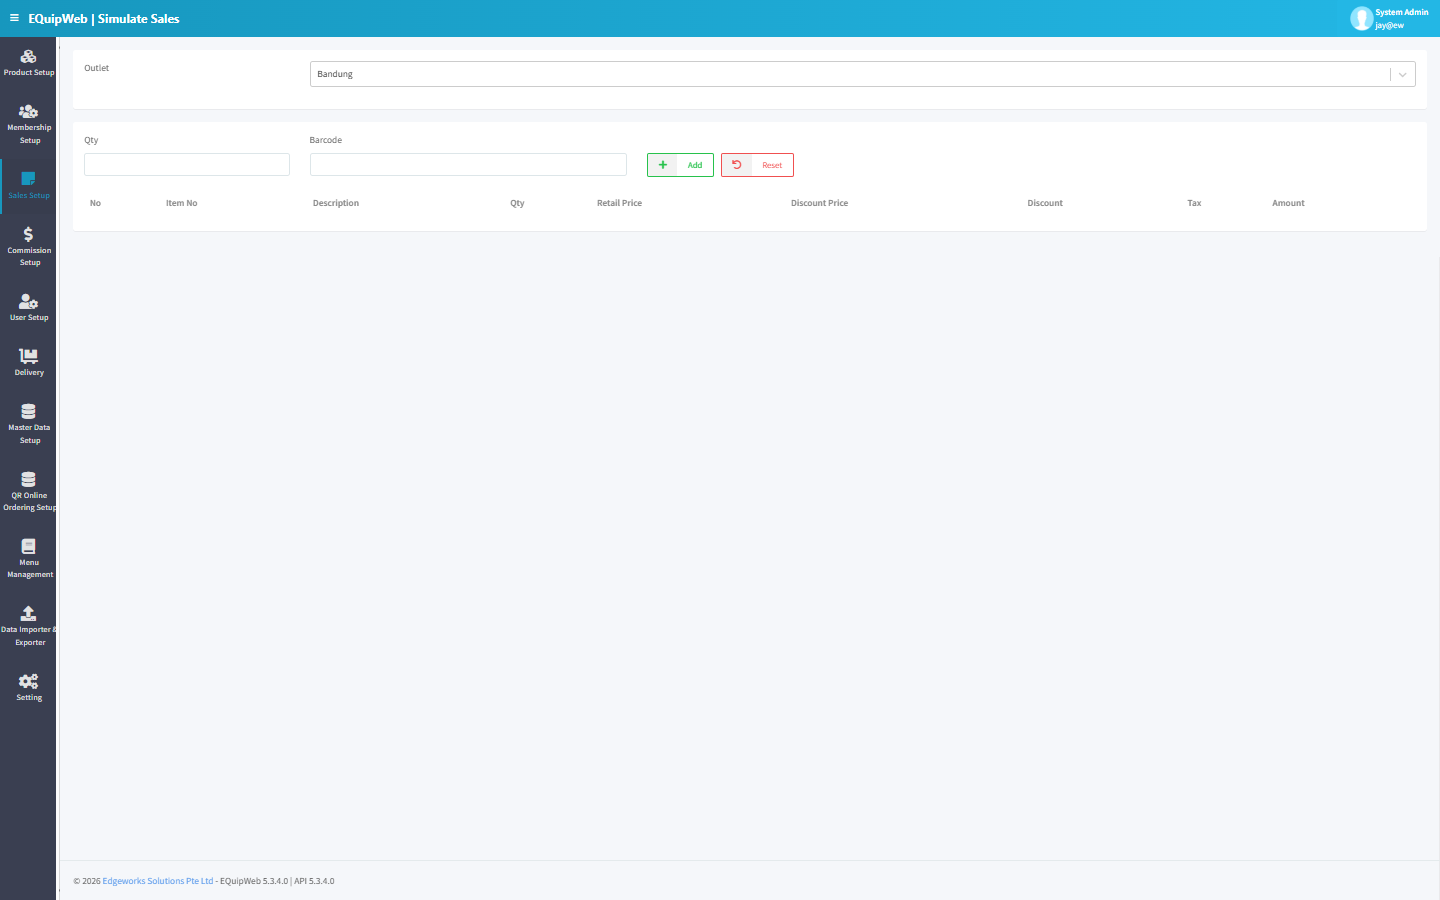
This is a single-page tool (no list/edit views). In the screenshot above, you can see:
- Outlet dropdown (currently set to "Bandung")
- Qty and Barcode input fields
- Add button (green) and Reset button (red)
- Results table with columns: No, Item No, Description, Qty, Retail Price, Discount Price, Discount, Tax, Amount
The tool replicates the full POS pricing engine on the server side — applying all active promotions, discounts, bundles, and surcharges for the selected outlet.
[!IMPORTANT] No data is saved. This is purely a calculation tool. No sales transaction is created, no stock is deducted, and no receipt is generated.
How to Use
Step-by-Step
- Select Outlet — Choose which outlet's pricing context to simulate from the dropdown. Different outlets may have different promotions, surcharges, and pricing tiers.
- Enter Quantity — Set the qty (default: 1).
 3. Enter Barcode — Type or scan the product barcode.
 4. Click Add — The item is added to the simulation cart.
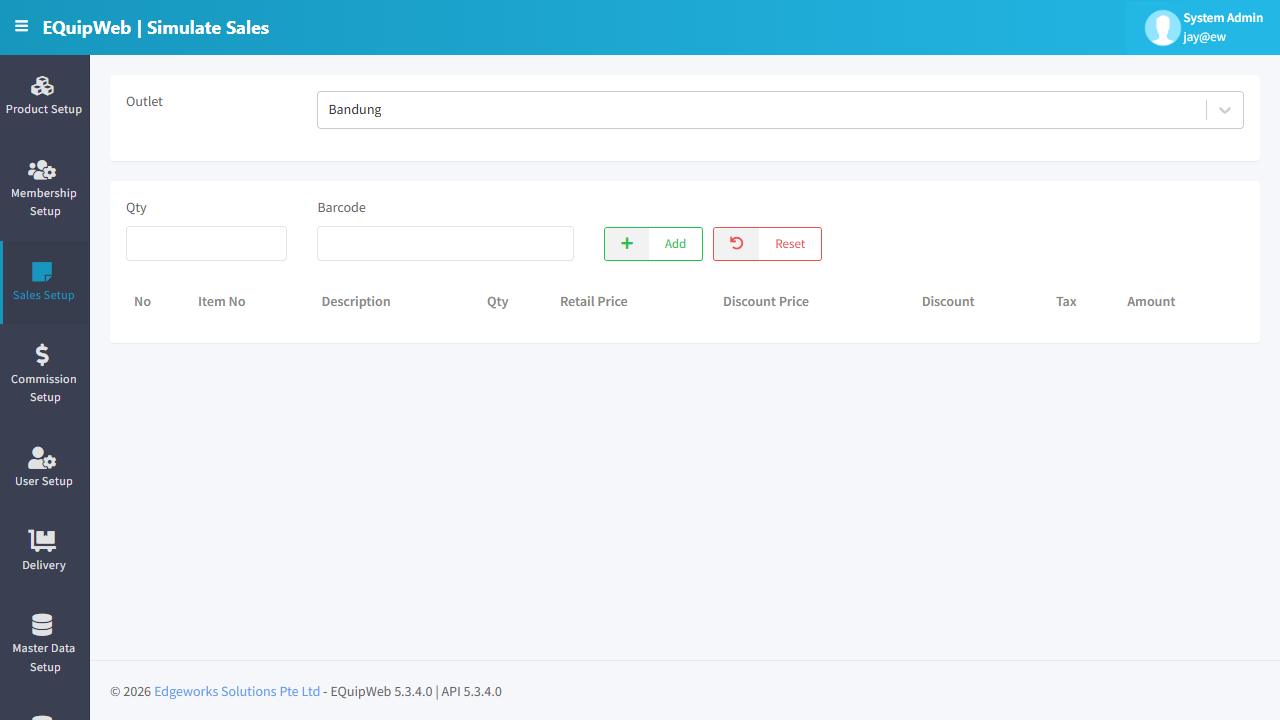 5. View Results — The system recalculates the entire cart after each item is added.
- Click Reset — Clears all items and starts over.
Input Fields
| Field | Type | Required | Description |
|---|---|---|---|
| Outlet | Dropdown | Yes | Select which outlet's pricing context to use. This determines which promotions, discounts, and surcharges apply. |
| Qty | Number | Yes | Quantity of items to add. Default: 1. |
| Barcode | Text | Yes | Product barcode. Type or scan. |
Results Table
| Column | Description |
|---|---|
| No | Row number |
| Item No | Product code |
| Description | Product name |
| Qty | Quantity |
| Retail Price | Standard selling price (before any discount) |
| Discount Price | Price after discount is applied |
| Discount | Discount amount (Retail Price − Discount Price) |
| Tax | GST/tax amount calculated |
| Amount | Final payable amount for this line |
💡 Use Cases
Use Case 1: Verify a "Buy 2 Get 1 Free" Promotion
Scenario: You just configured a "Buy 2 Get 1 Free" promotion for Faber Castell markers. Before going live, verify it works:
- Set Outlet =
Faber Castell Store.
 2. Enter barcode
 AG429444 → Add (Qty 1).
3. Enter barcode AG429444 → Add (Qty 1).
4. Enter barcode AG429444 → Add (Qty 1).
5. Expected Result: The third item should show a Discount = item price (100% off), and the Amount should be $0.00.
Use Case 2: Check Discount Stacking
Scenario: A customer has both a "10% Staff Discount" and a "5% Bank Promo". Do they stack?
- Set Outlet =
Main Store.
2. Add several items to the cart.
3. Observe the Discount column — if both apply, the discount should reflect the combined effect.
Use Case 3: Validate Outlet-Specific Pricing
Scenario: You set different prices for the same item at two outlets. Verify:
- Set Outlet =
Store A→ Add barcodeITEM001→ Note the Retail Price.
2. Click Reset.
3. Set Outlet = Store B → Add the same barcode → Compare the Retail Price.
4. If outlet pricing is configured correctly, the prices should differ.
Tip: Always use Simulate Sales after configuring new promotions, discounts, or GST changes to verify they calculate correctly before going live at the POS counter.
Access & Permissions
| Role | View | Create | Edit | Delete |
|---|---|---|---|---|
| Admin | Yes | Yes | Yes | Yes |
| Supervisor | Yes | Yes | Yes | No |
| Cashier | No backend access | — | — | — |
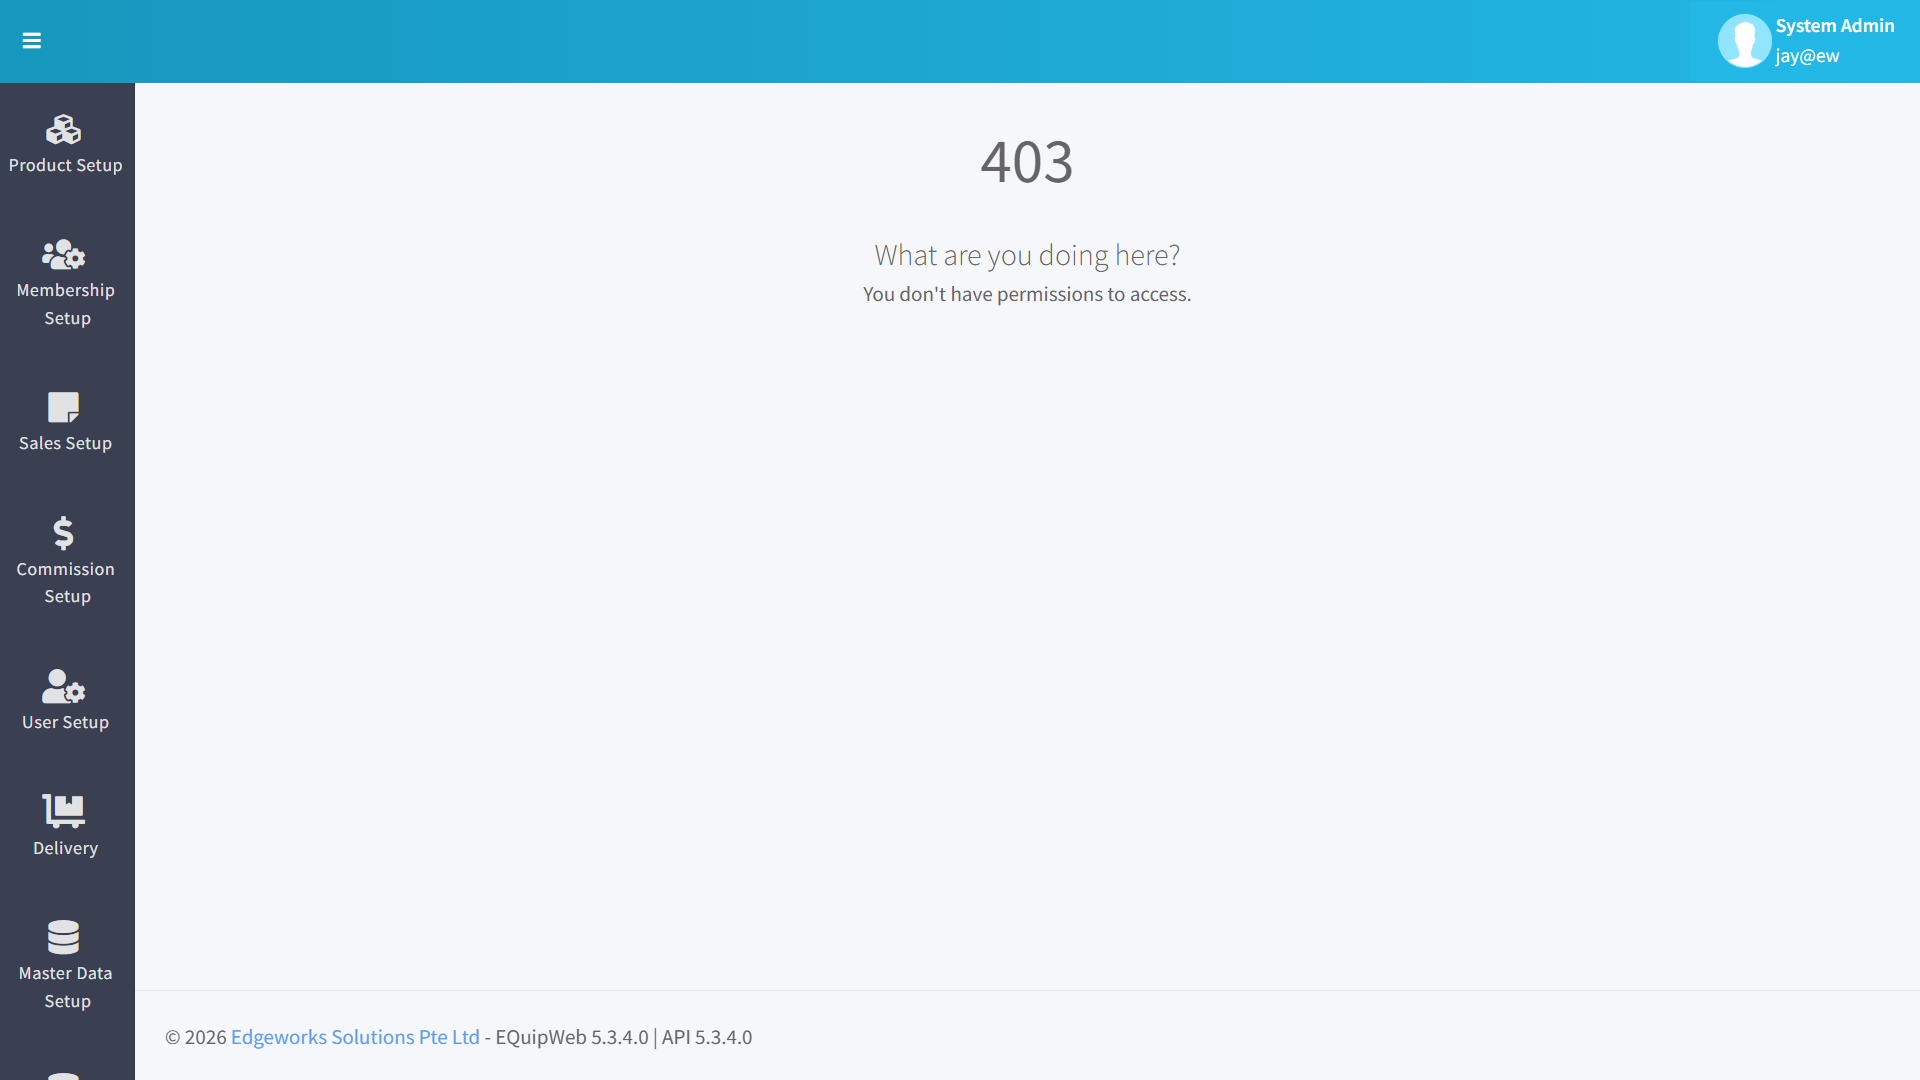
[!NOTE] Exact permissions depend on the Privileges Setup configured for each role. Contact your administrator if you cannot access this page.
How to Create a Sales Simulation
- Navigate to Sales Setup > Simulate Sales from the sidebar menu.
- Click Add New to start a new simulation.
- Select the Outlet and POS Terminal for the simulation.
- Add products to the simulated cart by searching and clicking items.
- Apply any discounts, promotions, or surcharges as needed.
- Select the Payment Mode (e.g., Cash, Card).
- Click Process to complete the simulation.
Expected Result: A simulated sales transaction is created. This helps test pricing, promotions, and payment configurations without affecting real sales data.
How to View Simulation Results
- After processing, the simulation result shows the full receipt breakdown.
- Review the line items, discounts applied, tax calculations, and total.
- Compare against expected values to verify your pricing and promotion setup.
[!TIP] Use Simulate Sales to verify new promotions, discounts, or GST changes before going live. This avoids surprises at the POS.
FAQ
Q: Why is this payment mode not appearing on the POS? A: Check that the payment mode is marked as Active and assigned to the correct outlet. The POS also needs to sync.
Q: Can I edit a completed sales transaction? A: No. Completed transactions cannot be edited. You can void the transaction and create a new one if correction is needed.
Q: How do I set up a new tax rate without affecting past transactions? A: Create a new GST rate with a future Commence Date. The system will automatically apply the old rate to past transactions and the new rate from the effective date.
Troubleshooting
| Issue | Possible Cause | Solution |
|---|---|---|
| Cannot save the record | Required fields are empty or invalid | Check all fields marked with * and fill in valid data |
| Record not appearing in POS | POS terminal has not synced yet | Wait for the next sync cycle or manually trigger sync from Terminal Status |
| Cannot delete the record | Record is being used by other modules | Check if the record is linked to active transactions, products, or other settings |
| Changes not taking effect | Browser cache showing old data | Refresh the page (Ctrl+F5) or clear browser cache |
| "Duplicate" error on save | A record with the same name/code already exists | Search the list (including deleted records) for duplicates |
| Page not loading | Session expired or network issue | Log out and log back in. Check your internet connection |
Related Menus
- Product Setup > Product List — products linked to pricing
- Master Data > Outlet Setup — outlet-specific payment modes
- Master Data > POS Setup — POS terminal configuration
- Setting > Feature Setup — enable/disable sales features
Open Questions / Confirmation Needed
[!NOTE] The following items may vary depending on your system version and configuration:
- Exact permission settings depend on your Privileges Setup configuration
- Sync timing to POS terminals depends on network conditions and sync schedule
- Some features may require additional licensing or module activation
- Field behavior may differ between EQuip versions
If you encounter behavior not described in this manual, contact your system administrator or EQuip support team.
Related Articles
Online Sales Channel
? Backend — EQuipWebRetail ModeSales Setup Sales Setup — 4.7 Online Sales Channel Use Online Sales Channel to connect your EQuip system with external delivery platforms — like GrabFood, Foodpanda, or Shopee. Orders placed on these platforms will ...Online Sales Order
? Backend — EQuipWebRetail ModeSales Setup Sales Setup — 4.8 Online Sales Order Use Order to manage and configure this feature in your EQuipWeb system. The Online Sales Order page shows all orders coming in from your connected delivery platforms ...Setup Module Overview
? Backend — EQuipWebRetail ModeChapter 1: Getting Started Backend Setup — Module Overview and Getting Started Guide The Setup Overview provides a quick-reference guide for initial system configuration. This page summarizes the recommended setup ...Main Portal
? Backend — EQuipWebRetail ModeChapter 1: Getting Started Backend Login — Main Portal Dashboard The Main Portal is the first page you see after logging into EQuipWeb. It provides a high-level overview of your business with key metrics, quick-access ...Promotion Setup
? Backend — EQuipWebRetail ModeProduct Setup Chapter 2: Product Setup — 2.9 Promotion Setup Use Promotion Setup to create special offers for your customers — Buy 1 Get 1, bundle deals, spend-based rewards, and more. Once a promotion is set up and ...