Layout Setup
Chapter 9: QR Online Ordering — 9.5 Layout Setup
Use Layout Setup to customize how your QR ordering page looks — your logo, brand colors, fonts, and images. Make it match your brand so customers feel like they're ordering directly from you, not a generic system.
When to use this: When you want to customize the look of your QR ordering page.
Prerequisites
- Online Menu configured
Layout Setup
📝 General Description
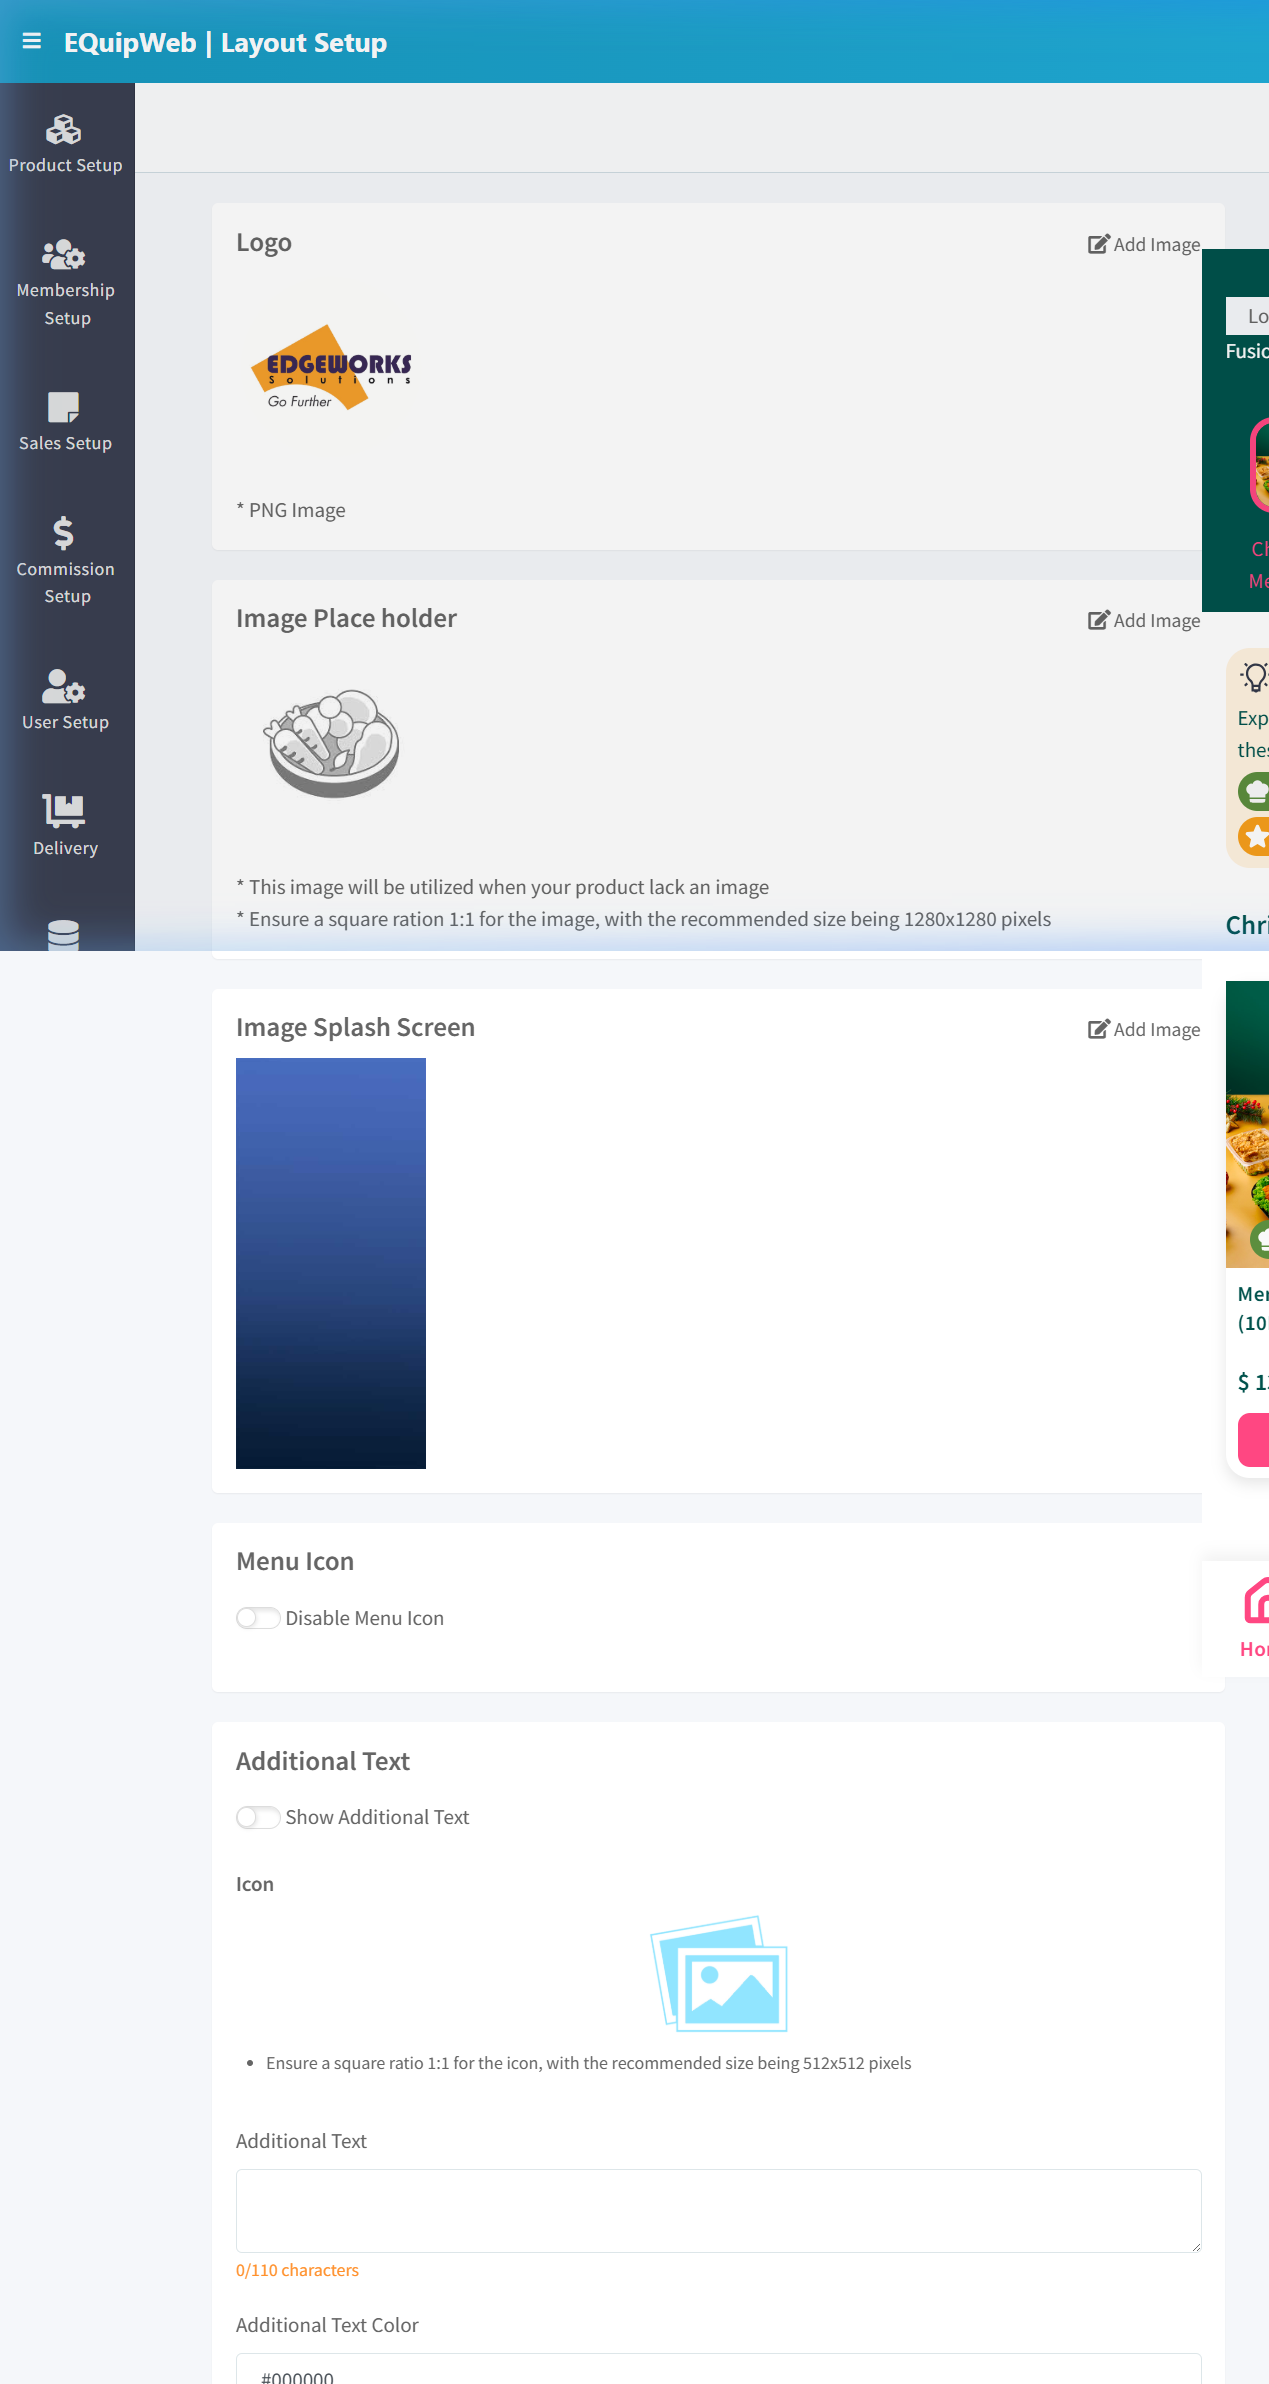
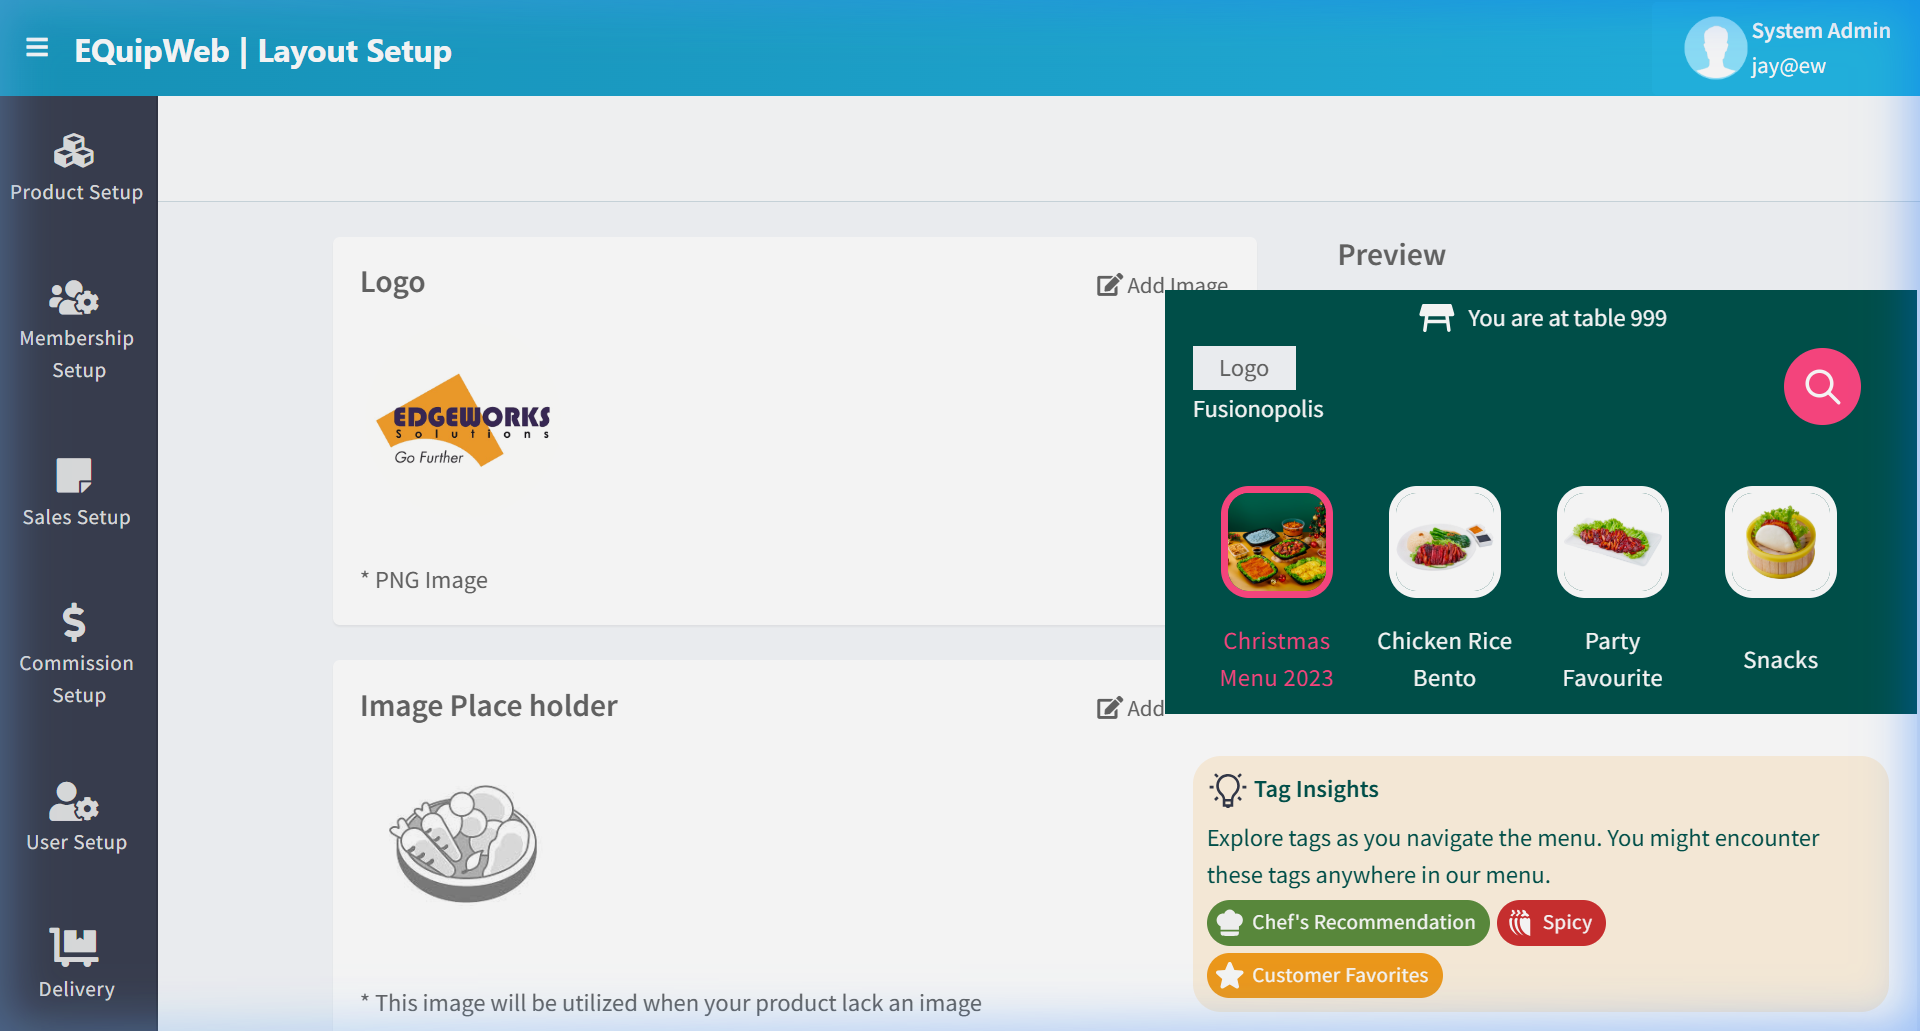
When customers scan a QR code at the table, they see a branded ordering page. Layout Setup controls how that page looks — the logo, what image appears when a product has no photo, the splash screen, menu icons, and any additional text or branding elements. A live preview panel on the right side shows how the ordering page will appear to customers.
9.5.1 Configuration Sections
Logo
| Field | Type | Description |
|---|---|---|
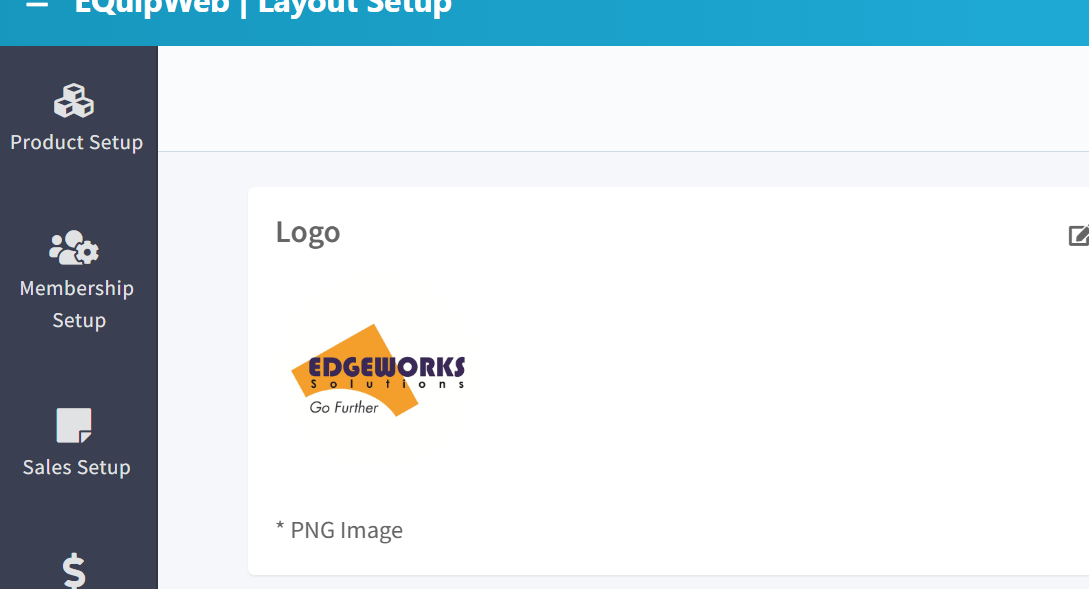
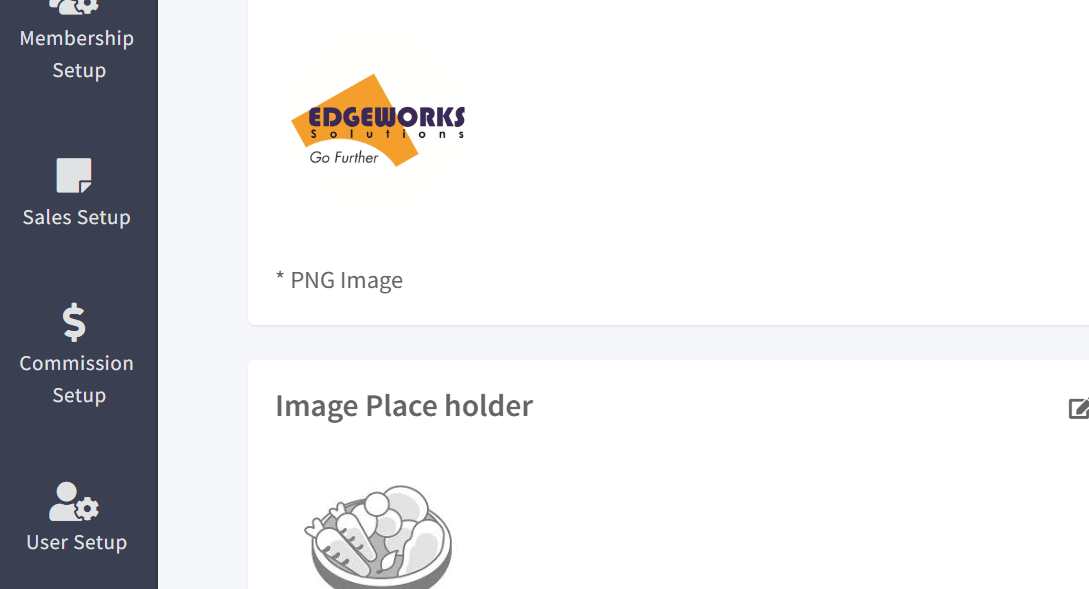
| Logo | Image Upload | Company/brand logo displayed at the top of the ordering page. Click Add Image to upload. Must be PNG format |
Image Place Holder
| Field | Type | Description |
|---|---|---|
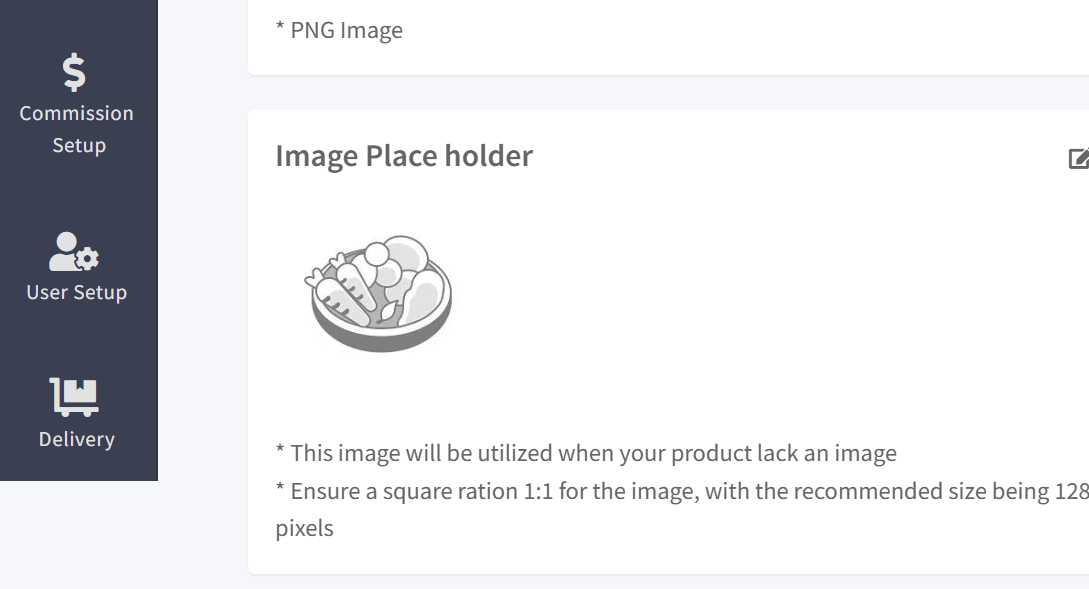
| Image Place holder | Image Upload | Default image displayed when a product does not have its own image. Click Add Image to upload. Ensure a square ratio 1:1, recommended size 1280×1280 pixels |
Image Splash Screen
| Field | Type | Description |
|---|---|---|
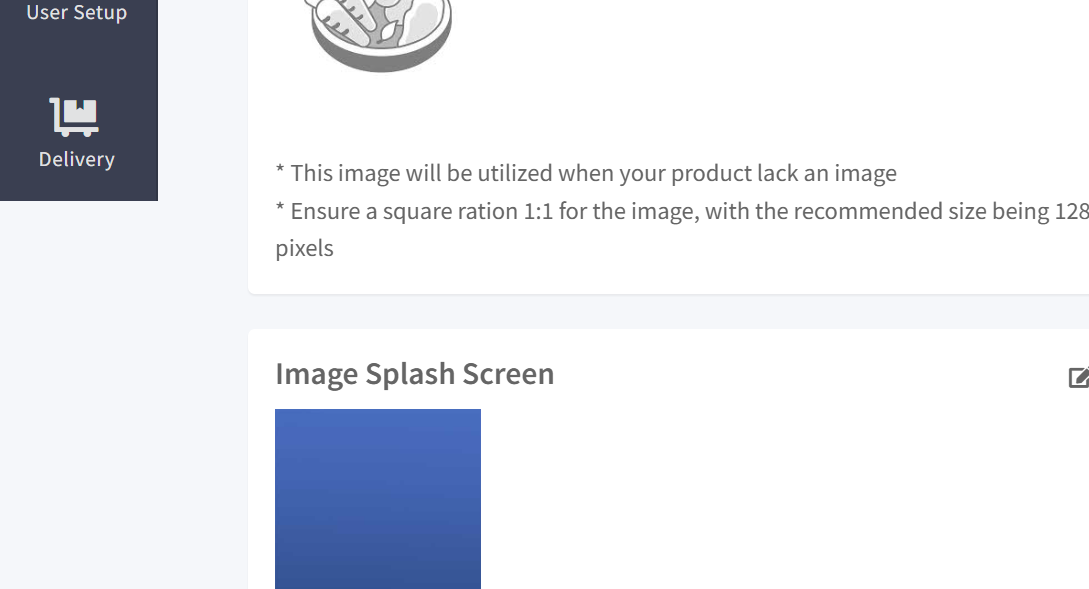
| Image Splash Screen | Image Upload | Splash screen shown when the ordering page first loads. Click Add Image to upload |
Menu Icon
| Toggle | When ON | When OFF |
|---|---|---|
| Disable Menu Icon | Menu category icons are hidden on the ordering page | Menu category icons are displayed (default) |
Additional Text
| Field | Type | Description |
|---|---|---|
| Show Additional Text | Toggle | When ON, displays custom text on the ordering page |
| Icon | Image Upload | Custom icon displayed next to the additional text. Square ratio 1:1, recommended 512×512 pixels |
| Additional Text | Textarea (max 110 chars) | Custom text message displayed on the ordering page. Character counter shows "0/110 characters" |
| Additional Text Color | Color Hex | Text color in hex format (e.g., #000000 for black) |
Live Preview (Right Panel)
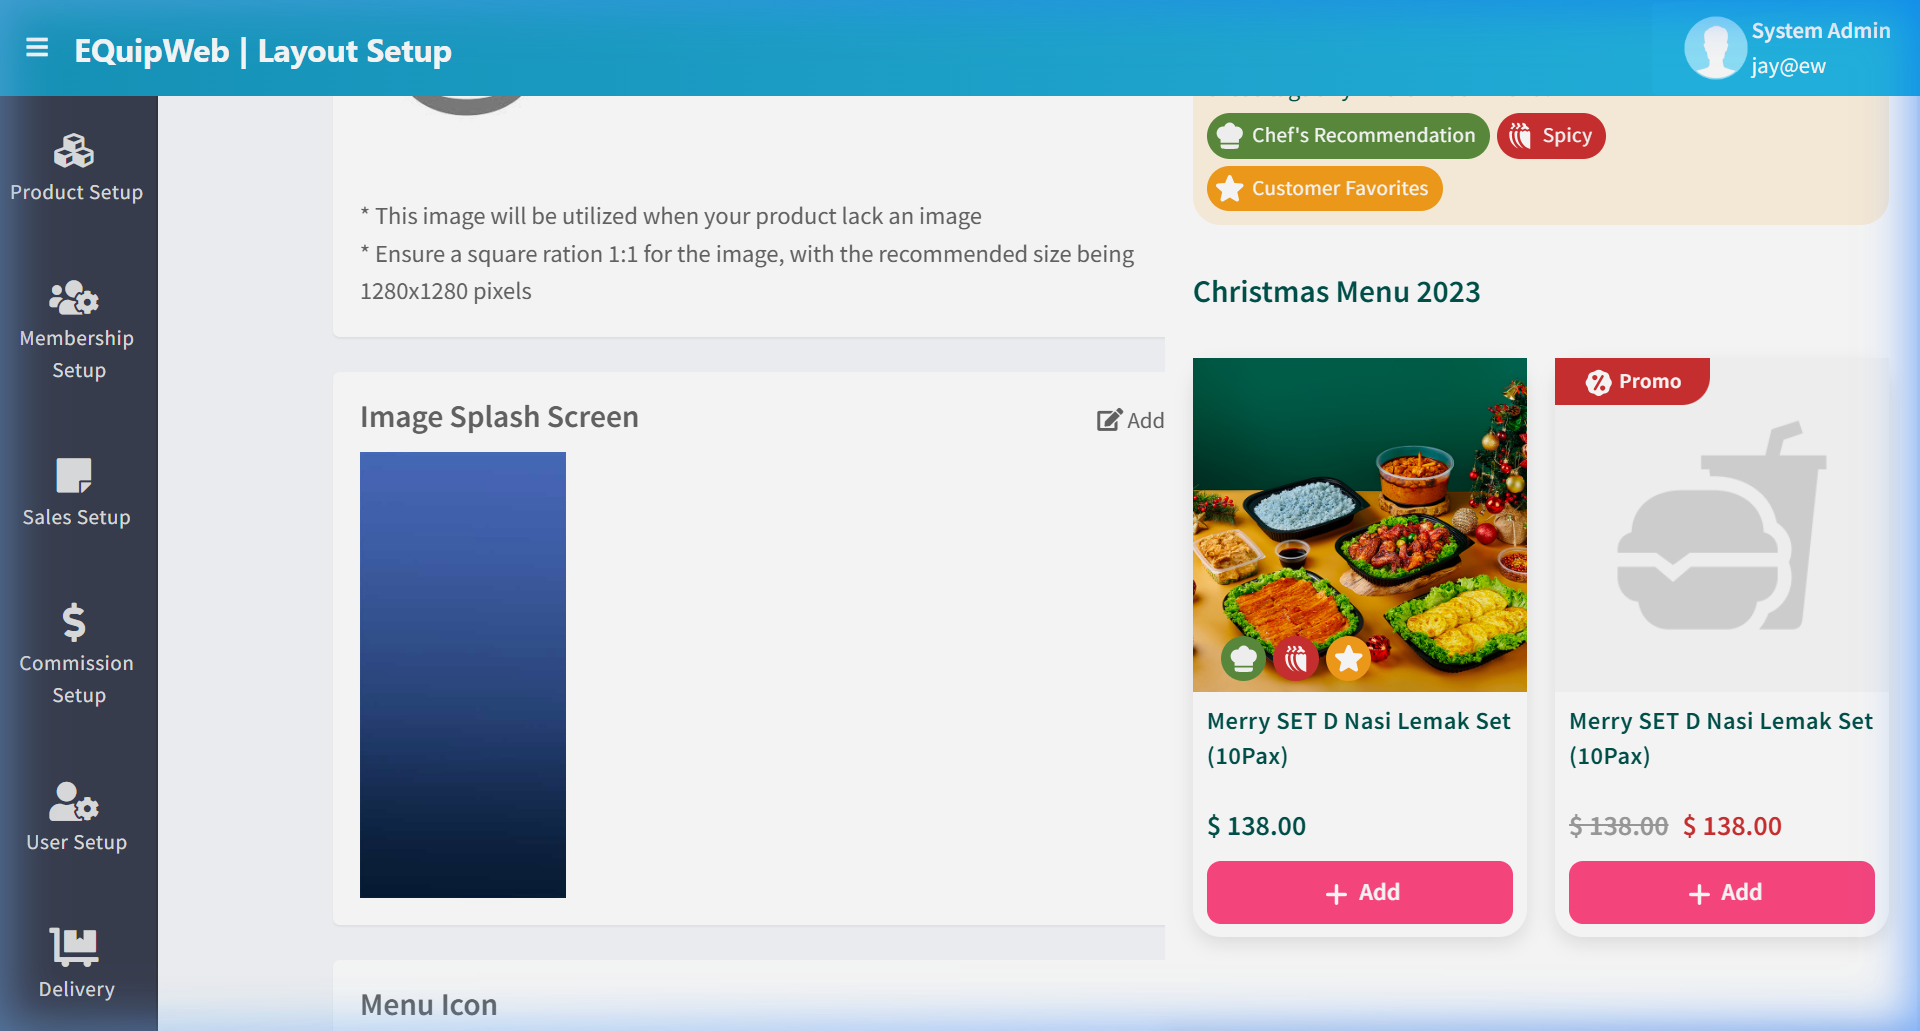
The right side of the page shows a live preview of how the ordering page will appear to customers, including:
- The uploaded logo at the top
- Splash screen image
- Menu items with categories, product names, prices, and images
- The "Add to Cart" button styling
9.5.2 How to Configure Layout
- Navigate to QR Online Ordering Setup → Layout Setup.
 2. Upload your Logo (PNG format).
 3. Upload an Image Placeholder (1:1 ratio, 1280×1280 px) for products without photos.
 4. Upload an Image Splash Screen for the loading page.
 5. Toggle Disable Menu Icon if you want to hide category icons.
 6. Toggle Show Additional Text ON if you want to display a custom message.
 7. Set the additional text, icon, and color.
 8. Review the live preview on the right side.
9. Click Save.
8. Review the live preview on the right side.
9. Click Save.
Expected Result: The layout is saved.
💡 Example
Scenario: A café wants to brand its QR ordering page with their logo and a welcome message.
Setup:
- Upload logo: Café logo (PNG with transparent background).
2. Image Placeholder: A generic coffee cup image (1280×1280 px) for menu items without photos.
3. Splash Screen: Photo of the café interior.
4. Disable Menu Icon: OFF (keep icons visible).
5. Show Additional Text: ON.
6. Icon: Café icon (512×512 px).
7. Additional Text: "Welcome! Browse our menu and order from your seat."
8. Additional Text Color: #333333.
9. Save — customers scanning the QR code see the branded ordering page.
[!TIP] Use the live preview panel to check how your changes look before saving. The preview updates in real-time as you make changes.
Access & Permissions
| Role | View | Create | Edit | Delete |
|---|---|---|---|---|
| Admin | Yes | Yes | Yes | Yes |
| Supervisor | Yes | Yes | Yes | No |
| Cashier | No backend access | — | — | — |
[!NOTE] Exact permissions depend on the Privileges Setup configured for each role. Contact your administrator if you cannot access this page.
[!IMPORTANT] Layout changes affect the customer-facing QR ordering page. Preview changes carefully before saving. Maximum recommended image size for banner uploads is 2MB.
How to Edit a Layout
- Navigate to Layout Setup from the sidebar menu.
- In the list, click the name or code link (blue text) of the record you want to edit.
- The edit form opens with all current values pre-filled.
- Modify the fields you want to change.
- Click Save to apply your changes.
Expected Result: The updated layout is saved and changes are reflected across the system after the next POS sync.
How to Delete a Layout
- Navigate to Layout Setup from the sidebar menu.
2. Click the name or code link (blue text) of the record you want to delete.
3. In the edit form, scroll down to the bottom.
4. Click the Delete button (red button).
5. A confirmation dialog appears — click Yes to confirm deletion.
Expected Result: The record is soft-deleted — it is hidden from the active list and POS terminals but can be restored later using the "Show Deleted" filter.
[!WARNING] Records linked to active transactions or other modules cannot be deleted. The system will display an error if deletion is not allowed.
How to Add a New Layout
- Navigate to Layout Setup from the sidebar menu.
-
Click the + Add New button (green button).
-
Fill in the required fields in the form.
-
Fill in any optional fields as needed.
-
Click Save to create the new layout.
✅ Expected Result: The new layout appears in the list and is available for use across the system.
FAQ
Q: Why is the QR menu not updating for customers? A: Changes to the online menu require a save and may take a few minutes to propagate. Clear the browser cache if testing.
Q: Can I have different menus for different outlets? A: Yes. Each outlet can have its own menu configuration in Menu Setup.
Q: How do I temporarily disable QR ordering? A: Toggle the ordering feature off in Ordering Setup for the specific outlet.
Troubleshooting
| Issue | Possible Cause | Solution |
|---|---|---|
| Cannot save the record | Required fields are empty or invalid | Check all fields marked with * and fill in valid data |
| Record not appearing in POS | POS terminal has not synced yet | Wait for the next sync cycle or manually trigger sync from Terminal Status |
| Cannot delete the record | Record is being used by other modules | Check if the record is linked to active transactions, products, or other settings |
| Changes not taking effect | Browser cache showing old data | Refresh the page (Ctrl+F5) or clear browser cache |
| "Duplicate" error on save | A record with the same name/code already exists | Search the list (including deleted records) for duplicates |
| Page not loading | Session expired or network issue | Log out and log back in. Check your internet connection |
Related Menus
- Product Setup > Product List — menu item source
- Sales Setup > Payment Gateway — online payment setup
- Master Data > Outlet Setup — outlet-specific QR settings
- Menu Management > Menu Builder — kitchen display integration
Open Questions / Confirmation Needed
[!NOTE] The following items may vary depending on your system version and configuration:
- Exact permission settings depend on your Privileges Setup configuration
- Sync timing to POS terminals depends on network conditions and sync schedule
- Some features may require additional licensing or module activation
- Field behavior may differ between EQuip versions
If you encounter behavior not described in this manual, contact your system administrator or EQuip support team.
Related Articles
Hotkey Setup
? Backend — EQuipWebRetail ModeSales Setup Sales Setup — 4.6 Hotkey Setup Use Hotkey Setup to customize the touchscreen buttons on your POS. Arrange your most popular items as big, colorful buttons so cashiers can tap them quickly instead of ...Menu Setup
? Backend — EQuipWebRetail ModeQR Online Ordering Setup Chapter 9: QR Online Ordering — 9.1 Menu Setup Use Menu Setup to create menu presets for your QR ordering system. Each preset is a collection of products grouped and ordered the way you want ...Online Menu Setup
? Backend — EQuipWebRetail ModeQR Online Ordering Setup Chapter 9: QR Online Ordering — 9.2 Online Menu Setup Use Online Menu Setup to create the menus your customers see when they scan a QR code to order. You can create different menus for ...Inventory Location Setup
? Backend — EQuipWebRetail ModeMaster Data Setup Chapter 8: Master Data Setup — 8.4 Inventory Location Setup Use Inventory Location Setup to define where your stock is stored — your main warehouse, back-of-store shelving, or outlet display areas. ...Privileges Setup
? Backend — EQuipWebRetail ModeUser Setup Chapter 6: User Setup — 6.4 Privileges Setup Use Setup to manage and configure this feature in your EQuipWeb system. Privileges Setup is the master list of all permissions available in the system. Each ...