Outlet Group Setup
Chapter 8: Master Data Setup — 8.5 Outlet Group Setup
Use Outlet Group Setup to organize your outlets into logical groups — like "Central Region", "East Region", or "Franchise Stores". Grouping outlets makes it easier to apply settings, view reports, and manage promotions across multiple locations at once.
When to use this: When you want to group your outlets by region or type.
Prerequisites
- Outlets must exist to group
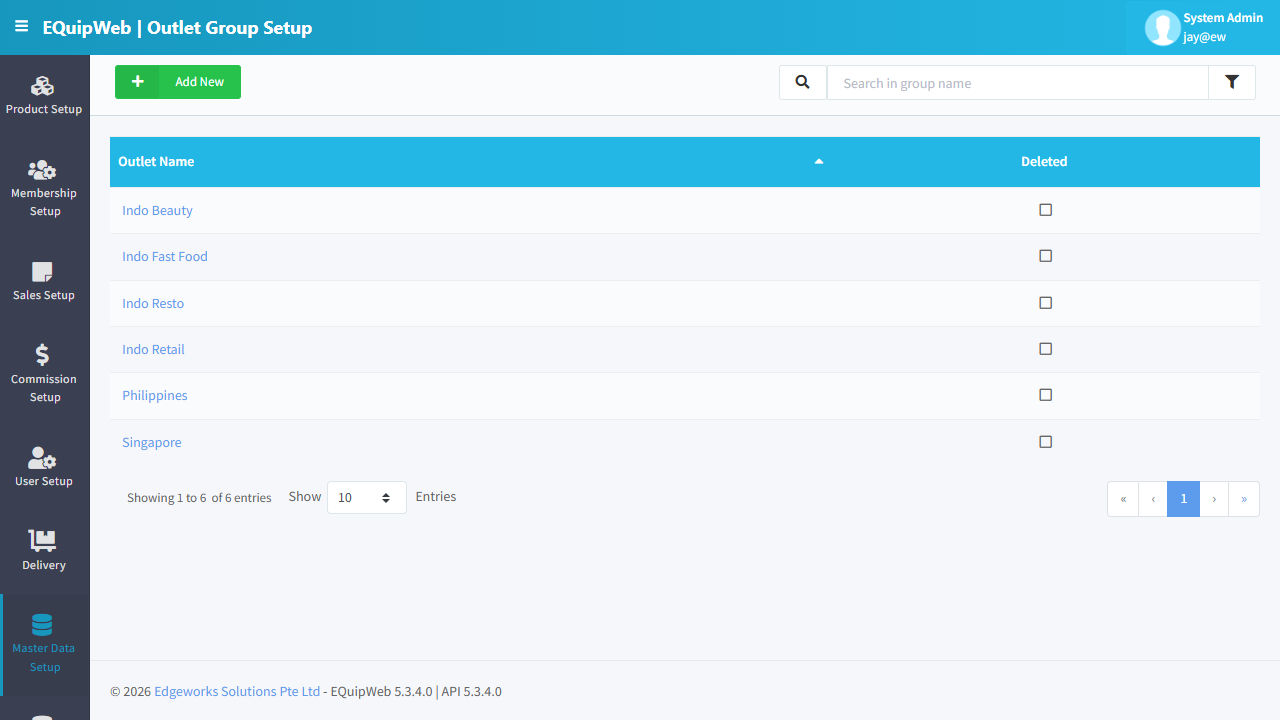
Outlet Group List
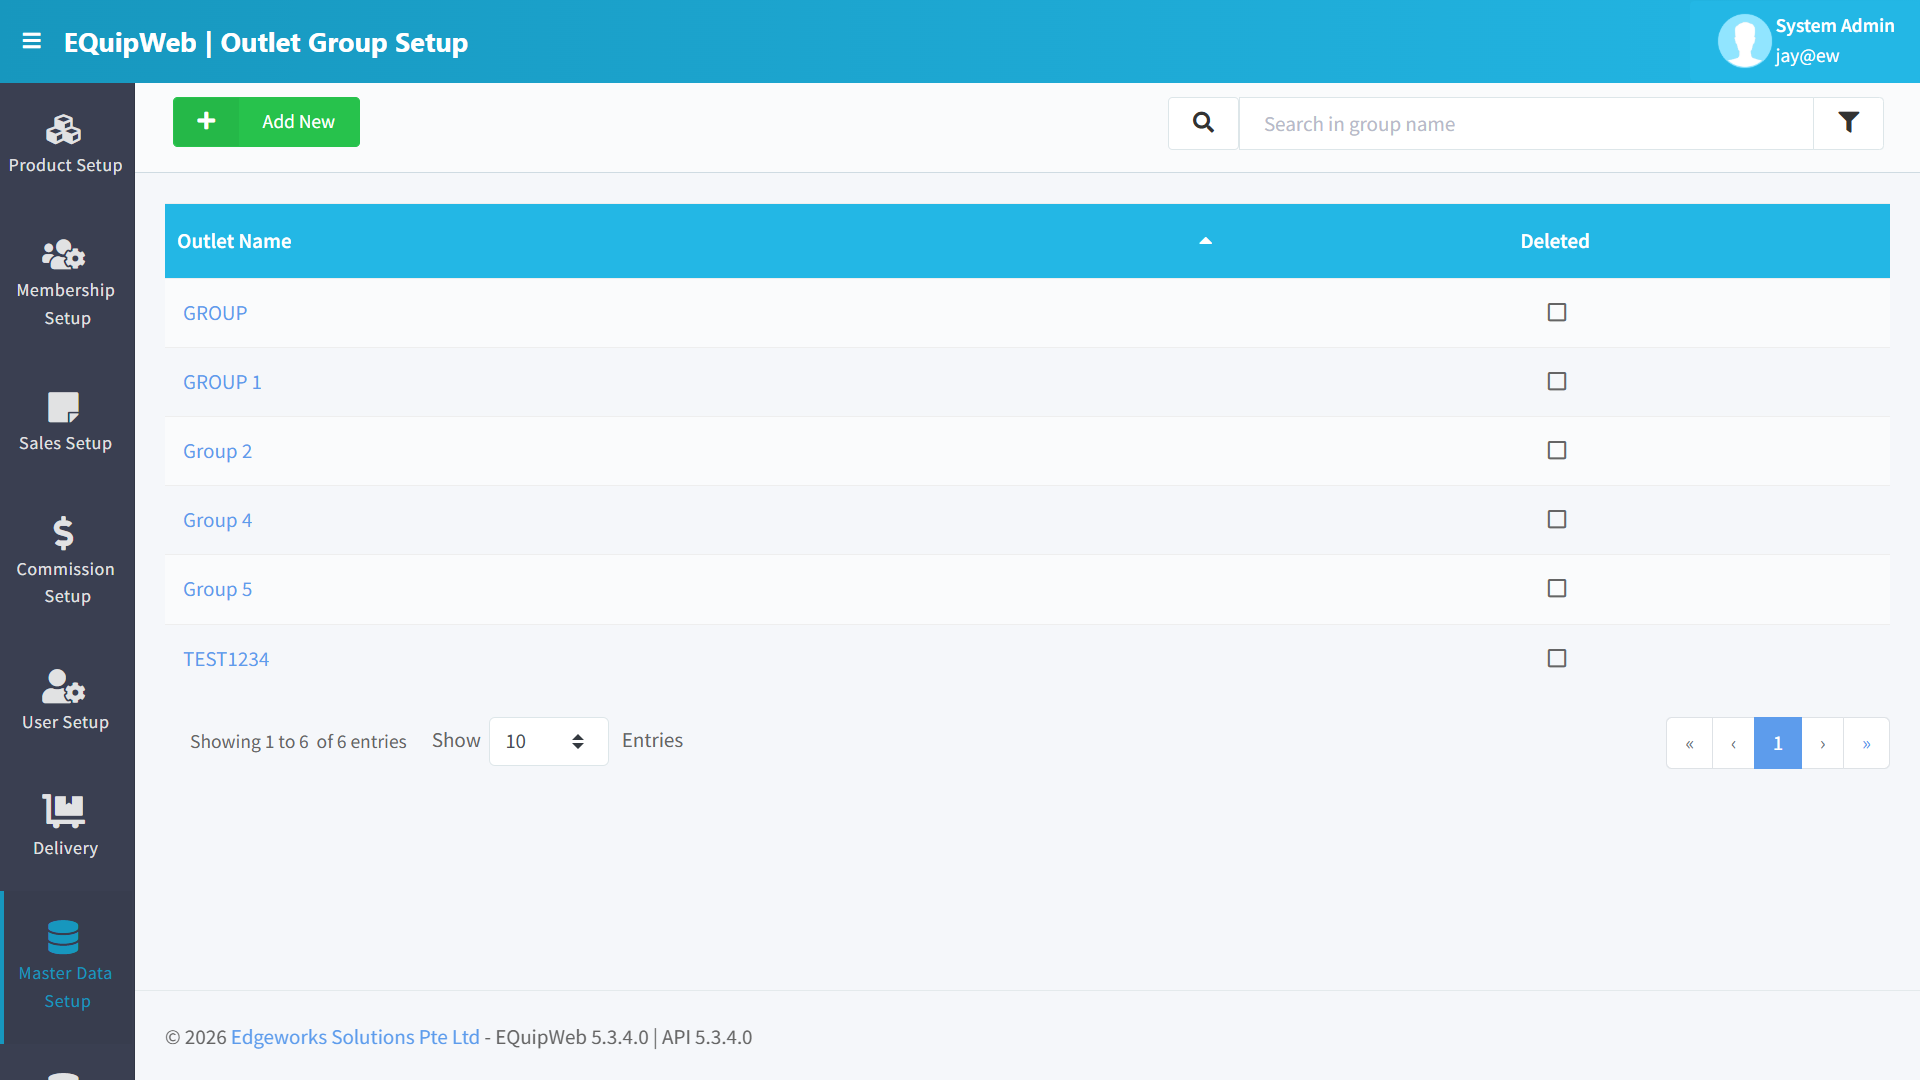
📝 General Description
Outlet groups enable you to cluster multiple outlets together based on any criteria — region, mall type, franchise owner, pricing tier, or operational schedule. Once grouped, you can apply settings, pricing rules, and promotions to an entire group instead of configuring each outlet individually.
⚙️ UI Elements
| Element | Type | Function |
|---|---|---|
| + Add New | Green Button | Create a new outlet group |
| Export | Orange Button | Export the group list to Excel |
| Search Bar | Text Input | Filter groups by name |
| 🔽 Filter | Funnel Icon | Toggle show/hide deleted groups |
8.5.1 Data Grid Columns
| Column | Description |
|---|---|
| Group Name | Name of the outlet group (clickable → opens edit form) |
| Description | Brief description of the group's purpose |
| Outlet Count | Number of outlets assigned to this group |
| Deleted | Hidden/deleted status |
8.5.2 Add / Edit Outlet Group
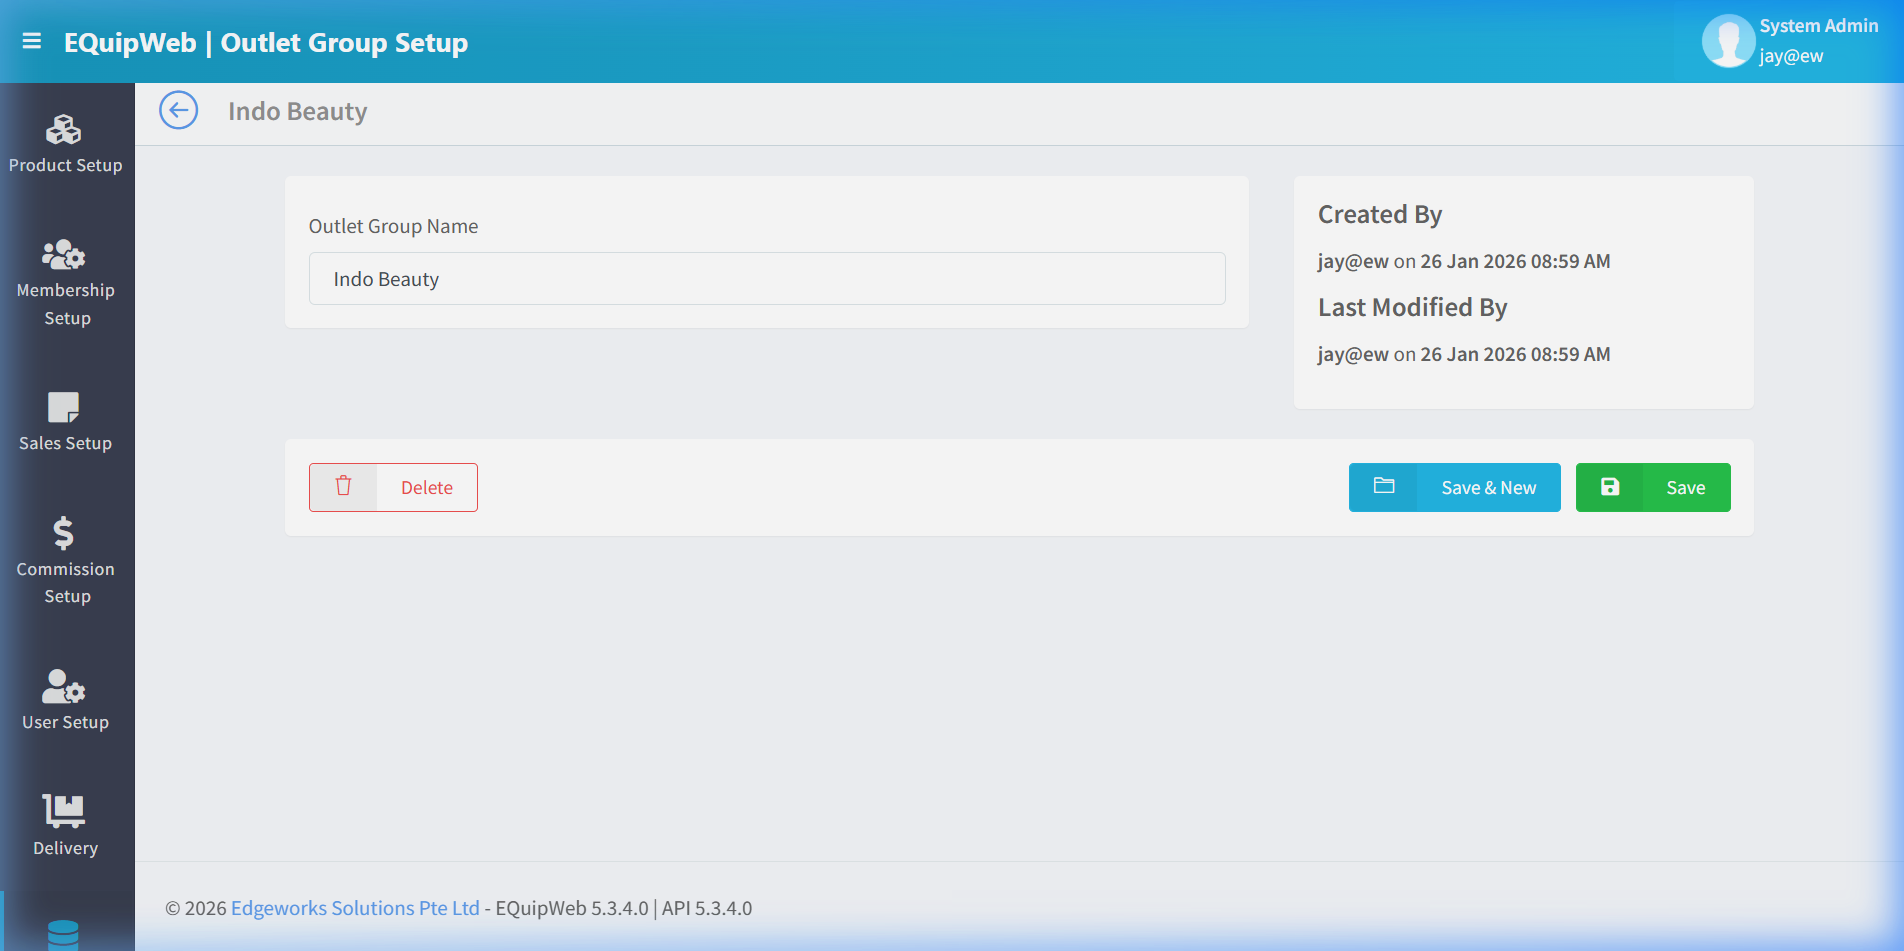
Form Fields
| Field | Type | Required | Description |
|---|---|---|---|
| Group Name | Text | ✅ Yes | Unique group identifier (e.g., "North Region", "Premium Malls", "Franchise Tier A") |
| Description | Textarea | No | Explains the grouping criteria or purpose |
Outlet Assignment
The form includes a multi-select grid or checkbox list of all available outlets. Toggle each outlet ON/OFF to include or exclude it from the group.
| Element | Function |
|---|---|
| Available Outlets | All outlets in the system displayed as a selectable list |
| Selected Outlets | Outlets currently assigned to this group |
| Select All / Deselect All | Quick-action to toggle all outlets |
Actions
| Button | Function |
|---|---|
| Save | Saves the group and outlet assignments |
| Save & New | Saves and opens a blank form |
| Delete | Removes the group (removes group association from outlets) |
| Restore | Restores a deleted group |
8.5.3 Where Outlet Groups Are Used
Outlet groups are referenced across multiple EQuip modules:
| Module | Usage |
|---|---|
| Promotion Setup | Apply promotions to all outlets in a group (e.g., "All CBD outlets get 20% off this weekend") |
| Outlet Pricing | Set group-level price overrides instead of per-outlet pricing |
| Reports | Filter report data by outlet group for regional comparisons |
| Online Sales Channel | Map online order channels to a group of outlets |
| Broadcast | Target marketing messages to members who shop at outlets in a specific group |
| Feature Setup | Apply feature toggles at the group level |
8.5.4 Group Membership Rules
- An outlet can belong to multiple groups simultaneously (e.g., "North Region" AND "Premium Malls").
- Creating a group does not change any outlet's behavior — the group only takes effect when referenced by another module (promotions, pricing, etc.).
- Deleting a group removes the group association but does not affect the outlets themselves.
How to Edit a outlet group
- In the Outlet Group Setup page, find the outlet group you want to change.
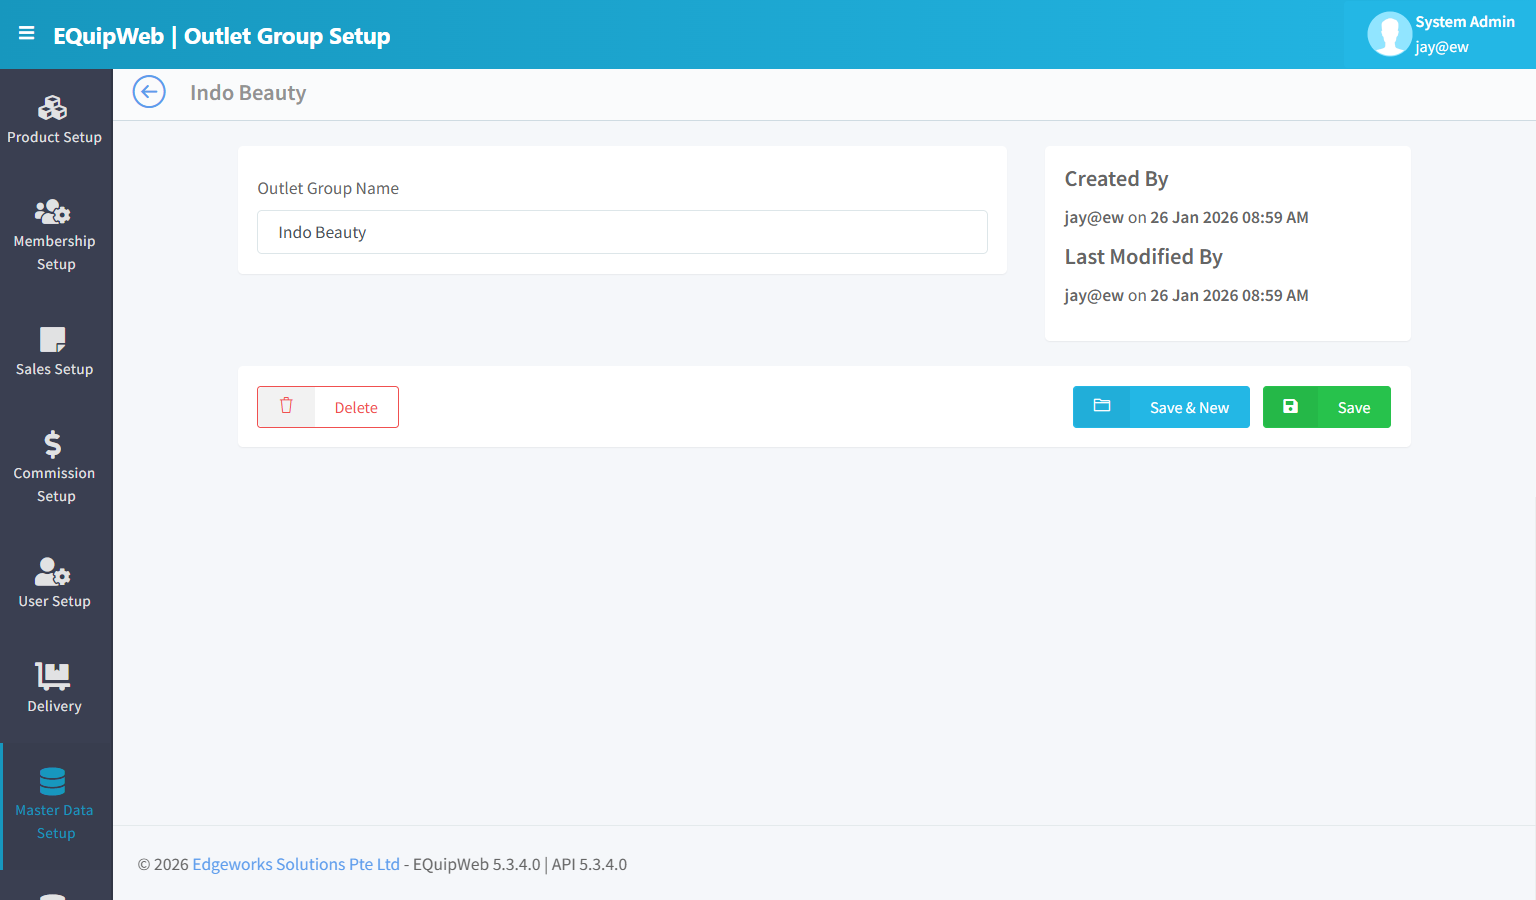
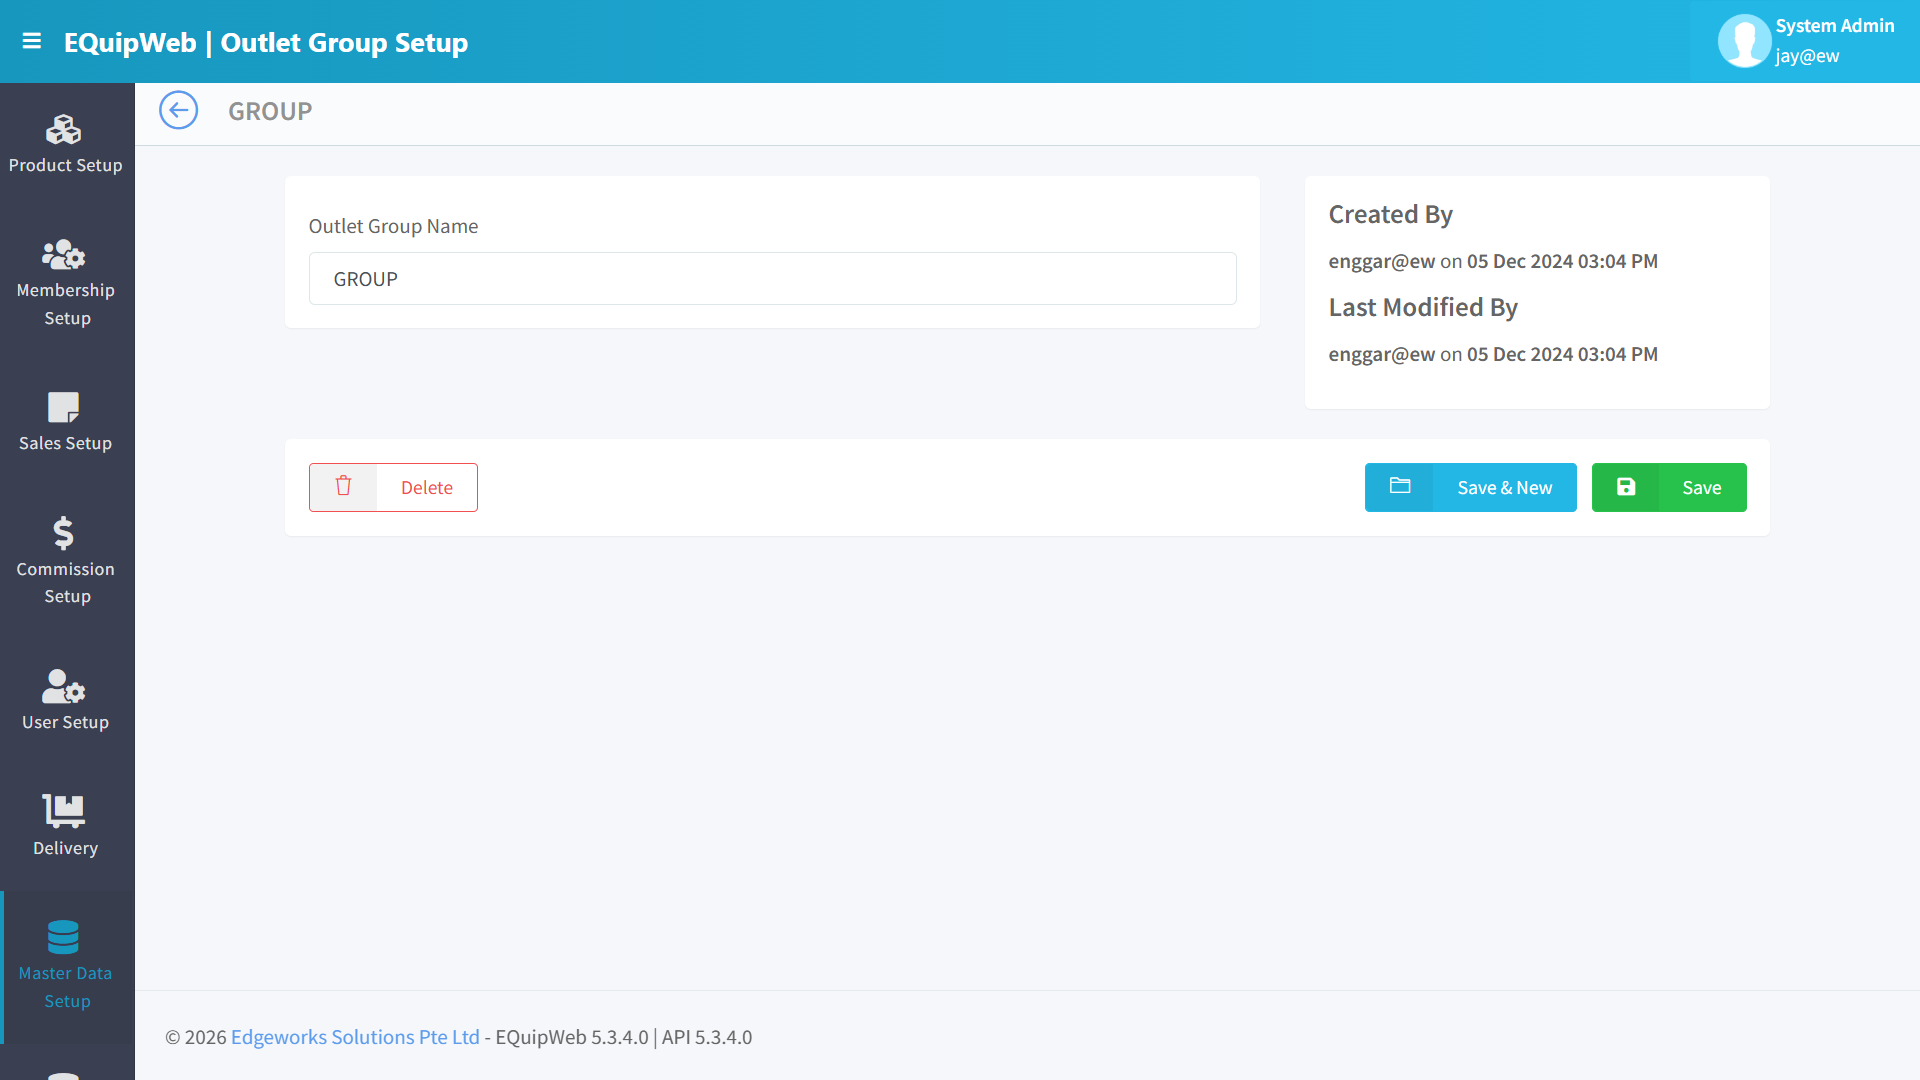
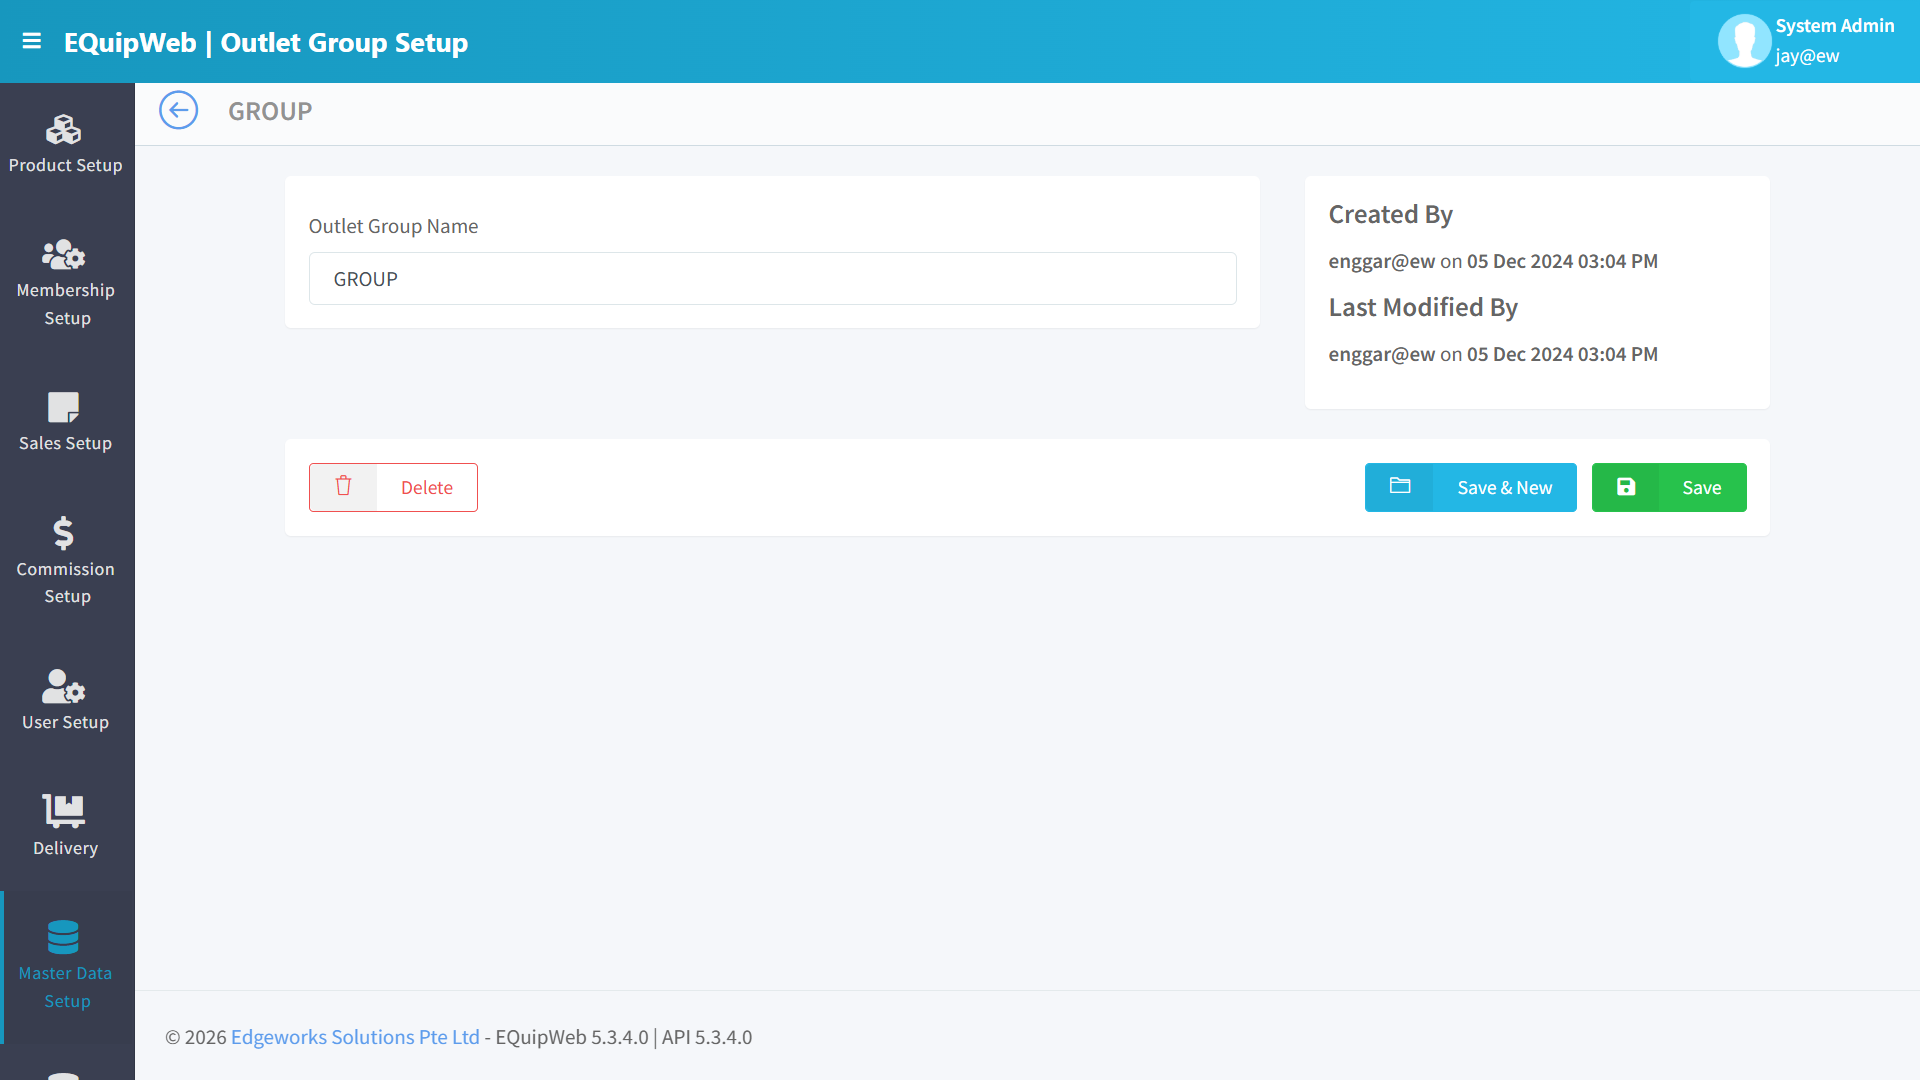
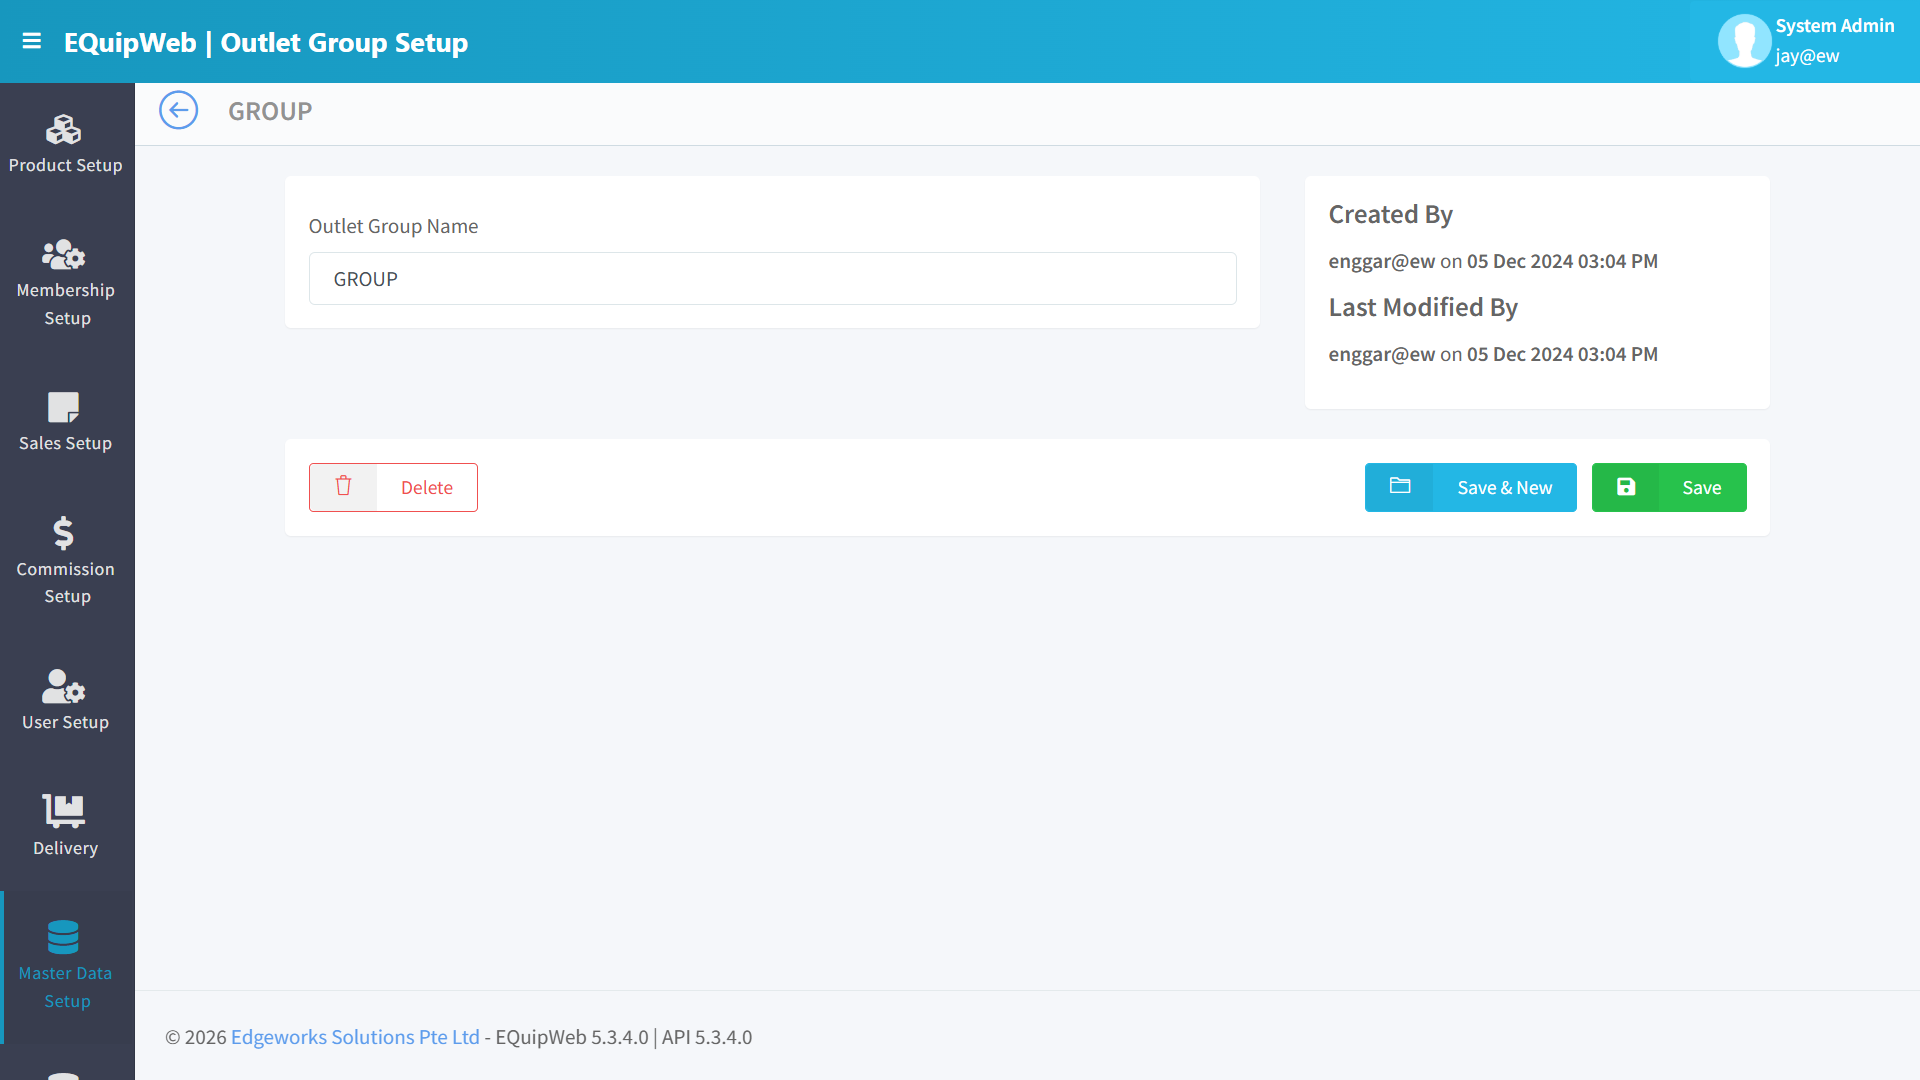
- Click the blue group name link. The edit form opens — it looks the same as the "Add New" form, but all fields are already filled in with the current values.
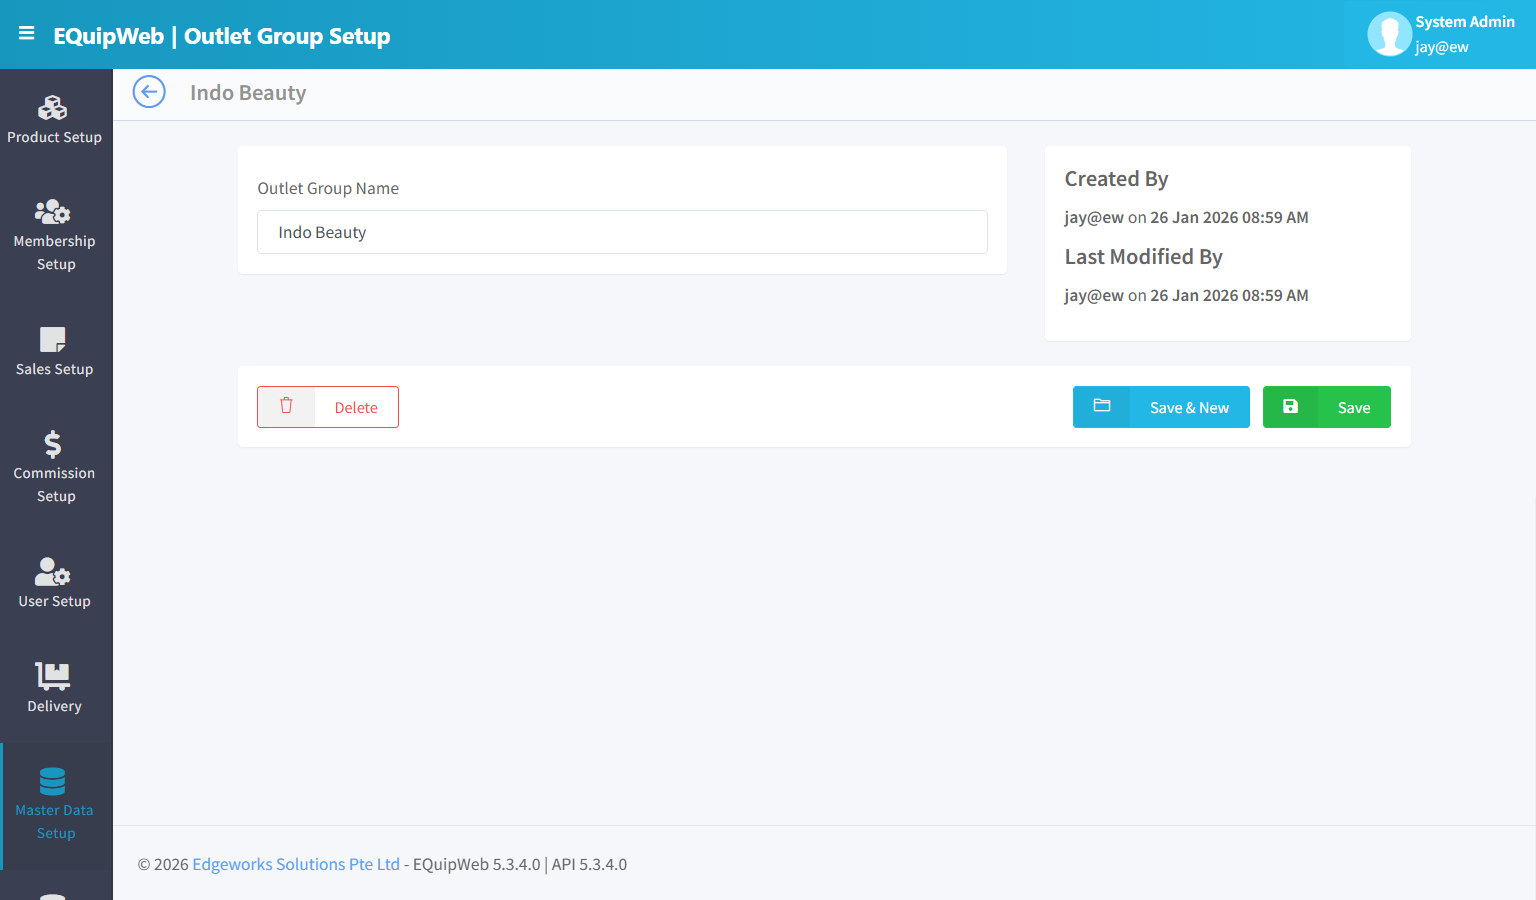
-
Change the fields you need to update.
-
Click Save to apply your changes.
Expected Result: The outlet group is saved.
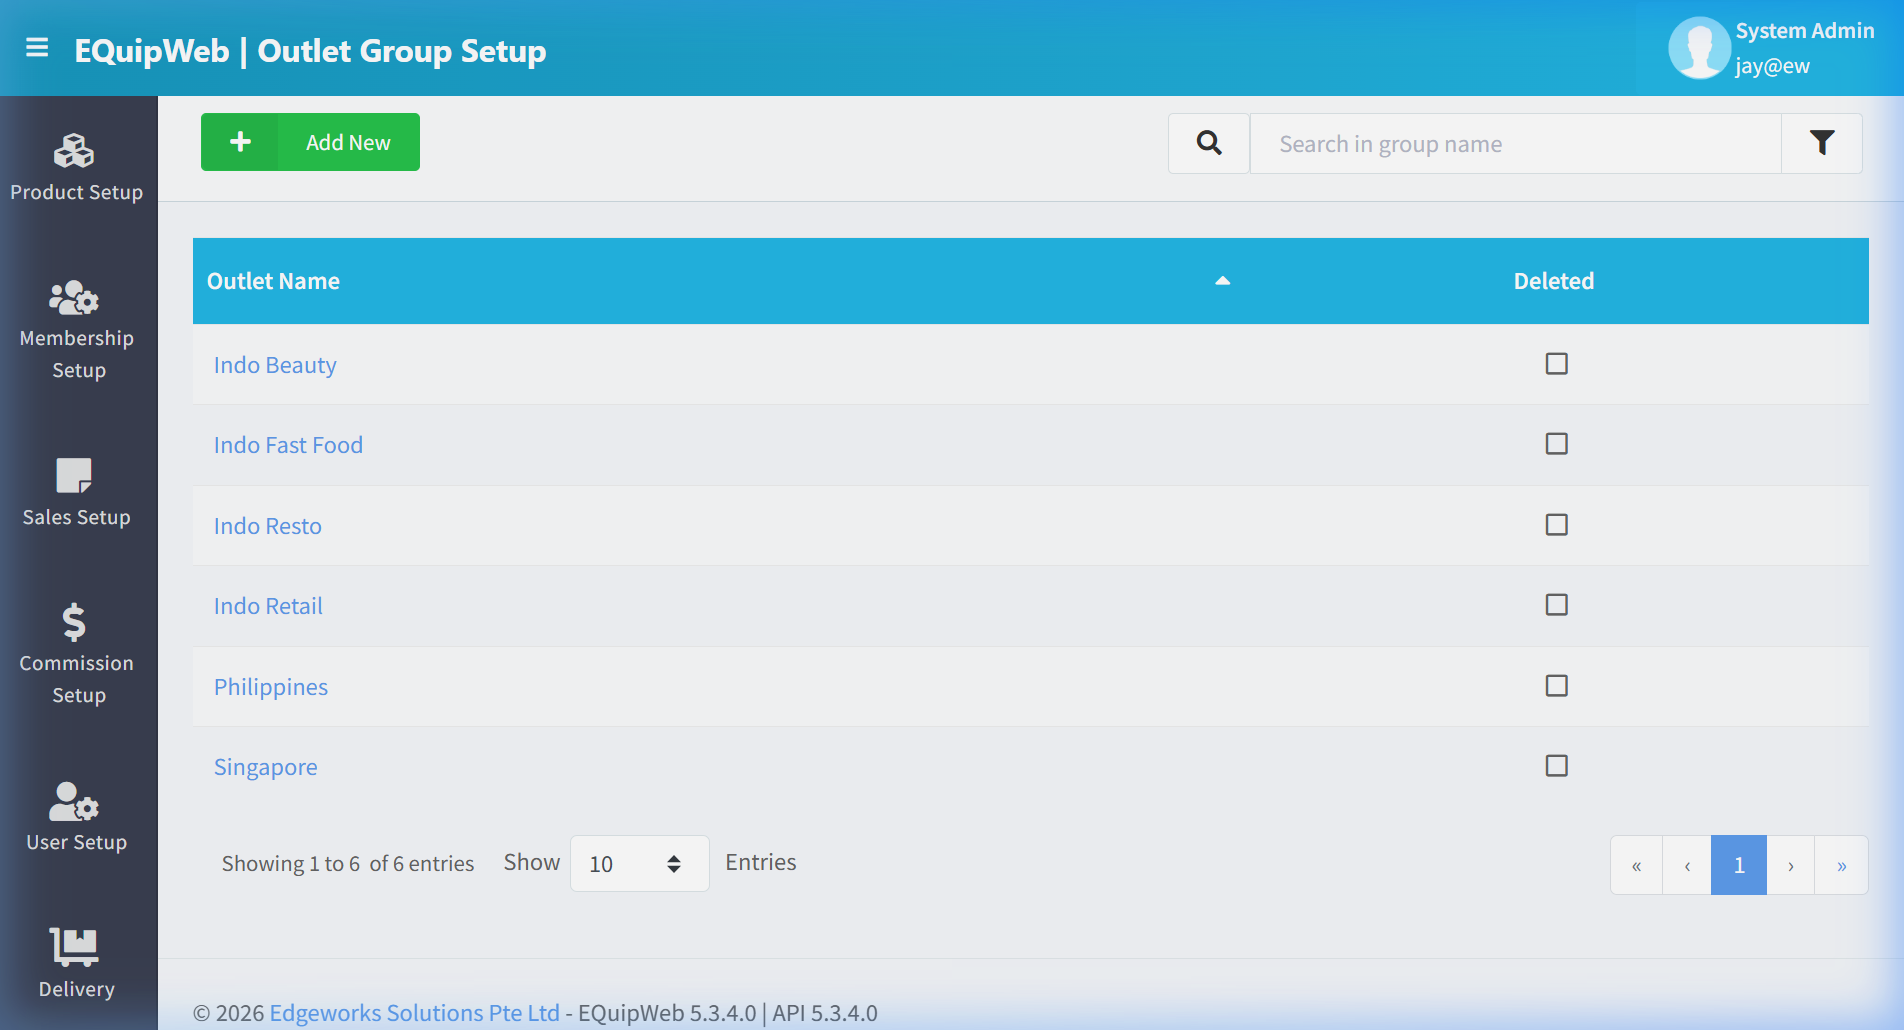
[!TIP] To make changes, just click the name of any outlet group in the list — the same form opens with everything already filled in. Change what you need and click Save.
💡 Example
Scenario: A fashion retailer has 15 outlets and wants to run a "Mall Anniversary" promotion that only applies to the 5 outlets located in VivoCity, ION Orchard, and Jewel Changi.
Setup:
- Navigate to Outlet Group Setup → Click + Add New.
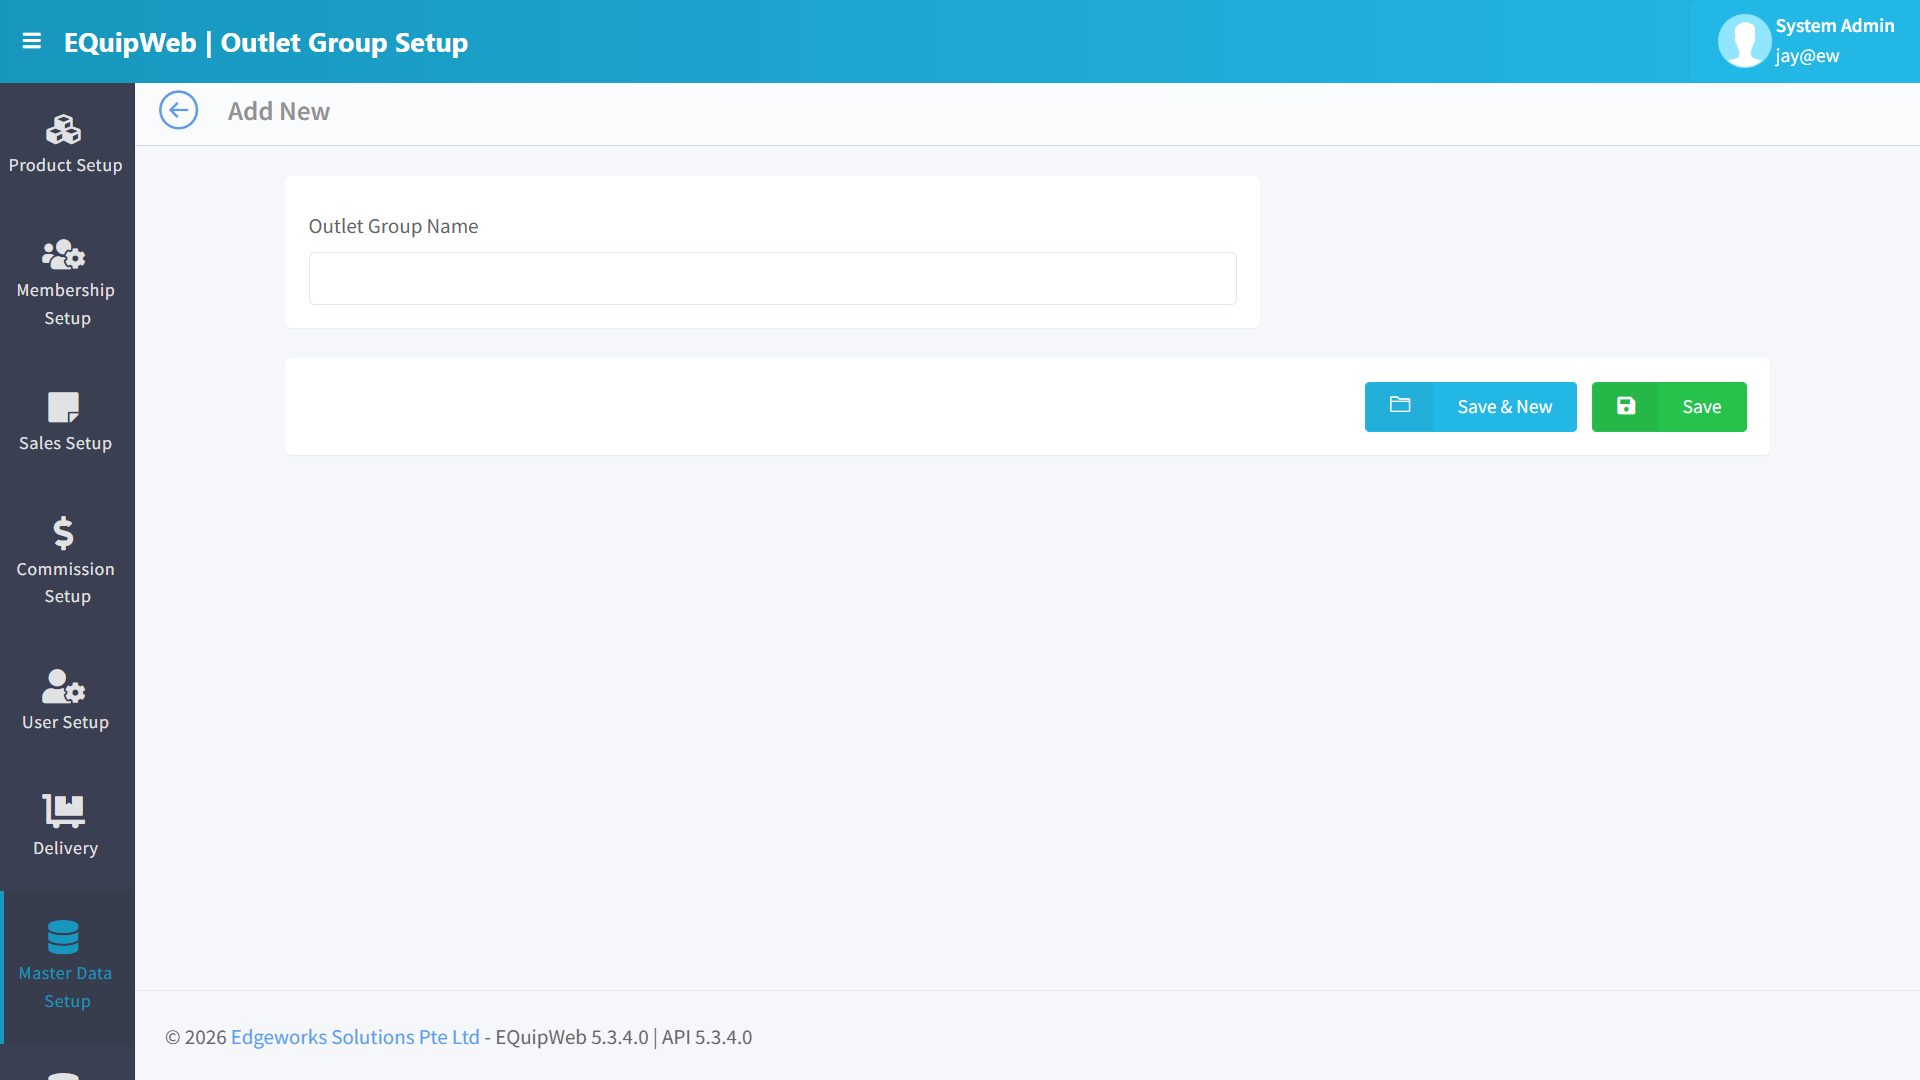 2. Enter Group Name:
 Anniversary Mall Partners.
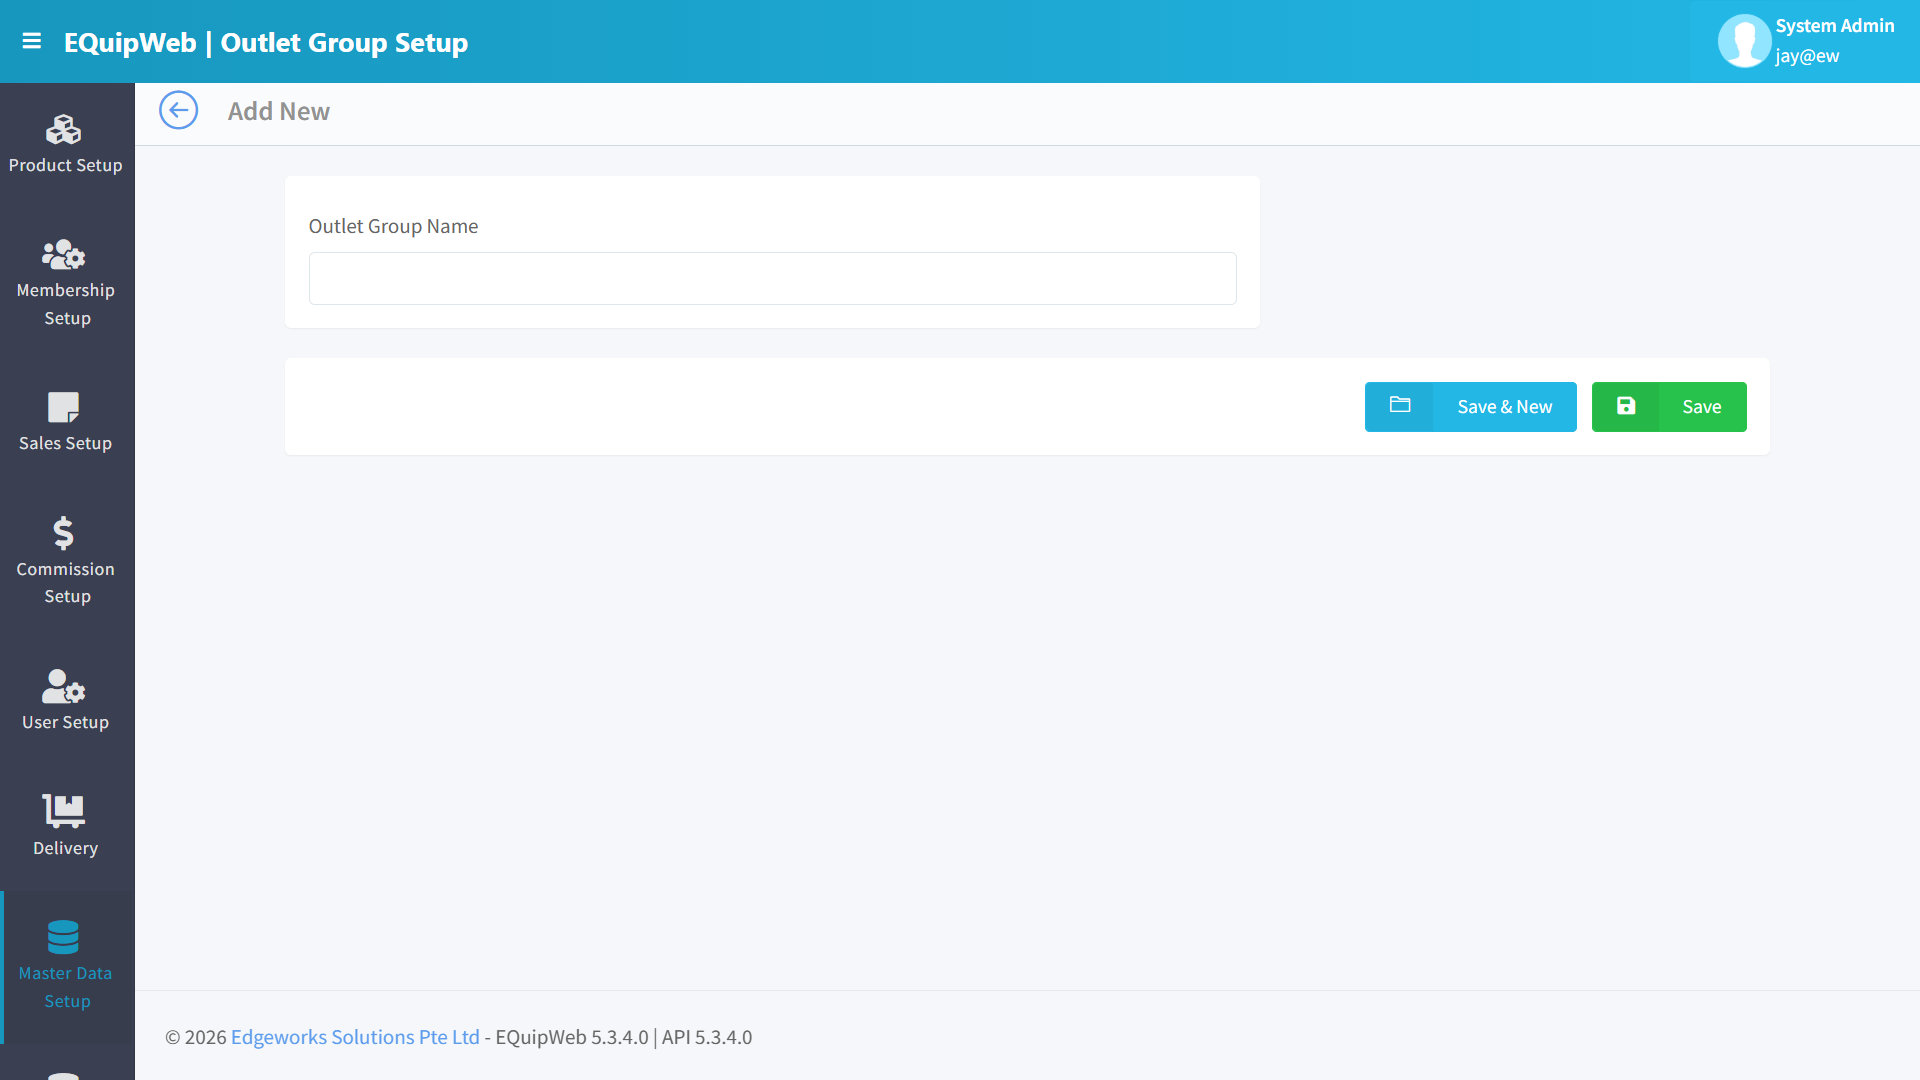 3. Enter Description:
 Outlets participating in mall anniversary promotions.
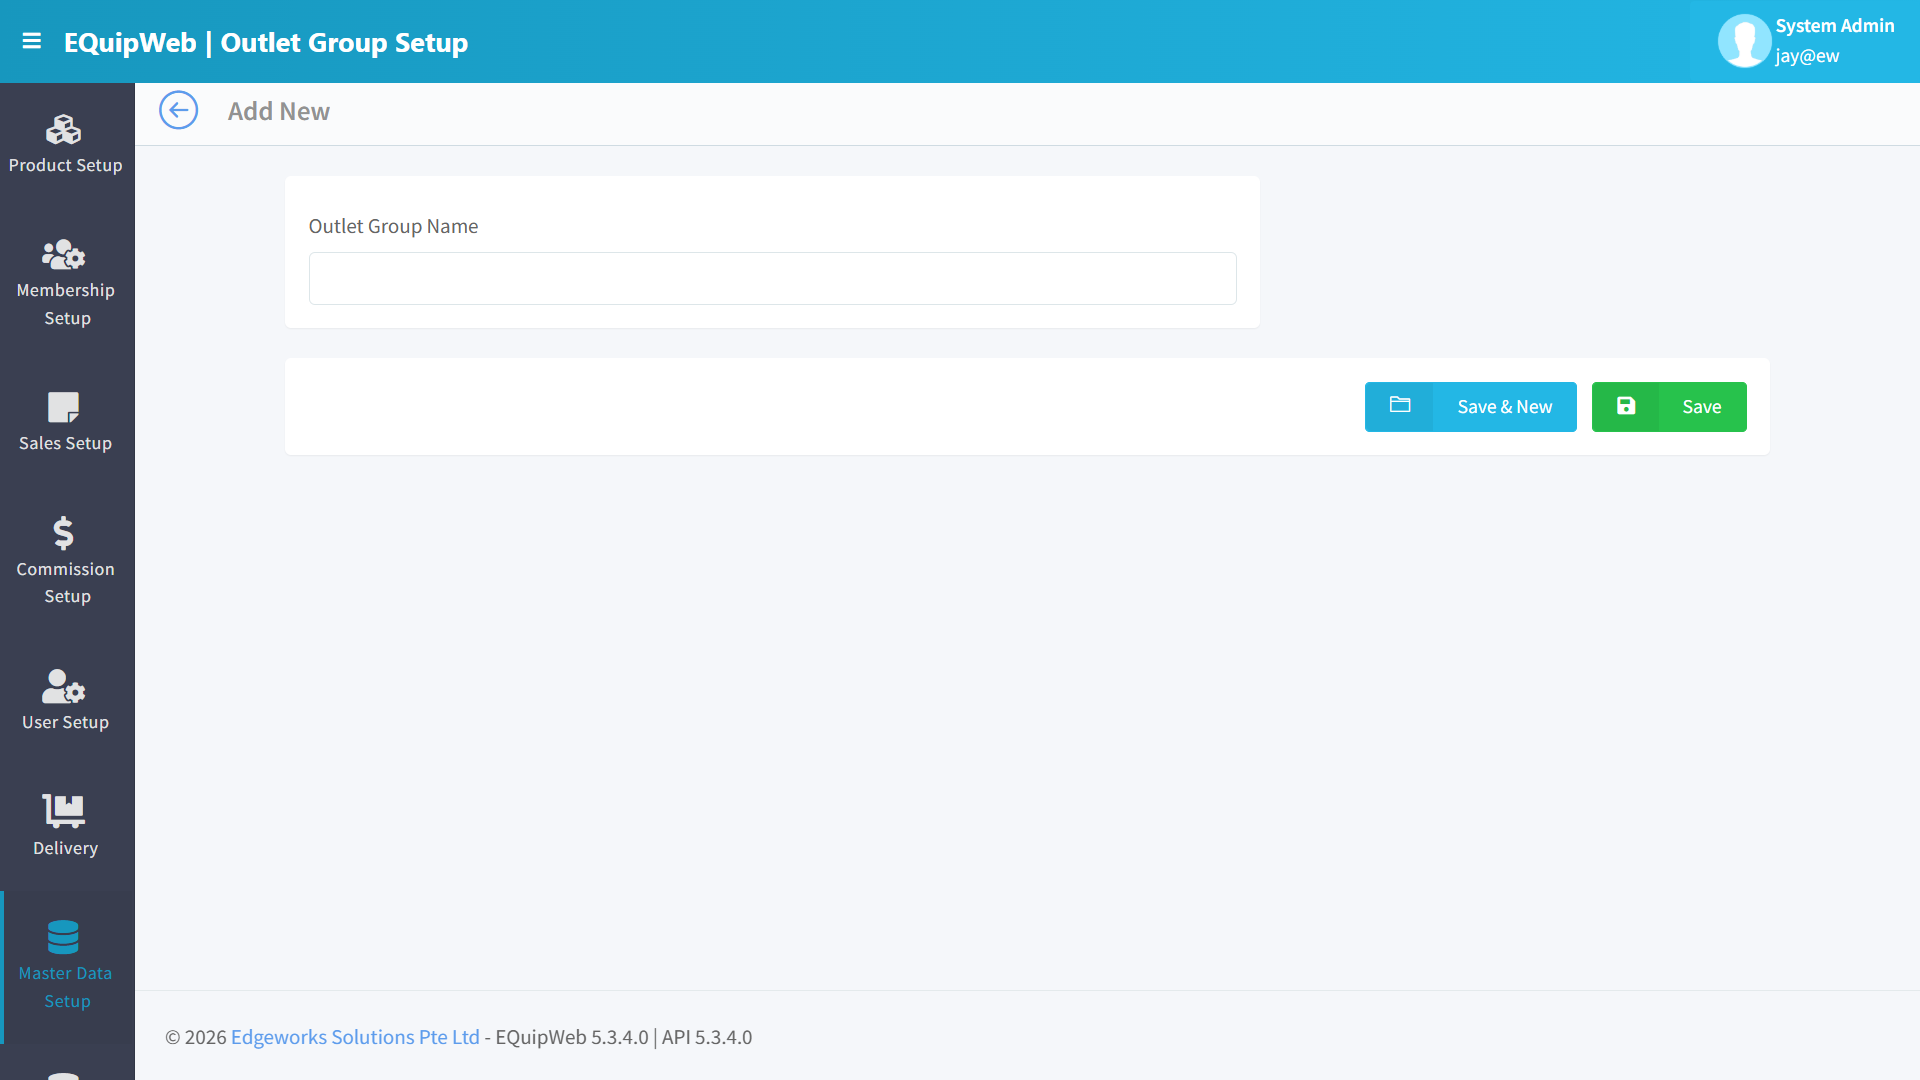 4. Select the 5 target outlets from the outlet list.
 5. Click Save.
 6. Go to Promotion Setup (Section 2.9) → Create the anniversary promotion.
 7. In the promotion's "Applicable Outlets" field, select Group: Anniversary Mall Partners.
 8. The promotion will automatically apply only at those 5 outlets.
[!TIP] Create groups based on operational patterns you use frequently. Common groupings include: by region (North, South, East, West), by type (Mall, Shophouse, Pop-up), by franchise owner, or by pricing tier (Premium, Standard, Budget).
[!NOTE] Outlet groups are a master data concept — they don't sync to POS terminals directly. The modules that use outlet groups (e.g., Promotions, Pricing) handle the POS sync of their own data.
Access & Permissions
| Role | View | Create | Edit | Delete |
|---|---|---|---|---|
| Admin | Yes | Yes | Yes | Yes |
| Supervisor | Yes | Yes | Yes | No |
| Cashier | No backend access | — | — | — |
[!NOTE] Exact permissions depend on the Privileges Setup configured for each role. Contact your administrator if you cannot access this page.
How to Add a New Outlet Group
- Navigate to Outlet Group Setup from the sidebar menu.
-
Click the + Add New button (green button).
-
Fill in the required fields in the form.
-
Fill in any optional fields as needed.
-
Click Save to create the new outlet group.
✅ Expected Result: The new outlet group appears in the list and is available for use across the system.
How to Delete a Outlet Group
- Navigate to Outlet Group Setup from the sidebar menu.
-
Click on the name or code link (blue text) of the record you want to delete.
-
In the edit form, scroll down to the bottom.
- Click the Delete button (red button).
- A confirmation dialog appears — click Yes to confirm.
✅ Expected Result: The outlet group is soft-deleted — hidden from active lists and POS but can be restored later.
[!WARNING] Records linked to active transactions or other modules cannot be deleted. The system will display an error if deletion is not allowed.
FAQ
Q: Can I delete an outlet that has transaction history? A: You can soft-delete it, but it cannot be permanently removed if it has linked transactions or POS terminals.
Q: Why are changes not showing on the POS terminal? A: The POS needs to sync. Check Terminal Status for the last sync time and trigger a manual sync if needed.
Q: What happens if I change the company name? A: The change will appear on all new receipts after the next POS sync. Existing printed receipts are not affected.
Troubleshooting
| Issue | Possible Cause | Solution |
|---|---|---|
| Cannot save the record | Required fields are empty or invalid | Check all fields marked with * and fill in valid data |
| Record not appearing in POS | POS terminal has not synced yet | Wait for the next sync cycle or manually trigger sync from Terminal Status |
| Cannot delete the record | Record is being used by other modules | Check if the record is linked to active transactions, products, or other settings |
| Changes not taking effect | Browser cache showing old data | Refresh the page (Ctrl+F5) or clear browser cache |
| "Duplicate" error on save | A record with the same name/code already exists | Search the list (including deleted records) for duplicates |
| Page not loading | Session expired or network issue | Log out and log back in. Check your internet connection |
Related Menus
- Product Setup > Product List — products linked to outlets
- User Setup > User List — users assigned to outlets
- Sales Setup > Payment Mode — payment methods per outlet
- Setting > Company Setup — company-wide settings
Open Questions / Confirmation Needed
[!NOTE] The following items may vary depending on your system version and configuration:
- Exact permission settings depend on your Privileges Setup configuration
- Sync timing to POS terminals depends on network conditions and sync schedule
- Some features may require additional licensing or module activation
- Field behavior may differ between EQuip versions
If you encounter behavior not described in this manual, contact your system administrator or EQuip support team.
Related Articles
Inventory Location Group Setup
? Backend — EQuipWebRetail ModeMaster Data Setup Chapter 8: Master Data Setup — 8.6 Inventory Location Group Setup Use Inventory Location Group Setup to organize your storage locations into groups — like grouping all "Back of Store" locations ...Membership Group Setup
? Backend — EQuipWebRetail ModeMembership Setup Chapter 3: Membership Setup — 3.2 Membership Group Setup Use Membership Group Setup to create your loyalty tiers — like Regular, Gold, Platinum, or Diamond. Each tier can have different benefits, ...Role Setup
? Backend — EQuipWebRetail ModeUser Setup Chapter 6: User Setup — 6.2 Role Setup Use Role Setup to create job roles for your team — like "Cashier", "Supervisor", "Manager", or "Admin". Each role determines what a user can see and do in the system. ...Attribute Setup
? Backend — EQuipWebRetail ModeProduct Setup Chapter 2: Product Setup — 2.6 Attribute Setup Use Attribute Setup to create add-ons and modifiers for your products — like "Less Sugar", "Extra Cheese", or "Size: S / M / L". When a cashier taps a ...User Setup
? Backend — EQuipWebRetail ModeUser Setup Chapter 6: User Setup — 6.1 User List Use List to manage and configure this feature in your EQuipWeb system. The User List shows everyone who has access to your EQuip system — from cashiers to managers. Here ...