Inventory Location Group Setup
Chapter 8: Master Data Setup — 8.6 Inventory Location Group Setup
Use Inventory Location Group Setup to organize your storage locations into groups — like grouping all "Back of Store" locations together, or all "Warehouse" locations. This makes it easier to filter reports and manage stock transfers by area.
When to use this: When you want to organize your storage locations into groups.
Prerequisites
- Inventory Locations must exist to group
Inventory Location Group List
📝 General Description
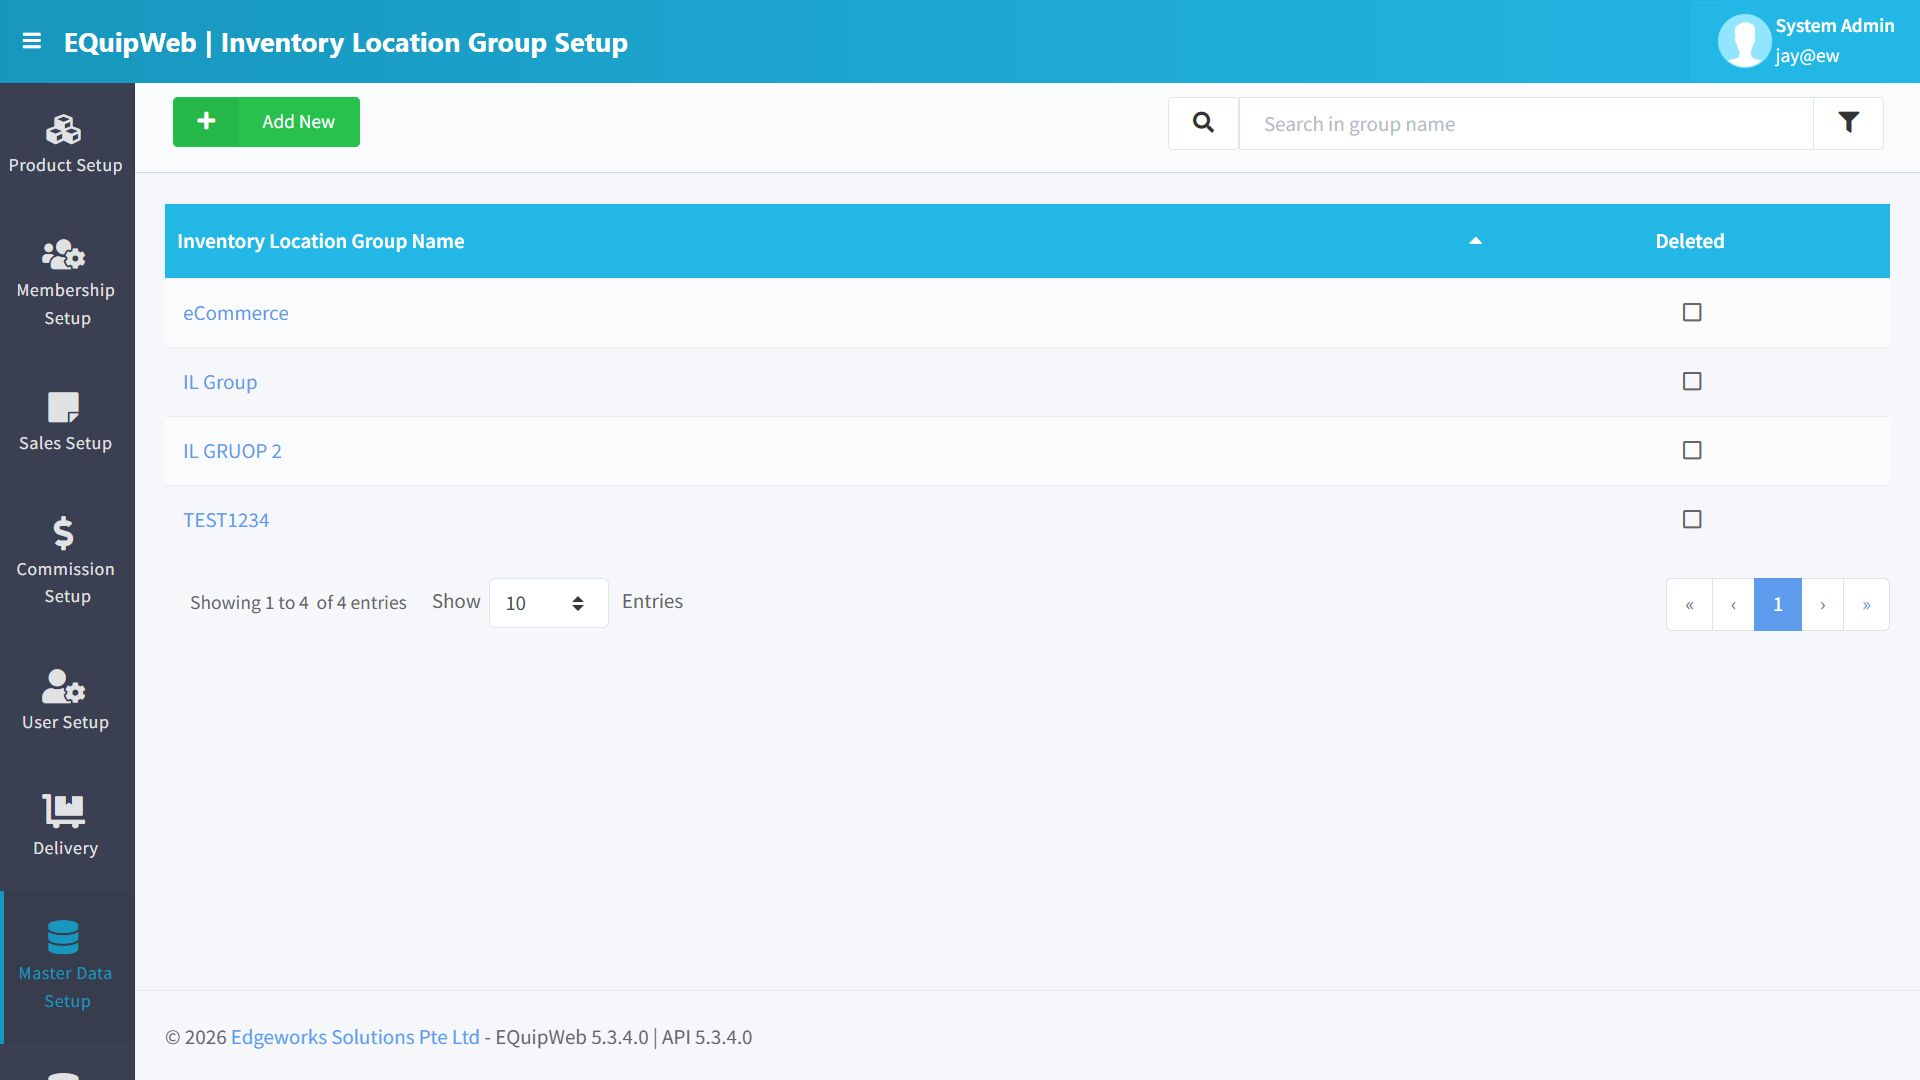
Location groups cluster multiple inventory locations together based on geographic region, warehouse type, or operational criteria. This is useful for organizations with many warehouses that need consolidated views and bulk management.
⚙️ UI Elements
| Element | Type | Function |
|---|---|---|
| + Add New | Green Button | Create a new inventory location group |
| Export | Orange Button | Export the group list to Excel |
| Search Bar | Text Input | Filter by group name |
| 🔽 Filter | Funnel Icon | Toggle show/hide deleted groups |
8.6.1 Data Grid Columns
| Column | Description |
|---|---|
| Inventory Location Group Name | Name of the group (clickable → opens edit form) |
| Description | Brief description of the group's purpose |
| Deleted | Hidden/deleted status |
8.6.2 Add / Edit Inventory Location Group
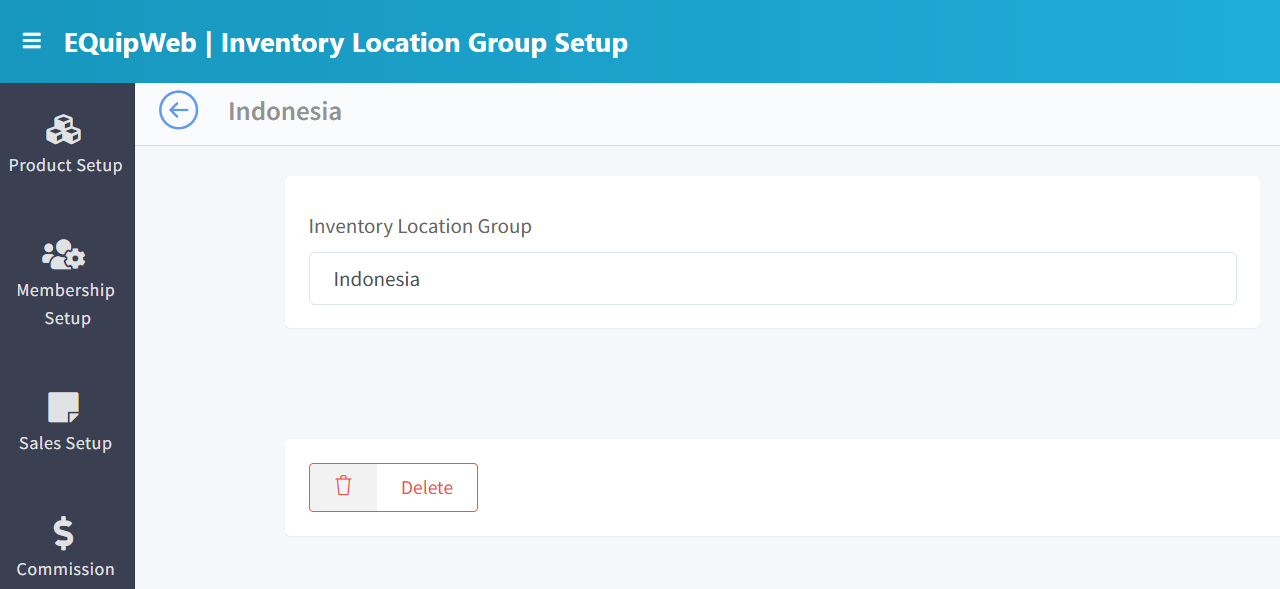
Form Fields
| Field | Type | Required | Description |
|---|---|---|---|
| Group Name | Text | ✅ Yes | Unique group identifier (e.g., "Central Warehouses", "West Region Stores", "Cold Storage") |
| Description | Textarea | No | Explains the grouping criteria or purpose |
Location Assignment
The form includes a multi-select grid of all available inventory locations. Toggle each location ON/OFF to include or exclude it from the group.
| Element | Function |
|---|---|
| Available Locations | All inventory locations in the system |
| Selected Locations | Locations currently in this group |
| Select All / Deselect All | Quick-action toggles |
Actions
| Button | Function |
|---|---|
| Save | Saves the group and location assignments |
| Save & New | Saves and opens a blank form |
| Delete | Removes the group |
| Restore | Restores a deleted group |
8.6.3 Where Location Groups Are Used
| Module | Usage |
|---|---|
| Inventory Location Setup | Each location can be assigned to a group via the "Inventory Location Group" dropdown |
| Reports | Filter inventory reports by location group for consolidated views (e.g., "Total stock across all North Region warehouses") |
| Stock Transfer | Identify transfer routes between location groups |
| Warehouse Mapping | Apply product warehouse rules at the group level |
8.6.4 Group vs. Individual Location
| Feature | Individual Location | Location Group |
|---|---|---|
| Stock tracking | Per-location stock levels | Aggregated view across group |
| Reporting | Single warehouse reports | Consolidated multi-warehouse reports |
| Stock Transfer | Transfer between two specific locations | Identify inter-group vs. intra-group transfers |
| Pricing | N/A — pricing is per-outlet | N/A |
How to Edit a location group
- In the Inventory Location Group page, find the location group you want to change.
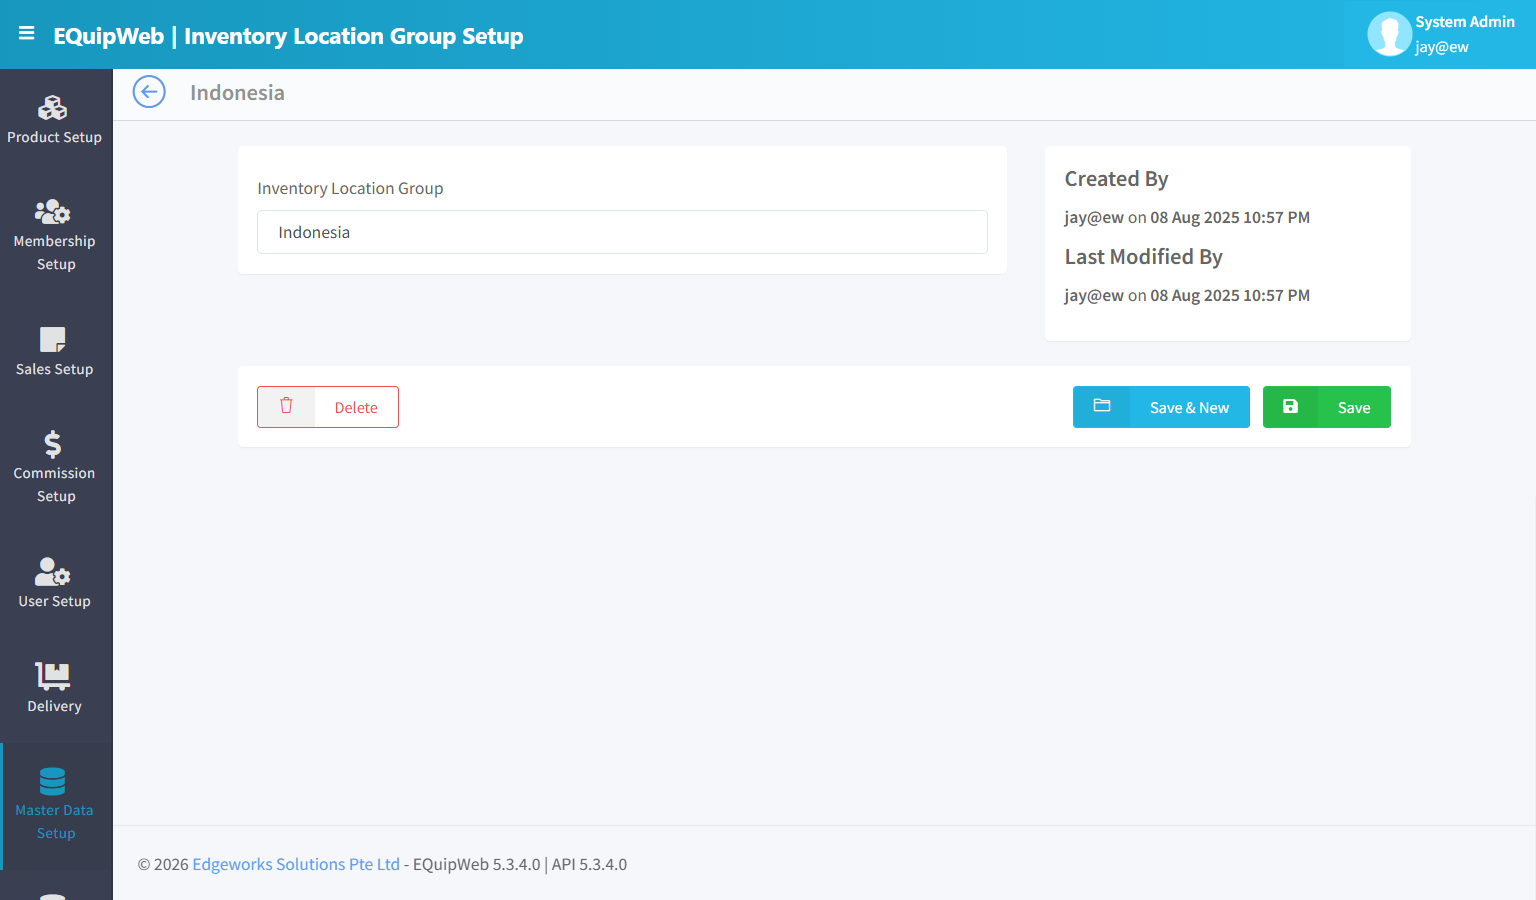
- Click the blue group name link. The edit form opens — it looks the same as the "Add New" form, but all fields are already filled in with the current values.
-
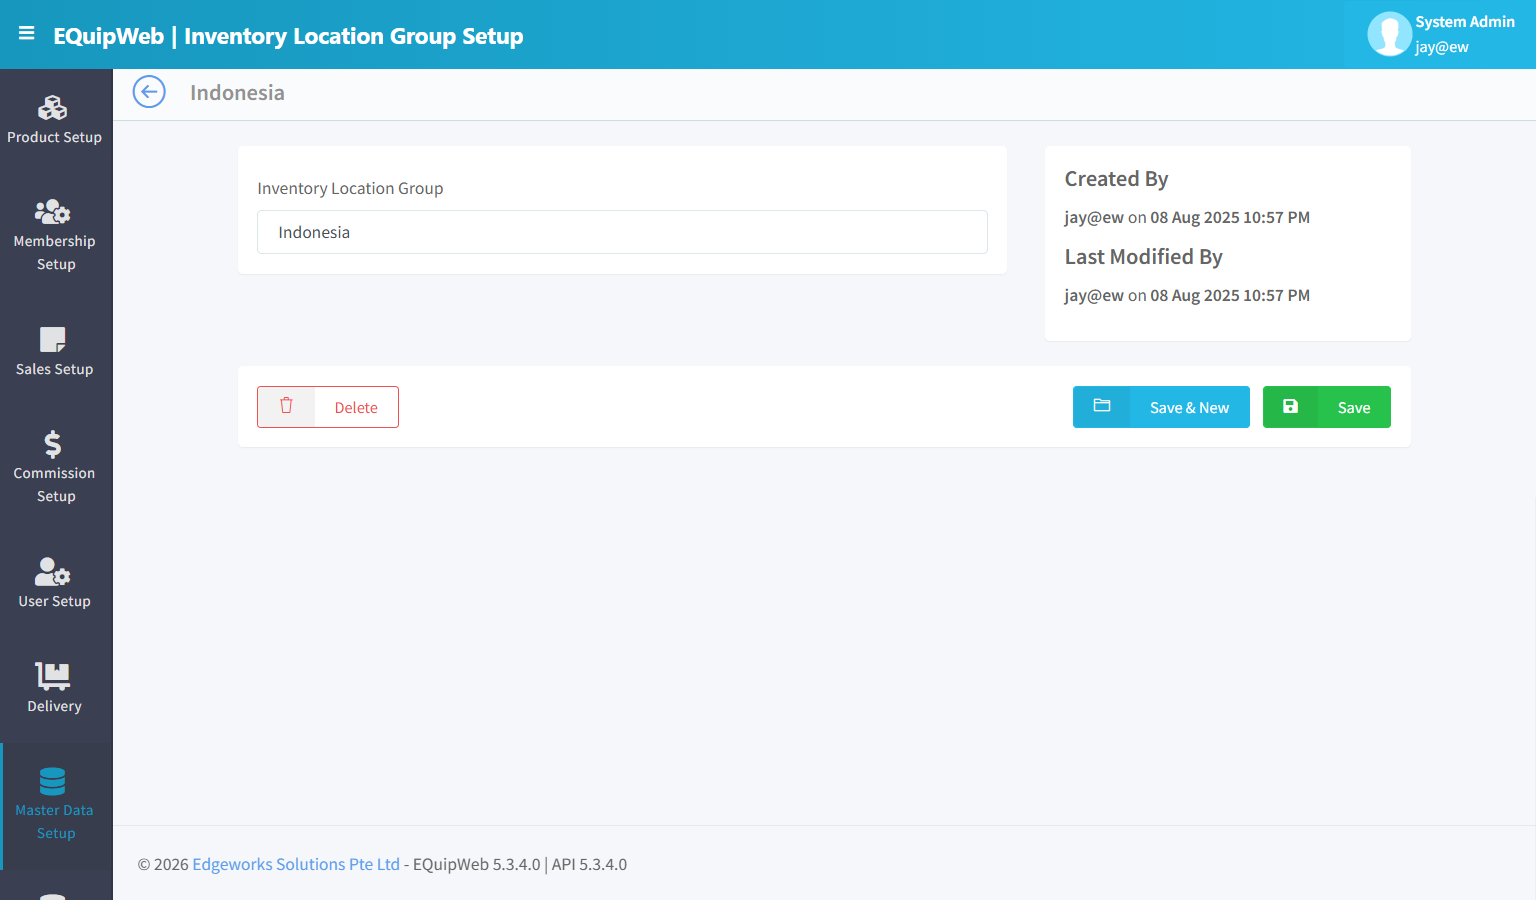
Change the fields you need to update.
-
Click Save to apply your changes.
Expected Result: The location group is saved.
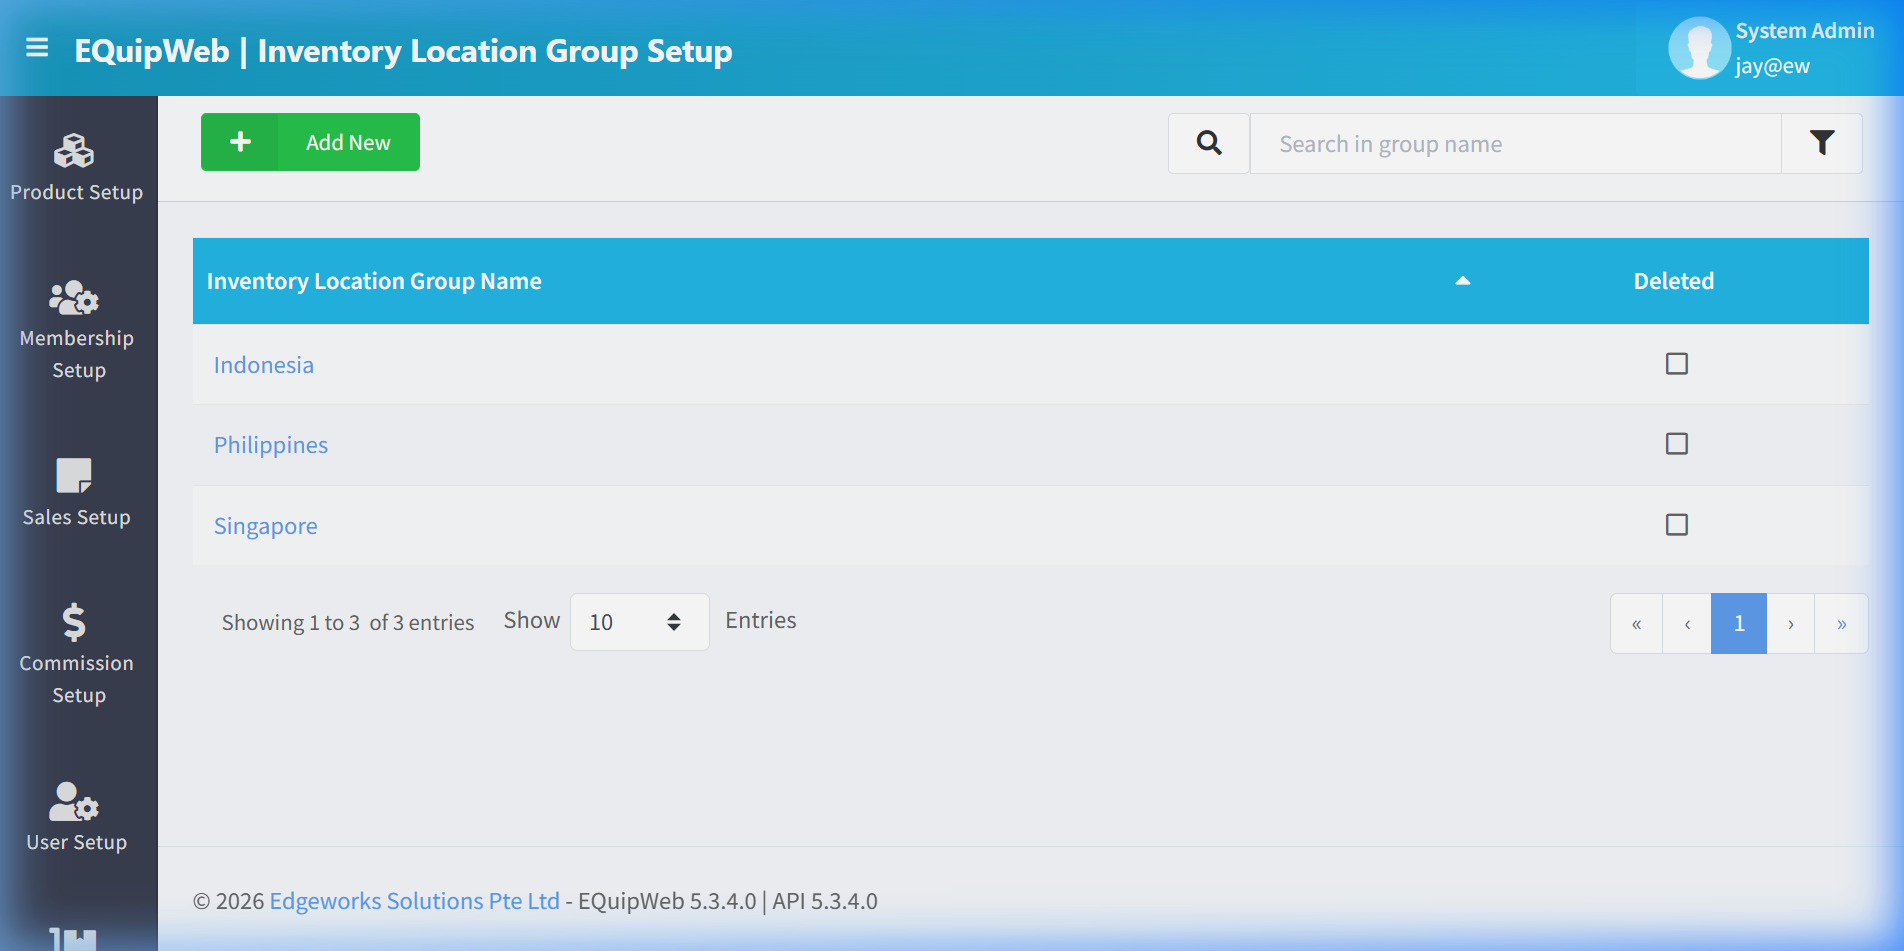
[!TIP] To make changes, just click the name of any location group in the list — the same form opens with everything already filled in. Change what you need and click Save.
💡 Example
Scenario: A multi-country retailer wants to view combined inventory across their 4 Singapore warehouses separately from their 3 Malaysia warehouses.
Setup:
- Navigate to Inventory Location Group Setup → Click + Add New.
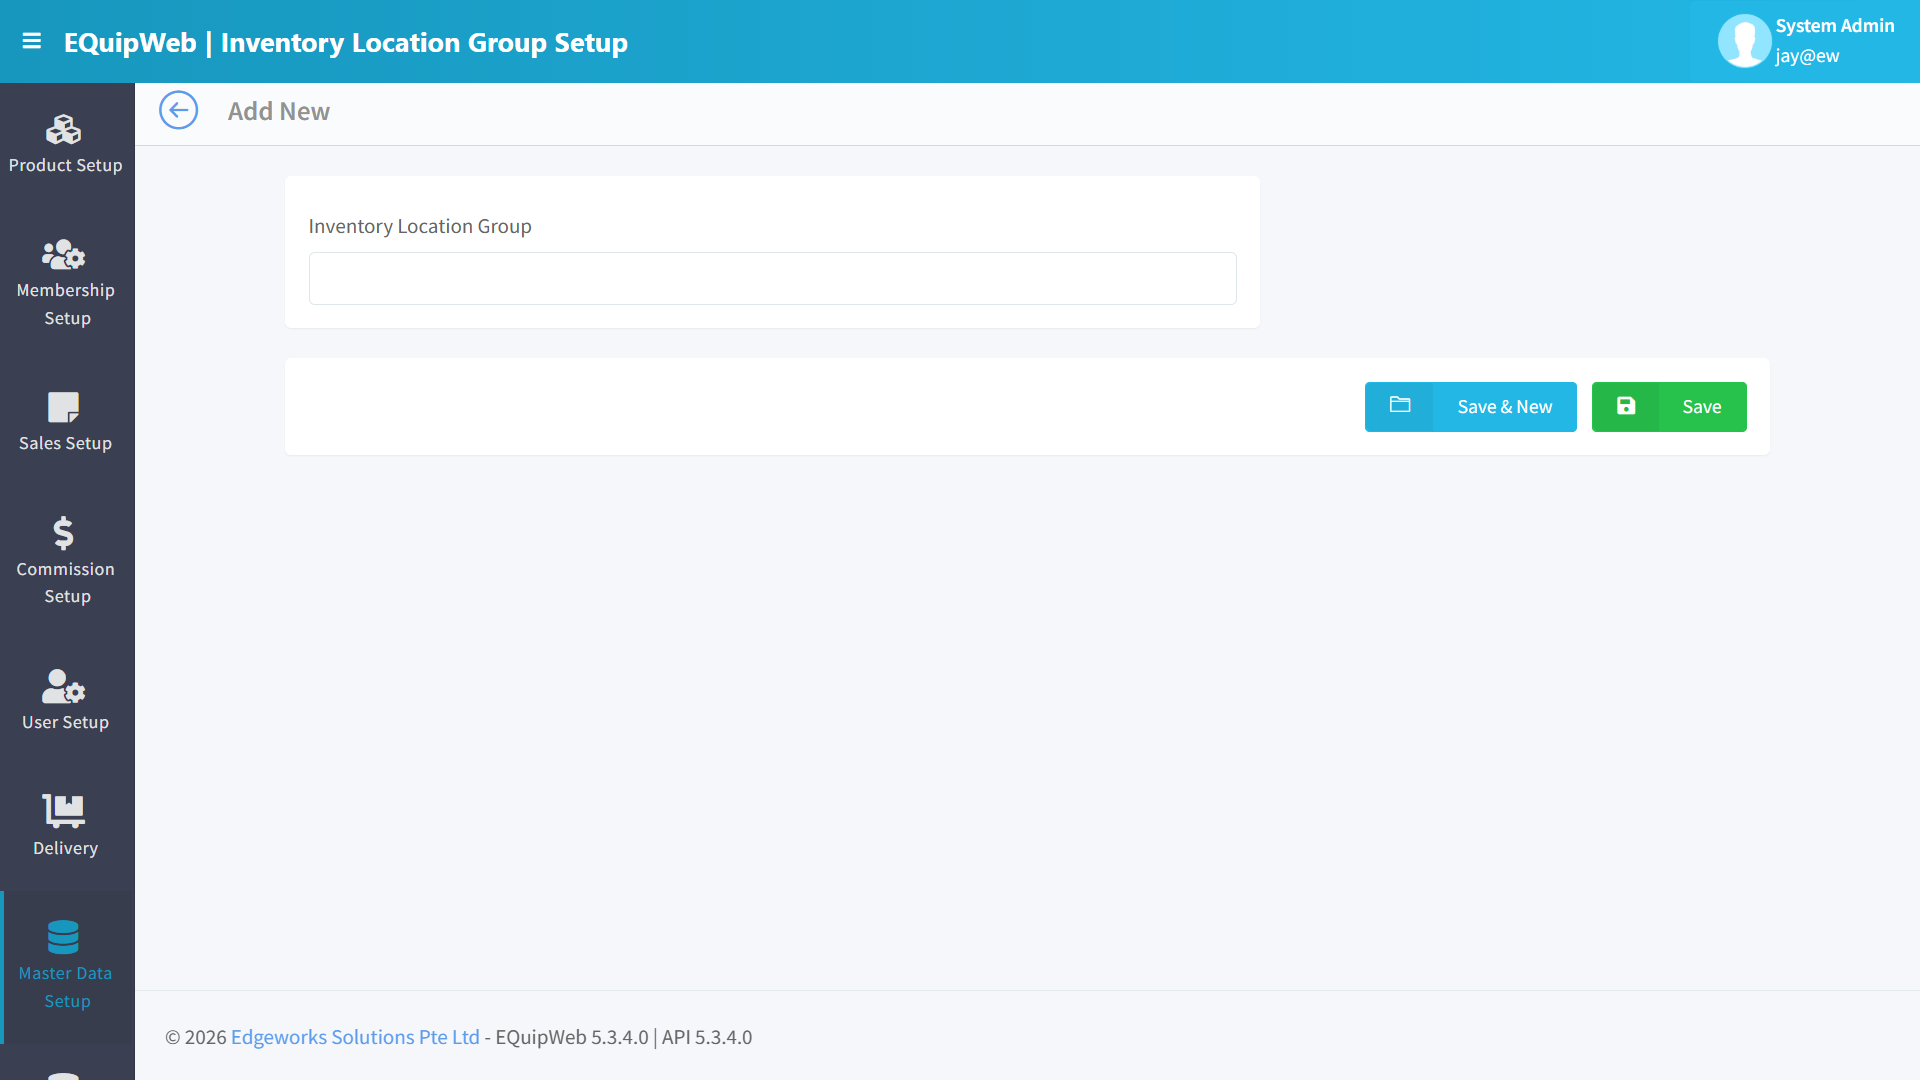
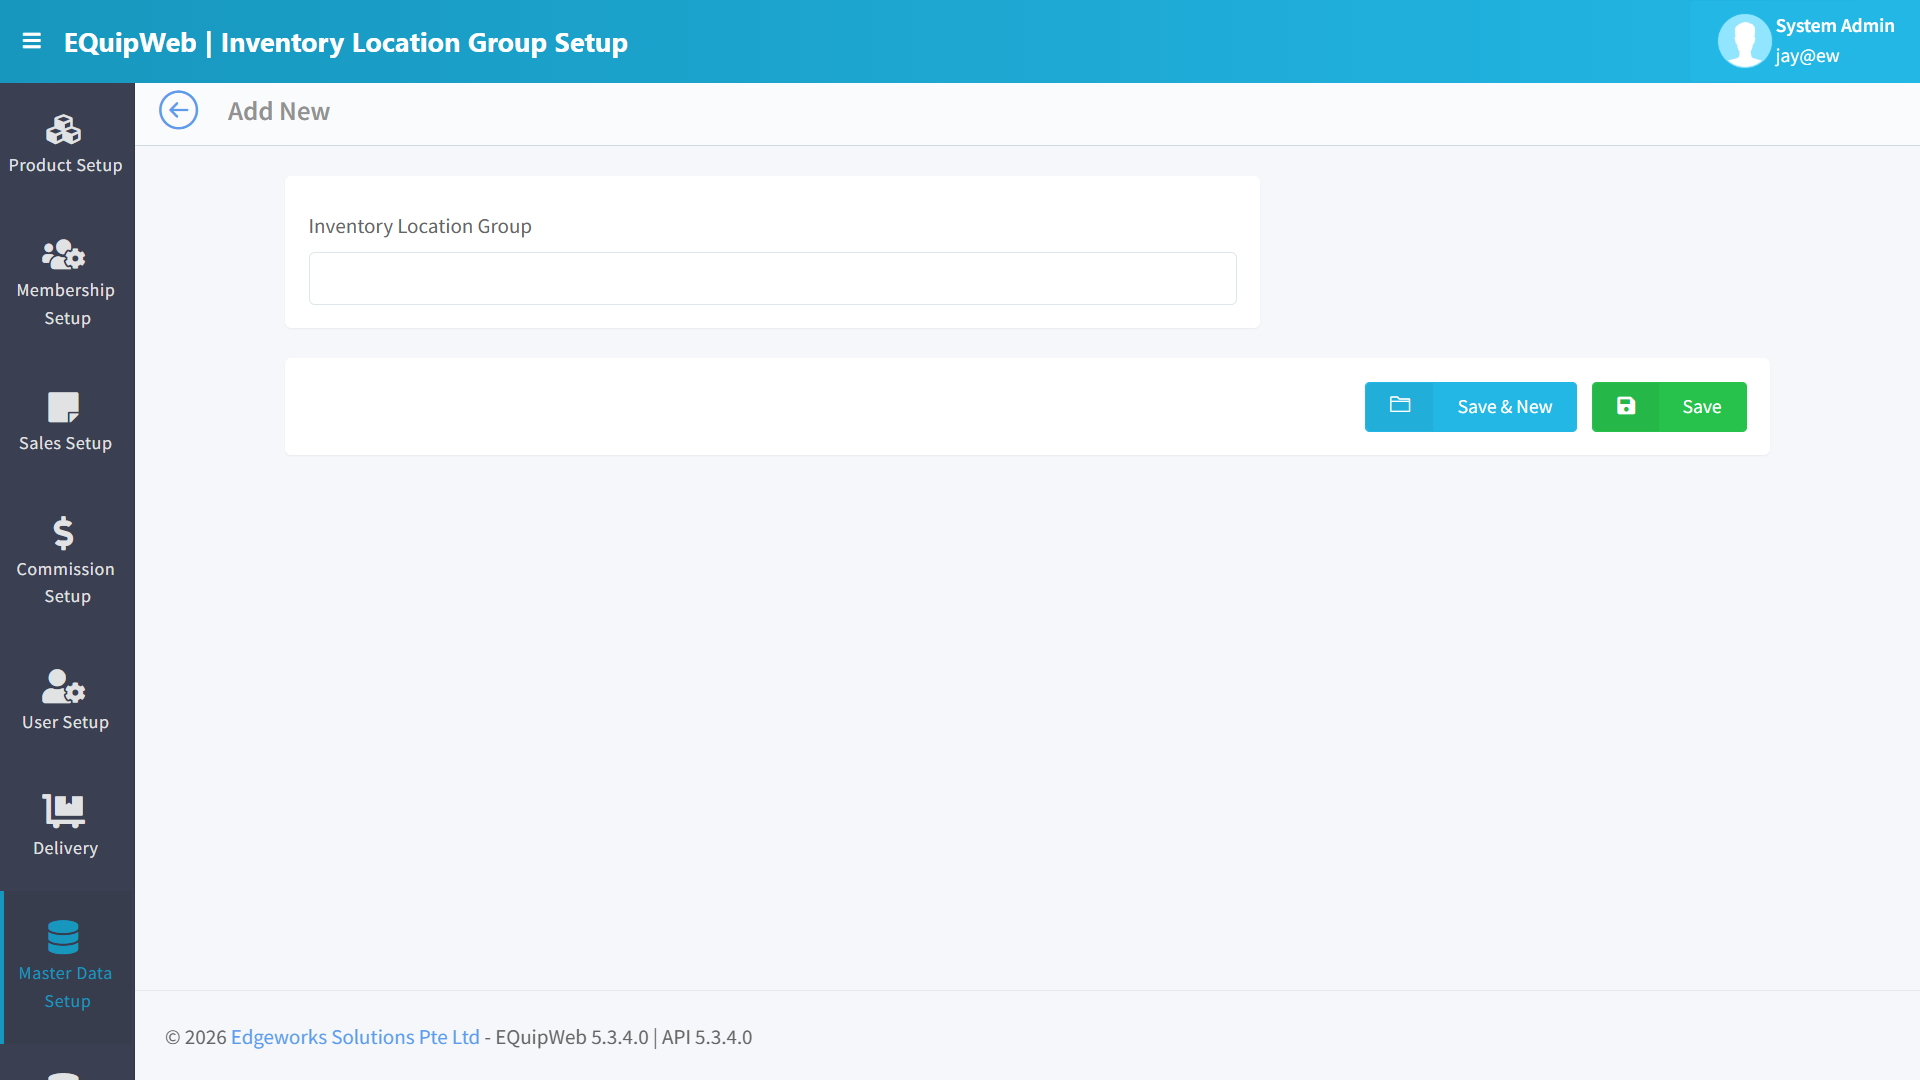 2. Enter Group Name:
 Singapore Warehouses.
 3. Select locations: "HQ Warehouse", "Jurong Store", "Changi Store", "Tampines Store".
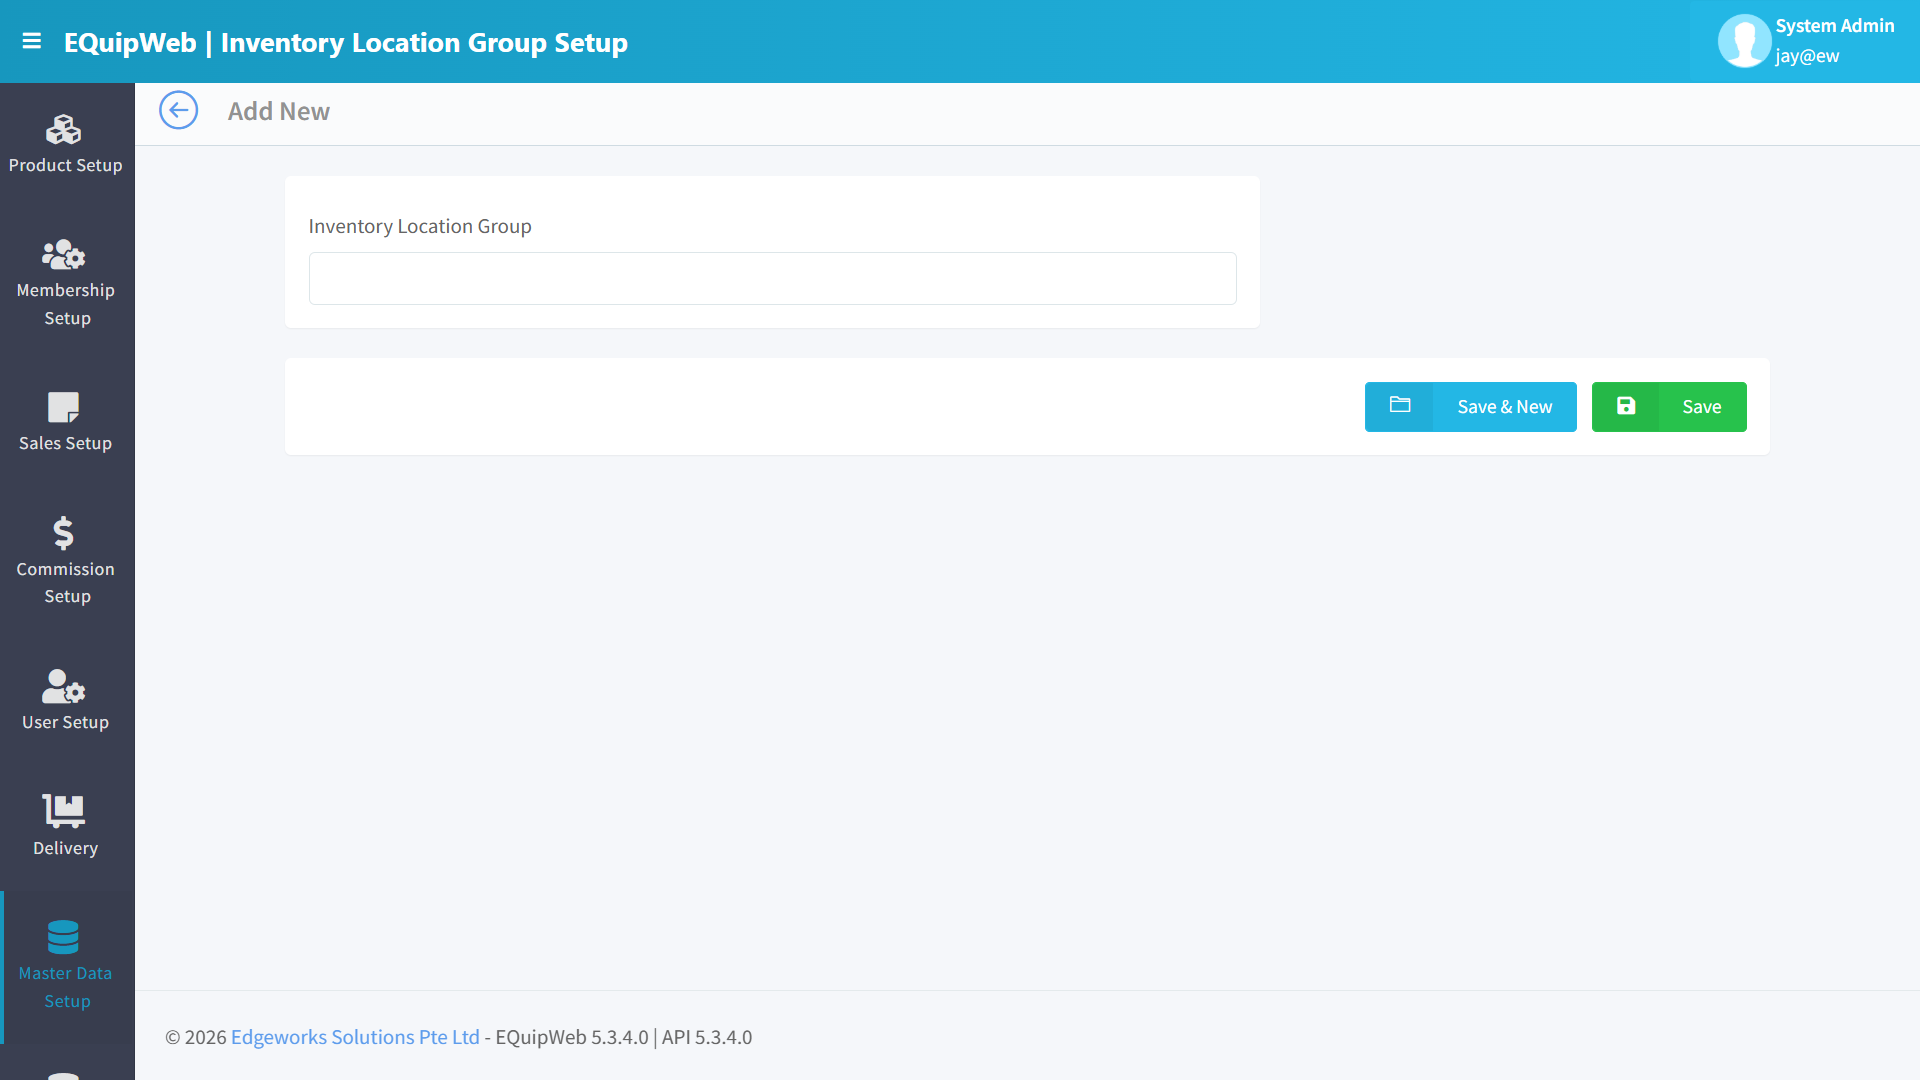 4. Click Save.
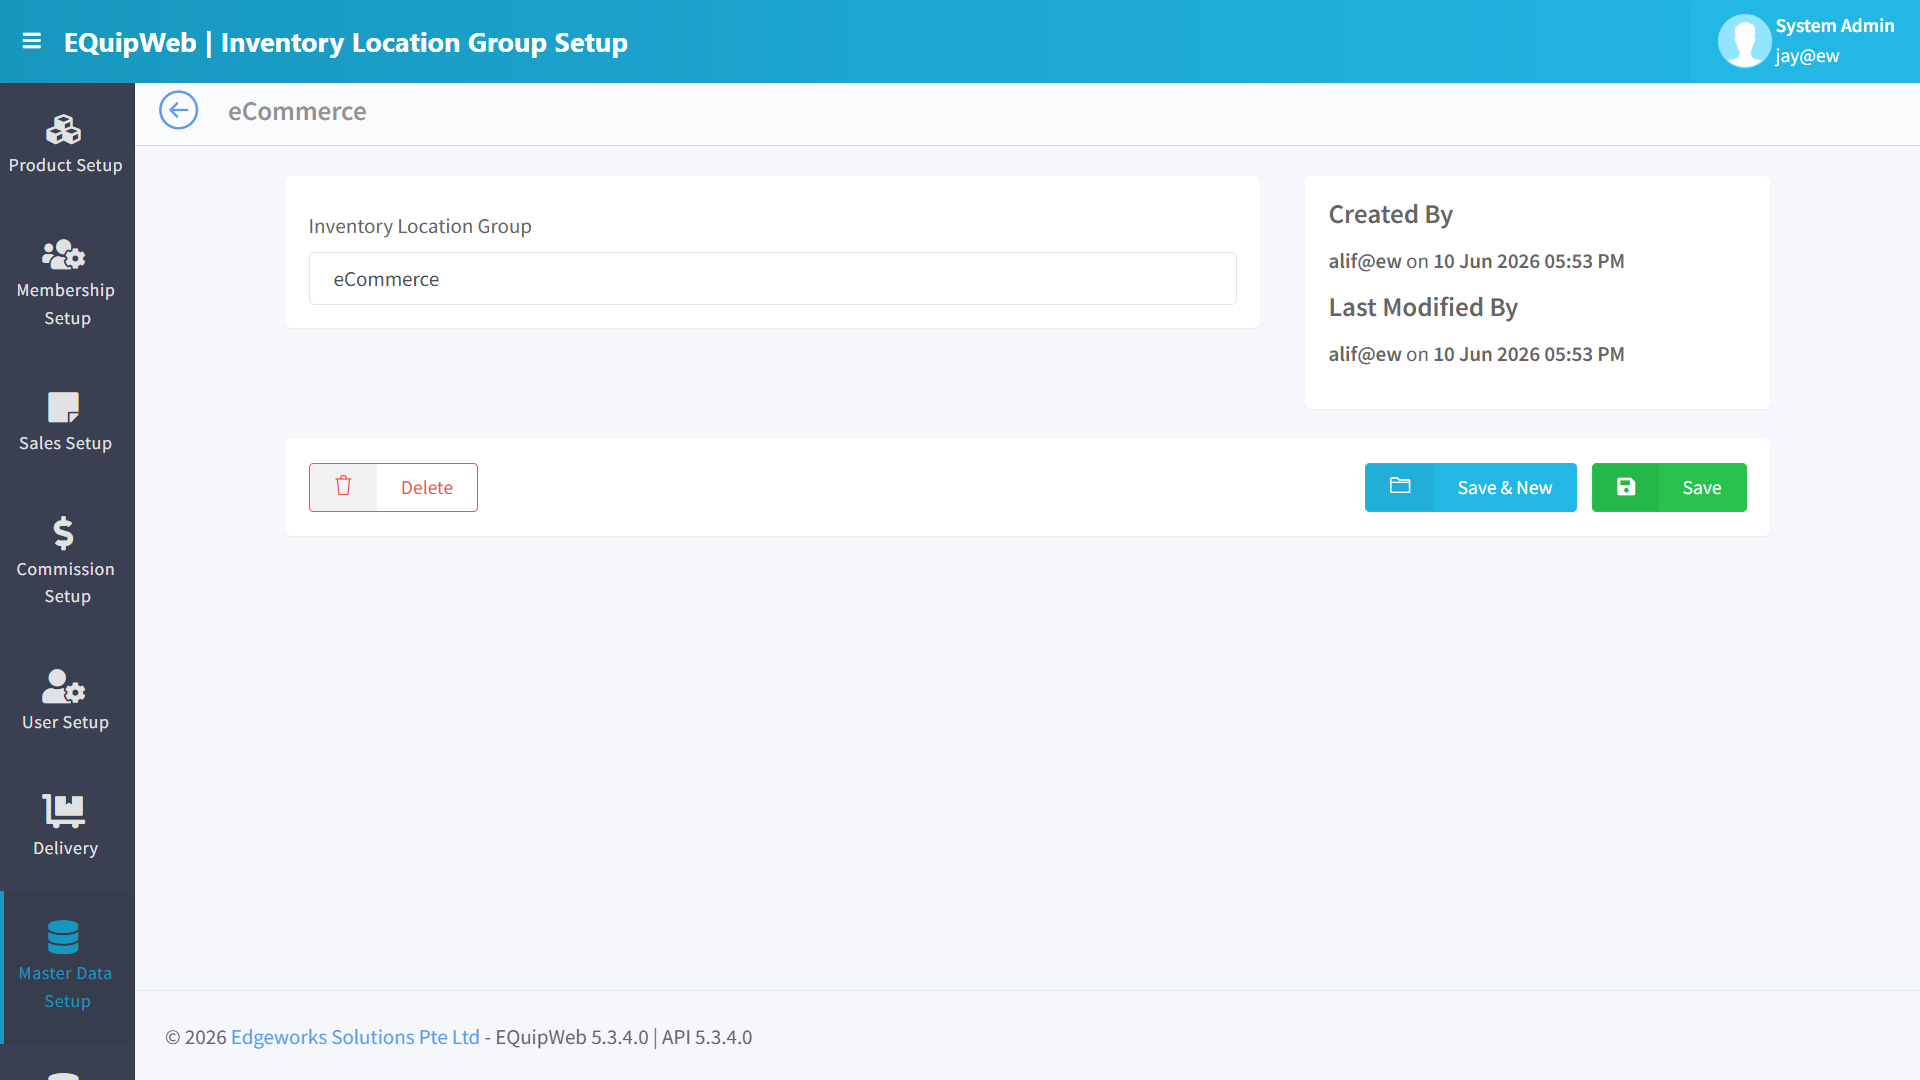 5. Create another group:
 Malaysia Warehouses.
6. Select locations: "KL Store", "Penang Store", "JB Store".
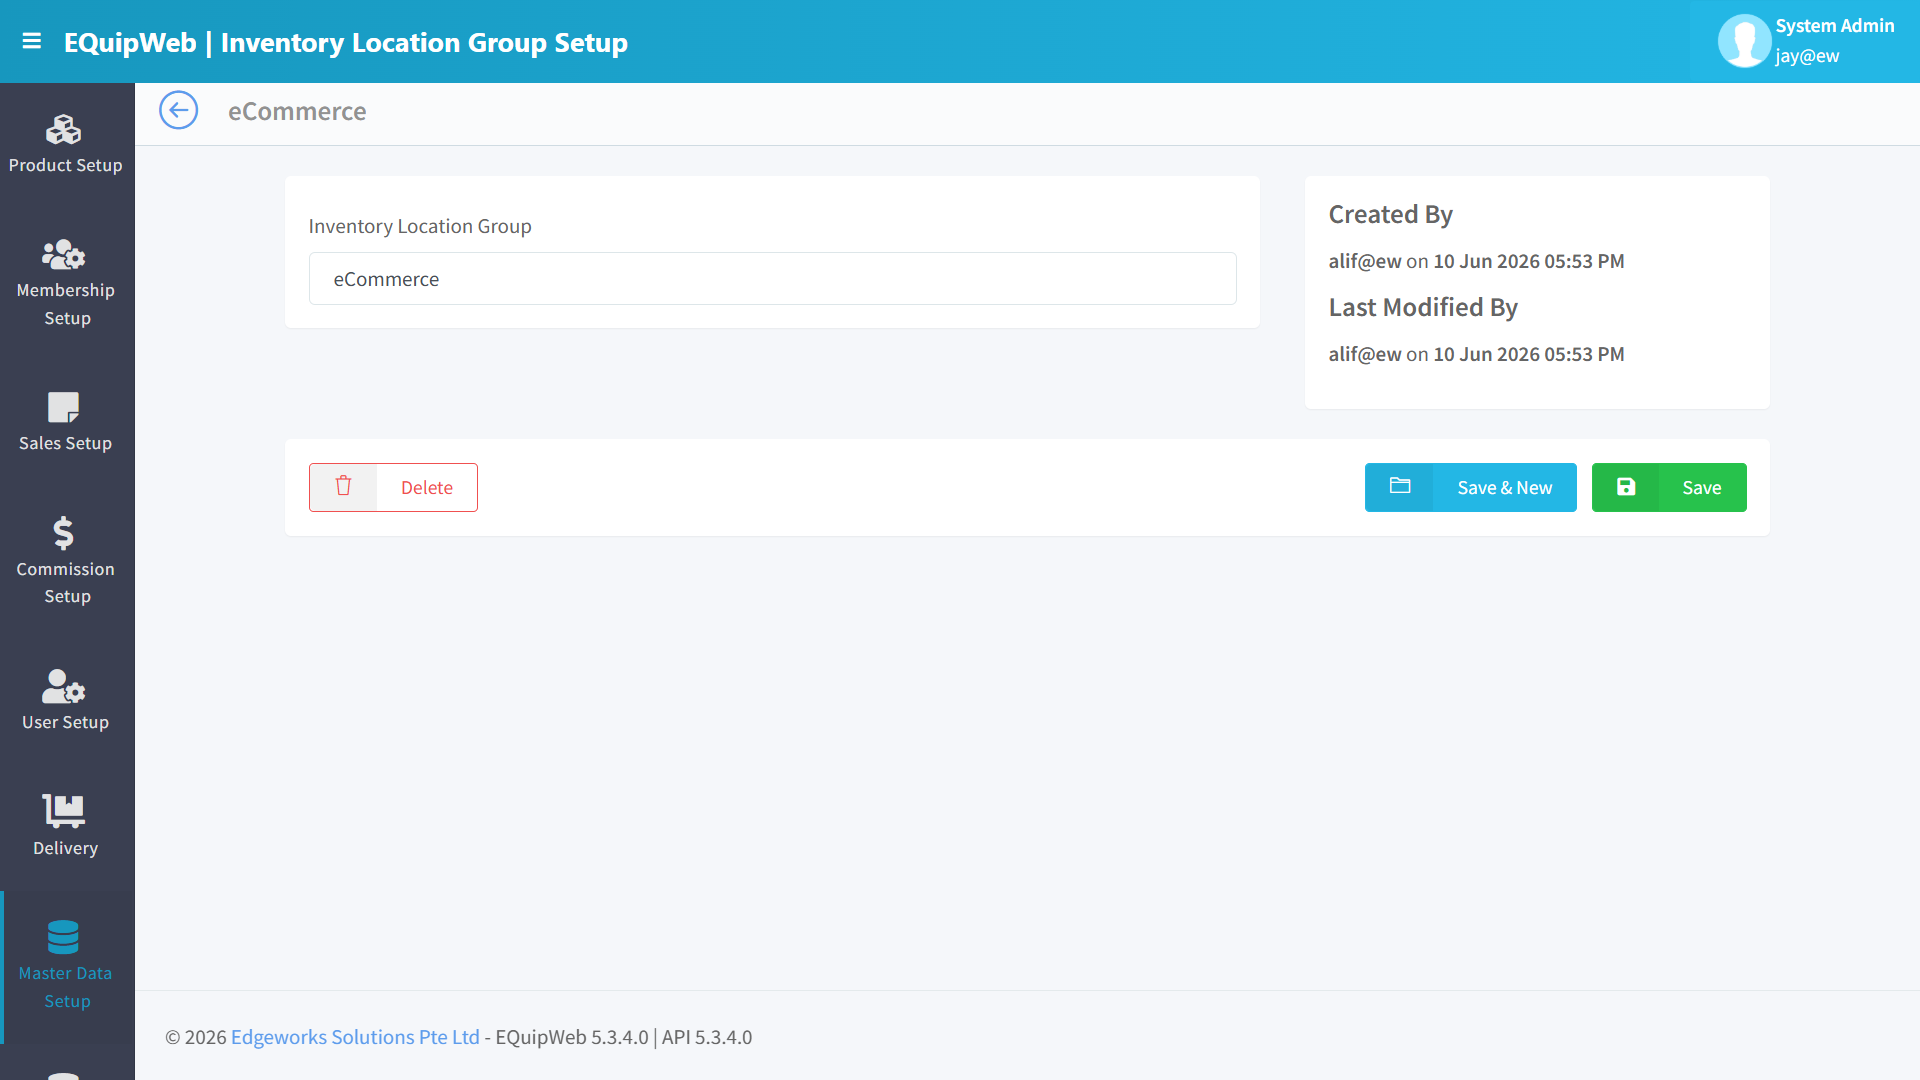 7. Click Save.
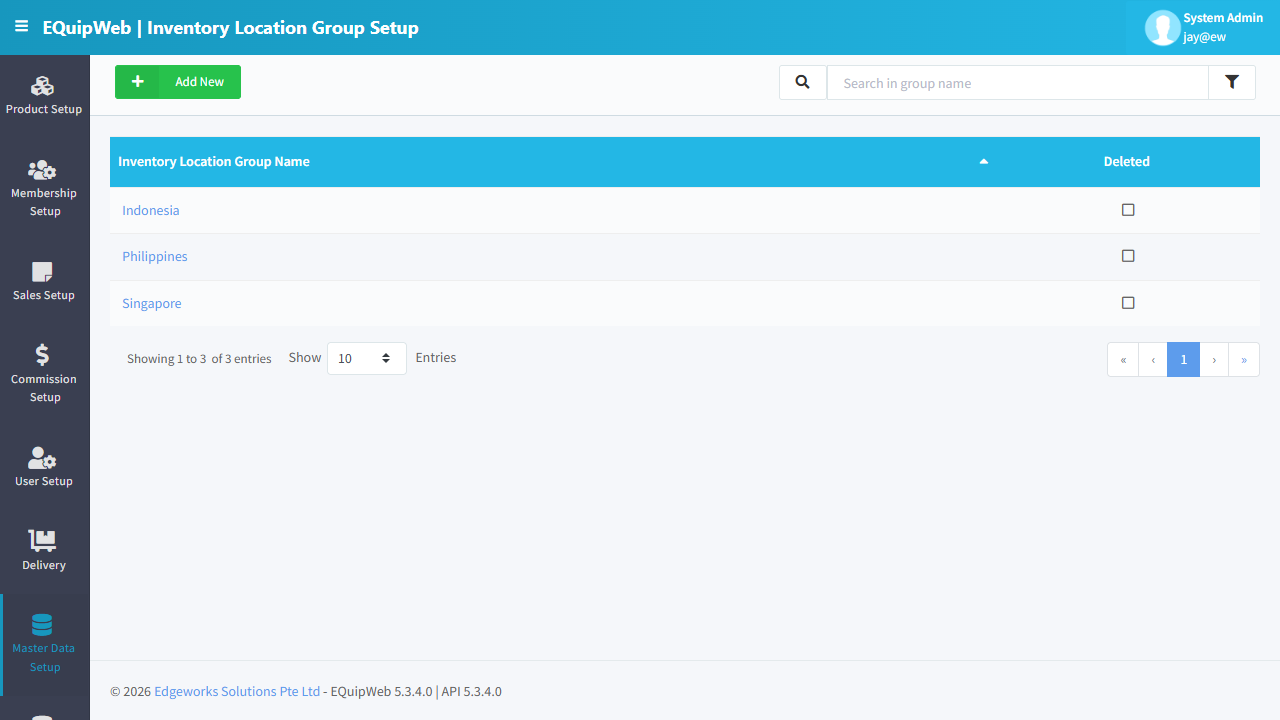 8. Now in Reports, filter by "Singapore Warehouses" to see combined stock levels across all 4 SG locations.
[!TIP] Location groups are optional — you don't need them if you have fewer than 5 inventory locations. They become valuable when managing 10+ locations across regions or countries.
[!NOTE] A single inventory location can belong to only one group. If you need overlapping groupings, consider using Report filters instead of location groups.
Access & Permissions
| Role | View | Create | Edit | Delete |
|---|---|---|---|---|
| Admin | Yes | Yes | Yes | Yes |
| Supervisor | Yes | Yes | Yes | No |
| Cashier | No backend access | — | — | — |
[!NOTE] Exact permissions depend on the Privileges Setup configured for each role. Contact your administrator if you cannot access this page.
How to Delete a Inventory Location Group
- Navigate to Inventory Location Group Setup from the sidebar menu.
2. Click the name or code link (blue text) of the record you want to delete.
3. In the edit form, scroll down to the bottom.
4. Click the Delete button (red button).
5. A confirmation dialog appears — click Yes to confirm deletion.
Expected Result: The record is soft-deleted — it is hidden from the active list and POS terminals but can be restored later using the "Show Deleted" filter.
[!WARNING] Records linked to active transactions or other modules cannot be deleted. The system will display an error if deletion is not allowed.
How to Add a New Inventory Location Group
- Navigate to Inventory Location Group Setup from the sidebar menu.
-
Click the + Add New button (green button).
-
Fill in the required fields in the form.
-
Fill in any optional fields as needed.
-
Click Save to create the new inventory location group.
✅ Expected Result: The new inventory location group appears in the list and is available for use across the system.
FAQ
Q: Can I delete an outlet that has transaction history? A: You can soft-delete it, but it cannot be permanently removed if it has linked transactions or POS terminals.
Q: Why are changes not showing on the POS terminal? A: The POS needs to sync. Check Terminal Status for the last sync time and trigger a manual sync if needed.
Q: What happens if I change the company name? A: The change will appear on all new receipts after the next POS sync. Existing printed receipts are not affected.
Troubleshooting
| Issue | Possible Cause | Solution |
|---|---|---|
| Cannot save the record | Required fields are empty or invalid | Check all fields marked with * and fill in valid data |
| Record not appearing in POS | POS terminal has not synced yet | Wait for the next sync cycle or manually trigger sync from Terminal Status |
| Cannot delete the record | Record is being used by other modules | Check if the record is linked to active transactions, products, or other settings |
| Changes not taking effect | Browser cache showing old data | Refresh the page (Ctrl+F5) or clear browser cache |
| "Duplicate" error on save | A record with the same name/code already exists | Search the list (including deleted records) for duplicates |
| Page not loading | Session expired or network issue | Log out and log back in. Check your internet connection |
Related Menus
- Product Setup > Product List — products linked to outlets
- User Setup > User List — users assigned to outlets
- Sales Setup > Payment Mode — payment methods per outlet
- Setting > Company Setup — company-wide settings
Open Questions / Confirmation Needed
[!NOTE] The following items may vary depending on your system version and configuration:
- Exact permission settings depend on your Privileges Setup configuration
- Sync timing to POS terminals depends on network conditions and sync schedule
- Some features may require additional licensing or module activation
- Field behavior may differ between EQuip versions
If you encounter behavior not described in this manual, contact your system administrator or EQuip support team.
Related Articles
Inventory Location Setup
? Backend — EQuipWebRetail ModeMaster Data Setup Chapter 8: Master Data Setup — 8.4 Inventory Location Setup Use Inventory Location Setup to define where your stock is stored — your main warehouse, back-of-store shelving, or outlet display areas. ...Webhook Setup
? Backend — EQuipWebRetail ModeSetting Chapter 12: Setting — 12.1 Webhook Setup Use Webhook Setup to send automatic notifications to external systems when something happens in EQuip — like a new sale, a stock update, or a member registration. This ...Setup Module Overview
? Backend — EQuipWebRetail ModeChapter 1: Getting Started Backend Setup — Module Overview and Getting Started Guide The Setup Overview provides a quick-reference guide for initial system configuration. This page summarizes the recommended setup ...Outlet Group Setup
? Backend — EQuipWebRetail ModeMaster Data Setup Chapter 8: Master Data Setup — 8.5 Outlet Group Setup Use Outlet Group Setup to organize your outlets into logical groups — like "Central Region", "East Region", or "Franchise Stores". Grouping ...Outlet Setup
? Backend — EQuipWebRetail ModeMaster Data Setup Chapter 8: Master Data Setup — 8.3 Outlet Setup Use Outlet Setup to add and manage your store locations. Each outlet has its own address, contact details, operating hours, and receipt settings. When ...