POS Setup
Chapter 8: Master Data Setup — 8.2 POS Setup
Use POS Setup to register and configure each POS terminal in your outlets. Every cash register or tablet running the POS app needs to be set up here first before it can start processing sales. Each entry represents a physical or virtual point-of-sale terminal linked to a specific outlet.
When to use this: When you need to register a new POS terminal, update terminal settings, or reassign a terminal to a different outlet.
Prerequisites
- Outlet Setup completed
- POS hardware available for registration
POS Terminal List
📝 General Description
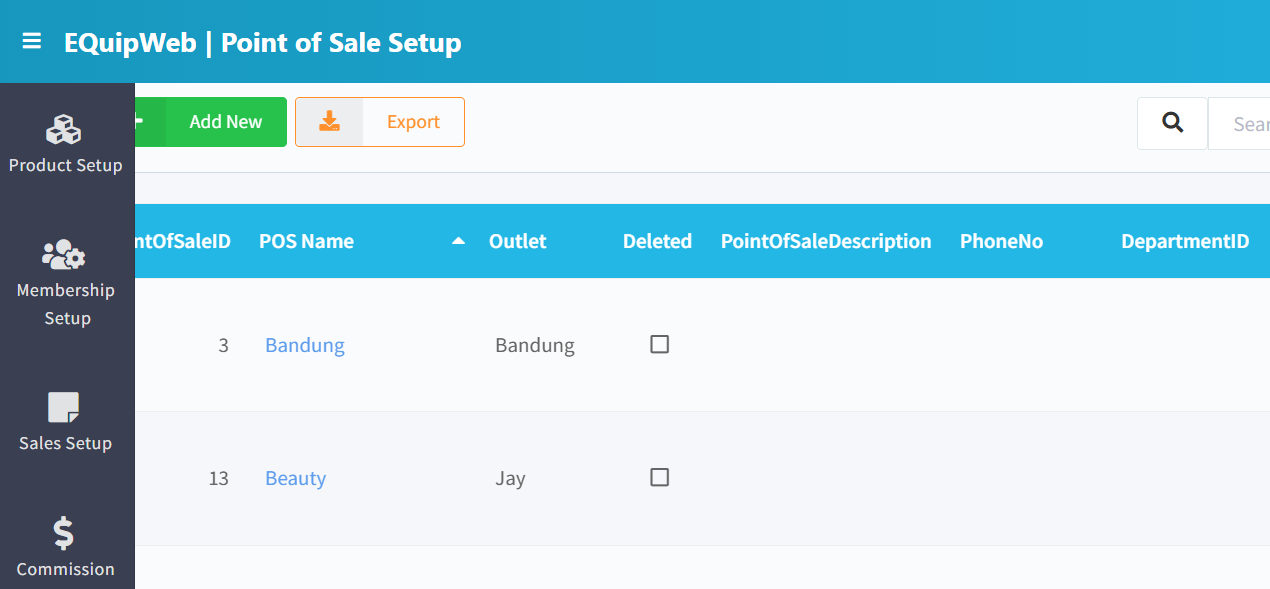
This page lists all configured POS terminals. Each terminal has a unique name, is linked to an outlet, and can have its own receipt settings, payment modes, and operational parameters. POS terminals must be registered here before they can be used for sales.
⚙️ UI Elements
| Element | Type | Function |
|---|---|---|
| + Add New | Green Button | Register a new POS terminal |
| Export | Orange Button | Export terminal list to Excel |
| Search Bar | Text Input | Filter by POS name |
| 🔽 Filter | Funnel Icon | Toggle show/hide deleted terminals |
8.2.1 Data Grid Columns
| Column | Description |
|---|---|
| POS Name | Terminal identifier (clickable → opens edit form). Usually named by outlet + number (e.g., "ION-POS1") |
| Outlet | The outlet this terminal belongs to |
| POS Type | Terminal type (e.g., Standard, Mobile, Self-Service Kiosk) |
| IP Address | Network IP of the terminal (for remote management) |
| Last Sync | Timestamp of the last data sync with the server |
| Status | Online/Offline status |
| Deleted | Hidden/deleted status |
8.2.2 How to Add a New POS Terminal
- Navigate to Master Data → POS Setup.
 2. Click + Add New.
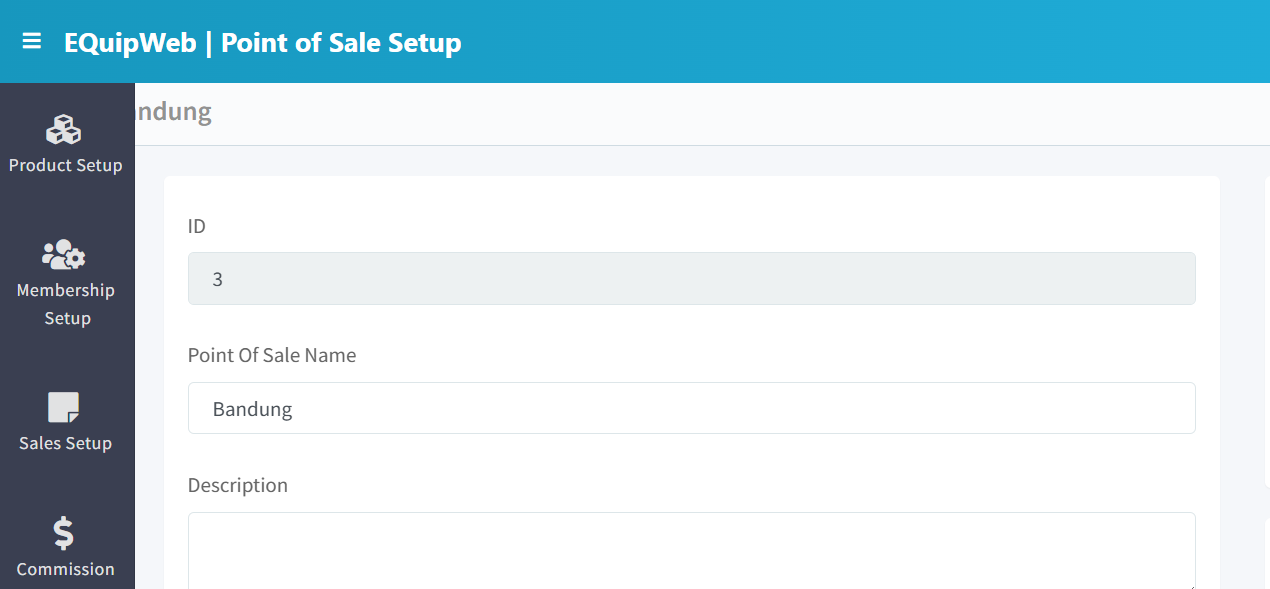
- Fill in the required fields:
- POS Name: Enter a unique terminal name (e.g., "JEWEL-POS1", "TMP-POS2").
- Outlet: Select the outlet this terminal belongs to.
- Fill in optional fields:
- IP Address: The terminal's network IP (useful for IT troubleshooting).
- Receipt Settings: Custom receipt header/footer for this specific terminal.
- Payment Modes: Which payment methods are accepted at this terminal.
- Click Save.
Expected Result: The POS terminal is registered.
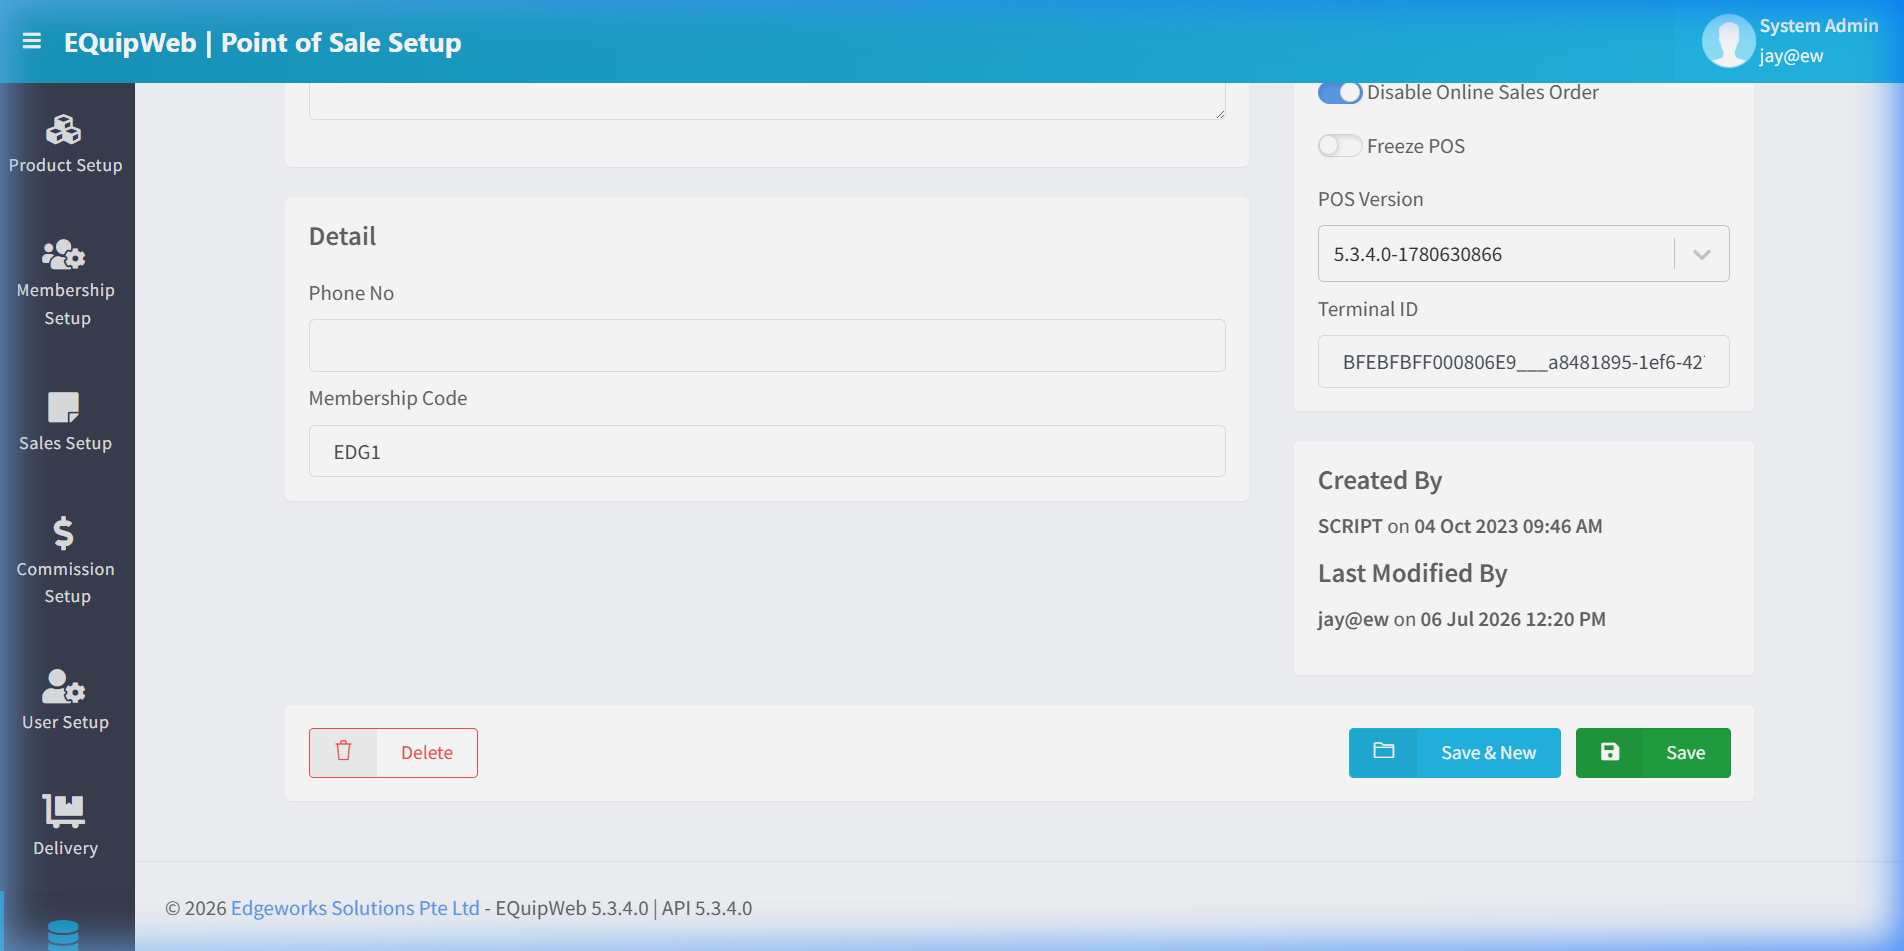 6. The terminal is now registered and can be activated on the physical POS machine.
Form Fields
| Field | Type | Required | Description |
|---|---|---|---|
| POS Name | Text | ✅ Yes | Unique terminal identifier (e.g., "JEWEL-POS1") |
| Outlet | Dropdown | ✅ Yes | The outlet this terminal serves |
| POS Type | Dropdown | No | Terminal type: Standard, Mobile, Kiosk, Virtual |
| IP Address | Text | No | Network IP address for remote management |
| Machine Name | Text | No | Windows machine name of the terminal PC |
| Receipt Printer | Text | No | Printer name or port for receipt printing |
| Kitchen Printer | Text | No | Printer for kitchen order slips (F&B) |
| Cash Drawer | Text | No | Cash drawer port configuration |
| Display Pole | Text | No | Customer display pole configuration |
8.2.3 How to Edit a POS Terminal
- Navigate to Master Data → POS Setup.
2. Click on the POS Name link in the data grid.
 3. Modify the fields as needed.
4. Click Save to apply changes.
3. Modify the fields as needed.
4. Click Save to apply changes.
5. The terminal will pick up the new configuration on its next sync.
8.2.4 How to Delete a POS Terminal
- Open the terminal's edit form (click the POS name).
2. Click the Delete button.
3. The terminal is safely deleted — it can no longer process sales.
4. To restore, show deleted records via Filter, click the terminal, and click Restore.
[!IMPORTANT] Do not delete a POS terminal that has unsynchronized data. Always ensure the terminal has synced all pending transactions before deactivation.
8.2.5 POS Terminal Lifecycle
1. Create terminal in POS Setup (this page)
↓
2. Install WinPowerPOS software on the physical machine
↓
3. Enter the POS Name during first-time setup on the machine

↓
4. Terminal connects to EQuipWeb and syncs product/price data
↓
5. Terminal is ready for sales operations
↓
6. Daily: Terminal syncs transactions back to the server💡 Example
Scenario: A restaurant adds a second POS terminal at its Tampines outlet for the dinner rush.
Setup:
- Navigate to POS Setup → Click + Add New.
2. Fill in:
- POS Name:
TMP-POS2 - Outlet:
Tampines Mall - POS Type:
Standard - Receipt Printer:
EPSON-TM-T88V - Kitchen Printer:
KITCHEN-PRINTER-1
- Click Save.
4. On the new POS machine, install WinPowerPOS and enter "TMP-POS2" during setup.
5. The terminal syncs product data and is ready to take orders.
[!TIP] Use a consistent naming convention for POS terminals:
{OUTLET_CODE}-POS{NUMBER}(e.g., "ION-POS1", "ION-POS2", "TMP-POS1"). This makes terminal-level reports easy to read.
Access & Permissions
| Role | View | Create | Edit | Delete |
|---|---|---|---|---|
| Admin | Yes | Yes | Yes | Yes |
| Supervisor | Yes | Yes | Yes | No |
| Cashier | No backend access | — | — | — |
[!NOTE] Exact permissions depend on the Privileges Setup configured for each role. Contact your administrator if you cannot access this page.
How to Add a New Point of Sale
- Navigate to Point of Sale Setup from the sidebar menu.
-
Click the + Add New button (green button).
-
Fill in the required fields in the form.
-
Fill in any optional fields as needed.
-
Click Save to create the new point of sale.
✅ Expected Result: The new point of sale appears in the list and is available for use across the system.
How to Edit a Point of Sale
- Navigate to Point of Sale Setup from the sidebar menu.
-
Click on the name or code link (blue text) of the record you want to edit.
-
The edit form opens with all current values pre-filled. Modify the fields as needed.
- Click Save to apply your changes.
✅ Expected Result: The point of sale is updated and changes take effect immediately.
How to Delete a Point of Sale
- Navigate to Point of Sale Setup from the sidebar menu.
-
Click on the name or code link (blue text) of the record you want to delete.
-
In the edit form, scroll down to the bottom.
- Click the Delete button (red button).
- A confirmation dialog appears — click Yes to confirm.
✅ Expected Result: The point of sale is soft-deleted — hidden from active lists and POS but can be restored later.
[!WARNING] Records linked to active transactions or other modules cannot be deleted. The system will display an error if deletion is not allowed.
FAQ
Q: Can I delete an outlet that has transaction history? A: You can soft-delete it, but it cannot be permanently removed if it has linked transactions or POS terminals.
Q: Why are changes not showing on the POS terminal? A: The POS needs to sync. Check Terminal Status for the last sync time and trigger a manual sync if needed.
Q: What happens if I change the company name? A: The change will appear on all new receipts after the next POS sync. Existing printed receipts are not affected.
Troubleshooting
| Issue | Possible Cause | Solution |
|---|---|---|
| Cannot save the record | Required fields are empty or invalid | Check all fields marked with * and fill in valid data |
| Record not appearing in POS | POS terminal has not synced yet | Wait for the next sync cycle or manually trigger sync from Terminal Status |
| Cannot delete the record | Record is being used by other modules | Check if the record is linked to active transactions, products, or other settings |
| Changes not taking effect | Browser cache showing old data | Refresh the page (Ctrl+F5) or clear browser cache |
| "Duplicate" error on save | A record with the same name/code already exists | Search the list (including deleted records) for duplicates |
| Page not loading | Session expired or network issue | Log out and log back in. Check your internet connection |
Related Menus
- Product Setup > Product List — products linked to outlets
- User Setup > User List — users assigned to outlets
- Sales Setup > Payment Mode — payment methods per outlet
- Setting > Company Setup — company-wide settings
Open Questions / Confirmation Needed
[!NOTE] The following items may vary depending on your system version and configuration:
- Exact permission settings depend on your Privileges Setup configuration
- Sync timing to POS terminals depends on network conditions and sync schedule
- Some features may require additional licensing or module activation
- Field behavior may differ between EQuip versions
If you encounter behavior not described in this manual, contact your system administrator or EQuip support team.
Related Articles
POS Terminal Settings
? Backend — EQuipWebRetail ModeSetting Chapter 12: Setting — 12.9 POS Terminal Settings Use POS Terminal Settings to fine-tune how each POS terminal behaves — receipt formatting, printer assignments, payment options, and display preferences. ...POS Order Integration
? Backend — EQuipWebRetail ModeMaster Data Setup Chapter 8: Master Data Setup — 8.7 POS Order Integration Use POS Order Integration to connect your POS terminals with external ordering systems. This is where you set up how orders from third-party ...Company Setup
? Backend — EQuipWebRetail ModeMaster Data Setup Chapter 8: Master Data Setup — 8.9 Company Setup Use Company Setup (under Master Data) to enter your company's official business details — company name, registration number, address, and contact ...Privileges Setup
? Backend — EQuipWebRetail ModeUser Setup Chapter 6: User Setup — 6.4 Privileges Setup Use Setup to manage and configure this feature in your EQuipWeb system. Privileges Setup is the master list of all permissions available in the system. Each ...Role Setup
? Backend — EQuipWebRetail ModeUser Setup Chapter 6: User Setup — 6.2 Role Setup Use Role Setup to create job roles for your team — like "Cashier", "Supervisor", "Manager", or "Admin". Each role determines what a user can see and do in the system. ...