Term & Condition
Chapter 8: Master Data Setup — 8.12 Term & Condition
Use Condition to manage and configure this feature in your EQuipWeb system.
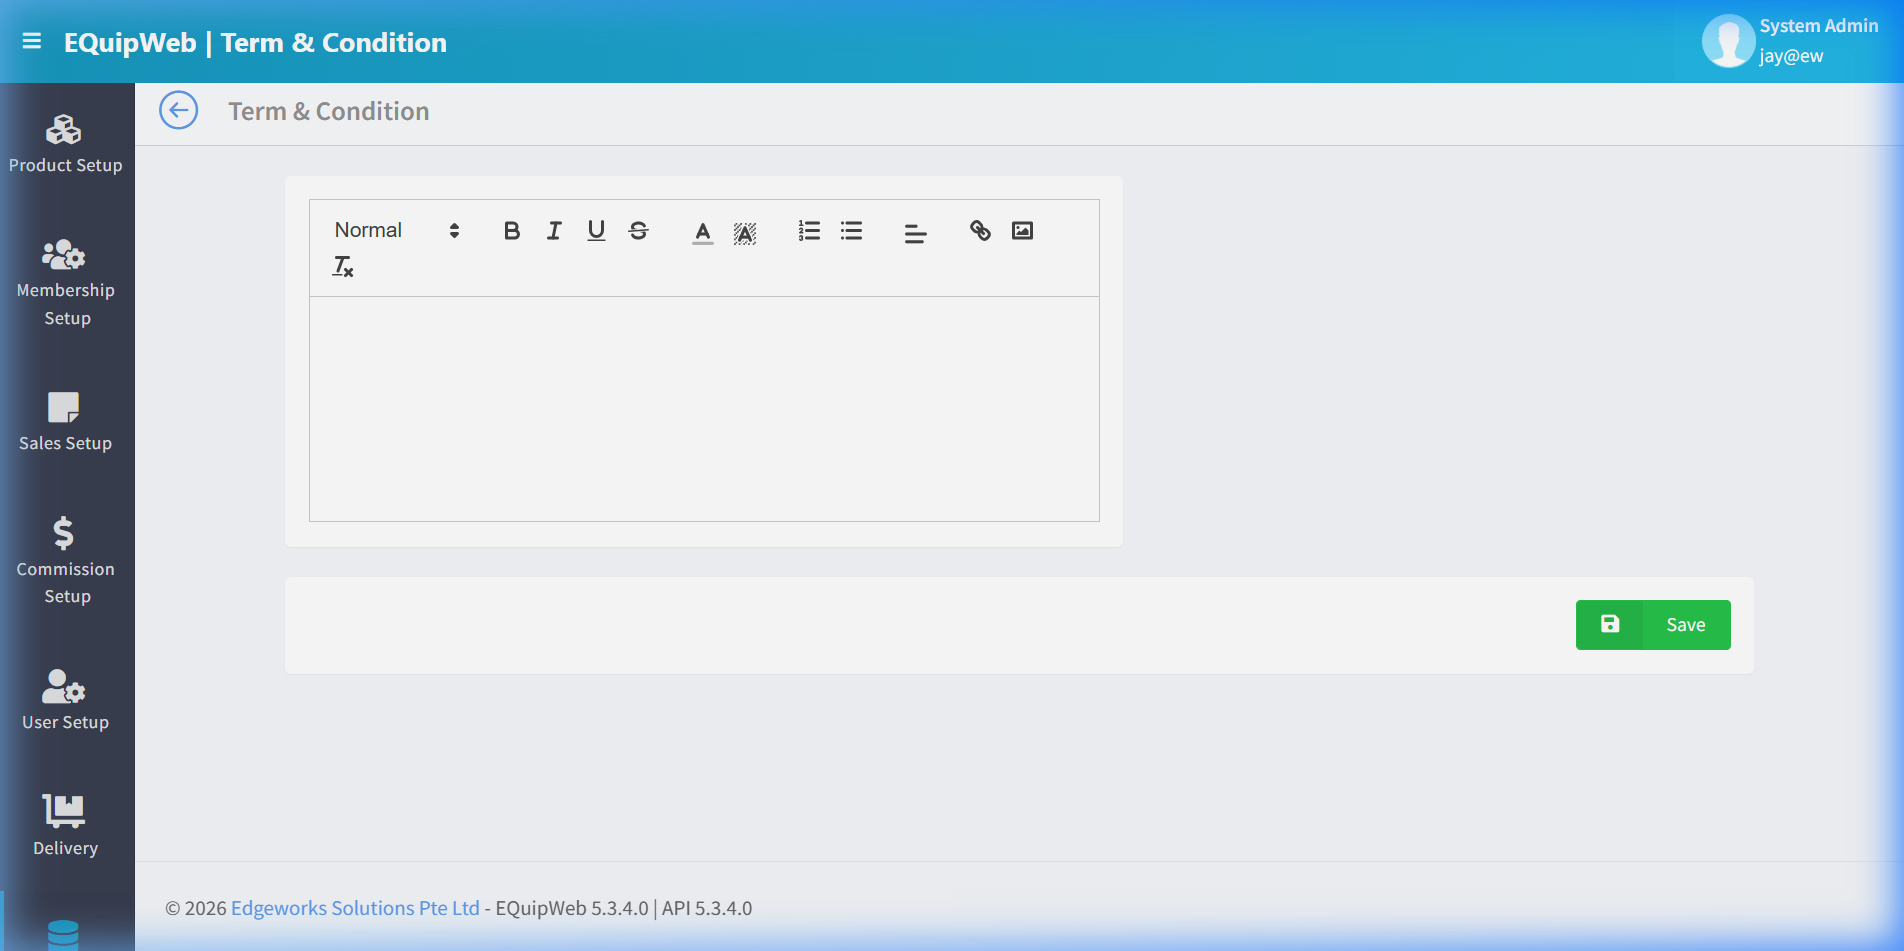
The Term & Condition page manages the terms and conditions content displayed on customer-facing platforms — QR ordering pages, membership registration, and receipts.
When to use this: When you need to update the terms and conditions text shown to customers.
Prerequisites
- No prerequisites
Term & Condition Editor
📝 General Description
This page provides a rich text editor to create and maintain your business's terms and conditions. The content entered here is displayed on QR ordering pages (before checkout), membership registration forms, and can be referenced on printed receipts via a URL or QR code.
⚙️ UI Elements
| Element | Type | Function |
|---|---|---|
| Rich Text Editor | WYSIWYG Editor | Format and edit the terms and conditions content |
| Save | Blue Button | Save the current content |
Use Condition to manage and configure this feature in your EQuipWeb system.
8.12.1 How to Update Terms & Conditions
- Navigate to Master Data → Term & Condition.
- Edit the content using the rich text editor:
- Use Bold, Italic, and bullet lists for formatting.
- Add section headers for readability.
- Include key clauses: returns policy, warranty, privacy reference, liability, etc.
- Click Save.
Expected Result: The updated terms text is saved.
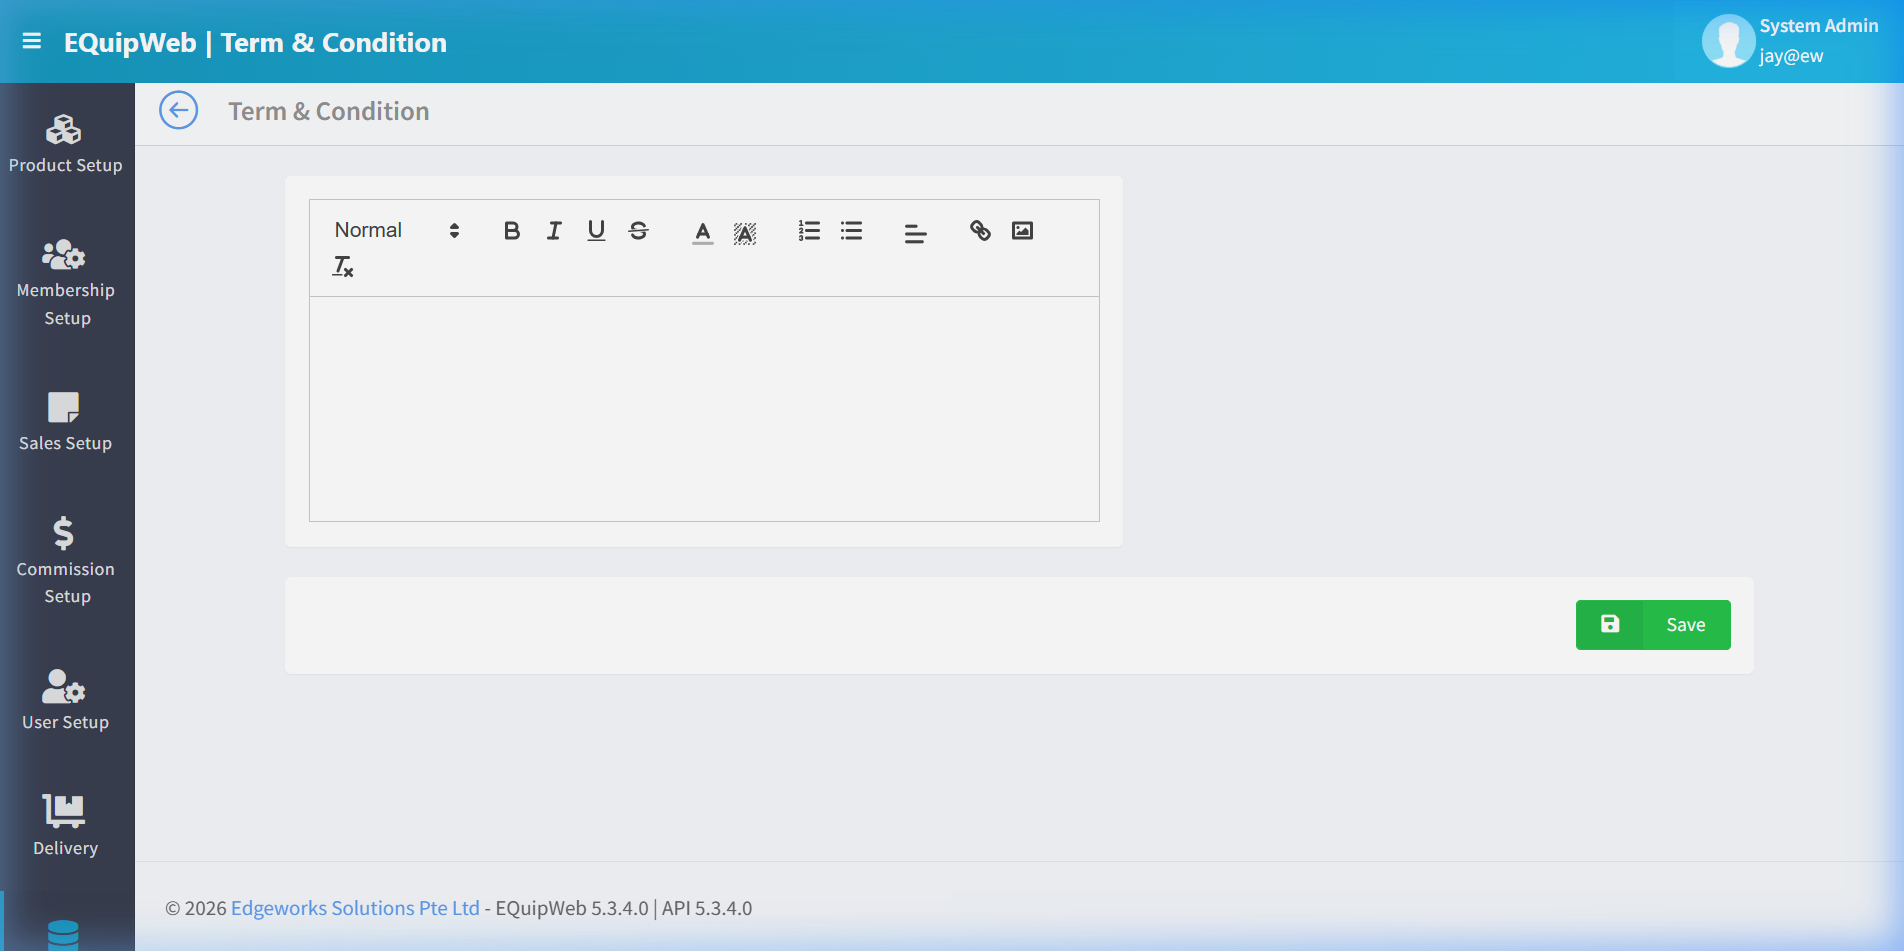 4. The updated content is immediately reflected on all customer-facing platforms.
Use Condition to manage and configure this feature in your EQuipWeb system.
8.12.2 Where Terms & Conditions Appear
| Platform | Display |
|---|---|
| QR Ordering | Shown as a link/checkbox during checkout ("I agree to the Terms & Conditions") |
| Membership Registration | Displayed during online member sign-up |
| Receipts | Optional: include a short T&C reference or URL at the receipt footer |
| Mobile App | Shown in the app's legal section |
Use Condition to manage and configure this feature in your EQuipWeb system.
💡 Example
Scenario: A retail chain updates their return policy for the holiday season.
Steps:
- Navigate to Term & Condition.
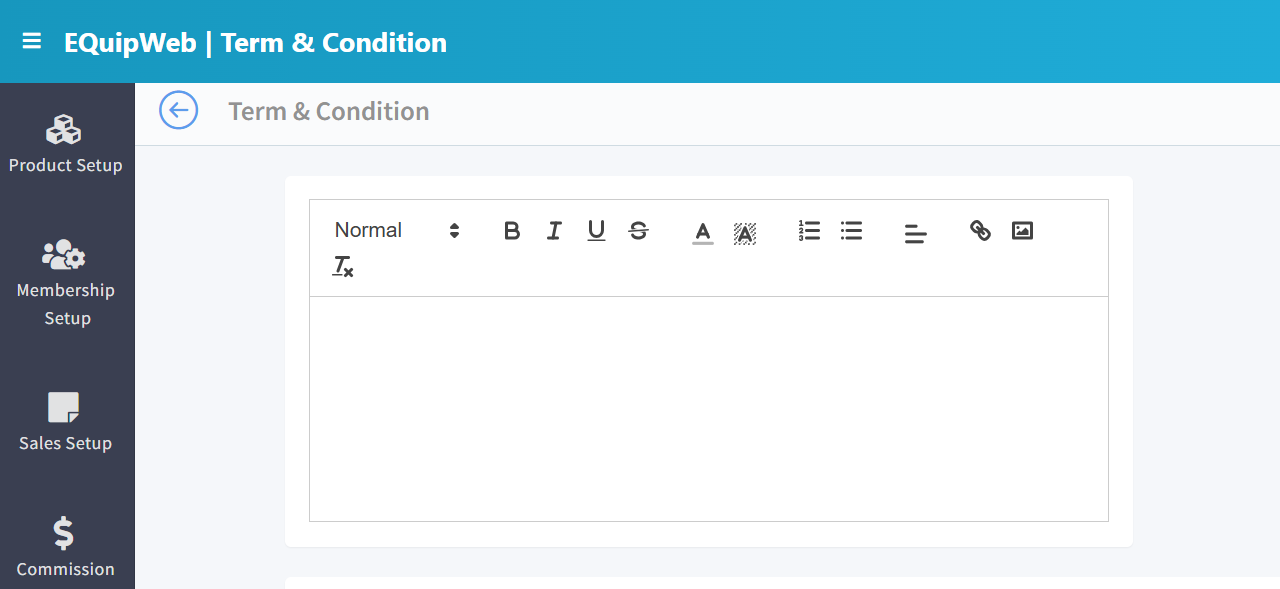 2. Update the "Returns & Exchanges" section: "Items purchased between 1 Dec – 31 Dec 2026 may be returned within 30 days (extended from 14 days)."
3. Click Save.
2. Update the "Returns & Exchanges" section: "Items purchased between 1 Dec – 31 Dec 2026 may be returned within 30 days (extended from 14 days)."
3. Click Save.
4. All QR ordering pages and membership forms now show the updated policy.
[!IMPORTANT] Always review terms and conditions with your legal team before publishing. Changes take effect immediately across all customer touchpoints.
[!TIP] Keep your T&C concise and organized with clear section headers. Customers are more likely to read well-formatted content.
Use Condition to manage and configure this feature in your EQuipWeb system.
Access & Permissions
| Role | View | Create | Edit | Delete |
|---|---|---|---|---|
| Admin | Yes | Yes | Yes | Yes |
| Supervisor | Yes | Yes | Yes | No |
| Cashier | No backend access | — | — | — |
[!NOTE] Exact permissions depend on the Privileges Setup configured for each role. Contact your administrator if you cannot access this page.
Use Condition to manage and configure this feature in your EQuipWeb system.
FAQ
Q: Can I delete an outlet that has transaction history? A: You can soft-delete it, but it cannot be permanently removed if it has linked transactions or POS terminals.
Q: Why are changes not showing on the POS terminal? A: The POS needs to sync. Check Terminal Status for the last sync time and trigger a manual sync if needed.
Q: What happens if I change the company name? A: The change will appear on all new receipts after the next POS sync. Existing printed receipts are not affected.
Use Condition to manage and configure this feature in your EQuipWeb system.
Troubleshooting
| Issue | Possible Cause | Solution |
|---|---|---|
| Cannot save the record | Required fields are empty or invalid | Check all fields marked with * and fill in valid data |
| Record not appearing in POS | POS terminal has not synced yet | Wait for the next sync cycle or manually trigger sync from Terminal Status |
| Cannot delete the record | Record is being used by other modules | Check if the record is linked to active transactions, products, or other settings |
| Changes not taking effect | Browser cache showing old data | Refresh the page (Ctrl+F5) or clear browser cache |
| "Duplicate" error on save | A record with the same name/code already exists | Search the list (including deleted records) for duplicates |
| Page not loading | Session expired or network issue | Log out and log back in. Check your internet connection |
Use Condition to manage and configure this feature in your EQuipWeb system.
Related Menus
- Product Setup > Product List — products linked to outlets
- User Setup > User List — users assigned to outlets
- Sales Setup > Payment Mode — payment methods per outlet
- Setting > Company Setup — company-wide settings
Use Condition to manage and configure this feature in your EQuipWeb system.
Open Questions / Confirmation Needed
[!NOTE] The following items may vary depending on your system version and configuration:
- Exact permission settings depend on your Privileges Setup configuration
- Sync timing to POS terminals depends on network conditions and sync schedule
- Some features may require additional licensing or module activation
- Field behavior may differ between EQuip versions
If you encounter behavior not described in this manual, contact your system administrator or EQuip support team.
Field Reference
| Field | Required | Description |
|---|---|---|
| Name / Title | Yes | The display name for this record |
| Status / Active | — | Whether this record is active in the system |
| Created Date | Auto | System-generated creation timestamp |
| Modified Date | Auto | System-generated last modification timestamp |
[!NOTE] Additional fields specific to this page are documented in the sections above. The table above shows common fields present across most pages.
Related Articles
Terminal Status
? Backend — EQuipWebRetail ModeMaster Data Setup Chapter 8: Master Data Setup — 8.1 Terminal Status The Terminal Status page shows you the live status of all your POS terminals — which ones are online, which are offline, and when they last synced. ...POS Terminal Settings
? Backend — EQuipWebRetail ModeSetting Chapter 12: Setting — 12.9 POS Terminal Settings Use POS Terminal Settings to fine-tune how each POS terminal behaves — receipt formatting, printer assignments, payment options, and display preferences. ...Campaign Setup
? Backend — EQuipWebRetail ModeMembership Setup Chapter 3: Membership Setup — 3.6 Campaign Setup Use Campaign Setup to create time-limited promotions for your loyalty members — like "Double Points Weekend" or "Birthday Month 20% Off". Campaigns run ...Bundle Setup
? Backend — EQuipWebRetail ModeProduct Setup Chapter 2: Product Setup — 2.5 Bundle Setup Use Bundle Setup to create combo deals and set meals — like a "Lunch Set" with a main dish + drink + dessert at a special price. Customers love bundles, and ...Attribute Setup
? Backend — EQuipWebRetail ModeProduct Setup Chapter 2: Product Setup — 2.6 Attribute Setup Use Attribute Setup to create add-ons and modifiers for your products — like "Less Sugar", "Extra Cheese", or "Size: S / M / L". When a cashier taps a ...