Warehouse Product Mapping
Chapter 2: Product Setup — 2.13 Warehouse Mapping
Use Warehouse Mapping to tell the system which warehouse or storage location holds each product. This ensures stock movements, purchase orders, and reports are tracked at the right location.
When to use this: When you need to map products to specific warehouse or inventory locations for stock tracking.
Prerequisites
- Inventory Locations must exist
- Products must exist
Warehouse Product Mapping
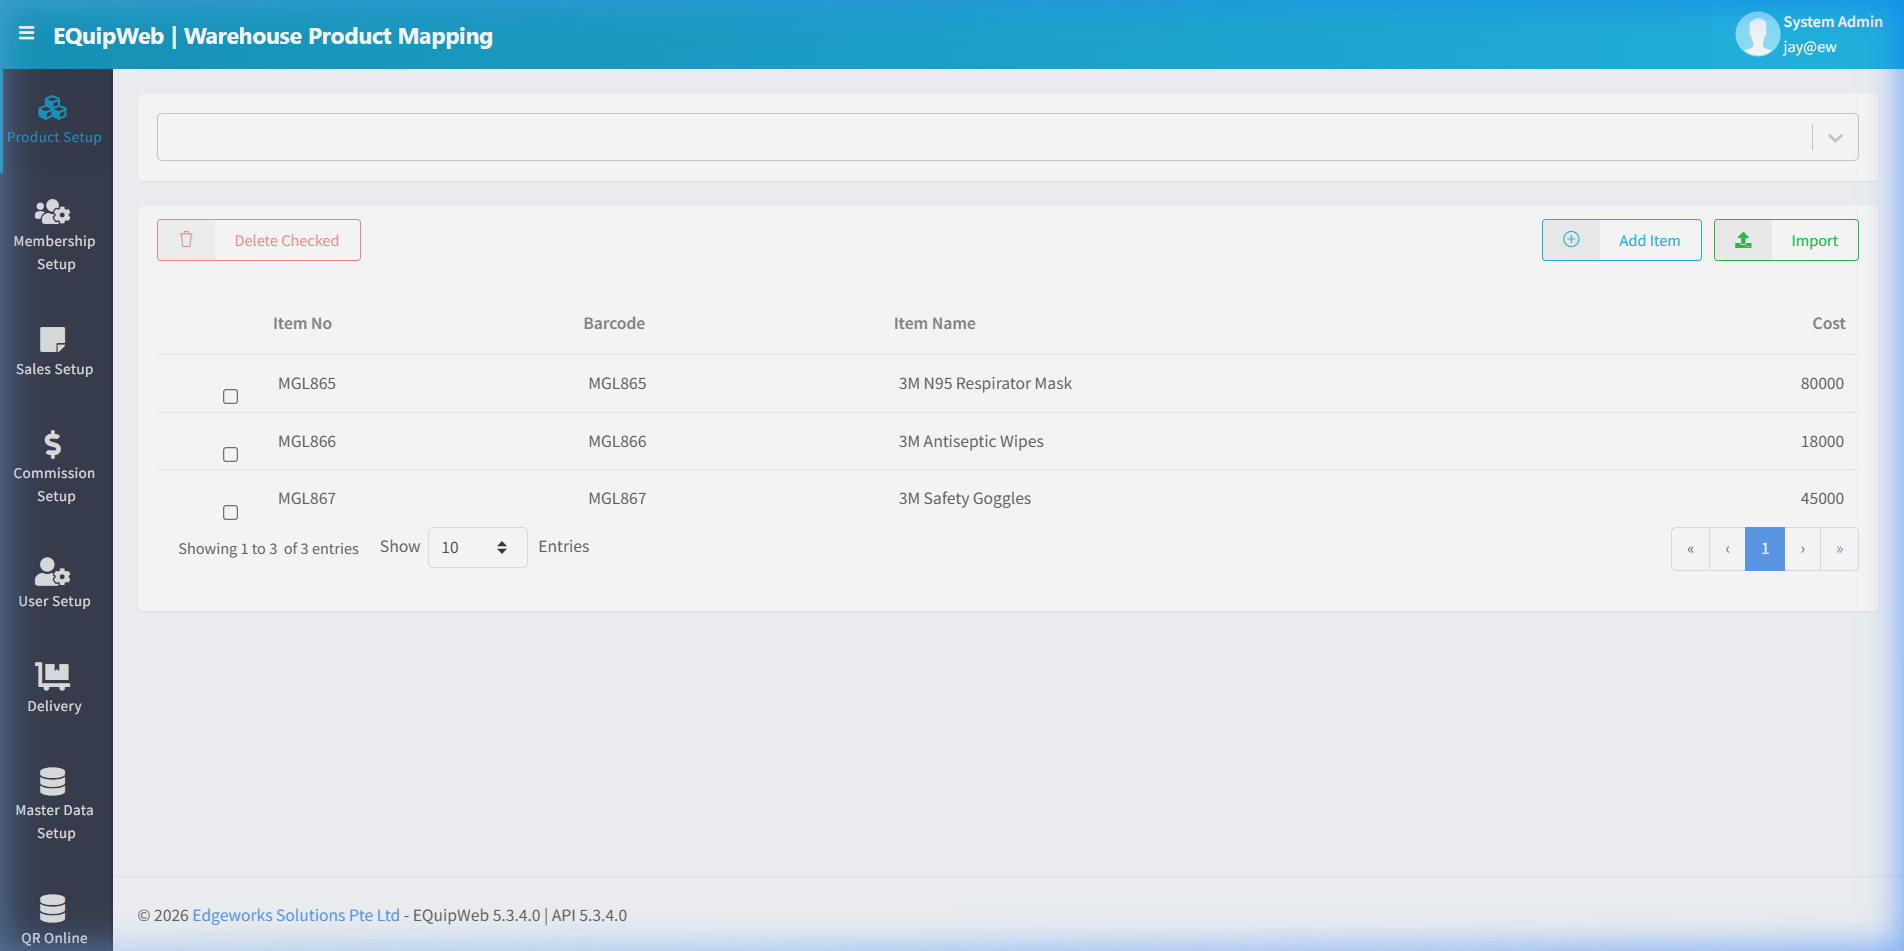
📝 General Description
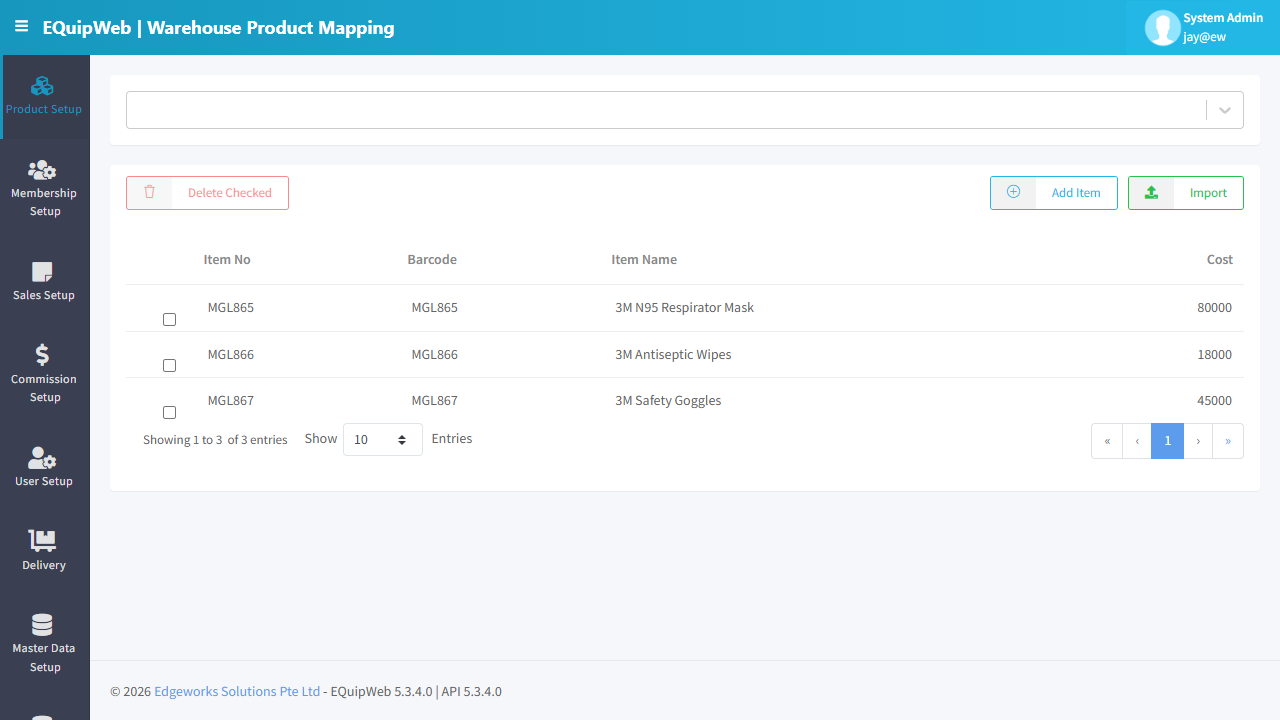
Warehouse Mapping shows the relationship between products and inventory locations. Each mapping record links a product to a warehouse, controlling where stock-in, stock-out, and transfer operations are routed.
How Warehouse Mapping Works
| Concept | Description |
|---|---|
| Product | An item in the catalog |
| Warehouse / Location | A physical or logical storage location (from Master Data → Inventory Location) |
| Mapping | Links a product to one or more warehouses |
Without mapping, products may not appear in stock management operations for certain locations.
Warehouse Selector
| Element | Type | Description |
|---|---|---|
| Warehouse | Dropdown | Select the warehouse/location to view and manage product mappings for |
[!NOTE] The entire data grid below updates when you change the warehouse selection. Each warehouse has its own set of mapped products.
Action Buttons
| Button | Style | Function |
|---|---|---|
| 🗑️ Delete Checked | Red outline | Remove selected product-warehouse mappings (checked items) |
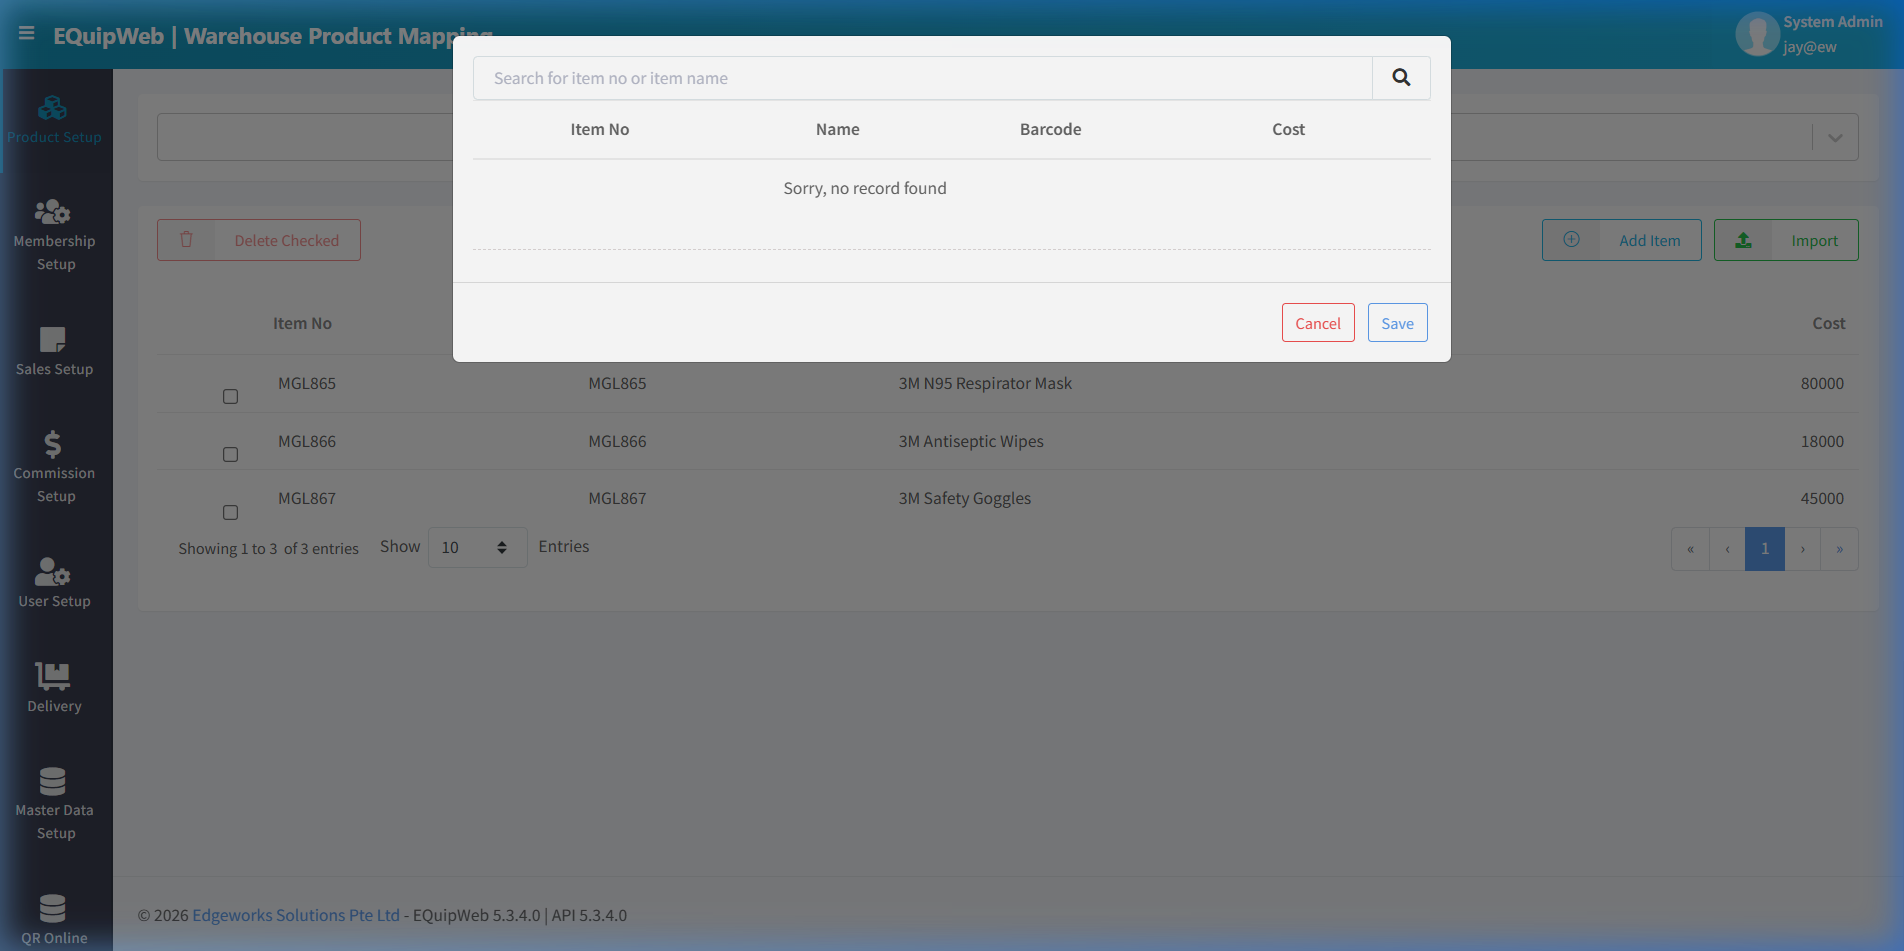
| ⊕ Add Item | Green outline | Search and add products to this warehouse one by one |
| 📥 Import | Blue outline | Bulk import product-warehouse mappings via spreadsheet upload |
Data Grid Columns
| Column | Description |
|---|---|
| ☐ | Checkbox — select items for bulk Delete Checked operation |
| Item No | Product code (e.g., MGL865, MGL866) |
| Barcode | Product barcode |
| Item Name | Product display name (e.g., "3M N95 Respirator Mask") |
| Cost | Product cost price at this warehouse |
💡 Example
Scenario: A retail chain has 3 warehouses and 10 outlets. Not all products are stocked at all warehouses.
| Product | Central Warehouse | North Warehouse | South Warehouse |
|---|---|---|---|
| T-Shirt Black | ✅ Mapped | ✅ Mapped | ❌ Not mapped |
| T-Shirt White | ✅ Mapped | ✅ Mapped | ✅ Mapped |
| Jacket Premium | ✅ Mapped | ❌ Not mapped | ❌ Not mapped |
- Central Warehouse stocks everything (main distribution center) — all products are mapped here
- North Warehouse stocks common items — select products are mapped
- South Warehouse only stocks select items — fewer product mappings
- Products NOT mapped to a warehouse won't appear in that warehouse's stock operations (PO, GR, Transfer, Stock Count)
How to Map Products
- Select the target Warehouse from the dropdown.
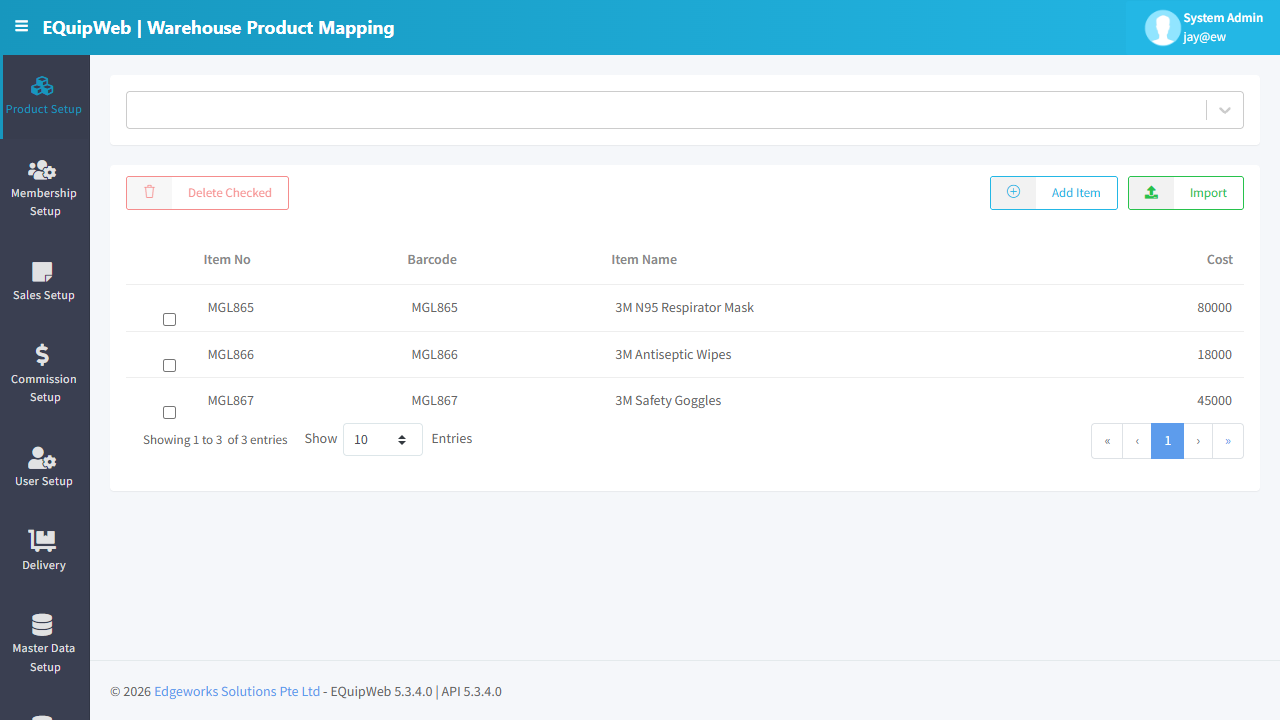 2. Click ⊕ Add Item → Search for the product → Click to add.
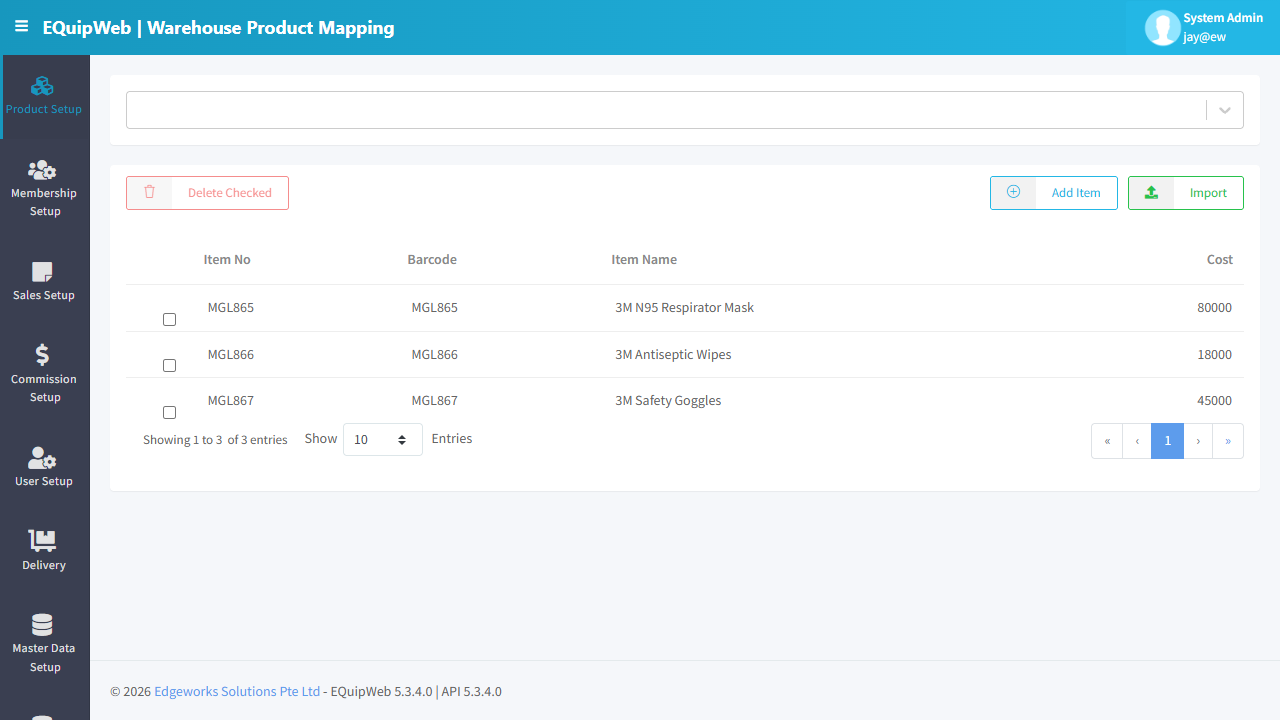 3. Repeat for all products that should be stocked at this warehouse.
4. For bulk mapping, click 📥 Import → Upload a spreadsheet with Item No list.
3. Repeat for all products that should be stocked at this warehouse.
4. For bulk mapping, click 📥 Import → Upload a spreadsheet with Item No list.
How to Remove Mappings
- Select the target Warehouse from the dropdown.
2. Check the ☐ checkbox next to the products you want to remove.
3. Click 🗑️ Delete Checked → Confirm removal.
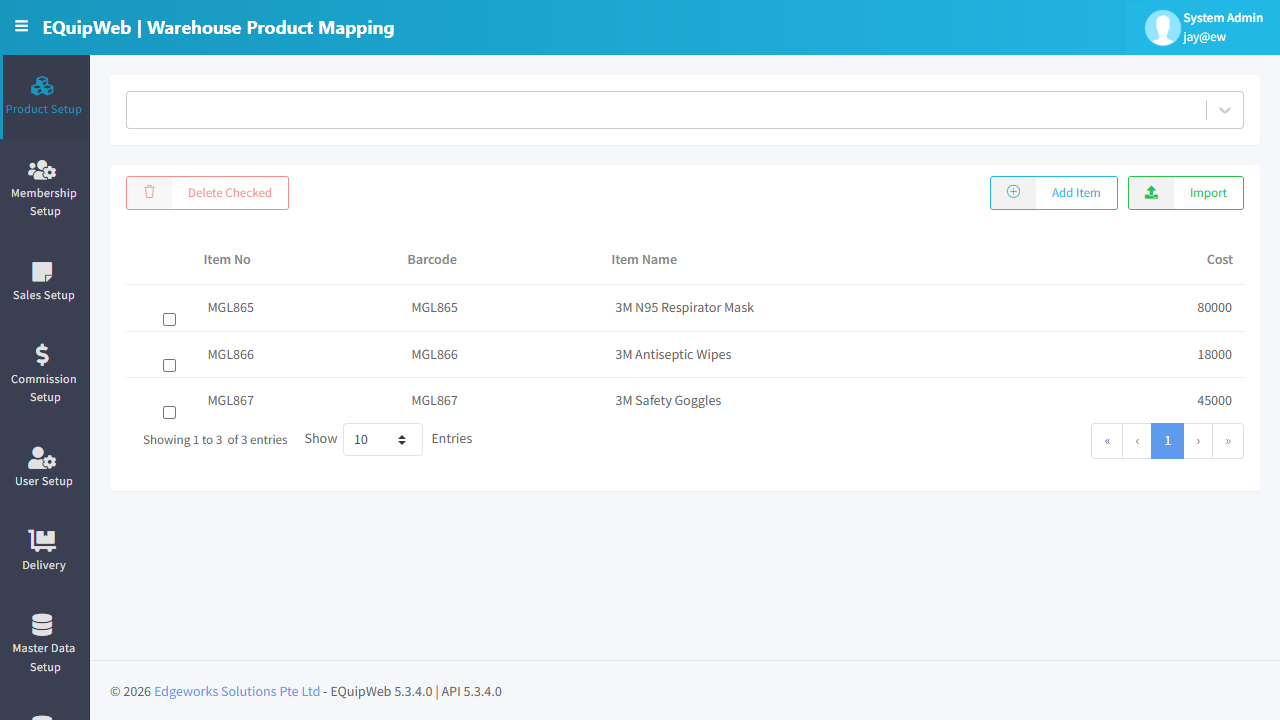 4. The products will no longer appear in that warehouse's stock operations.
[!IMPORTANT] Warehouse Mapping is an advanced feature for multi-warehouse businesses. Single-location stores typically don't need this — all products are automatically available at the default inventory location.
Access & Permissions
| Role | View | Create | Edit | Delete |
|---|---|---|---|---|
| Admin | Yes | Yes | Yes | Yes |
| Supervisor | Yes | Yes | Yes | No |
| Cashier | No backend access | — | — | — |
[!NOTE] Exact permissions depend on the Privileges Setup configured for each role. Contact your administrator if you cannot access this page.
Expected Result: Changes are saved successfully and reflected across the system after the next POS sync.
How to Edit a Warehouse Product Mapping
- Navigate to Warehouse Product Mapping from the sidebar menu.
- In the list, click the name or code link (blue text) of the record you want to edit.
- The edit form opens with all current values pre-filled.
- Modify the fields you want to change.
- Click Save to apply your changes.
Expected Result: The updated warehouse product mapping is saved and changes are reflected across the system after the next POS sync.
How to Add a New Warehouse Product Mapping
- Navigate to Warehouse Product Mapping from the sidebar menu.
-
Click the + Add New button (green button).
-
Fill in the required fields in the form.
-
Fill in any optional fields as needed.
-
Click Save to create the new warehouse product mapping.
✅ Expected Result: The new warehouse product mapping appears in the list and is available for use across the system.
FAQ
Q: Why is my product not showing on the POS? A: The POS needs to sync first. Check Terminal Status to see the last sync time. Also verify the product is not deleted and is assigned to the correct outlet.
Q: Can I delete a product that has sales history? A: You can soft-delete it (it will be hidden from active lists and POS), but it cannot be permanently removed because it is linked to transaction records.
Q: How do I update prices for multiple products at once? A: Use the Data Importer > Product Importer to bulk update. Export the current list, modify prices in the spreadsheet, then re-import.
Troubleshooting
| Issue | Possible Cause | Solution |
|---|---|---|
| Cannot save the record | Required fields are empty or invalid | Check all fields marked with * and fill in valid data |
| Record not appearing in POS | POS terminal has not synced yet | Wait for the next sync cycle or manually trigger sync from Terminal Status |
| Cannot delete the record | Record is being used by other modules | Check if the record is linked to active transactions, products, or other settings |
| Changes not taking effect | Browser cache showing old data | Refresh the page (Ctrl+F5) or clear browser cache |
| "Duplicate" error on save | A record with the same name/code already exists | Search the list (including deleted records) for duplicates |
| Page not loading | Session expired or network issue | Log out and log back in. Check your internet connection |
Related Menus
- Category Setup — product categorization
- Department Setup — reporting hierarchy
- Sales Setup > GST Setup — tax rates for products
- Data Importer > Product Importer — bulk product upload
- Sales Setup > Payment Mode — payment methods at POS
Open Questions / Confirmation Needed
[!NOTE] The following items may vary depending on your system version and configuration:
- Exact permission settings depend on your Privileges Setup configuration
- Sync timing to POS terminals depends on network conditions and sync schedule
- Some features may require additional licensing or module activation
- Field behavior may differ between EQuip versions
If you encounter behavior not described in this manual, contact your system administrator or EQuip support team.
Field Reference
| Field | Required | Description |
|---|---|---|
| Name / Title | Yes | The display name for this record |
| Status / Active | — | Whether this record is active in the system |
| Created Date | Auto | System-generated creation timestamp |
| Modified Date | Auto | System-generated last modification timestamp |
[!NOTE] Additional fields specific to this page are documented in the sections above. The table above shows common fields present across most pages.
Related Articles
Product Setup
? Backend — EQuipWebRetail ModeProduct Setup Chapter 2: Product Setup — 2.1 Product List The Product List is where you see all your products in one place. From here, you can search, filter, edit, or delete any product. Think of it as your master ...Product Importer
? Backend — EQuipWebRetail ModeData Importer & Exporter Data Importer & Exporter — 11.1 Step-by-step guide to bulk importing products, download template, import modal controls, and troubleshooting import errors Use Importer to manage and configure ...Inventory Location Group Setup
? Backend — EQuipWebRetail ModeMaster Data Setup Chapter 8: Master Data Setup — 8.6 Inventory Location Group Setup Use Inventory Location Group Setup to organize your storage locations into groups — like grouping all "Back of Store" locations ...Supplier Product Importer
? Backend — EQuipWebRetail ModeData Importer & Exporter Chapter 10: Data Importer — 10.5 Supplier Product Importer Use Importer to manage and configure this feature in your EQuipWeb system. Use the Supplier Product Importer to link many products to ...Navigation & Sidebar
? Backend — EQuipWebRetail ModeChapter 1: Getting Started Chapter 1: Getting Started — 1.4 Navigation & Sidebar The sidebar is the primary navigation tool in EQuipWeb. It appears on the left side of every page and provides access to all 11 modules ...